Copilot Agent Kit is a Power Platform solution for managing, testing, and governing Copilot Studio agents. It includes tools such as Agent Inventory, Test Automation, Compliance Hub, and Power Shield.
This guide covers downloading the managed solution from the Copilot Agent Kit GitHub repository and importing it manually. We will prepare the environment, create three HTTP connections, and import the solution.
Copilot Agent Kit can also be installed from Microsoft Marketplace. I will cover the Marketplace installation in another post.
Prerequisites
The target environment and installer account must meet these requirements:
- A Power Platform environment with a Dataverse database.
- The System Administrator security role in the target environment.
- The Power Platform Administrator role for full Agent Inventory visibility and Power Shield DLP operations.
- A license that supports Power Apps model-driven apps.
- A license that supports Power Automate cloud flows with premium connectors.
- An Exchange Online mailbox for the Office 365 Outlook connection.
- Data policies that allow every connector included in Copilot Agent Kit.
- Power Apps component framework for canvas apps enabled.
- Power Apps Code Apps enabled.
Note: Microsoft requires all included connection references to be populated during import. This applies even when you do not plan to use every feature immediately.
Lets start by enabling the required environment features.
Enable Code Components and Code Apps
- Sign in to the Power Platform admin center.
- Select Manage > Environments.
- Open the target environment.
- Select Settings > Product > Features.
- Turn on Power Apps component framework for canvas apps.
- Turn on Power Apps Code Apps.
- Select Save.
Now the environment can run the components included in Creator Kit and Copilot Agent Kit.
Install Creator Kit
Copilot Agent Kit uses components from the Power Platform Creator Kit. Install CreatorKitCore before importing Copilot Agent Kit.
- Open the Creator Kit setup documentation.
- Select Download the Creator Kit.
- Download the latest managed CreatorKitCore solution.

- Sign in to Power Apps.
- Select the target environment.
- Open Solutions and select Import solution.
- Browse to the downloaded managed CreatorKitCore file.
- Complete the import.
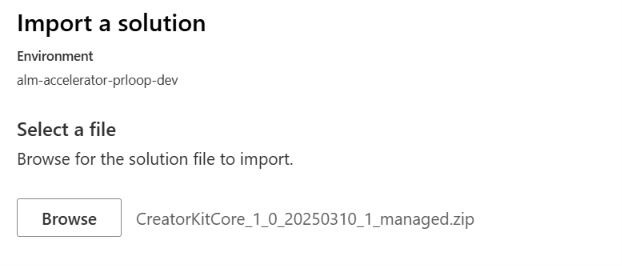
Now we have the required solution installed. Lets create the three HTTP connections before importing Copilot Agent Kit.
Create the HTTP Preauthorized Connections
Copilot Agent Kit requires three HTTP with Microsoft Entra ID (preauthorized) connections. Create each connection separately before importing the solution.
The following values apply to a Commercial cloud tenant:
| Display name | Base Resource URL | Microsoft Entra ID Resource URI |
|---|---|---|
HTTP-Pre-Auth-Licensing | https://licensing.powerplatform.microsoft.com/ | https://licensing.powerplatform.microsoft.com/ |
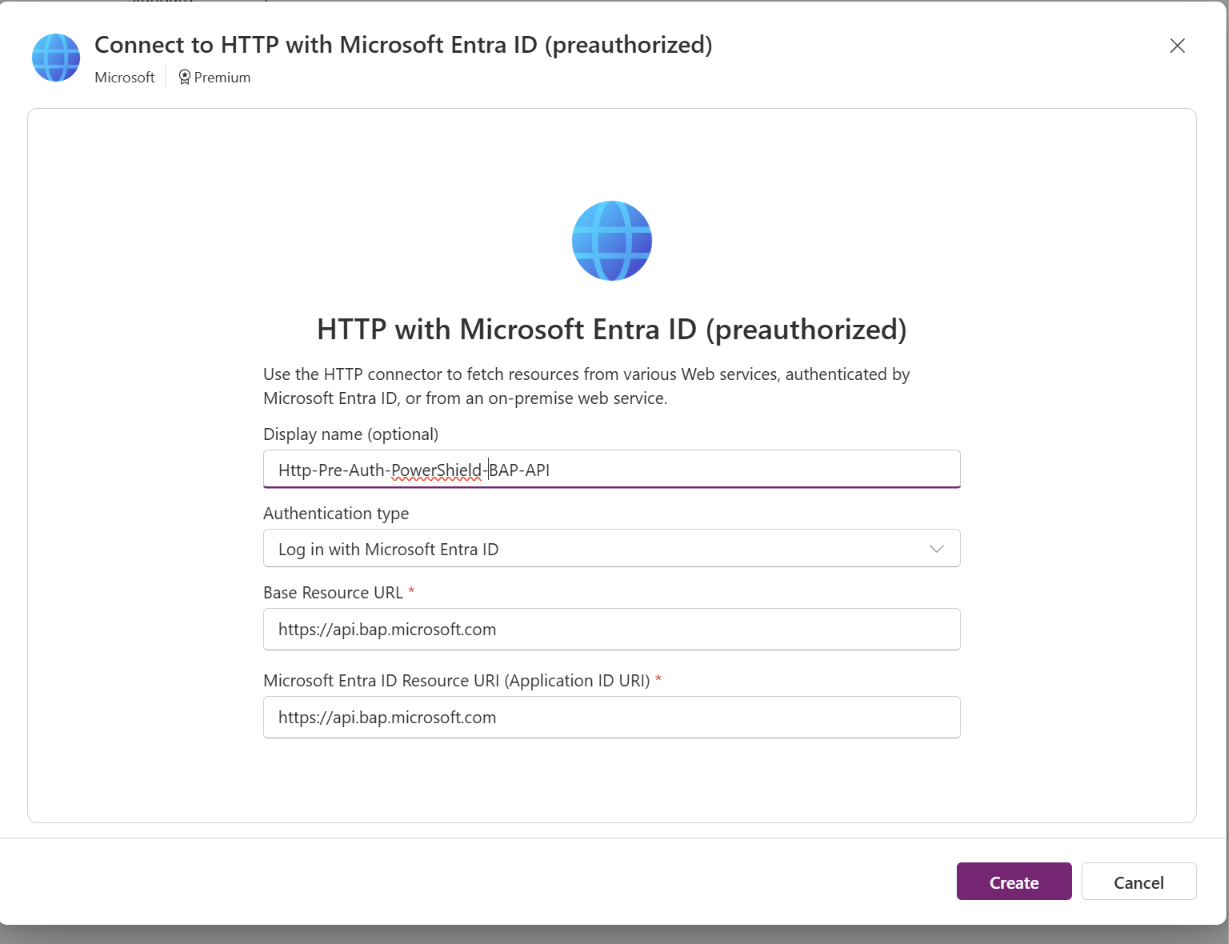
HTTP-Pre-Auth-PowerShield-BAP-API | https://api.bap.microsoft.com | https://api.bap.microsoft.com |
HTTP-Pre-Auth-PowerShield-API-Flow | https://api.flow.microsoft.com | https://service.powerapps.com/ |
For each connection:
- Open Connections in the Power Apps maker portal.
- Select New connection.
- Search for
HTTP. - Select HTTP with Microsoft Entra ID (preauthorized).
- Keep Log in with Microsoft Entra ID as the authentication type.
- Enter the values from the matching row in the table.
- Select Create and complete the sign-in prompt.

Note: Government cloud endpoints are different. Refer to the official Agent Inventory and Power Shield documentation before creating these connections in GCC, GCC High, or DoD.
Create the Power Platform Licensing connection
- Start with the
HTTP-Pre-Auth-Licensingrow from the table.

Create the PowerShield BAPAPI connection
- Create the second connection using the
HTTP-Pre-Auth-PowerShield-BAP-APIrow. - Sign in with a Power Platform Administrator account. Power Shield uses this connection to manage DLP policies.
Create the PowerShield APIFlow connection
- Create the third connection using the
HTTP-Pre-Auth-PowerShield-API-Flowrow.

Confirm that all three connections show the Connected status.

Now the custom HTTP connections are ready. Lets download and import the Copilot Agent Kit managed solution.
Import Copilot Agent Kit
- Download the latest managed solution from the Copilot Agent Kit GitHub releases.
- In Power Apps, select the target environment.
- Open Solutions and select Import solution.
- Browse to the downloaded
CopilotAgentKitmanaged solution.

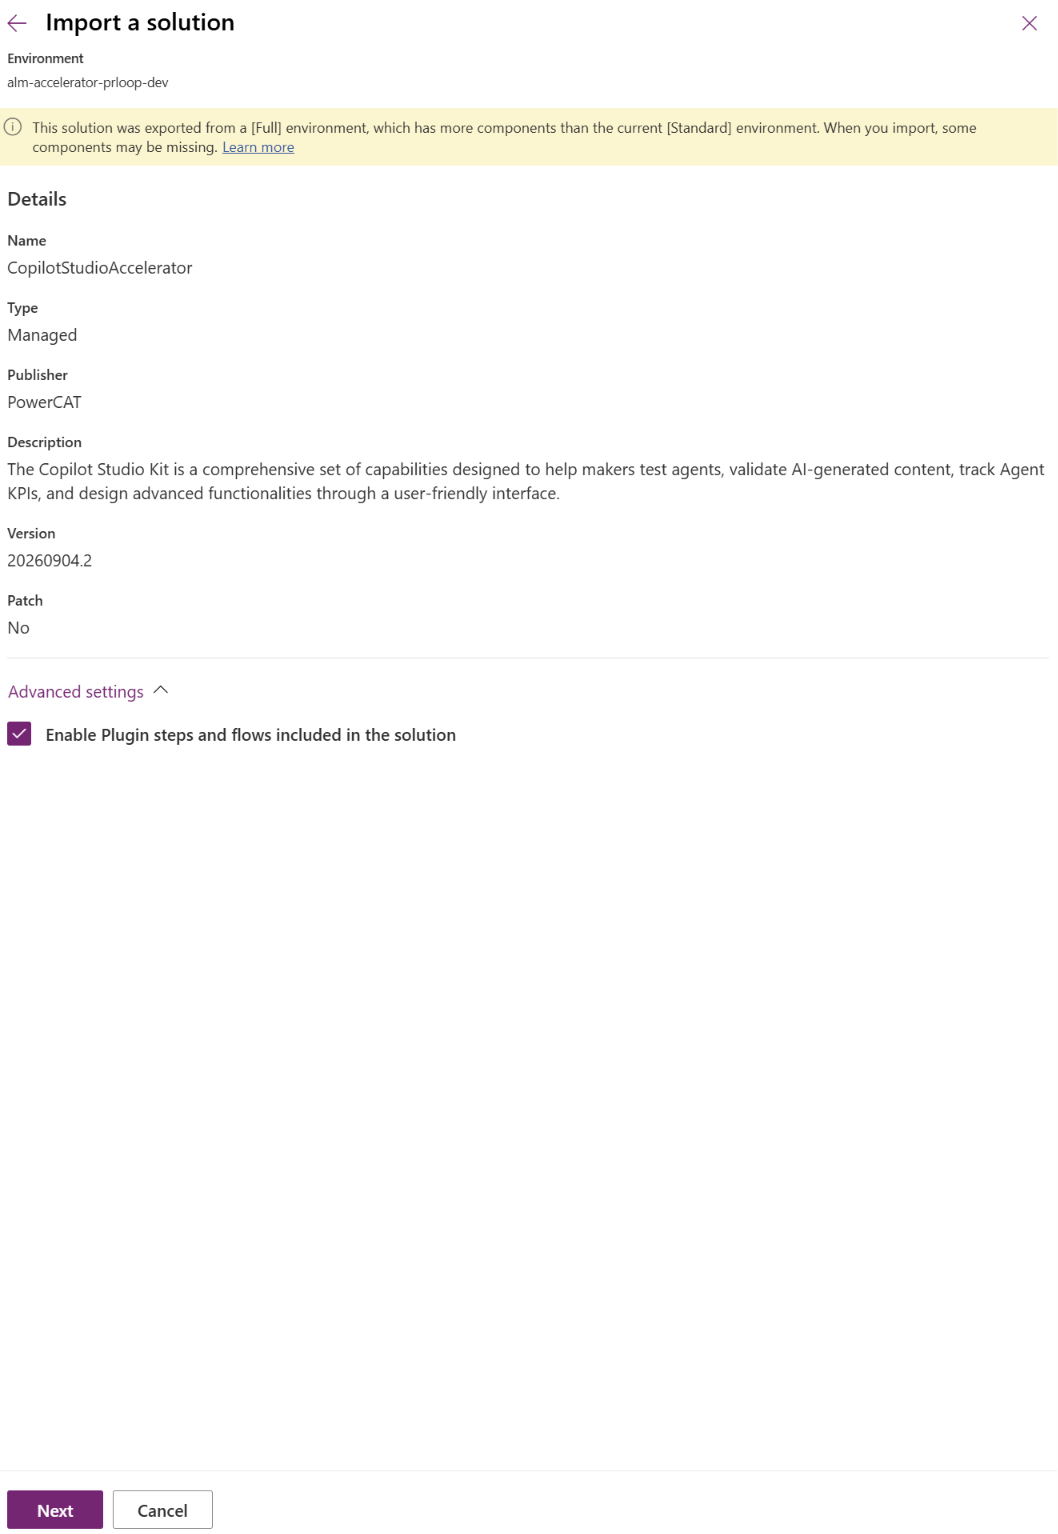
- Review the solution details. Keep Enable Plugin steps and flows included in the solution selected, and then select Next.
Resolve the Connection References
- The import wizard lists the connections required by the solution. A green check means the connection is ready.
- Use the menu beside each unresolved reference to create or select a connection. Complete every required connection before moving forward.

- Map the three connections created earlier to their matching references:
- Map
HTTP-Pre-Auth-Licensingto Copilot Agent Kit – Power Platform Licensing. - Map
HTTP-Pre-Auth-PowerShield-BAP-APIto PowerShield BAPAPI. - Map
HTTP-Pre-Auth-PowerShield-API-Flowto PowerShield APIFlow.
- Map

After every required connection shows a green check, select Next.
Review Environment Variables and Import
- Review the environment variables shown by the import wizard. Keep provided default values unless your organization needs a different value.
- Some optional features require organization-specific values. These values can also be updated later through the Copilot Agent Kit setup wizard.

- Select Import and wait for the operation to complete.
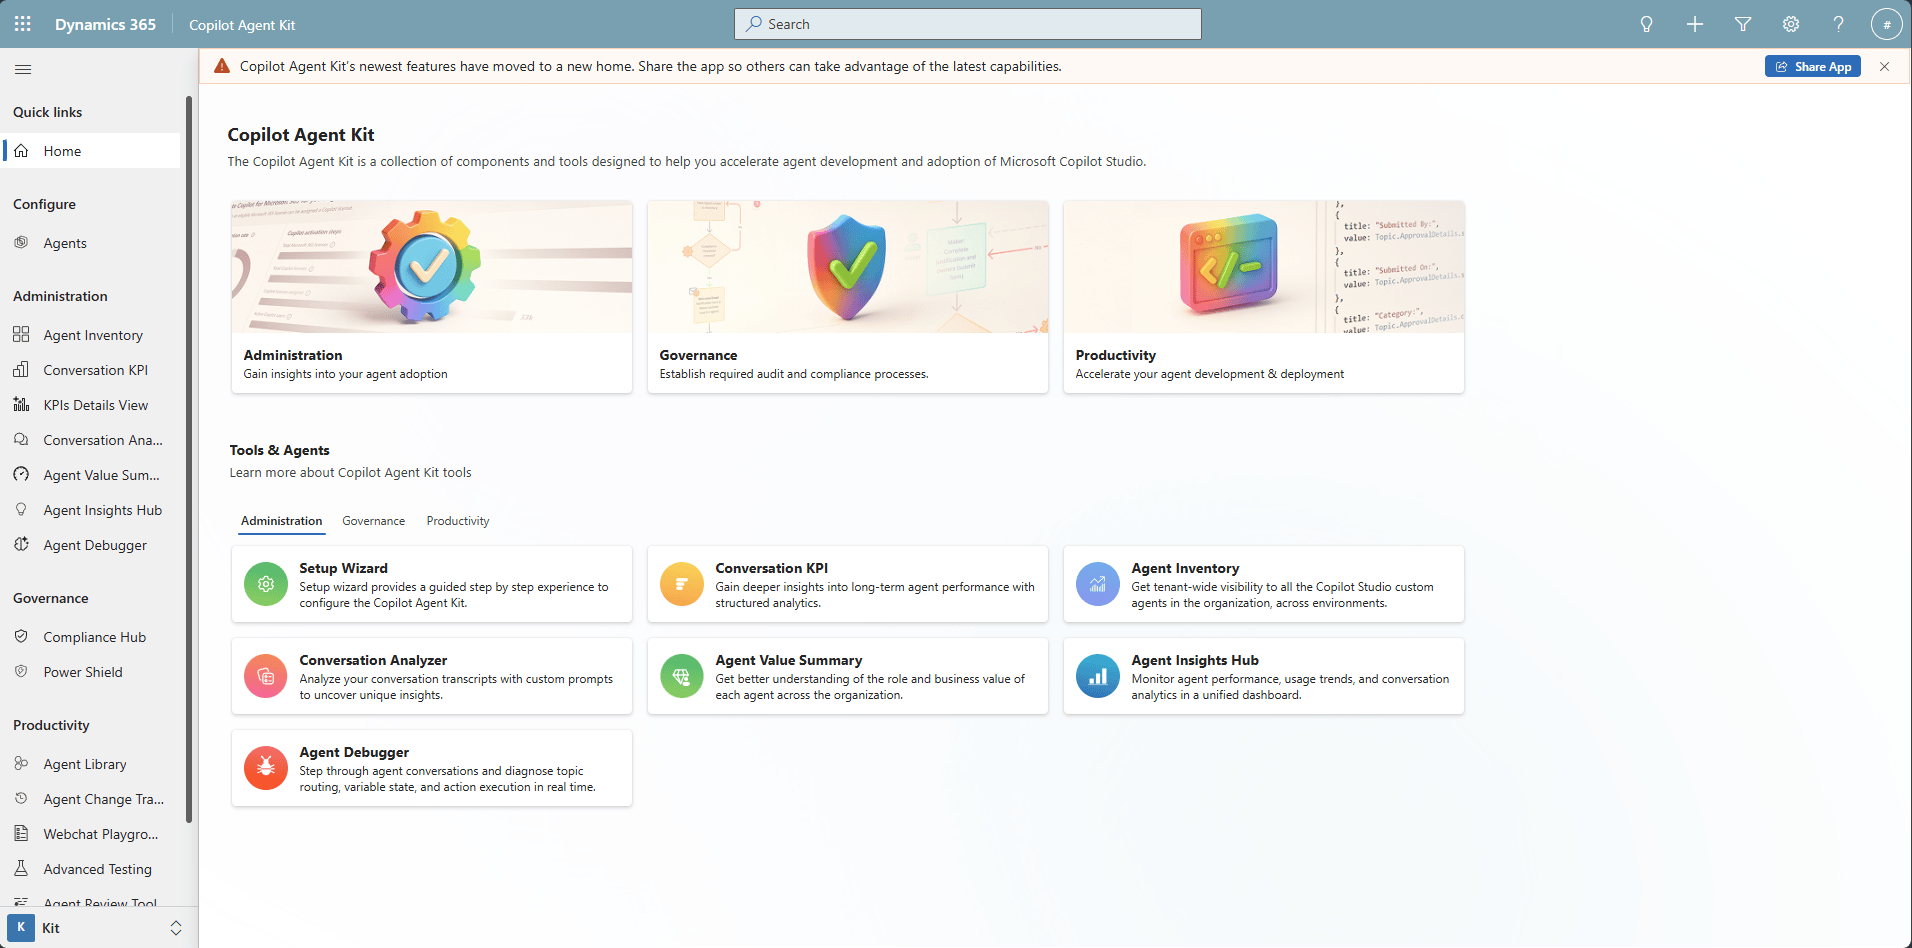
- Once the solution imported, open the ‘Copilot Agent Kit’ Model Driven App, to get started
Summary
The environment now has Creator Kit, Copilot Agent Kit, and the required HTTP connections. The remaining configuration depends on the features your organization plans to enable.
Refer to these official resources for more details:
🙂

Leave a Reply