Did you know that using AI code generation tools, such as GitHub Copilot CLI and Claude Code, we can create and edit canvas apps in Power Apps?
I am using GitHub Copilot CLI in this example and building a simple My Task Tracker canvas app.
Lets first understand the high level steps.
How it works?
- We start with an existing blank Canvas App in Power Apps Studio.
- GitHub Copilot CLI connects to the open coauthoring session.
- The Canvas Apps plugin discovers supported controls and properties.
- Copilot creates or updates the local
.pa.yamlfiles. - The Canvas Authoring MCP server validates and syncs the changes with Power Apps Studio.
Note: The Canvas App must exist before connecting. Create and save it in the required environment first.
Now we know how the connection works. Lets look at the task tracker used for this example.
Scenario
The completed app has:
- A Home screen with six sample tasks.
- Search by task title or description.
- A filter for task status.
- A Task Detail screen for adding and editing tasks.
- Save and delete actions with confirmation messages.
- A responsive layout using Modern controls.
The sample data is loaded into colTasks from App.OnStart.
Before creating the app, lets confirm the required tools.
Prerequisites
You need:
- A Power Platform environment where you can create Canvas Apps.
- An active GitHub Copilot subscription.
- GitHub Copilot CLI.
- PowerShell 6 or later when using Windows.
- .NET SDK 10.0 or later.
Run the following command to check the active .NET SDK:
dotnet --version
The version must start with 10. or a later major number. You can also run dotnet --list-sdks to see every installed SDK.

Next, we will install the Canvas Apps plugin.
Install the Canvas Apps plugin
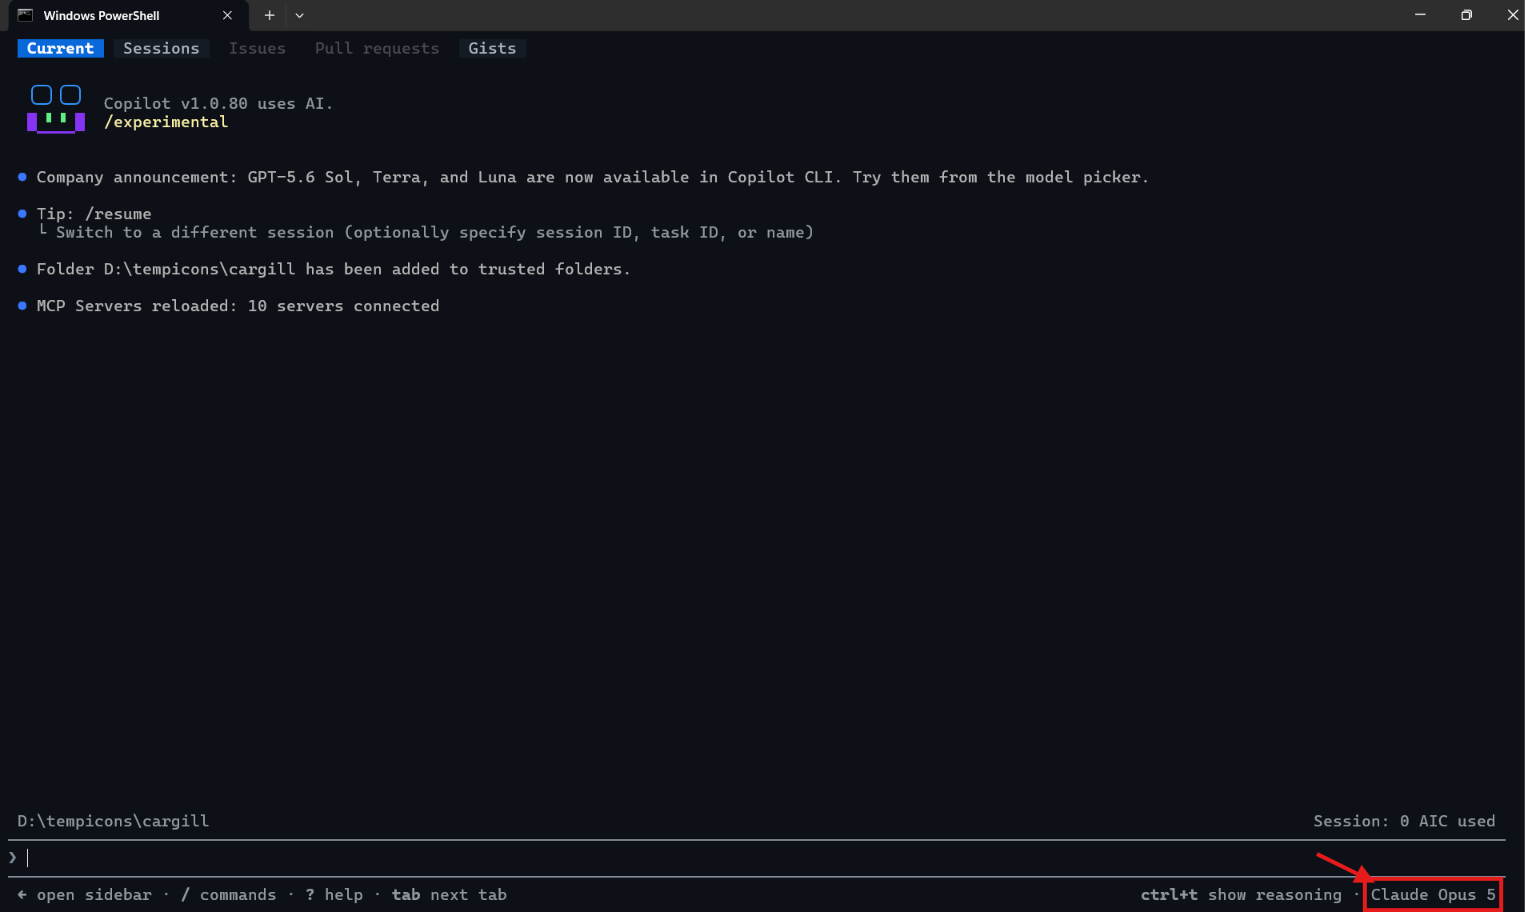
- Start GitHub Copilot CLI session:
copilot
- Add the Microsoft Power Platform Skills marketplace:
/plugin marketplace add microsoft/power-platform-skills
- If the marketplace was previously added, Copilot reports that it is already registered. We can continue with the plugin installation.

- Next, install the Microsoft Canvas Apps plugin:
/plugin install canvas-apps@power-platform-skills
- The plugin provides these main skills:
/canvas-appbuilds a connected blank app or edits an existing app./configure-canvas-mcpconnects Copilot to the Power Apps Studio session./add-data-sourceguides the setup of a connector or data source.
The plugin is ready. Now we need a saved Canvas App that Copilot can connect to.
Create the blank Canvas App
Open Power Apps and select the required environment.
- Create a blank Canvas App.
- Select the tablet format.
- Name the app My Task Tracker.
- Save the app.
- Keep the app open in Power Apps Studio.

Next we need to enable the Coauthoring of Canvas App.
Enable coauthoring
- Select Settings.
- Open Updates.
- Turn on Coauthoring.
- Reload the app if Power Apps requests it.

- Keep the Power Apps Studio browser tab open during the entire build. Closing the tab ends the coauthoring session.
- Select the browser address bar and copy the complete Studio URL.
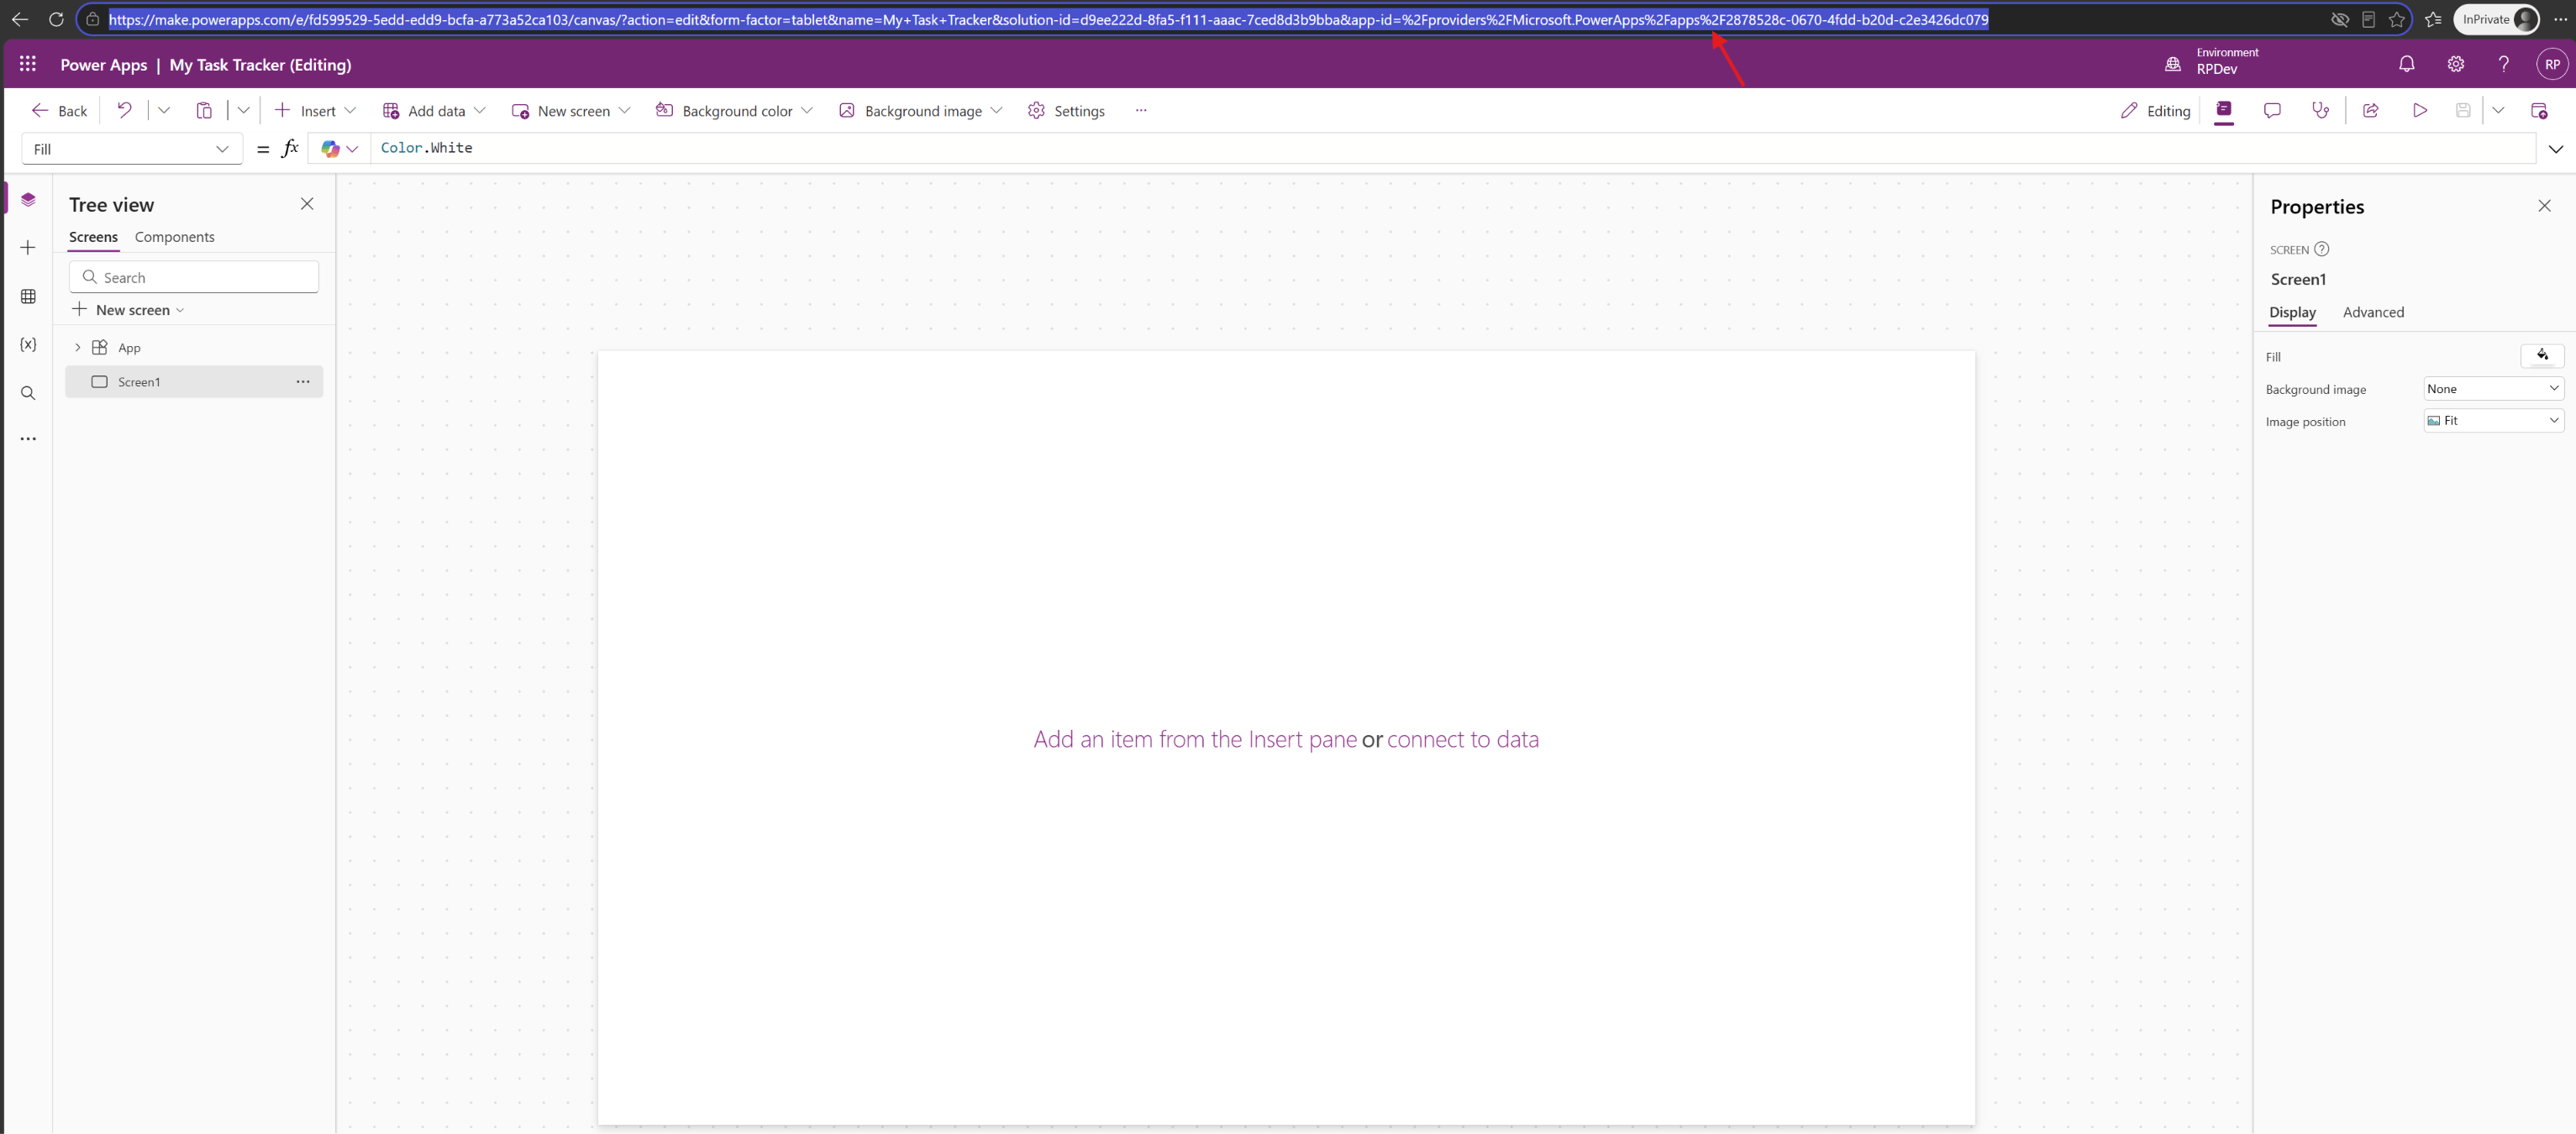
The blank app is now ready for external authoring. Next, we will connect GitHub Copilot CLI to this Studio session.
Connect GitHub Copilot CLI to Power Apps Studio
- Return to GitHub Copilot CLI and run:
/configure-canvas-mcp
- The CLI might display the full skill name as
/canvas-apps:configure-canvas-mcp.

- Copilot asks for the Canvas App Studio URL.

- Paste the URL copied from Power Apps Studio and submit it.
- Copilot extracts the environment and app identifiers from the URL. It then asks for approval before running the
connectMCP tool.

- Review the displayed environment and app identifiers. Approve the tool only when they match the intended app.
- After sign-in, Copilot confirms that the Canvas Authoring MCP server is connected.

The live connection is ready. Now we can describe the complete app using one prompt.
Build the My Task Tracker app
- Enter the following prompt:
Create a responsive Canvas App named My Task Tracker. Use a local Power Fx collection containing six sample tasks. Create a home screen with a search box, status filter, task gallery, and New Task button. Create a second screen for viewing, adding, and editing tasks. Each task has a title, description, priority, status, and due date. Use modern Fluent UI controls and an accessible, clean design.
- Copilot selects the Canvas App skill and creates a local
my-task-trackerfolder. It then syncs the blank app into local files.
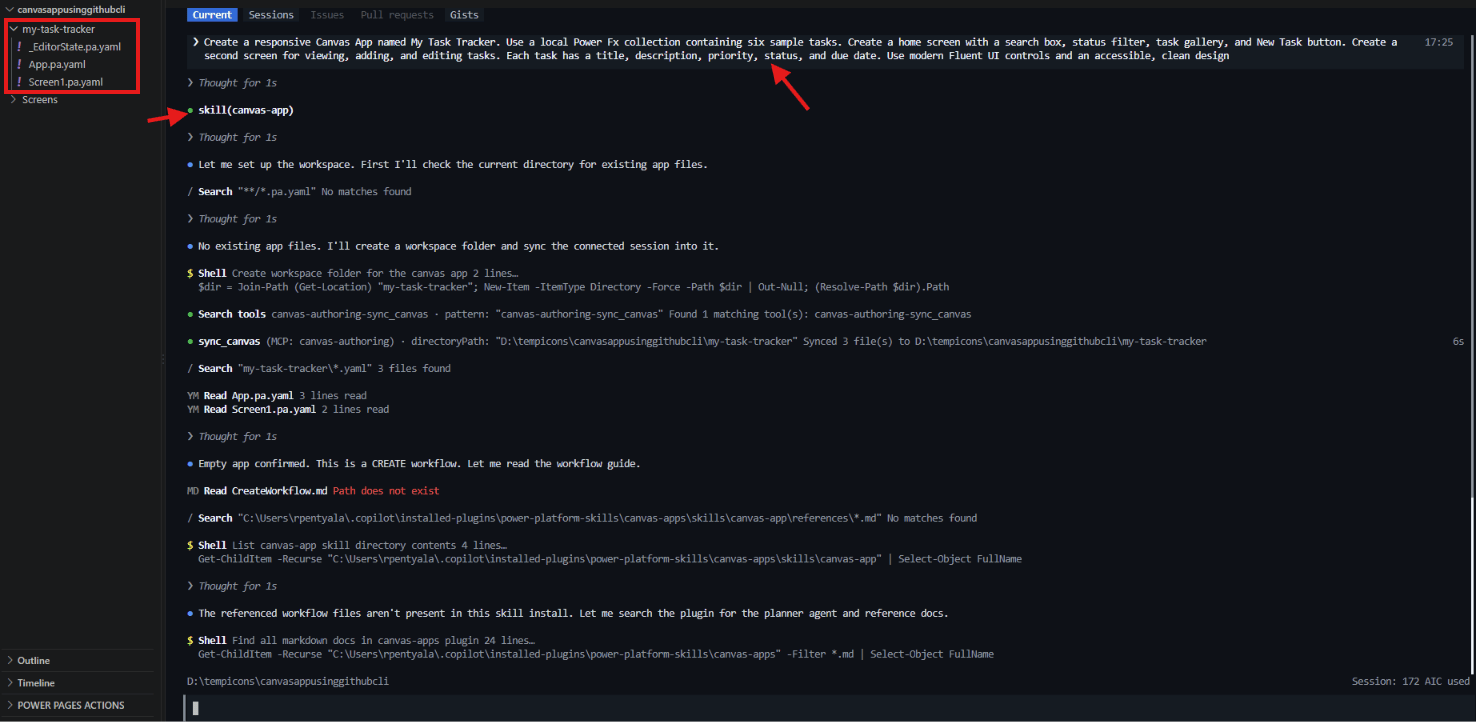
Important:
_EditorState.pa.yamlbelongs to Power Apps Studio. Do not edit this file manually.
Copilot now has the requirements and the synchronized app. Next, it prepares the implementation plan.
Review the generated plan
- Copilot creates a plan before changing the screens. Review the proposed data, controls, colors, and navigation.
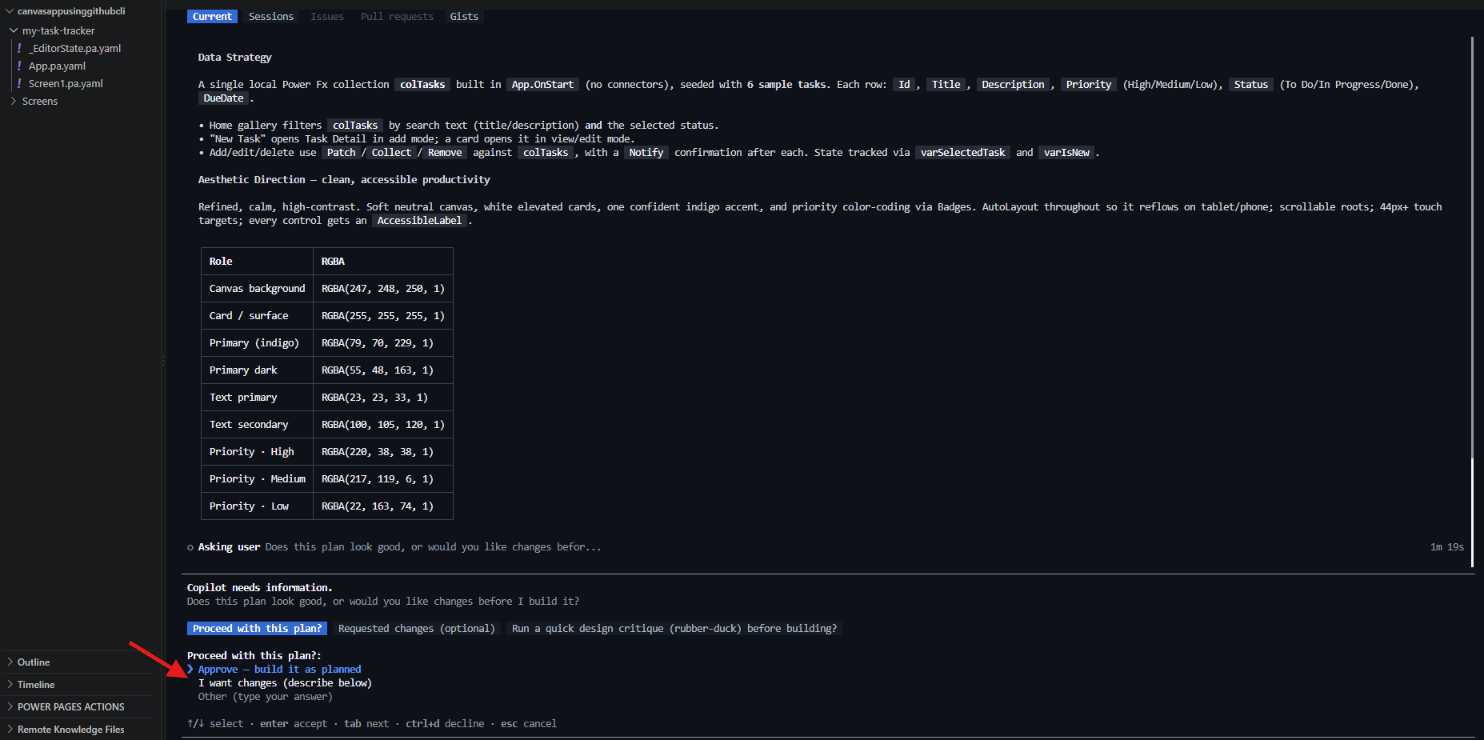
- Select Approve – build it as planned when the plan matches the requirement.
- Copilot creates the screen files, compiles the app, and checks Power Apps warnings. It also checks accessibility issues before completing the task.

- The changes are also available in the open Power Apps Studio session.
The app has compiled successfully. Lets open Power Apps Studio and test the generated behavior.
Test the generated app
- The Home screen displays the six records created by
App.OnStart.

- Use the Home screen to test:
- Search using text from a title or description.
- Filter by All, To Do, In Progress, or Done.
- Select New Task to open the Task Detail screen in add mode.
- Select Open on a task to enter edit mode.
- The Task Detail screen shows title, description, priority, status, and due date fields.
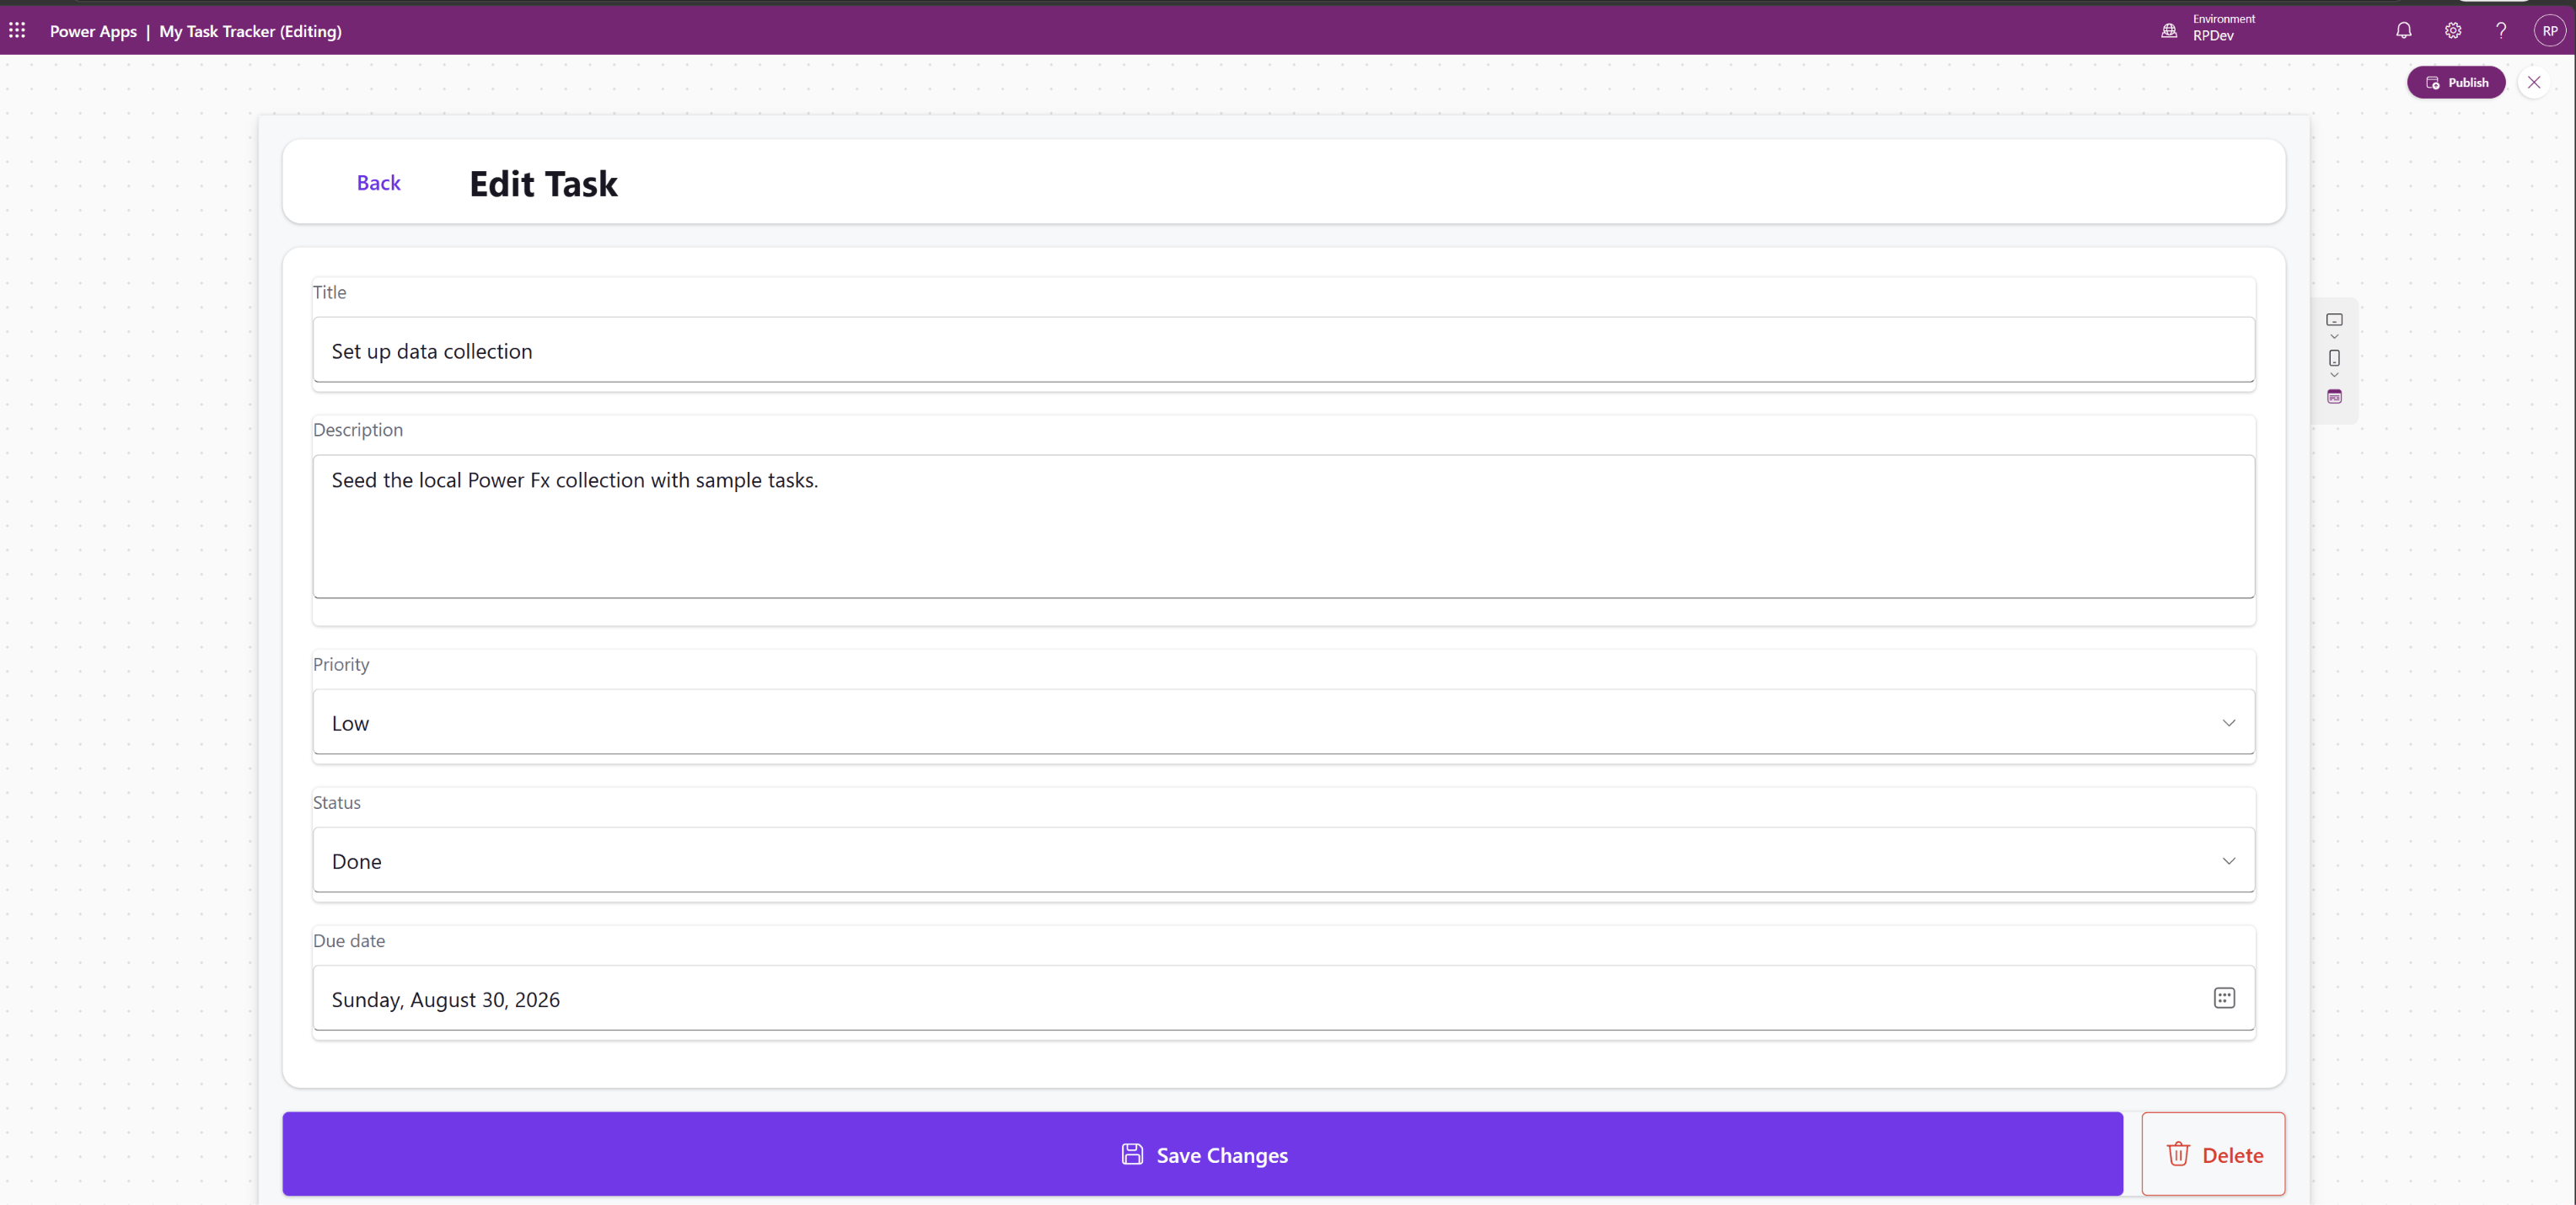
Now the app is working in Power Apps Studio. Lets review the Power Fx that supports these actions.
Understand the generated Power Fx
App.OnStartusesClearCollectto createcolTaskswith six sample records:
ClearCollect( colTasks, { Id: 1, Title: "Draft project charter", Description: "Outline scope, goals and stakeholders for the new tracker.", Priority: "High", Status: "In Progress", DueDate: DateAdd(Today(), 2) })
- The actual generated formula contains all six records.
- The Home gallery filters
colTasksusing the search value and selected status:
Filter( colTasks, ( HomeSearchInput.Text = "" || HomeSearchInput.Text in Title || HomeSearchInput.Text in Description ) && ( HomeStatusFilter.Selected.Value = "All" || Status = HomeStatusFilter.Selected.Value ))
- Selecting New Task creates a blank record in
varSelectedTask. It also setsvarIsNewTasktotrue. - Saving uses
Collectfor a new task andPatchfor an existing task. Deleting usesRemove, followed by a success notification. - The responsive layout uses auto-layout containers. Rows switch from horizontal to vertical when the available width is below 640 pixels.
That’s it!. We created and tested the complete task tracker.
Refer to Create and edit canvas apps with AI code generation tools for the current Microsoft guidance. Also review the GitHub Copilot CLI documentation.
🙂
Leave a Reply