If you are new to Power Apps component framework , please refer to the PCF Beginner Guide and PCF React Control blog posts.
In this article I will be covering following topics related to PCF aka Code Component
- Create a PCF control from scratch
- Using Dataverse Web API to retrieve records.
- Packaging PCF control into a solution
- Deploying PCF control to an Environment
- Creating a Custom Page with PCF control
- Test the control
Lets get started with the steps.
Create a PCF Project:
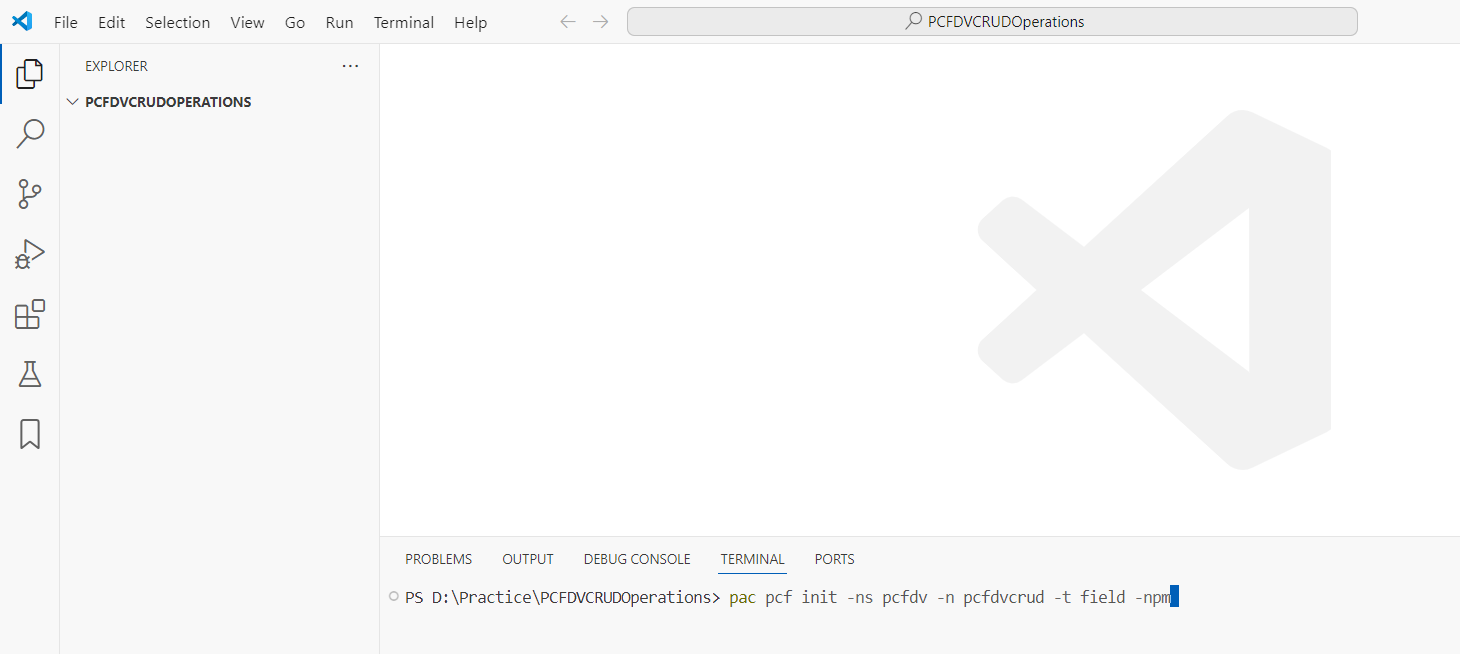
- Create a new PCF project by triggering pac pcf init command.
pac pcf init -ns pcfdv -n pcfdvcrud -t field -npm
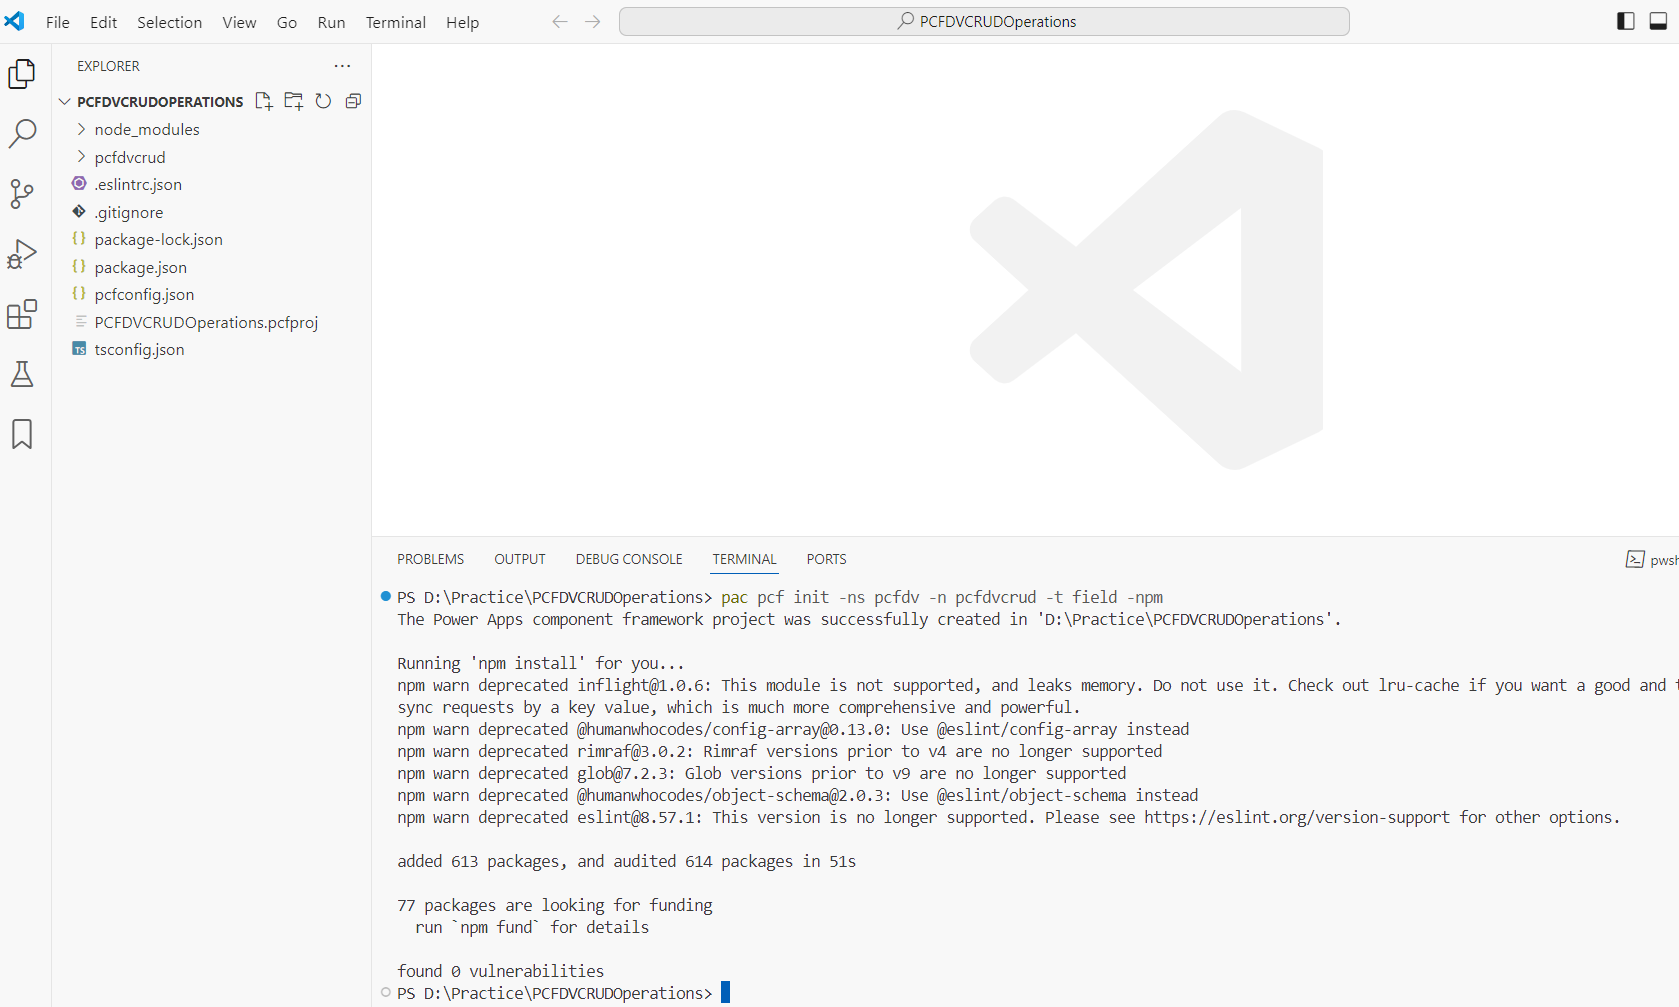
- You will see the following folders created with the pac pcf init command.
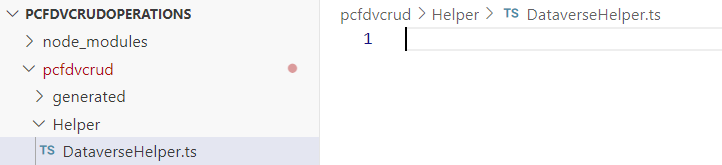
- Next, create a new folder named Helper and add a new TypeScript file called DataverseHelper.ts. This file will be used to handle the Dataverse retrieval operations.
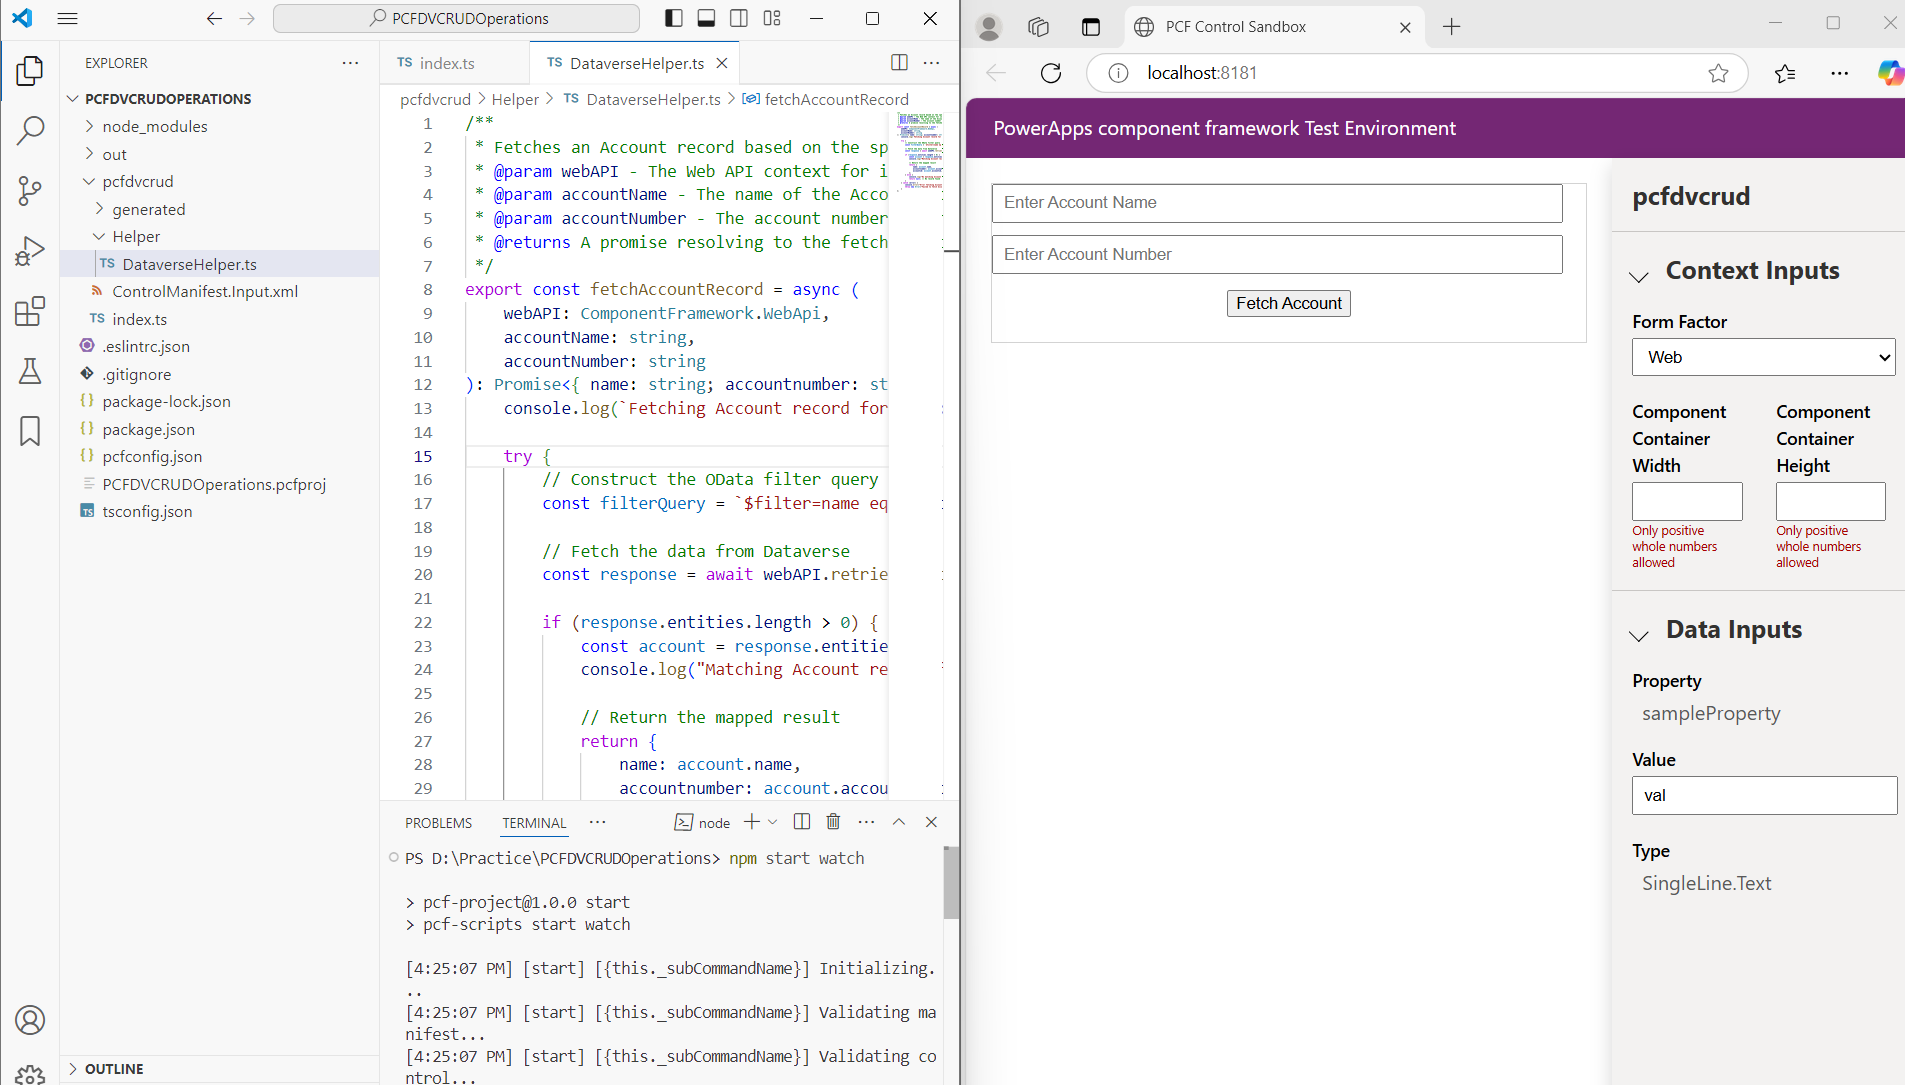
- In this example, I will query the Account table by filtering based on AccountNumber and Name.
- Add the following
fetchAccountRecordfunction to the DataverseHelper.ts file.
export const fetchAccountRecord = async (
    webAPI: ComponentFramework.WebApi,
    accountName: string,
    accountNumber: string
): Promise<{ name: string; accountnumber: string; accountid: string } | null> => {
    console.log(`Fetching Account record for Name: ${accountName}, Account Number: ${accountNumber}`);

    try {
        // Construct the OData filter query
        const filterQuery = `?$filter=name eq '${accountName}' and accountnumber eq '${accountNumber}'`;

        console.log("filter query : ",filterQuery);

        // Fetch the data from Dataverse
        const response = await webAPI.retrieveMultipleRecords("account", filterQuery);

        if (response.entities.length > 0) {
            const account = response.entities[0]; // Retrieve the first matching record
            console.log("Matching Account record found:", account);

            // Return the mapped result
            return {
                name: account.name,
                accountnumber: account.accountnumber,
                accountid: account.accountid,
            };
        } else {
            console.log("No matching Account record found.");
            return null; // No record found
        }
    } catch (error) {
        console.error("Error fetching Account record:", error);
        throw new Error("Failed to fetch Account record. See console for details.");
    }
};

- The fetch logic is ready. Next, we need to reference the
fetchAccountRecordfunction in the index.ts file. - In the index.ts file, import the
fetchAccountRecordfunction using the following syntax:
import { IInputs, IOutputs } from "./generated/ManifestTypes";
import { fetchAccountRecord } from "./Helper/DataverseHelper";

- Next, we need to create the UI elements, including two textboxes for capturing the user’s filters for Account Name and Account Number, and a button to execute the
fetchAccountRecordfunction. - Here is the complete code of index.ts file.
import { IInputs, IOutputs } from "./generated/ManifestTypes";
import { fetchAccountRecord } from "./Helper/DataverseHelper";

export class pcfdvcrud implements ComponentFramework.StandardControl<IInputs, IOutputs> {
    private container: HTMLDivElement;
    private accountNameInput: HTMLInputElement;
    private accountNumberInput: HTMLInputElement;
    private fetchAccountButton: HTMLButtonElement;
    private resultContainer: HTMLDivElement;
    private context: ComponentFramework.Context<IInputs>;

    /**
     * Empty constructor.
     */
    constructor() {}

    /**
     * Initializes the control instance.
     */
    public init(
        context: ComponentFramework.Context<IInputs>,
        notifyOutputChanged: () => void,
        state: ComponentFramework.Dictionary,
        container: HTMLDivElement
    ): void {
        console.log("Initializing PCF control for Account CRUD operations.");
        this.context = context;
        this.container = container;

        // Initialize UI components
        this.initializeUIComponents();
    }

    /**
     * Called when any value in the property bag has changed.
     */
    public updateView(context: ComponentFramework.Context<IInputs>): void {}

    /**
     * Returns object[s] for property marked as "bound" or "output."
     */
    public getOutputs(): IOutputs {
        return {};
    }

    /**
     * Called when the control is to be removed from the DOM tree.
     */
    public destroy(): void {}

    /**
     * Initializes the UI components for the control.
     */
    private initializeUIComponents(): void {
        // Create input field for Account Name
        this.accountNameInput = this.createInputField("Enter Account Name");
        this.container.appendChild(this.accountNameInput);

        // Create input field for Account Number
        this.accountNumberInput = this.createInputField("Enter Account Number");
        this.container.appendChild(this.accountNumberInput);

        // Create a button for fetching account
        this.fetchAccountButton = this.createButton("Fetch Account", this.handleFetchAccount.bind(this));
        this.container.appendChild(this.fetchAccountButton);

        // Result container
        this.resultContainer = document.createElement("div");
        this.resultContainer.style.marginTop = "10px";
        this.container.appendChild(this.resultContainer);
    }

    /**
     * Creates an input field with the specified placeholder.
     * @param placeholder - The placeholder text for the input field.
     * @returns The created HTMLInputElement.
     */
    private createInputField(placeholder: string): HTMLInputElement {
        const input = document.createElement("input");
        input.type = "text";
        input.placeholder = placeholder;
        input.style.marginBottom = "10px";
        input.style.display = "block";
        return input;
    }

    /**
     * Creates a button with the specified label and click handler.
     * @param label - The text to display on the button.
     * @param onClickHandler - The function to call when the button is clicked.
     * @returns The created HTMLButtonElement.
     */
    private createButton(label: string, onClickHandler: () => void): HTMLButtonElement {
        const button = document.createElement("button");
        button.innerText = label;
        button.onclick = onClickHandler;
        button.style.marginBottom = "10px";
        console.log(`Button "${label}" initialized.`);
        return button;
    }

    /**
     * Handles fetching of the Account record based on user input.
     */
    private async handleFetchAccount(): Promise<void> {
        const accountName = this.accountNameInput.value.trim();
        const accountNumber = this.accountNumberInput.value.trim();

        // Validate inputs
        if (!accountName || !accountNumber) {
            this.resultContainer.innerHTML = "<p>Please provide both Account Name and Account Number.</p>";
            console.error("Validation failed: Account Name or Account Number is missing.");
            return;
        }

        console.log(`Fetching Account record for Name: ${accountName}, Number: ${accountNumber}...`);

        try {
            const result = await fetchAccountRecord(this.context.webAPI, accountName, accountNumber);

            if (result) {
                this.resultContainer.innerHTML = `
                    <h3>Account Found:</h3>
                    <p><strong>Name:</strong> ${result.name}</p>
                    <p><strong>Account Number:</strong> ${result.accountnumber}</p>
                    <p><strong>ID:</strong> ${result.accountid}</p>
                `;
                console.log("Account fetched successfully:", result);
            } else {
                this.resultContainer.innerHTML = "<p>No matching account found.</p>";
                console.log("No matching account found.");
            }
        } catch (error) {
            console.error("Error fetching account:", error);
            this.resultContainer.innerHTML = `<p>Error: ${error instanceof Error ? error.message : "Unknown error"}</p>`;
        }
    }
}

- At this point, you can build the project using the
npm run buildcommand and open the test harness with thenpm start watchcommand. However, please note that Dataverse Web API operations cannot be tested in the test harness.
- Let’s package the PCF control and import it into the Dataverse environment to test the fetch operation.
Packaging PCF control into a solution:
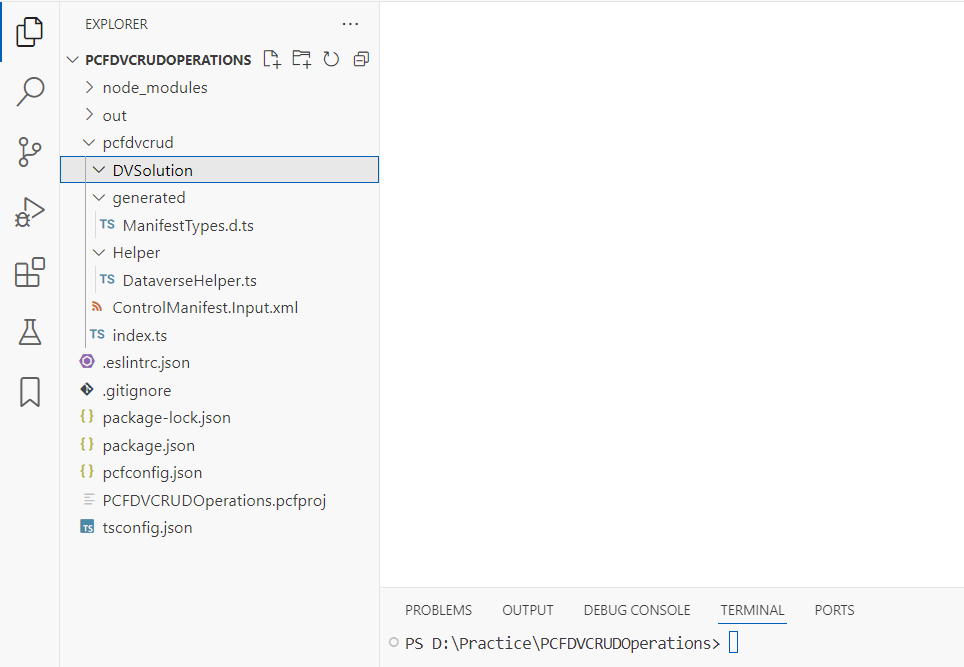
- Create a new folder named DVSolution, which will be used for PCF control packaging as a solution.
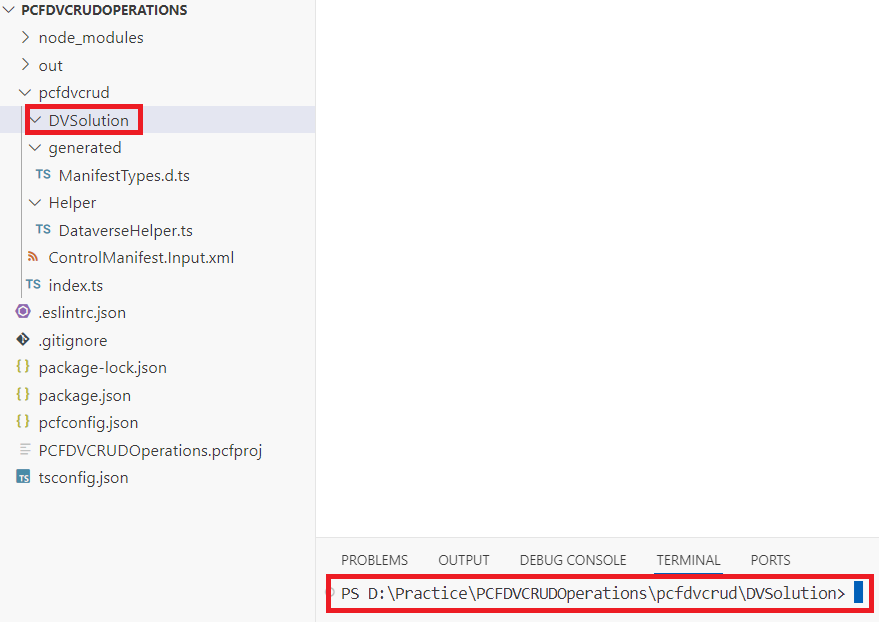
- Point the Terminal to DVSolution folder, as shown below.
- Run the
pac solution initcommand to create a shell (empty) solution folder, which includes a file with the.cdsprojextension.
pac solution init -pn "rajeev" -pp "raj" -o "D:\Practice\PCFDVCRUDOperations\pcfdvcrud\DVSolution"

- Open the
.cdsprojfile and make the following change. This setting will generate both Managed and Unmanaged solutions for deploying the PCF component.
  <PropertyGroup>
    <SolutionPackageType>Both</SolutionPackageType>
    <SolutionPackageEnableLocalization>false</SolutionPackageEnableLocalization>
  </PropertyGroup>

- Add the PCF project to the shell solution by using pac solution add-reference command.
pac solution add-reference -p "D:\Practice\PCFDVCRUDOperations\PCFDVCRUDOperations.pcfproj"
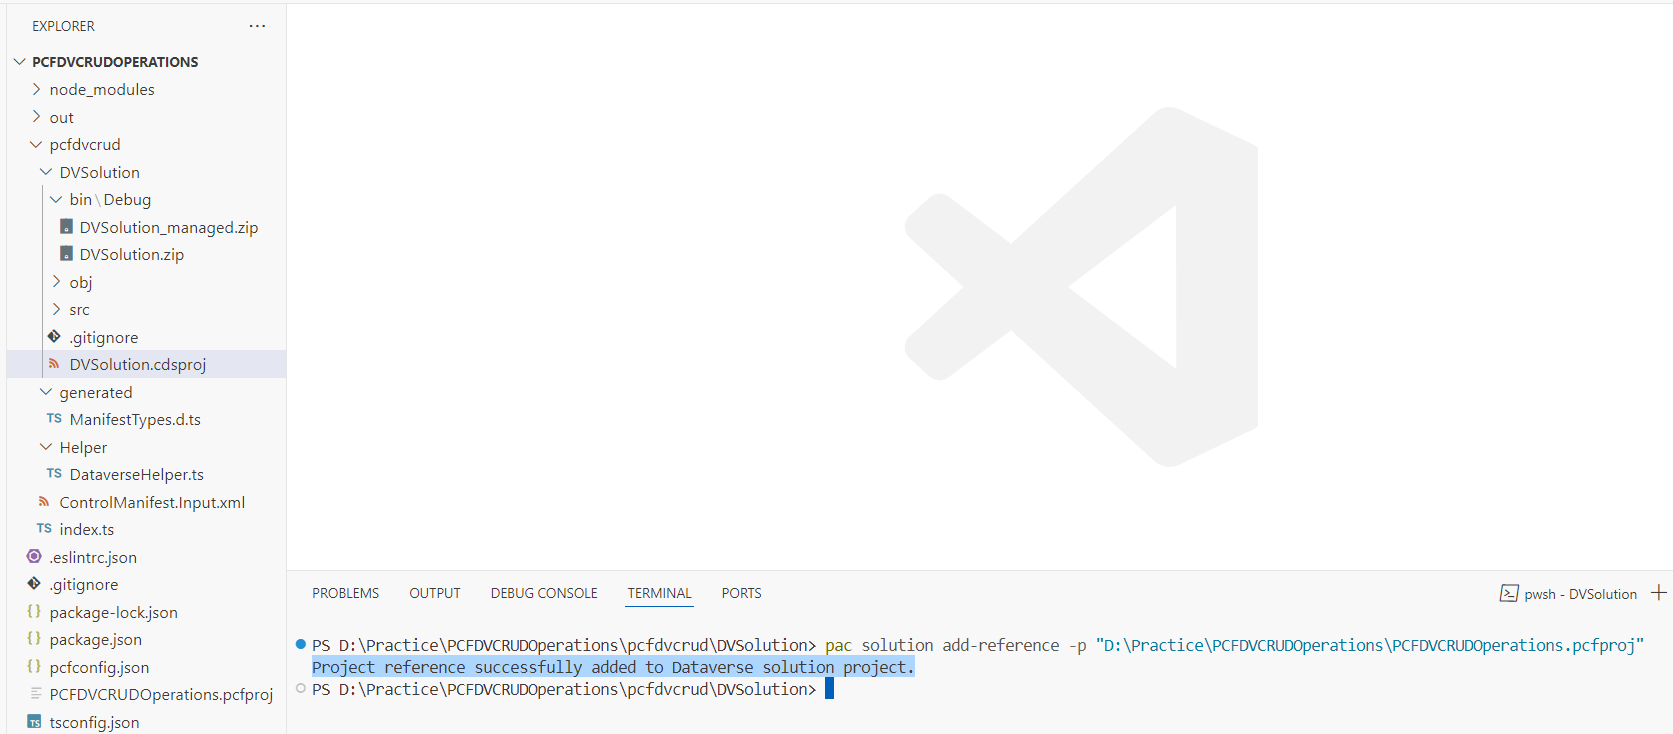
- The PCF packaging into the solution is complete. Run the dotnet build command, which generates both Managed and Unmanaged solutions under the
bin\Debugfolder.

- The solution is ready. Now, we need to import it into the desired environment.
Deploying PCF control to an Environment:
- Open the PowerApps maker portal, select the desired environment, and import the solution.
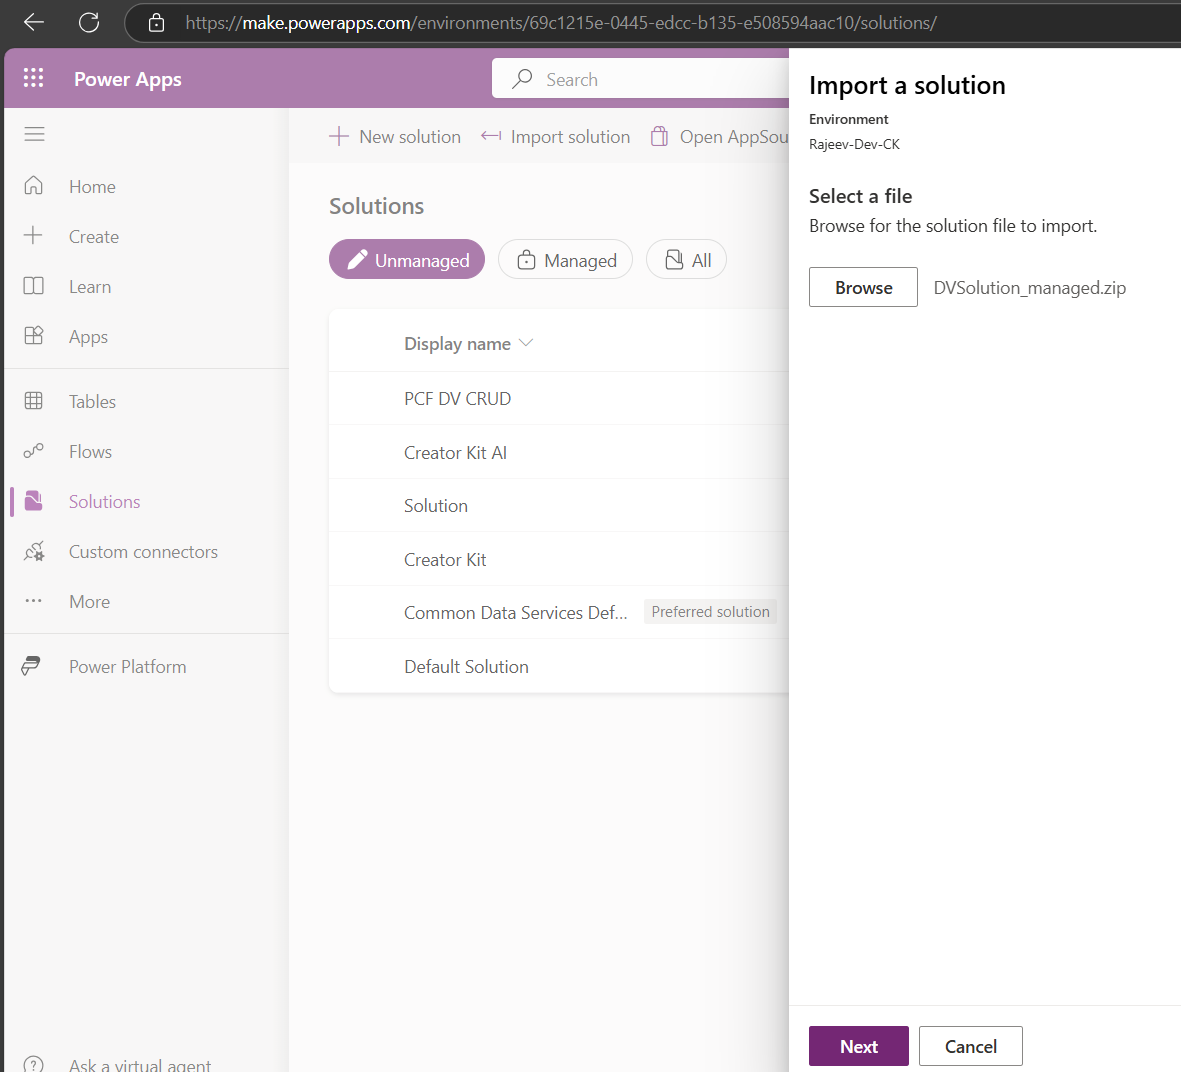
- Wait for the solution to import successfully.

- With this, we have successfully built and deployed the PCF project. Now, it’s time to host the PCF control and test it.
Creating a Custom Page with PCF control:
For this blog, I am using a Custom Page to host the PCF control.
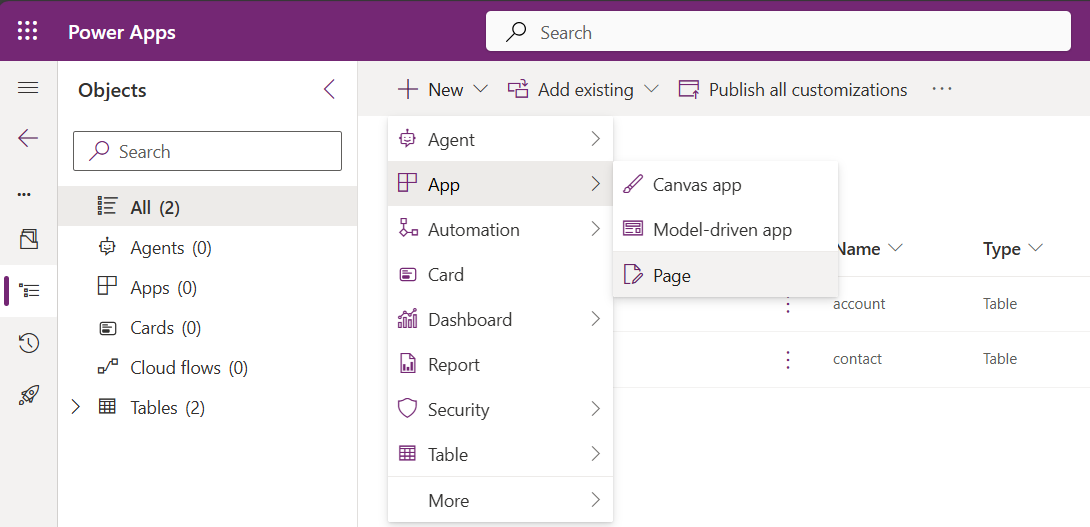
- Create or open an unmanaged solution. From the menu, choose New > App > Page
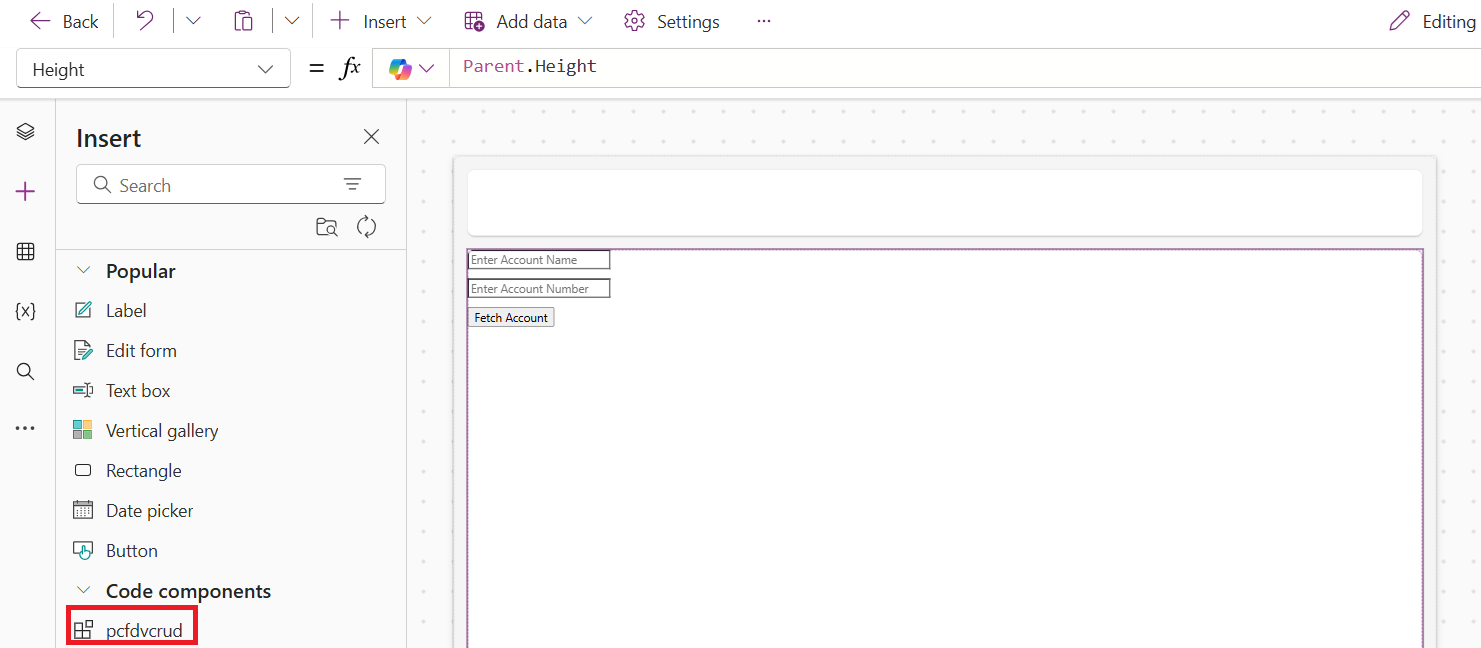
- In the Custom Page, add the PCF control as shown below.
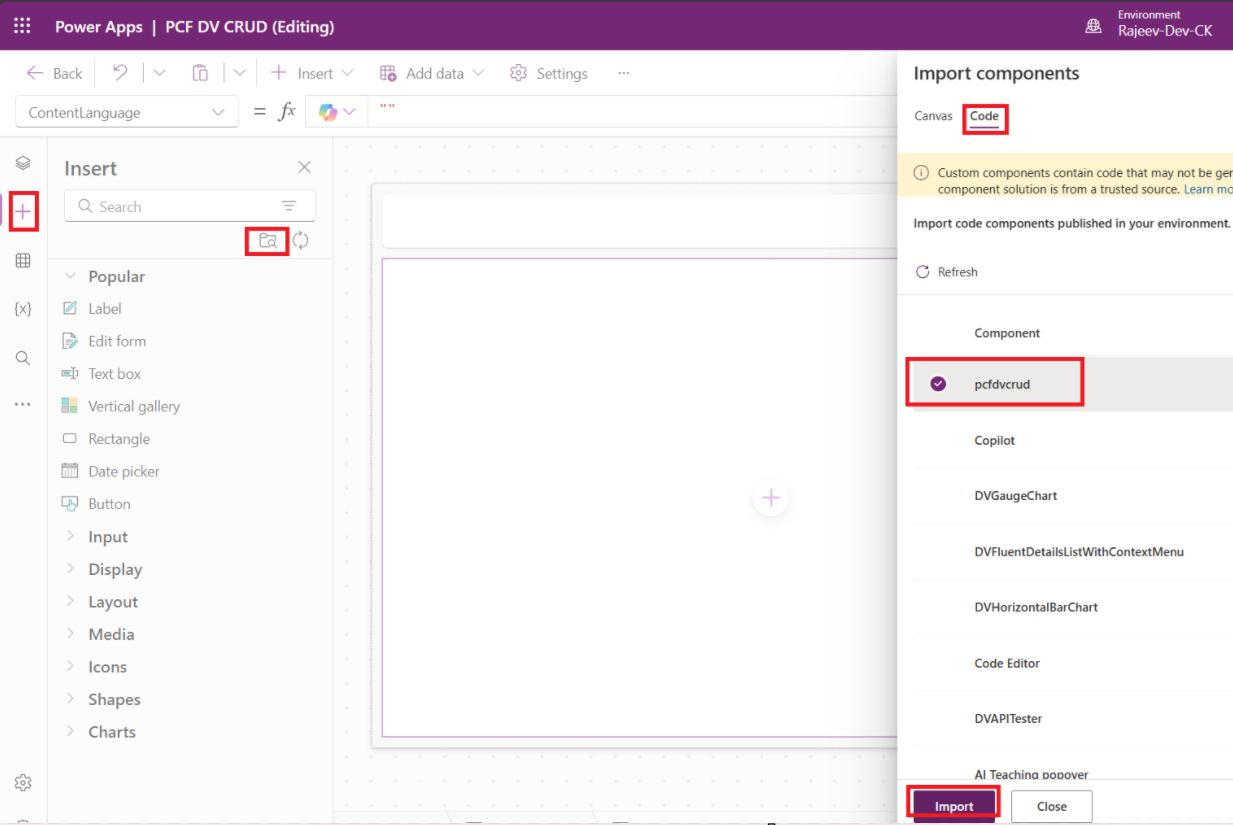
- Next add the PCF control (i.e., Code Component) to the screen.
- We can’t directly test the PCF control in a Custom Page. To test it, we need to add the Custom Page to a Model-Driven App.
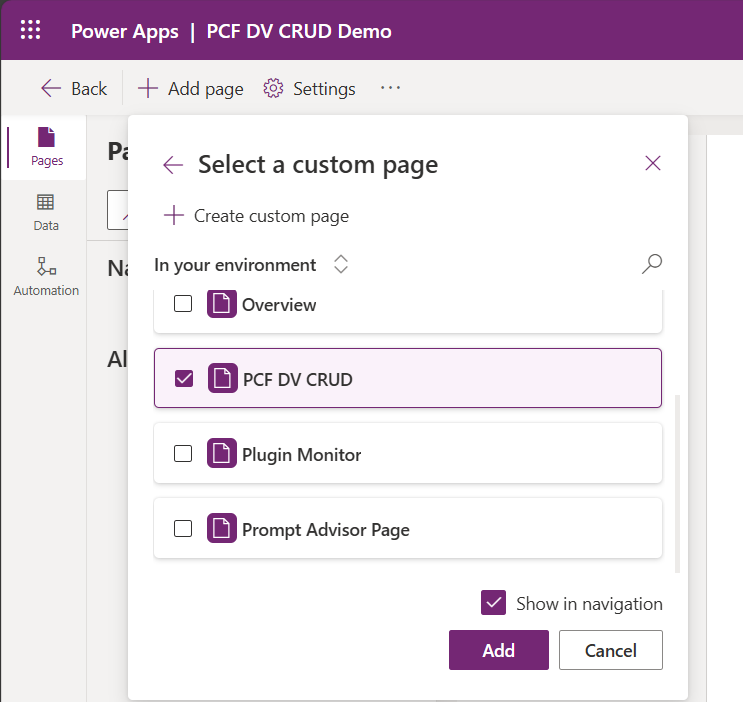
- From the solution, choose New > App > Model-driven app

- Provide a Name to the App and click Create.

- Choose Add Page > Custom Page
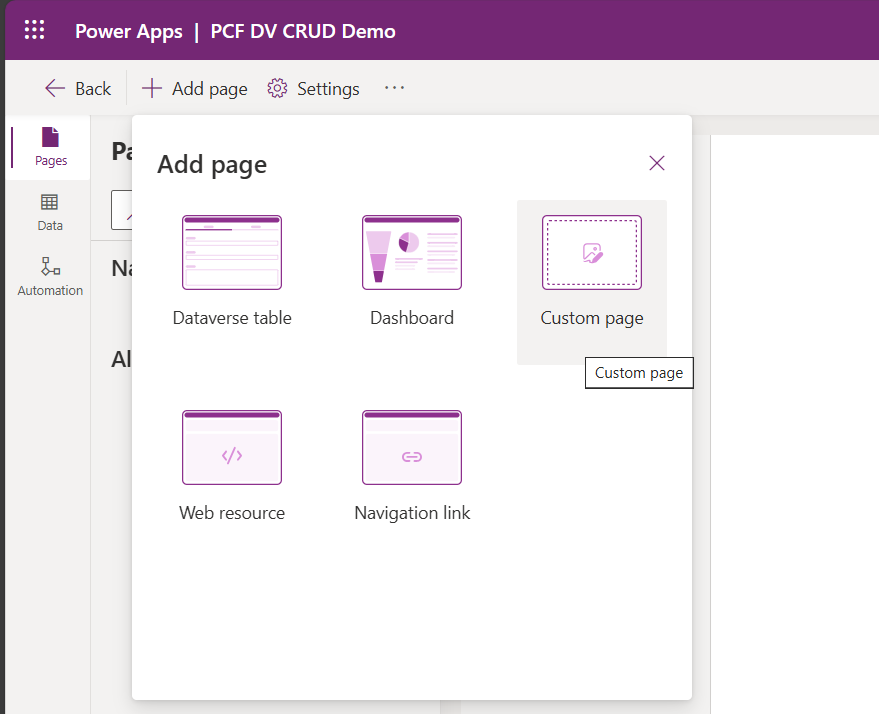
- Select the Custom Page we created in previous step. Click Add
- Custom Page looks as below
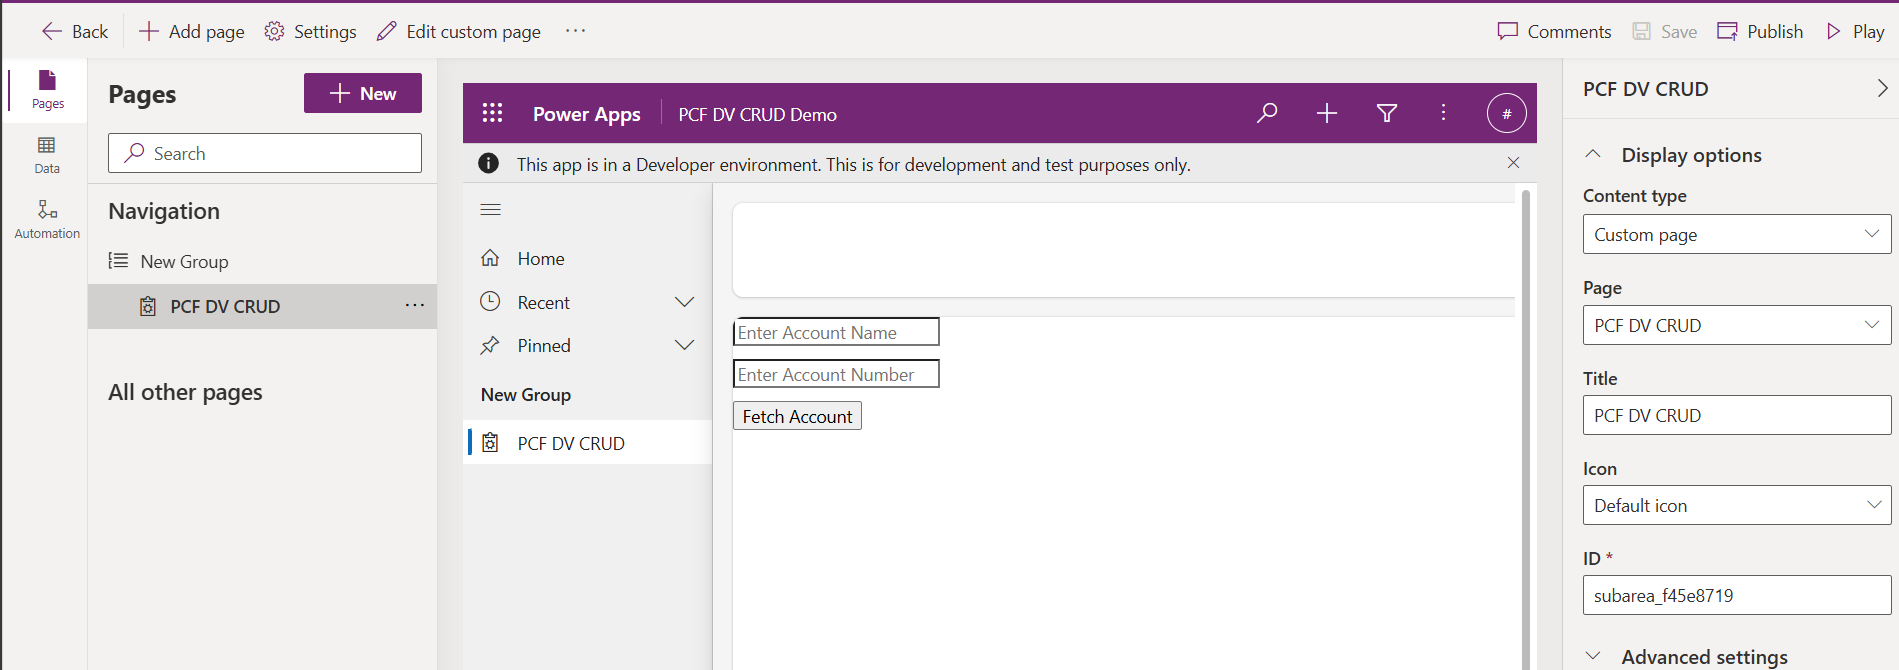
- Play the Model-Driven App. Enter the Name and Account Number, then click on Fetch Account. You should see the matched record.

Hope you now understand the basics of packaging a PCF control and hosting it on a Custom Page.
🙂


Leave a reply to [Code Snippet] PCF | Calling Dataverse ‘Custom API’ | Rajeev Pentyala – Microsoft Power Platform Cancel reply