Before Dynamics 365, to edit the Sitemap we had to rely on 3rd party solution like ‘XRM Tool Box’ Site Map Editor, Visual Sitemap Editor.
With advent of Dynamics 365, a native ‘Sitemap Designer’ has been shipped with product and its very simple to use.
To edit the sitemap
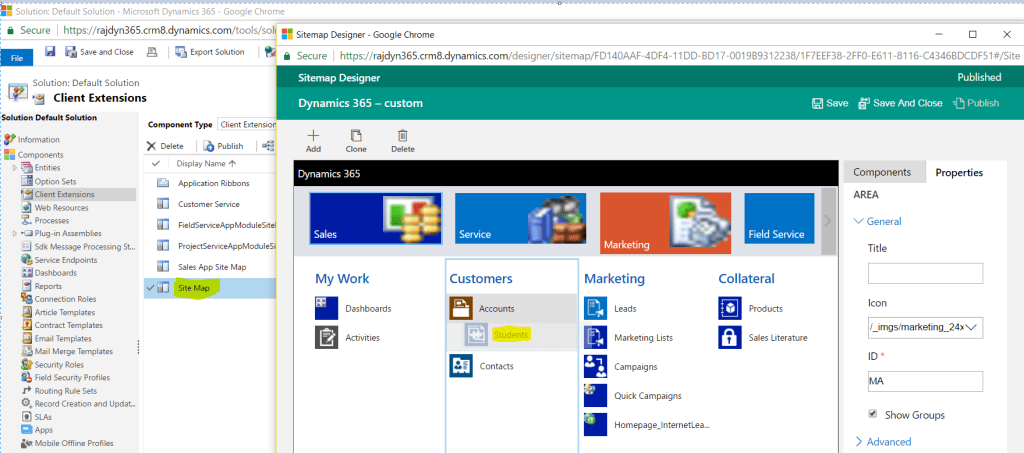
- Open ‘Default Solution -> Client Extensions’
- You would get all the available Sitemaps listed (If you subscribed to Field Service, Project Service etc, you would see additional sitemaps)
- For this article, I am going to edit the default ‘Site Map’, so double click on ‘Site Map’
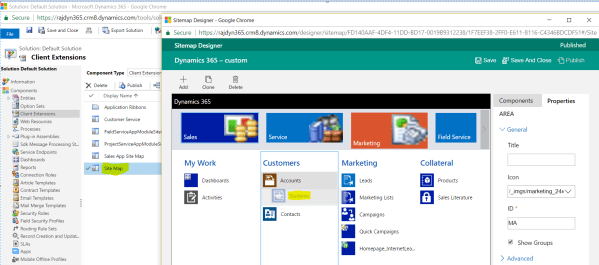
- It would open ‘Sitemap Designer’
- To rearrange the ‘Sub Areas’ (i.e., Entity/Component icons) you just need to drag and drop
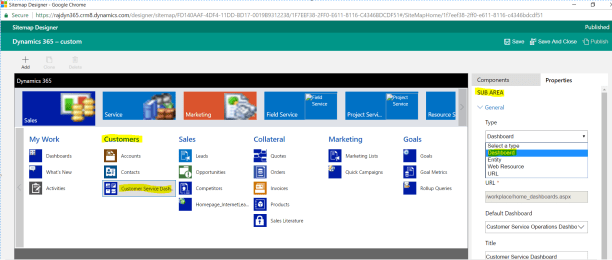
Add new Sub Area to Sitemap:
Let me add an Icon (i.e., Sub Area) to open ‘Dashboards’ with default as the ‘Customer Service Operation Dashboard’ under ‘Customers’ group
- Select the ‘Customers’ group and from the ‘Components’ tab, drag and drop ‘Sub Area’
- Set the ‘Type’ as ‘Dashboard’, ‘Default Dashboard’ as ‘Customer Service Operation Dashboard’ and Title
- Save and Publish.
Hide/Show Sub Area using ‘Privileges’:
Sometimes we get a requirement to show/hide Sitemap icons based on User’s Security Role.
- Select the Sub Area
- Expand the ‘Advanced -> Privileges -> Entity’
- Choose the entity (i.e., I set the Entity as ‘Site map permission’ which is a custom entity)
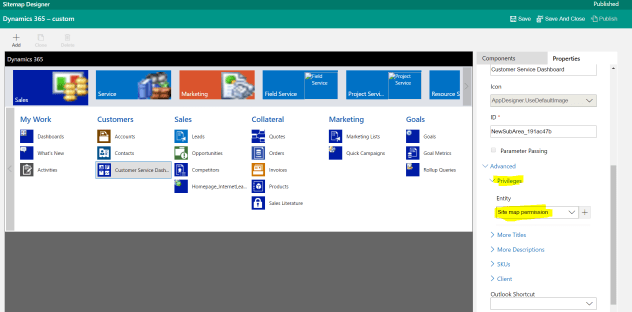
- Only users having ‘Security Role’ with Read privilege on the ‘Site map permission’ entity can see the icon
We can also set localization labels, Clients (i.e., Web or Outlook or Mobile) where the Sub Area should be available to.
🙂


Leave a comment