If you’re looking for free AI models to test your app ideas, OpenRouter is a great option. It’s a unified gateway to 100+ AI models — and the best part is, several models are completely free.
In this post, I’ll walk you through signing up, picking a free NVIDIA model, and building a simple React chat application to talk to it.
What is OpenRouter?
- OpenRouter is a unified AI gateway — one API that gives you access to 100+ AI models (OpenAI, Google, Anthropic, NVIDIA, Meta, and more)
- You get a single API key that works with all models — no need to sign up with each provider separately
- It offers free models so you can learn and experiment without a credit card
Why OpenRouter?
I wanted to build a simple AI chat app for learning purposes. Instead of signing up with individual AI providers (each with their own billing, API formats, and key management), OpenRouter let me access a free NVIDIA model using just one key and one REST endpoint.
Prerequisites
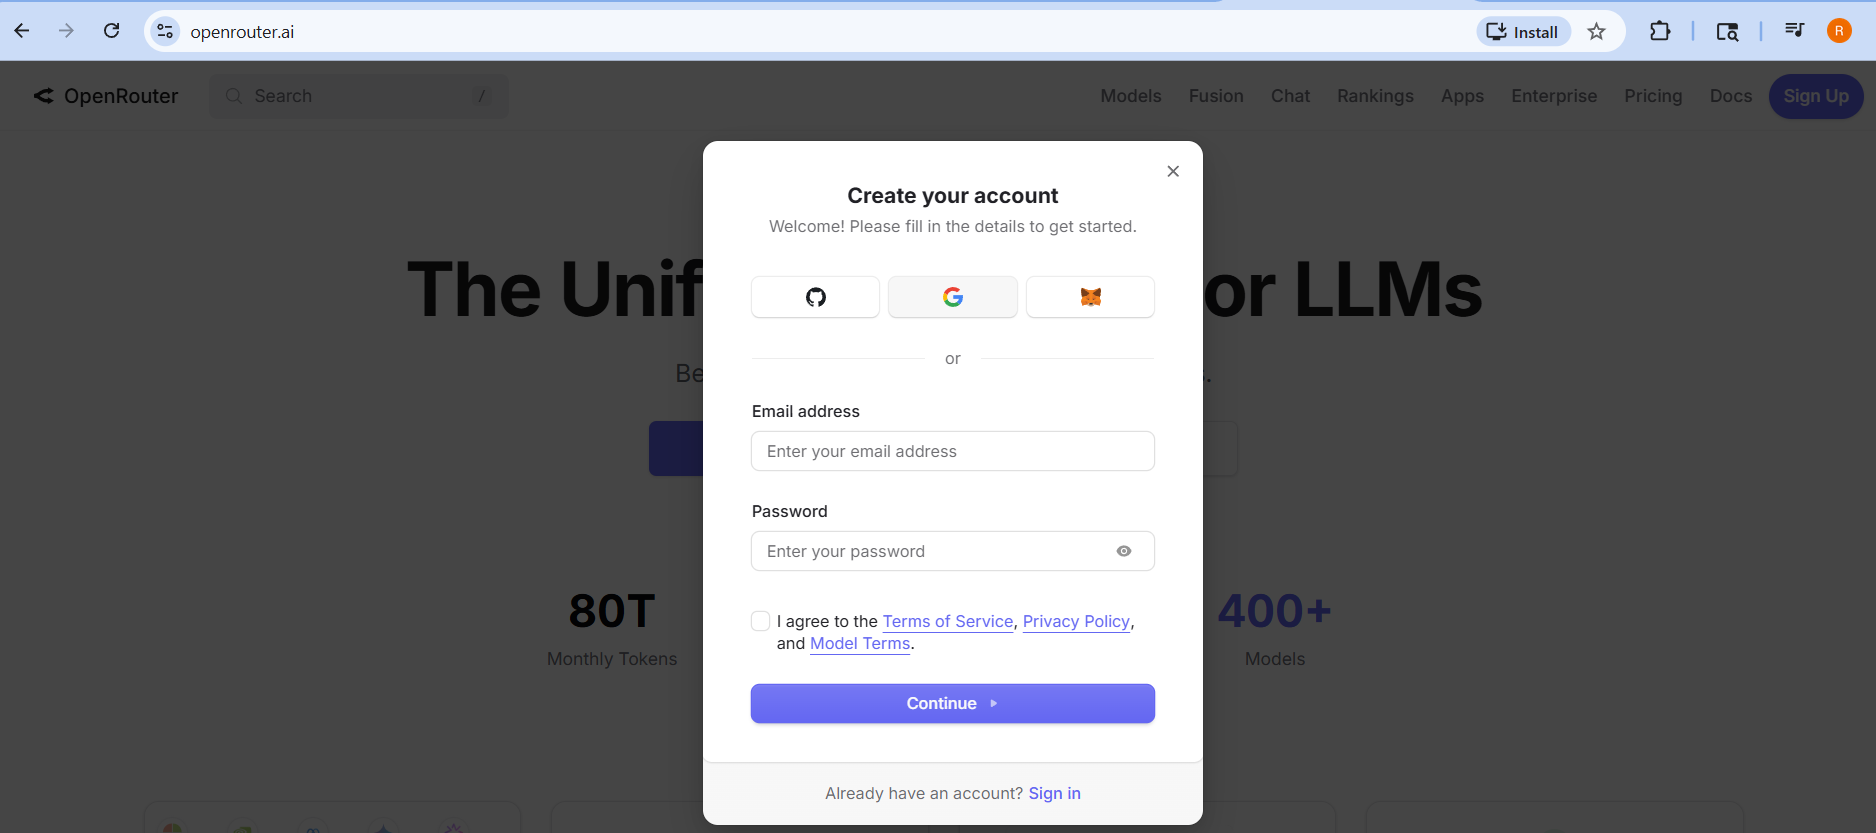
- An account to sign up for OpenRouter (supports Google, GitHub, MetaMask, or email — I chose Google)
- Node.js v18 or later installed on your machine
- A code editor (I used VS Code)
Sign Up for OpenRouter
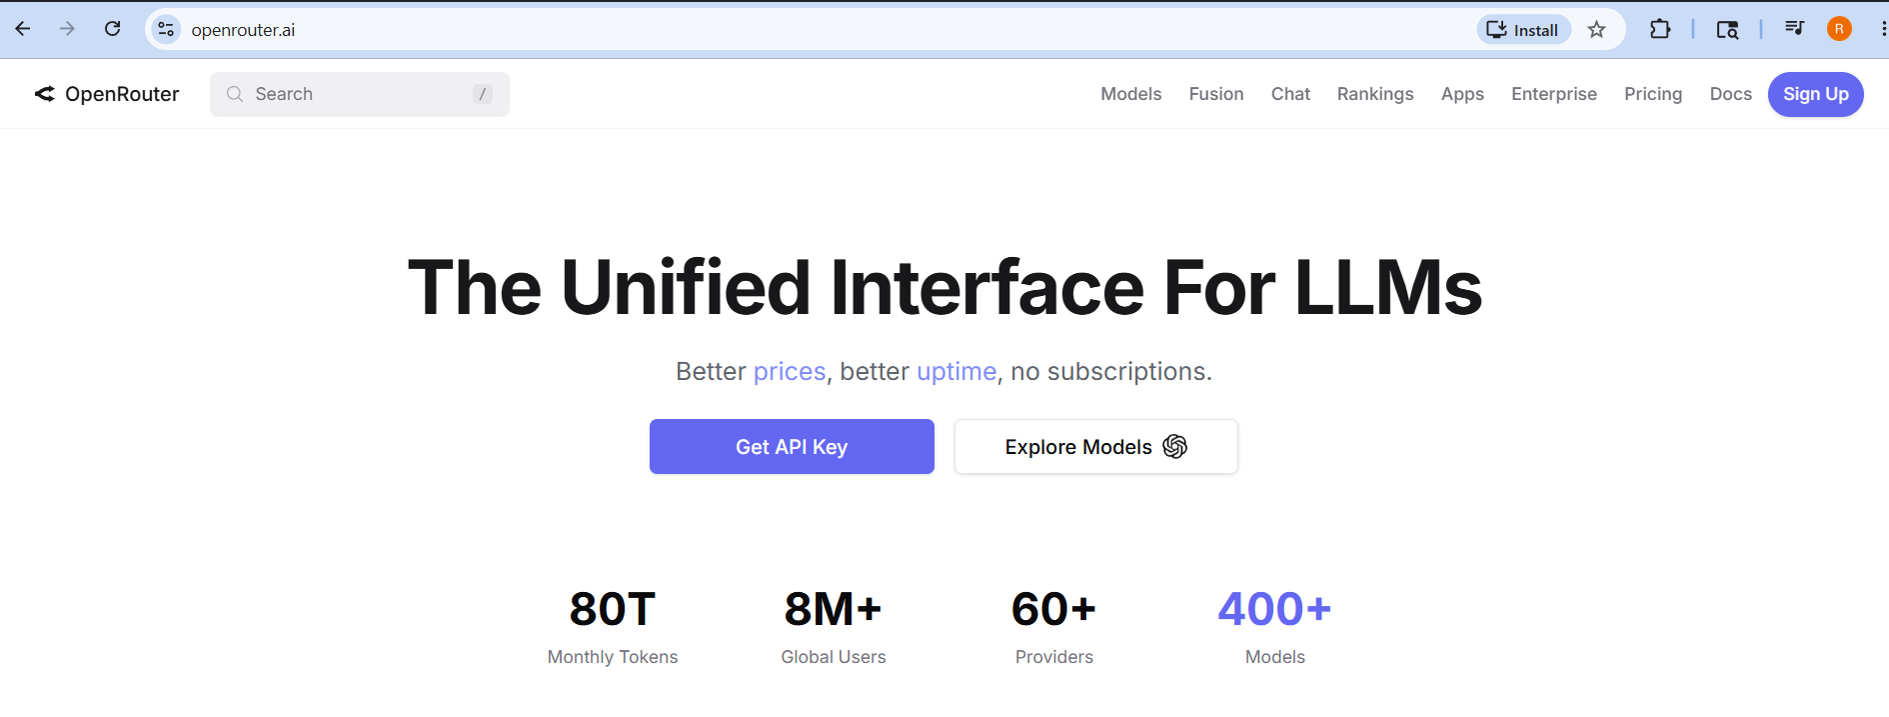
Let’s start by creating an OpenRouter account. I navigated to openrouter.ai and clicked Sign Up.
I chose to sign up with my Google account.
Generate Your API Key
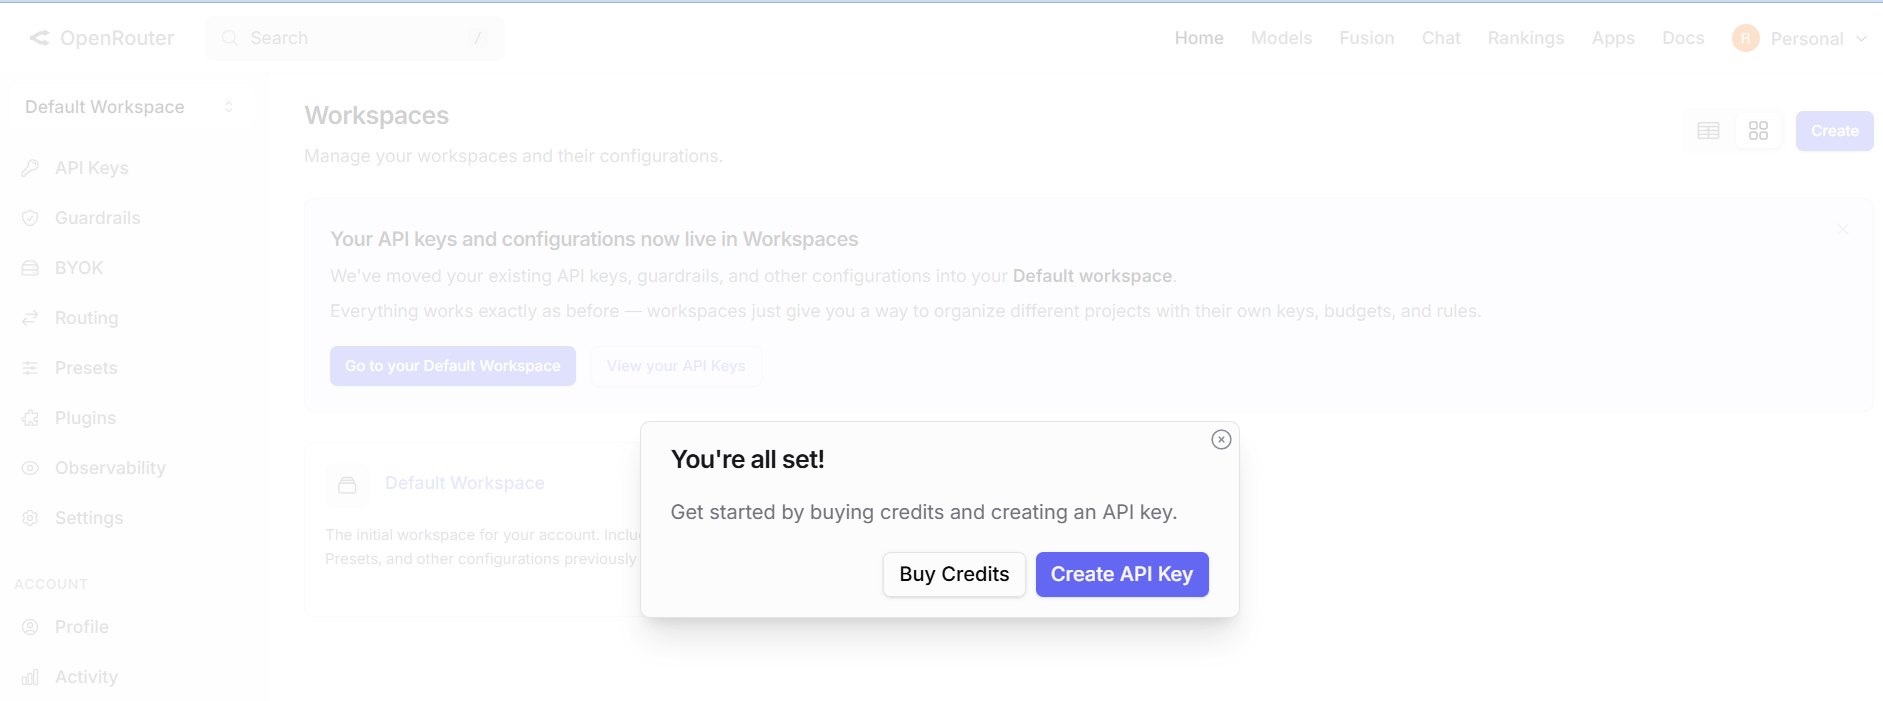
After signing in, I navigated to the API Keys section from the left menu. I clicked “Create Key” to generate my first API key.
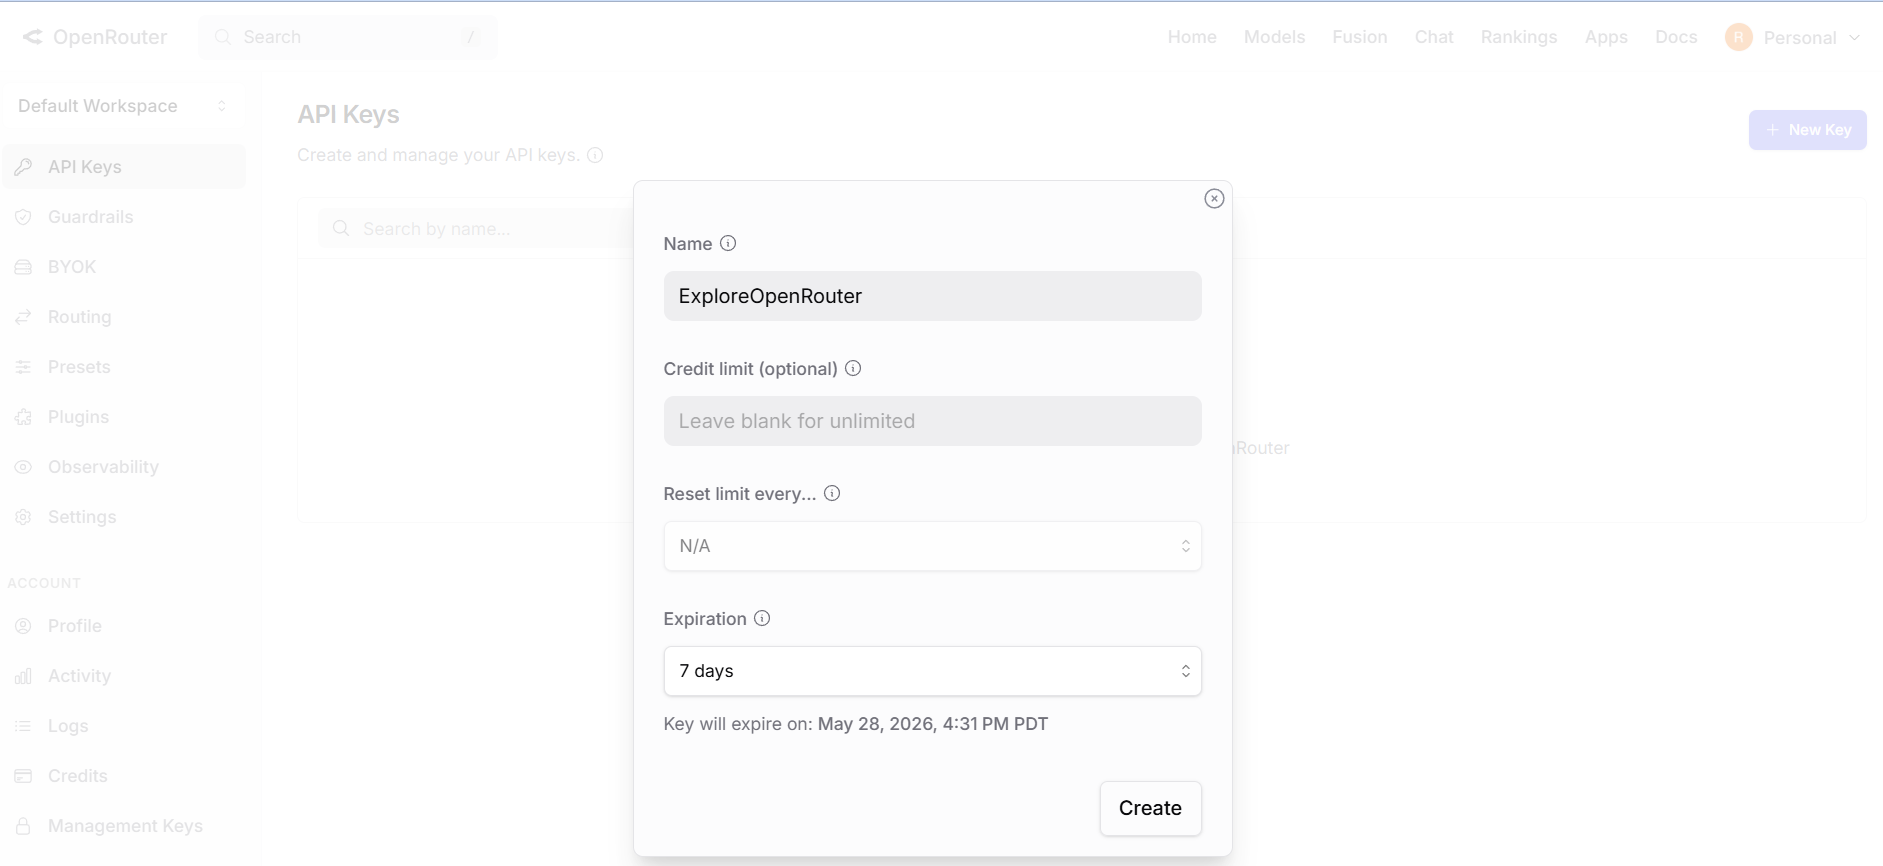
I gave it a meaningful name (“ExploreOpenRouter”) and set an expiration. You can also restrict the key to specific models or credit limits — I kept it simple with defaults for now.
Once created, the key appeared on screen. I copied and saved it somewhere safe — you can only see the full key once!
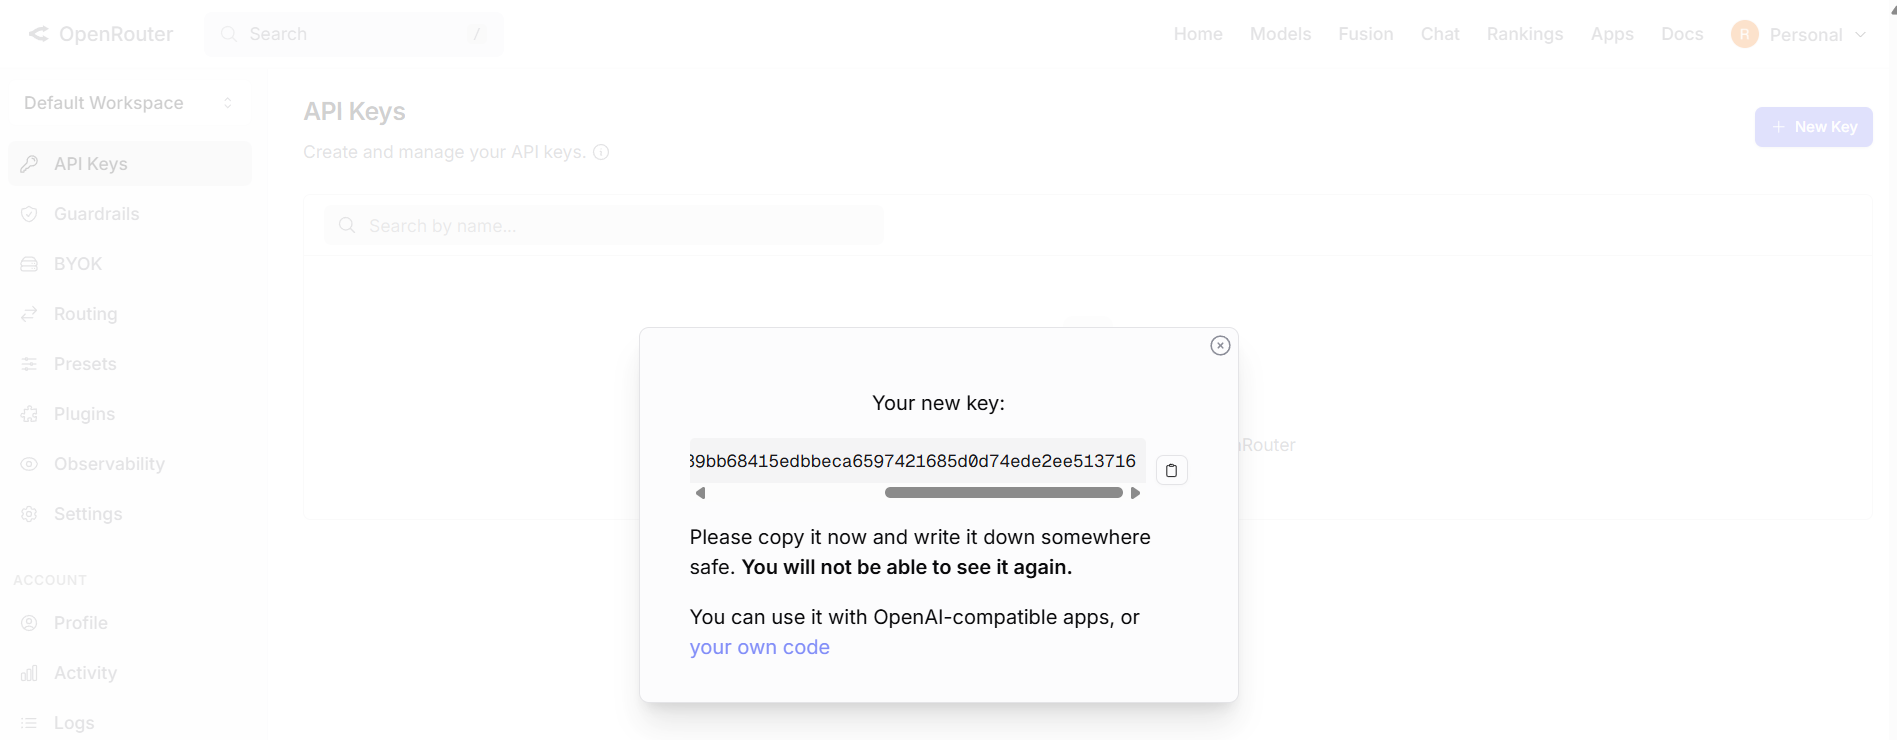
Important: This single API key works with ALL models on OpenRouter. You don’t need a separate key per model. The “Generate API Key” button you see on individual model pages is just a convenience shortcut — it takes you to the same key creation page.
Now let’s explore the available models and pick a free one to use in our app.
Pick a Free Model
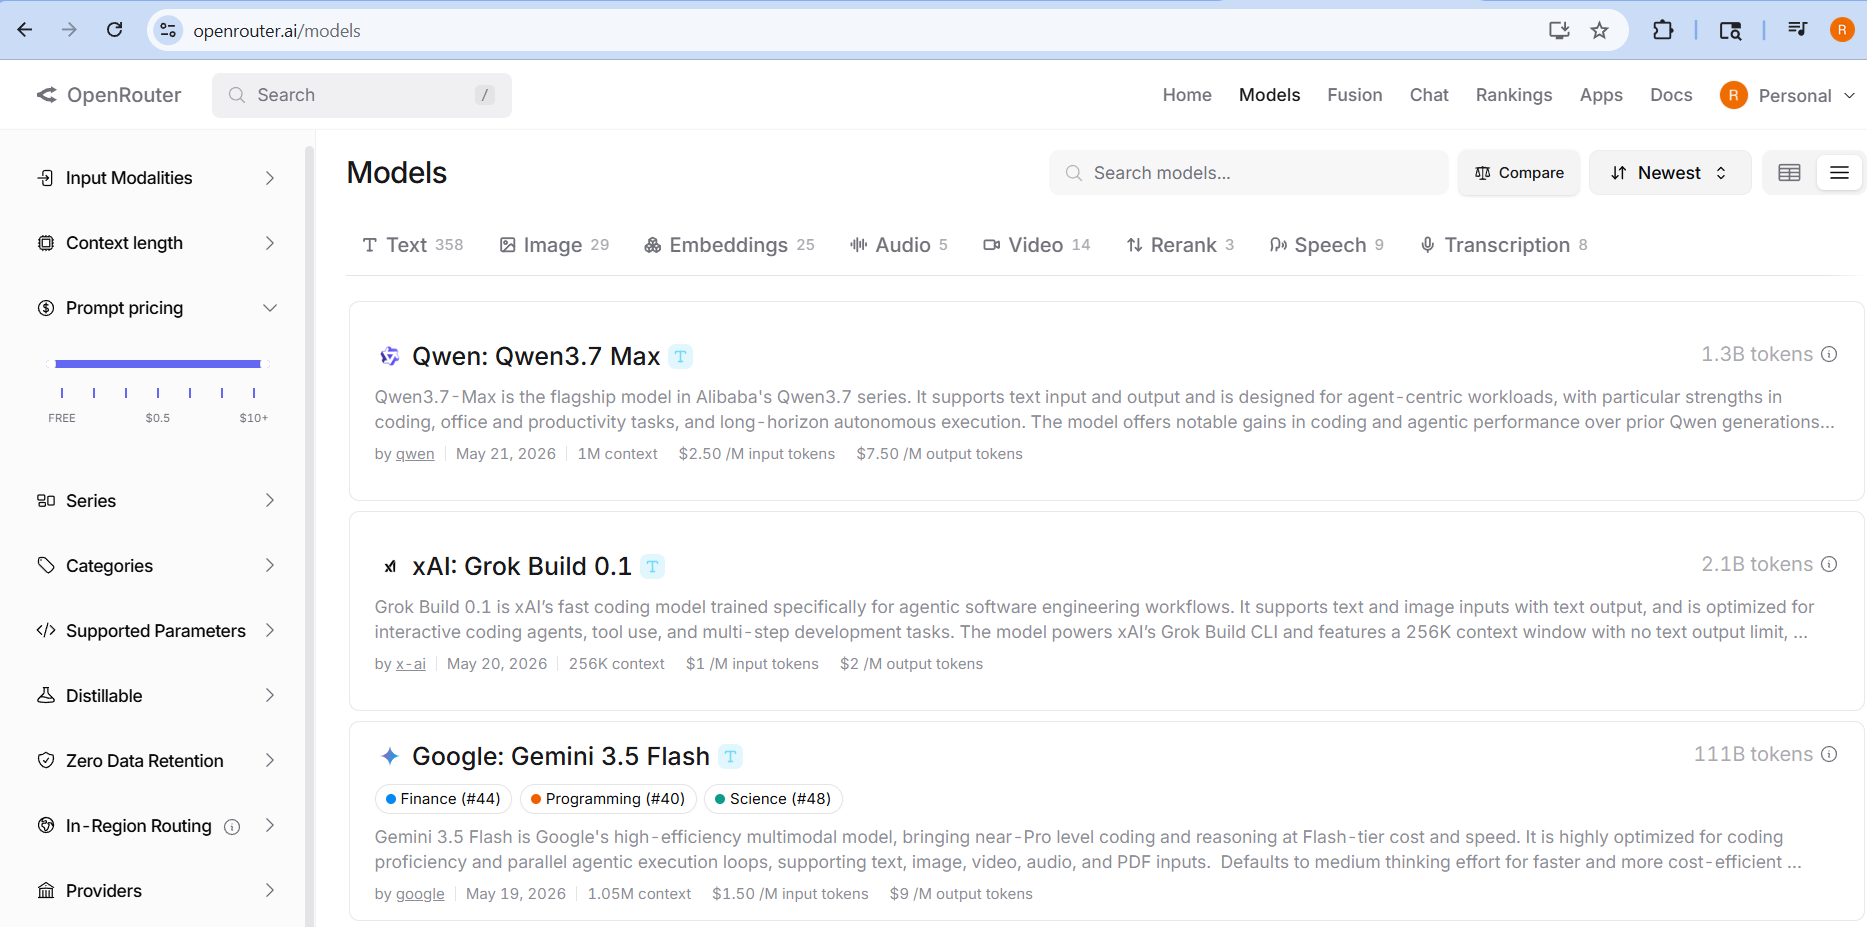
I clicked on “Models” in the top navigation to browse the model catalogue. OpenRouter lists hundreds of models from various providers.
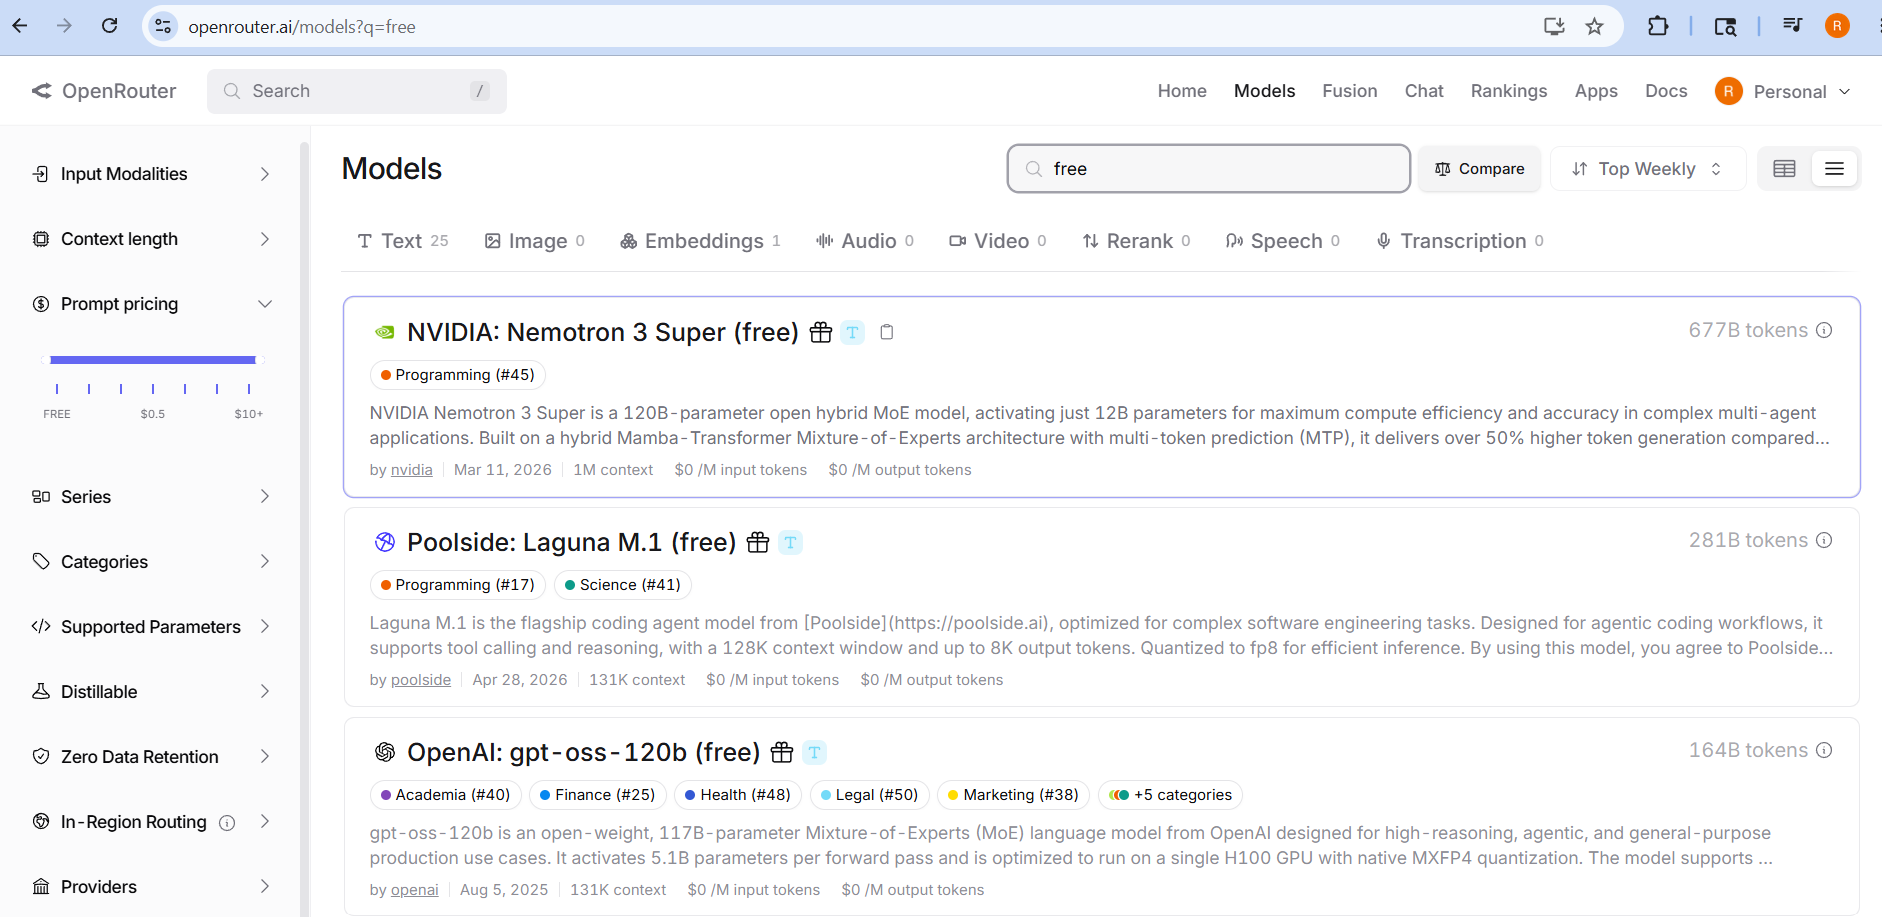
I filtered by free models and found NVIDIA: Nemotron 3 Super — a powerful 120B parameter model with a 1 million token context window, completely free to use.
Note: Free models log your prompts and outputs to help improve the provider’s model. Don’t send personal or confidential data through free tier models.
Let’s test it in the Playground before writing any code.
Test the Model in the Playground
- I clicked into the NVIDIA model page and used the built-in Playground to send a test message.
- The model responded correctly and I could see the usage stats (requests, tokens consumed).
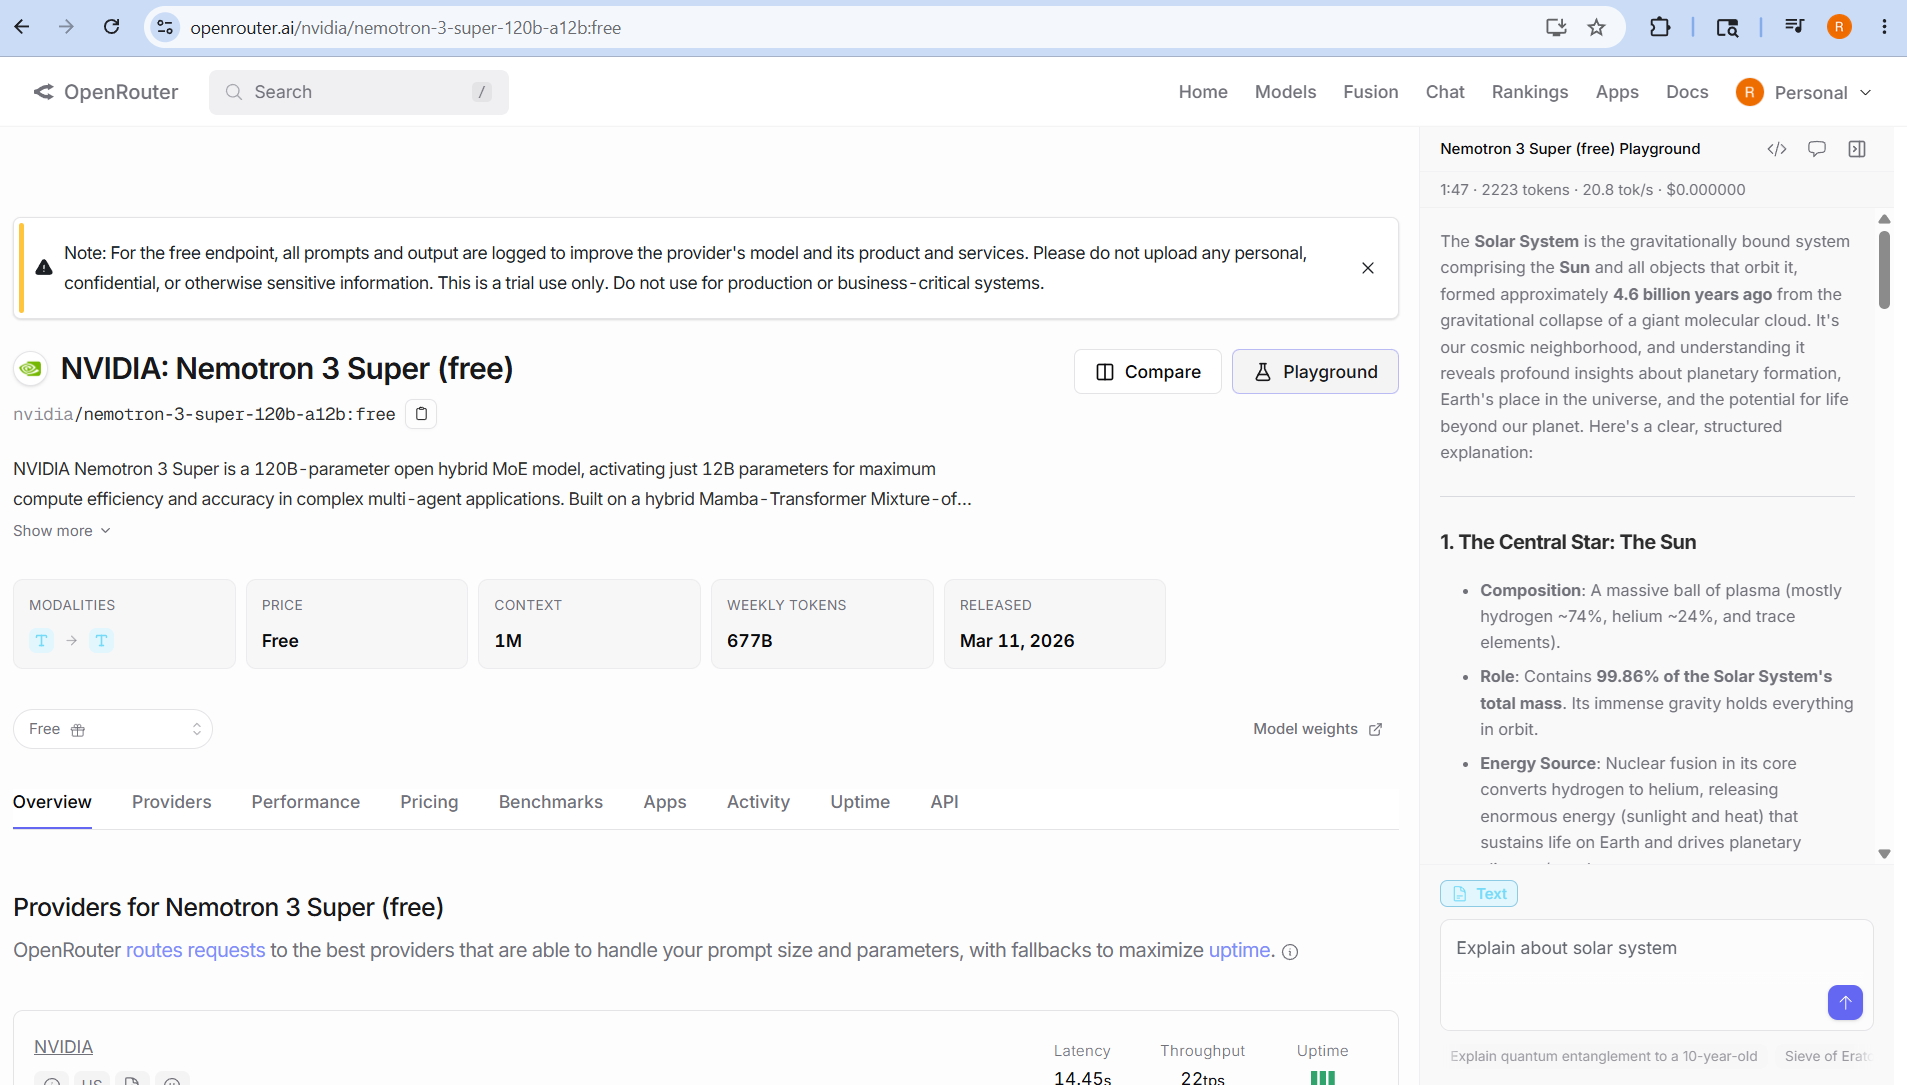
- Copy the model ID:
nvidia/nemotron-3-super-120b-a12b:free— we’ll need this in our React code.
Now let’s look at what the API expects before we build the app.
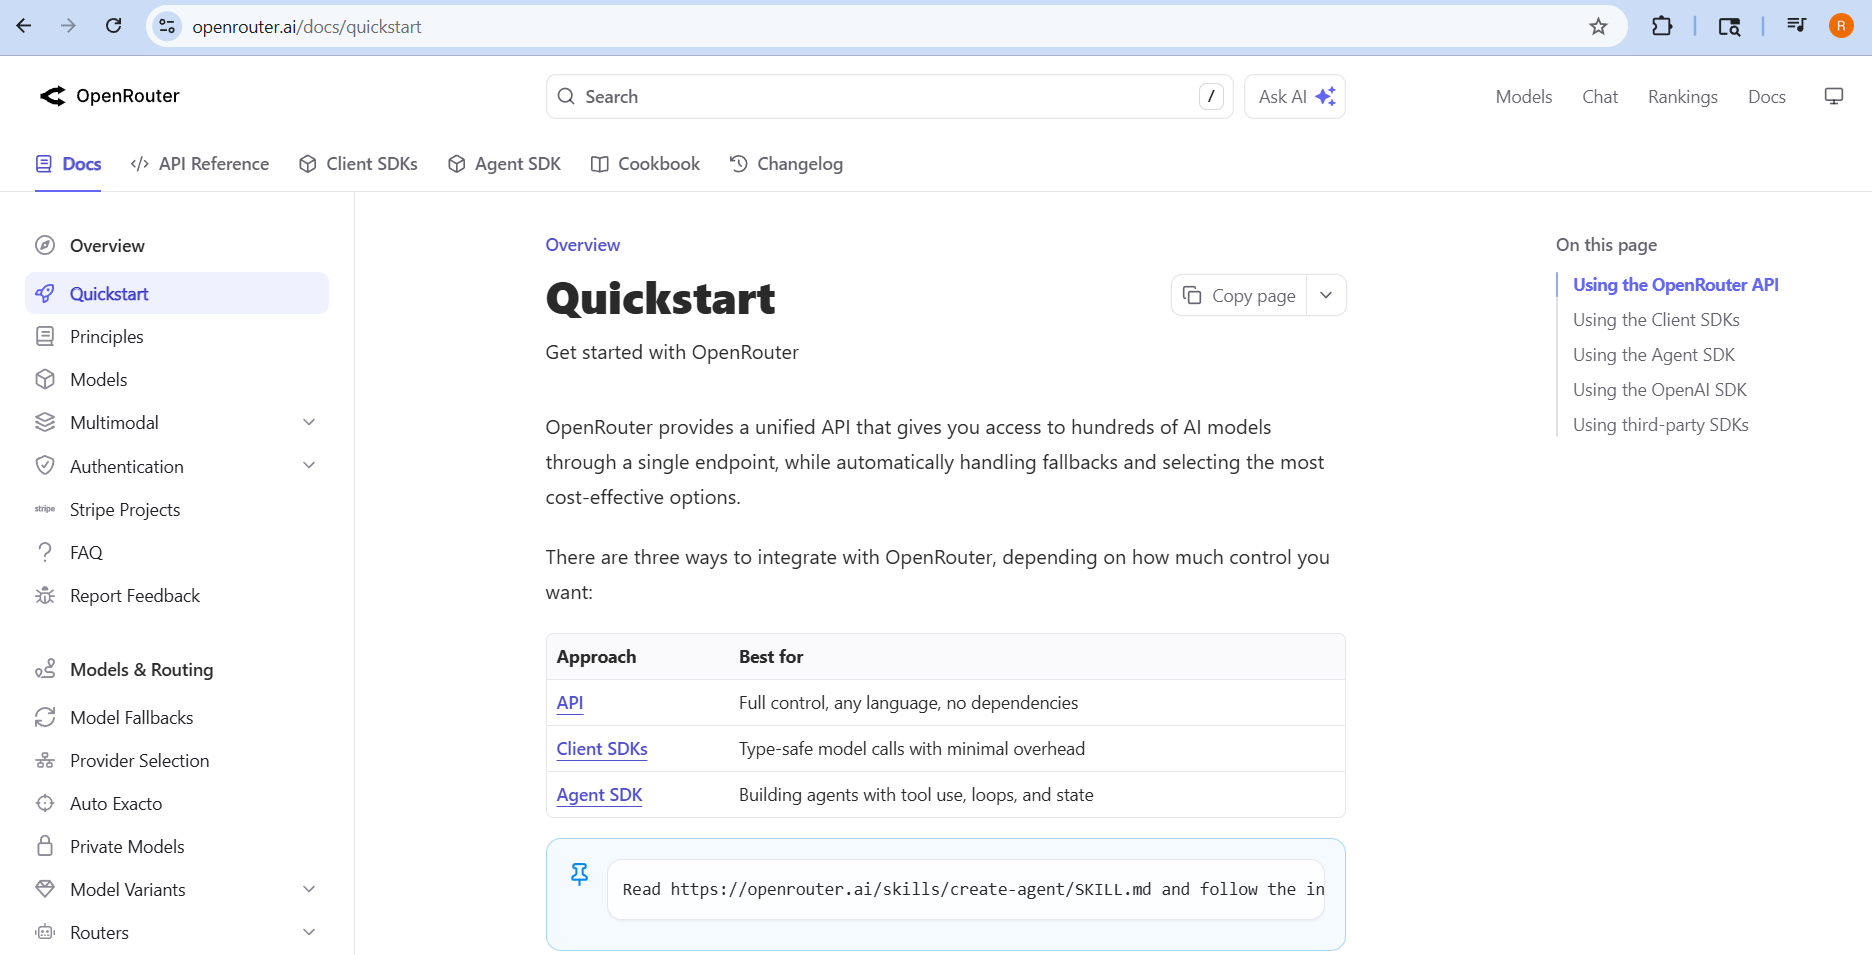
Understand the API
I checked the OpenRouter documentation to understand the request format. It’s straightforward — a simple POST request to their chat completions endpoint.
Here’s what you need to know:
| Setting | Value |
|---|---|
| Endpoint | https://openrouter.ai/api/v1/chat/completions |
| Method | POST |
| Auth Header | Authorization: Bearer YOUR_API_KEY |
| Model Parameter | nvidia/nemotron-3-super-120b-a12b:free |
The API is OpenAI-compatible, meaning it follows the same request/response format as OpenAI’s Chat Completions API. We just point it at OpenRouter’s URL instead.
Now let’s build the React app that talks to this API.
Create the React Project
I used Vite to scaffold a new React project. Open your terminal and run:
npm create vite@latest openrouter-chat -- --template reactcd openrouter-chatnpm install
This creates a clean React project with minimal boilerplate.
Set Up Environment Variables
I created a .env file in the project root to store my API key securely:
VITE_OPENROUTER_API_KEY=sk-or-v1-your-key-here
Important: Make sure
.envis listed in your.gitignoreso you never accidentally push your API key to GitHub.
Now let’s write the chat component that talks to OpenRouter.
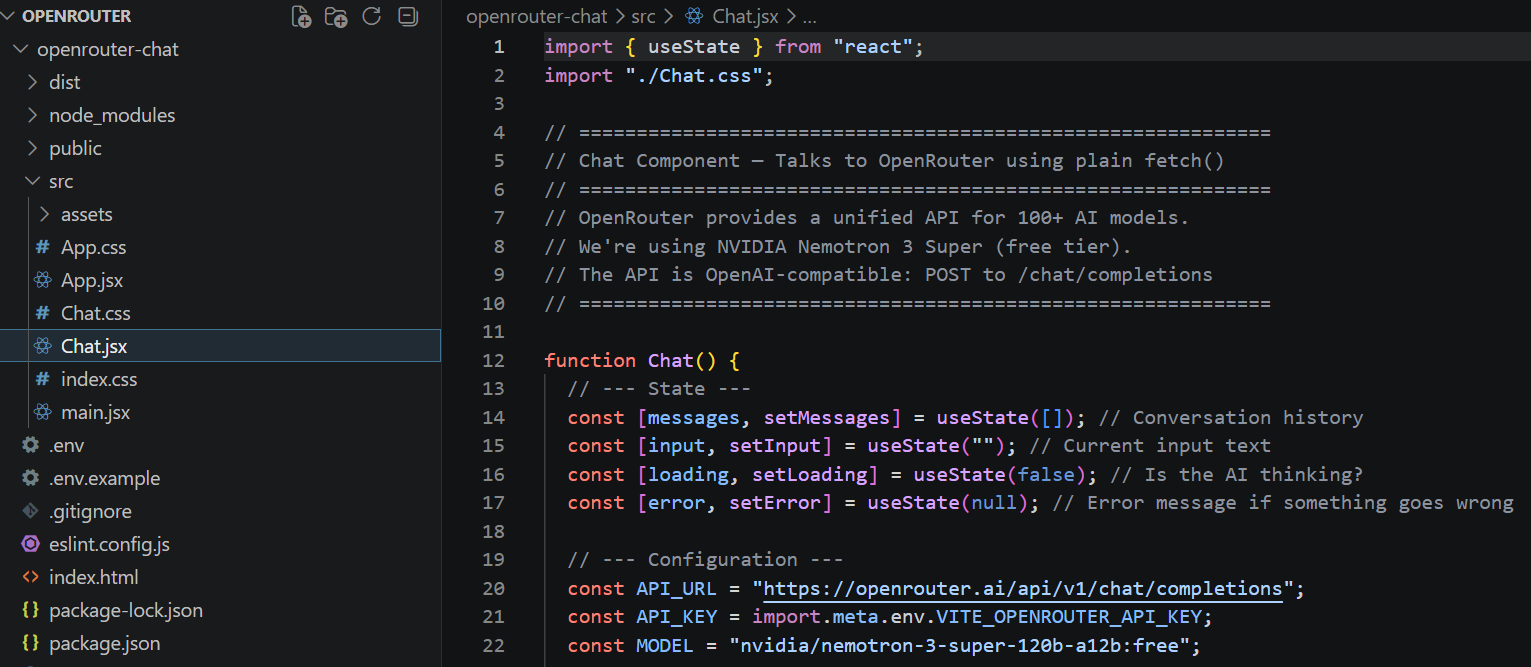
Build the Chat Component
The entire chat application lives in a single file — src/Chat.jsx. I kept everything in one place intentionally so it’s easy to understand the complete flow.
Here’s what the component does:
- Maintains conversation history using React’s
useState - Sends messages to OpenRouter using plain
fetch()— no extra libraries needed - Displays the AI’s responses in chat bubbles
- Shows a loading state while the AI is thinking
- Handles errors gracefully
Let me highlight the key parts of the code:
Configuration
const API_URL = "https://openrouter.ai/api/v1/chat/completions";const API_KEY = import.meta.env.VITE_OPENROUTER_API_KEY;const MODEL = "nvidia/nemotron-3-super-120b-a12b:free";
- We explicitly pass the NVIDIA model ID in our code. This tells OpenRouter exactly which model to use.
- OpenRouter also offers an “Auto Router” feature (
model: "openrouter/auto") that automatically picks the best model for each request — but for learning purposes, we hardcode our free model so we know exactly what’s running and avoid unexpected costs.
Now let’s see the app in action.
Run and Test the App
I started the development server with:
npm run dev
Then I opened http://localhost:5173 in my browser and typed a question and hit Send — the AI responded!
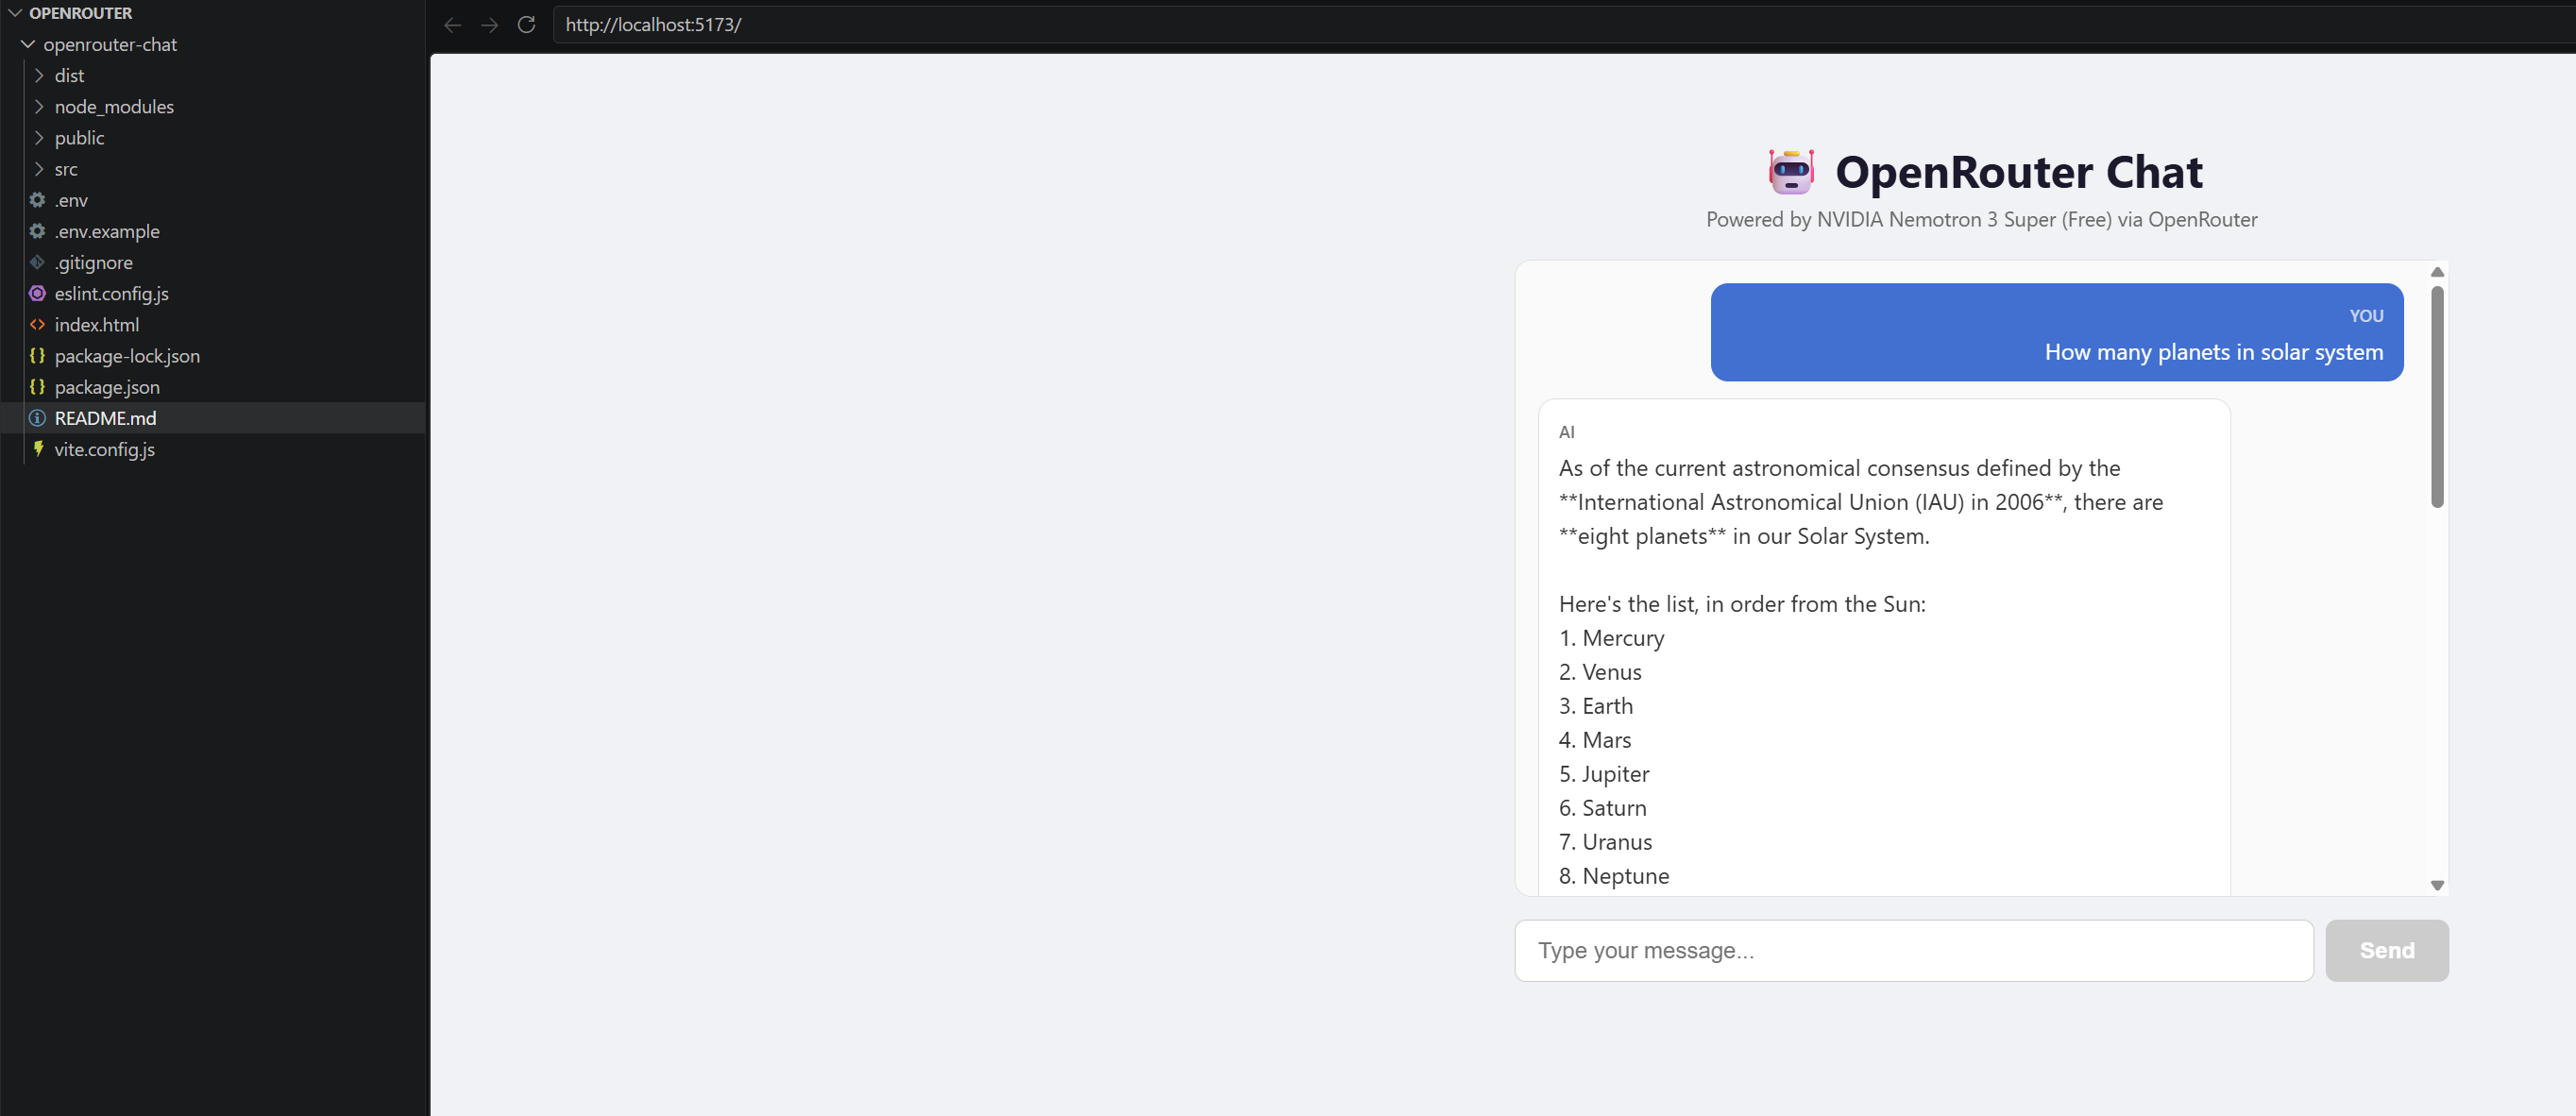
The app successfully:
- Sends my message to the NVIDIA model via OpenRouter
- Displays the AI’s response in a clean chat bubble
- Maintains conversation history for follow-up questions
Now let’s verify our usage on the OpenRouter dashboard.
Monitor Your Usage
After testing the chat app, I went back to my OpenRouter Default Workspace to check the usage stats. The dashboard clearly shows the number of requests made and tokens consumed — all attributed to the Nemotron 3 Super model.
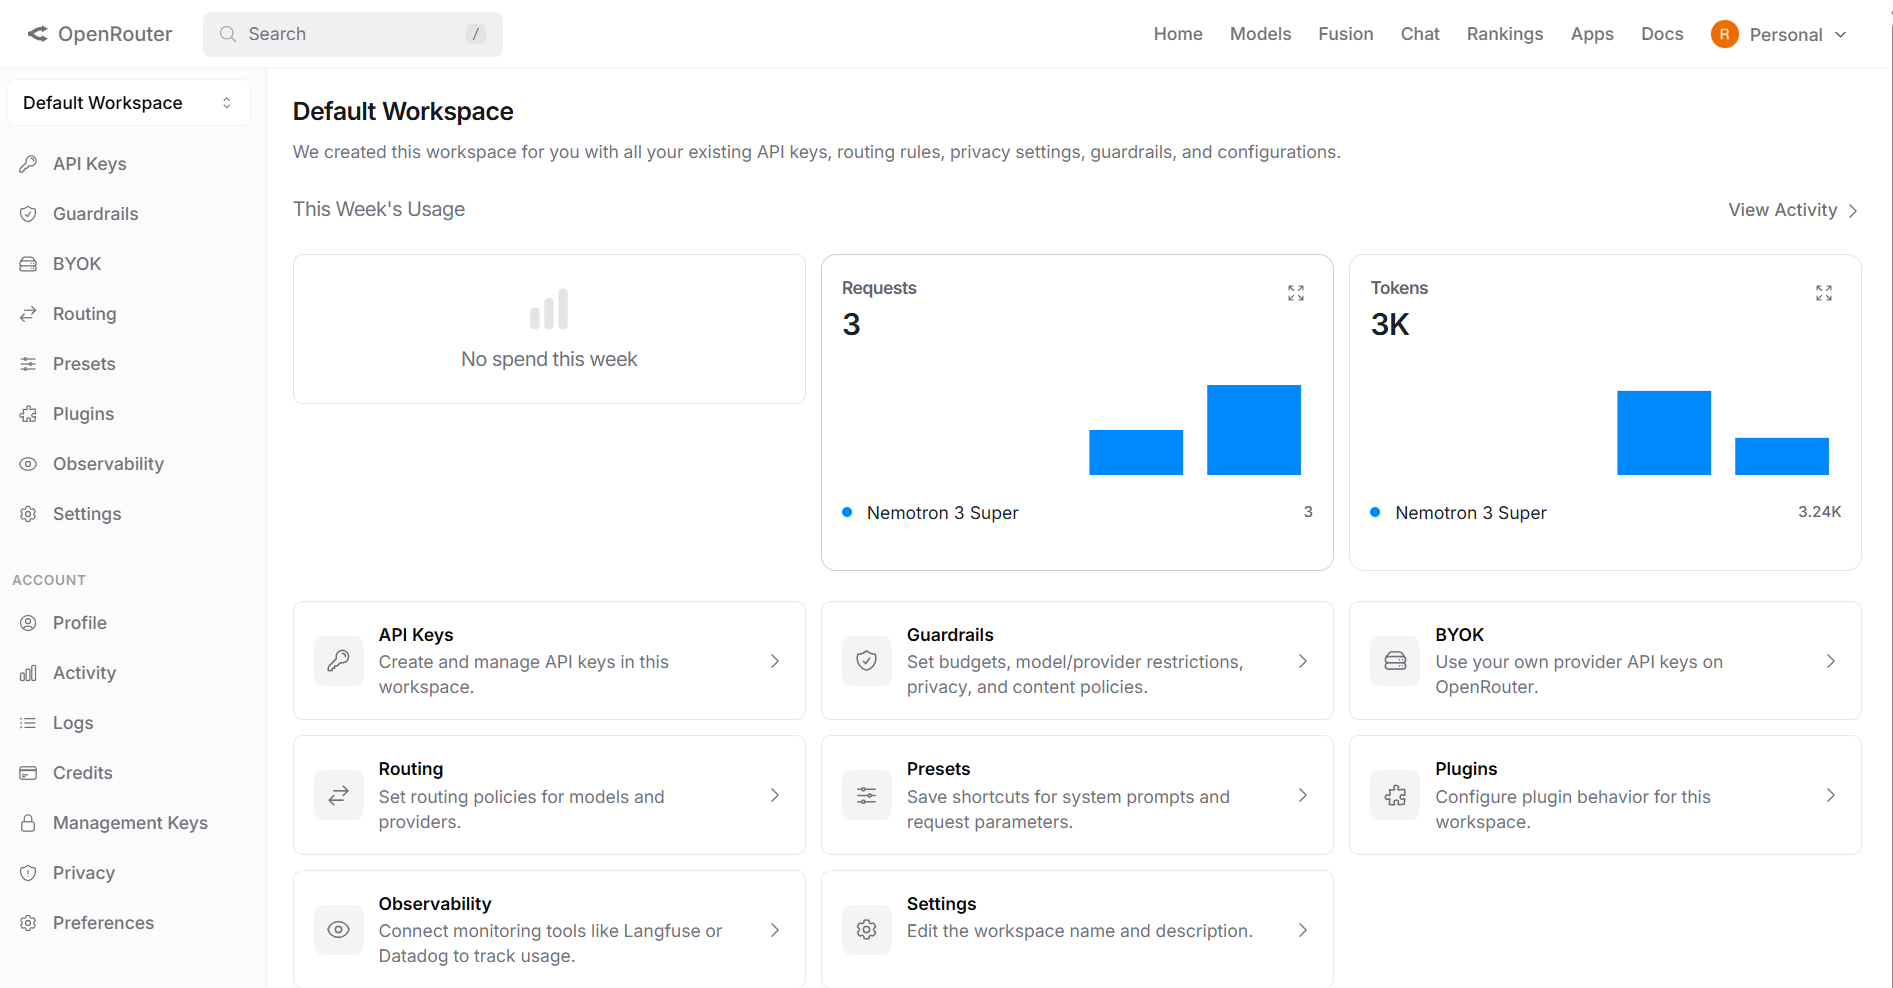
You can see:
- Requests: 3 — the test messages I sent from the React app
- Tokens: 3.24K — total tokens consumed (input + output)
- No spend this week — since we’re using the free tier!
This is a great way to keep track of how much you’re using. If you ever switch to a paid model, this dashboard helps you monitor costs in real-time.
Clarification: One API Key for All Models
One thing that confused me initially — when I browsed to a specific model page, I saw a “Generate API Key” button. I thought I needed a separate key for each model.
The answer is no. That button is simply a convenience shortcut for new users who land on a model page without having created a key yet. It takes you to the same API Keys page where you manage all your keys.
Your single API key works with every model on OpenRouter. You control which model to use by passing the model parameter in each API request. This is similar to how you’d use one Azure subscription key to access multiple Cognitive Services.
Before wrapping up, here are a few things to keep in mind when using free models on OpenRouter.
Free Model — What You Can and Can’t Do
Since we used a free model in this tutorial, here are the key limitations to be aware of:
- What you can do: Build and test app ideas, learn AI integration, prototype chat interfaces, and experiment with prompts — all at zero cost
- Rate limits apply: Free models are capped at 20 requests per minute and 50 requests per day. If you need more, you’ll need to add credits ($10+ unlocks 1,000 requests/day)
- Privacy trade-off: Free model requests are logged by the provider to improve their models — don’t send sensitive, personal, or confidential data through free tier endpoints
Bottom line: Free models are perfect for learning and prototyping. When you’re ready to build something production-ready, consider upgrading to a paid model for higher limits and privacy guarantees.
The full source code is available on my GitHub: OpenRouterSample
For more details, check out the official OpenRouter Documentation.
Give it a try and build your own AI-powered app! 🙂


Leave a comment