In this Copilot Studio Agent blog post, I’ll walk you through two key capabilities:
- Agent Flows
- Knowledge
We’ll explore these concepts using a simple use case. But before we dive in, let’s understand the basics.
What are Agent Flows:
- Agent flows are a powerful way to automate repetitive tasks and integrate your apps and services.
- Agent flows are deterministic workflows – meaning they follow the same path every time, ensuring consistent and reliable results.
- To understand when to use Agent Flows vs. Cloud Flows, refer to the table below:

Limitations:
- You can’t share them, copy them, or assign co-owners.
- Agent flows are only visible and usable within Copilot Studio.
- Currently, event triggers for agents can be edited in the Power Automate maker portal.
Now that you understand the basics of Agent Flows, let’s proceed with our use case.
🏃♂️Use Case Overview
To explore how Copilot Studio connects knowledge and uses Agent Flow as a tool, Iets build a simple agent around a running registration scenario.
- When a user asks, “Give me details of the 10K run” the agent retrieves the answer from a knowledge document containing race information, pricing, and rules.
- If the user then says, “I’d like to register,” the agent collects basic details like name, email, and mobile number.
- It then triggers a Agent flow that creates a record in Dataverse table, completing the registration process.
Now that you know the scenario, let’s take a quick look at the prerequisites before we build it.
Prerequisites:
- If you don’t already have access to Copilot Studio, you can get started here: Try Copilot Studio
- Click on Try for free button to create a trial account and environment.

- Once you have your Copilot Studio account set up, follow the steps below to create an Agent.
The above prerequisites ensure that you’re ready to start building an Agent in Copilot Studio. Before we proceed with creating the agent, we’ll prepare the running event details Word document, which will serve as the Agent’s Knowledge source.
Create a running event details document:
We’ll configure a Word document as the knowledge source for our Agent.
- I prepared a fictitious running event document using copilot, with the following prompt:
You are an expert running event organizer for 5K, 10K, half marathon and Full Marathon. I need a document with basic instructions, rules and pricing in USD for a running event. Take a reference of any global marathon and prepare the fictious data. I will use the document to add as a knowledge source to my copilot studio agent. Ask for clarifications.

- Save the document — we’ll use it in the upcoming steps as the Agent’s knowledge source.
Next, let’s create a Dataverse table to store the participant registration details.
Create a Dataverse table:
- Login to Power Apps maker portal
- I used the following prompt approach to quickly create a simple table.

- The table designer looks as shown below. You can further prompt to add any additional columns based on your requirements.

Once the table is created, proceed with Agent creation in Copilot Studio.
Creating the Agent in Copilot Studio:
- Sign in to Copilot Studio.
- Navigate to Agents → New agent.

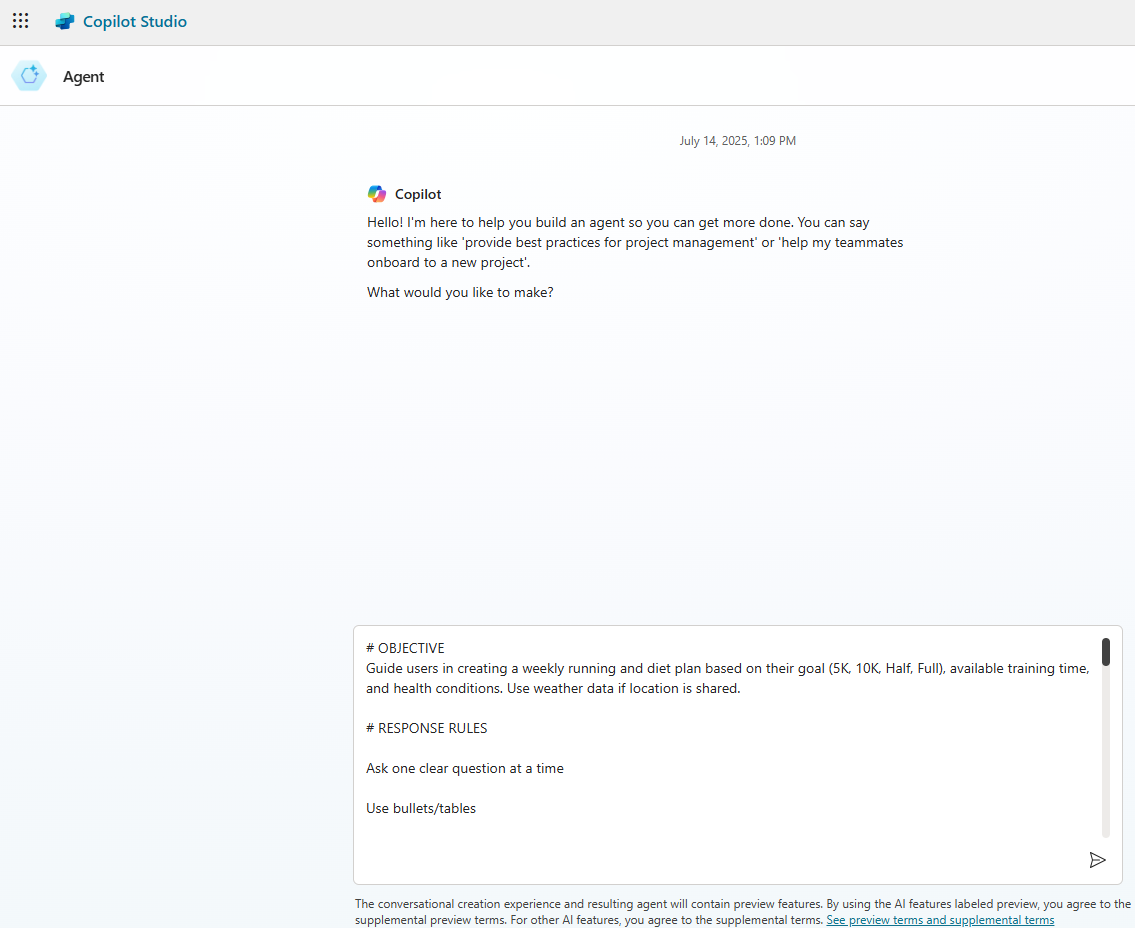
- Under the Describe tab, provide the following prompt:
You are an agent who manages running event registrations.

- Next, give your agent a name and add the instruction prompt as:
When user asks about running event details, like Categories, schedule, location, qualification, pricing details. You need to respond the details from a document which I will upload as knowledge source.

- Next click on Configure tab and disable the Web Search option as shown below.
- 💡 Note: Disabling Web Search ensures that the agent retrieves information only from the configured knowledge source (the Word document) and not from the web.

- Click on Create to provision the agent.

Add Knowledge to the Agent:
Next, we’ll add the Word document prepared earlier — the one containing the running event details — as the Agent’s Knowledge source.
- Go to Knowledge tab click on Add knowledge

- Upload the Word document you created in the earlier step.

- Click Add to agent and wait for the Status to change to Ready. This may take a few minutes depending on the size of the file.

Once completed, we’ve successfully added knowledge to our Agent.
At this point, the agent can provide event details and answer questions about the running event.
However, it’s not yet configured to register participants (i.e., create records in the Dataverse table).
Let’s now build the registration capability by configuring an Agent Flow.
Creating the Participant Registration Agent Flow:
We can create an Agent Flow directly from the Tools tab.
- Navigate to the Tools tab and click on Add a tool

- Choose Agent flow option

- You will be redirected to Agent flow designer.

- To register a participant, we need a few basic details — Name, Email, and Mobile Number. These values will be passed as input parameters to the Agent Flow.
- In the “When an agent calls the flow” trigger, click Add an input, and add the following parameters:
- 💡 Tip: Descriptions are crucial — your Agent relies on them to understand the purpose of each component and determine how to handle user input effectively.

- Once you’ve defined the input parameters, the next step is to add a Dataverse → Add a row action. Select the RunningEventRegistrations Table and map the parameters as shown below.
- Note : For the Registration ID field, I used the
rand()Power Fx function to generate a random number. Alternatively, you can use an Auto Number field in Dataverse or implement your own custom logic for unique ID generation.
- Note : For the Registration ID field, I used the

- In the Respond to the agent action, return the Registration ID of the newly created Dataverse record, as shown below.

- Once done, click Save Draft.
- By default, the flow will be named Untitled. To change go to Overview tab. Click Edit. Provide the Flow name and Description as shown below and click on Save.

- Publish the flow

- Test the flow before we add this to the Agent.

- Ensure flow ran successfully.

- We’ve now completed the Agent Flow configuration, and it’s ready to be added to our Agent.
- Go back to the Agent > Tools, and select the Agent Flow we created earlier to link it with the Agent.

- In the next screen, click on Add to agent

- The Participant Registration Agent flow now will be added to the Agent as shown below.

- Next, we need to configure the Description and other settings for Participant Registration Agent flow. Double-click on the flow to open its configuration.
- Provide Description and choose Agent may use this tool at any time option.
- Note : Agent may use this tool at any time option allows the Agent to trigger this flow independently, without it being part of a specific topic. I’ll cover how to invoke an Agent Flow from a topic in the next article.

- Leave the rest of the setting as is.

- Go back to Agent’s Overview tab and Instructions section. Click Edit and add this instruction:
When user wants to register first ask for Name, Email and Mobile Number. Pass these details to {Press / and choose the tool 'Participant Registration'} flow

We have now successfully configured the Agent with both Knowledge and an Agent Flow as a tool. It’s time to test the Agent in action!
Test the agent:
- From the Test your agent pane, ask the prompt : Hi. What’s the price for 10K.
- The Agent will understand your question and fetch the relevant details from the Word document we added as Knowledge.

- Next, ask: I would like to register
- Agent recognizes this as an action to be performed and prompts the user to provide details such as Name, Email, and Mobile Number.

- Once the details are provided, the Agent automatically triggers the Agent Flow, creates a registration record in the Dataverse table, and returns the registration number to the user.

We’ve successfully created a Running Event Registration Agent with Knowledge and an Agent Flow — bringing together information retrieval and real-time action in one seamless conversational experience.
🙂


Leave a Reply