Microsoft Copilot Studio offers tools to build intelligent Agents. Imagine a user completes a support chat and says, “That was super helpful, thanks!”—you’d want your agent to recognize this positive sentiment and respond appropriately.
In this beginner blog post, we’ll explore how to detect user sentiment and respond based on whether the message is positive or negative.
To build this use case, we’ll use the following key concepts:
- Topic Triggers
- Prompt actions
Lets first understand the basics:
What’s a Topic:
- Topics are the core building blocks of an agent.
- Topics are discrete conversation paths that, when used together, allow for users to have a conversation that feels natural and flows appropriately.
What are Topic Triggers:
- Triggers make it possible for your agent to intercept and handle different events or incoming activities of different types.

Prompt Action:
- Prompt actions are one of the ways to extend Microsoft Copilots.
- They do this by creating business specific natural language actions.
- The actions are interpreted by the GPT model to perform the necessary action as instructed
Now that you have a basic understanding of Topics ,Triggers and Prompt Actions , let’s return to our use case—detecting user sentiment based on their message.
In Copilot Studio, we use the Message Received trigger to initiate a response whenever a user types or says something to the agent.
Next, we apply AI to analyze the user’s message and categorize the sentiment as either Happy or Unhappy.
Let’s see this in action:
Create an Agent:
- Sign in to Copilot Studio
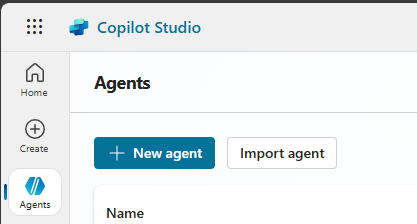
- Navigate to Agents > + New agent
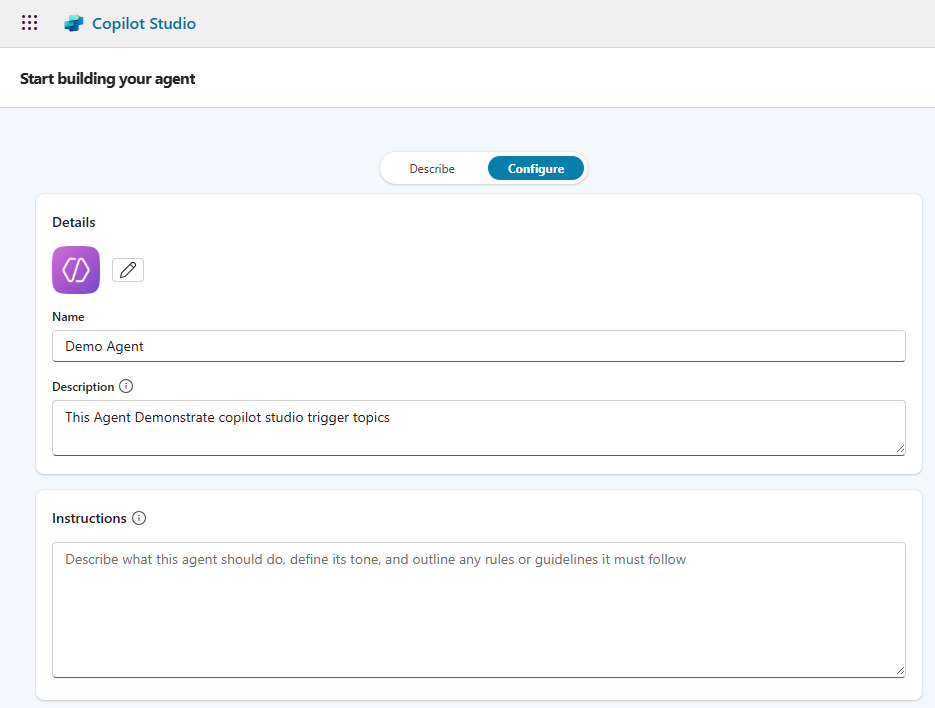
- Go to the Configure tab and enter a Name for your agent.
- Click on Create to finish setting up your agent.
Create a topic:
Next, we’ll create a new topic to capture the user’s message and categorize their sentiment.
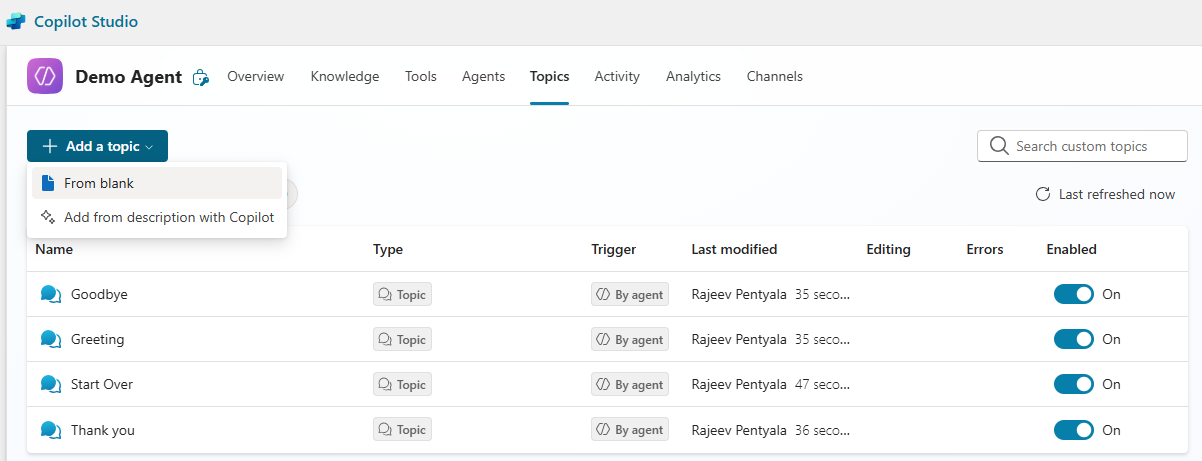
- Go to Topics > + Add a topic > From blank
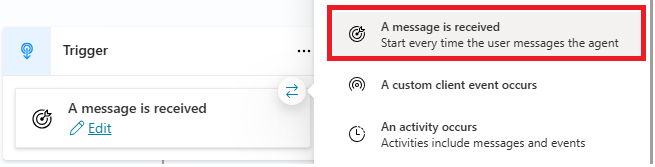
- Hover over the box of the Trigger node and select the Change trigger icon.
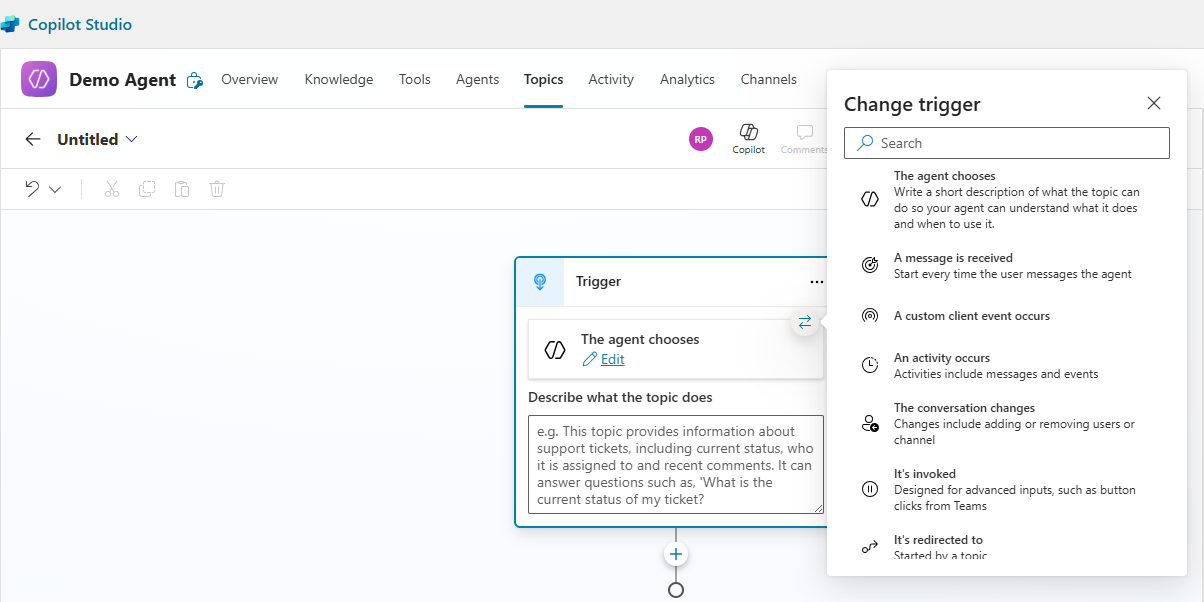
- Choose the trigger A message is received
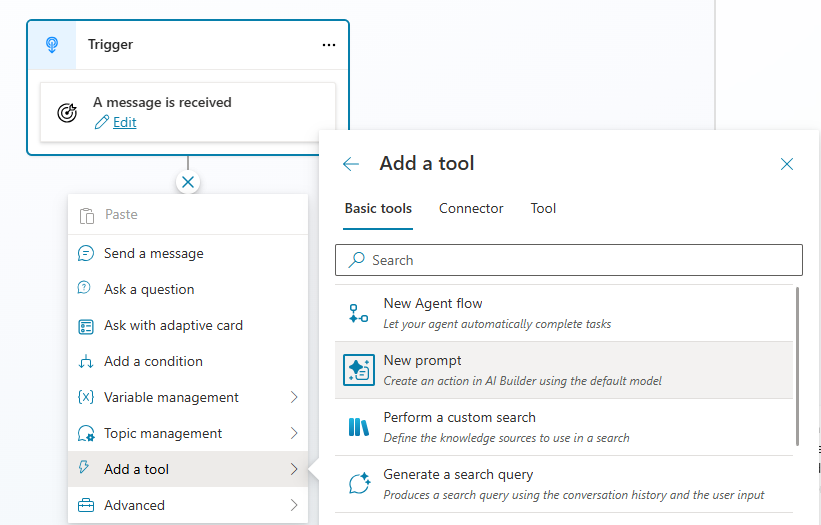
- Next Add a tool > New prompt
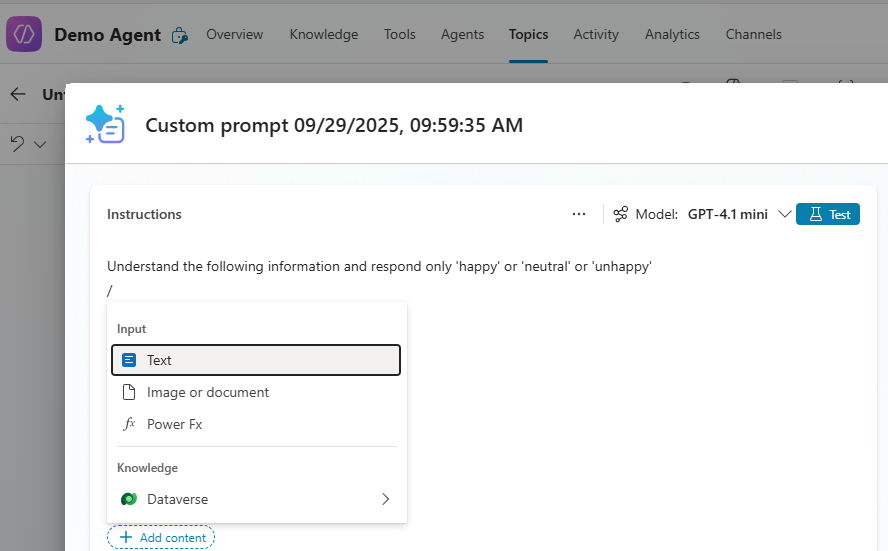
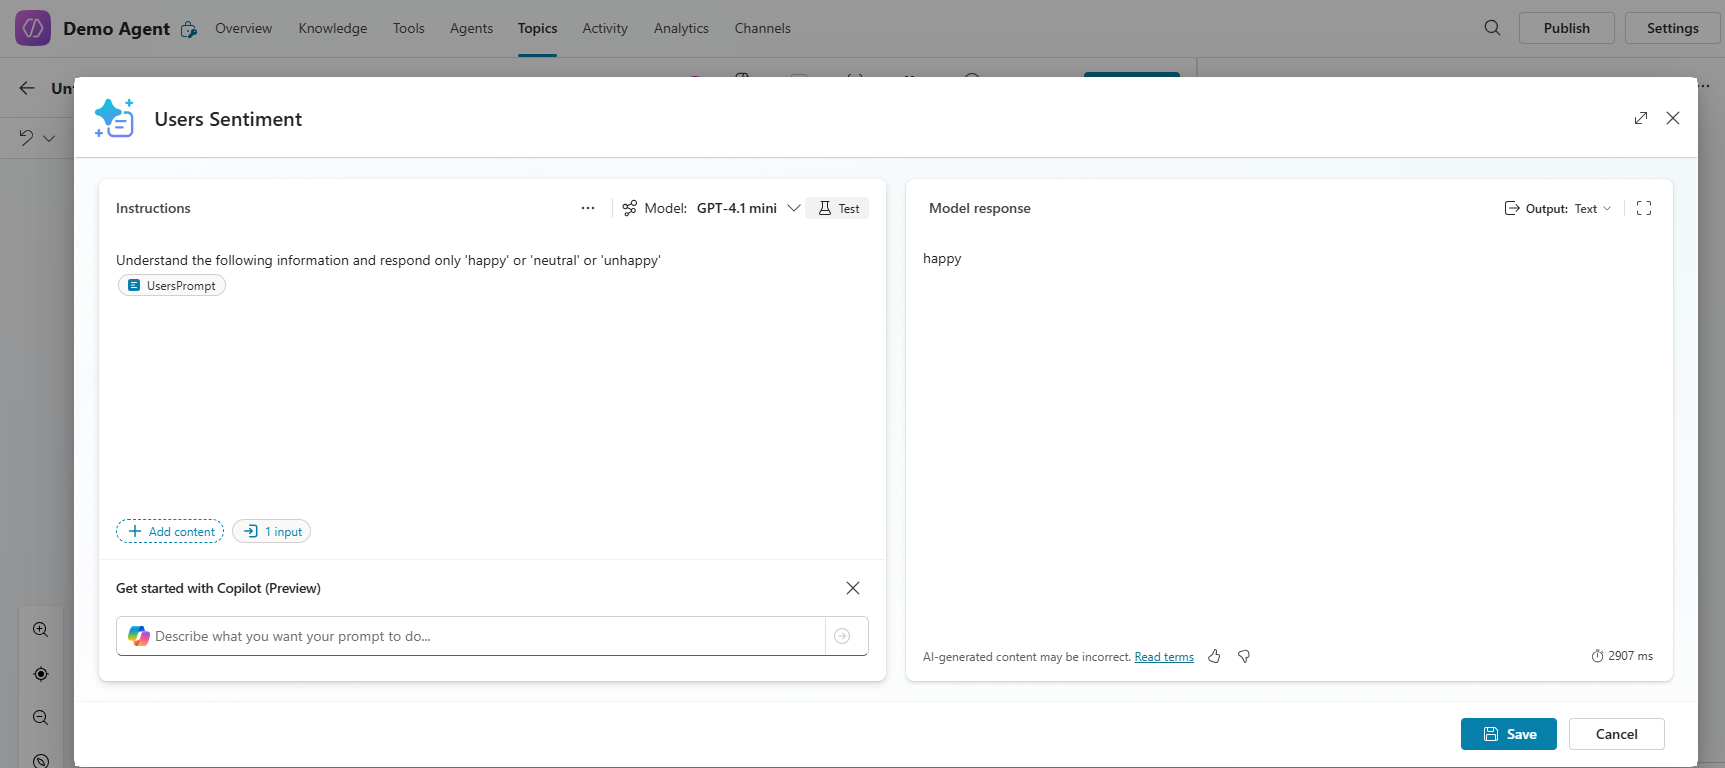
- In the prompt popup, provide following instructions:
Understand the following information from user and respond only 'happy' or 'neutral' or 'unhappy'
- Click + Add content and choose Text (This step defines a variable and is required to pass the users message from the topic to this prompt).
- Set the Name of the variable to UsersPrompt.
- Provide some Sample data for testing purposes.
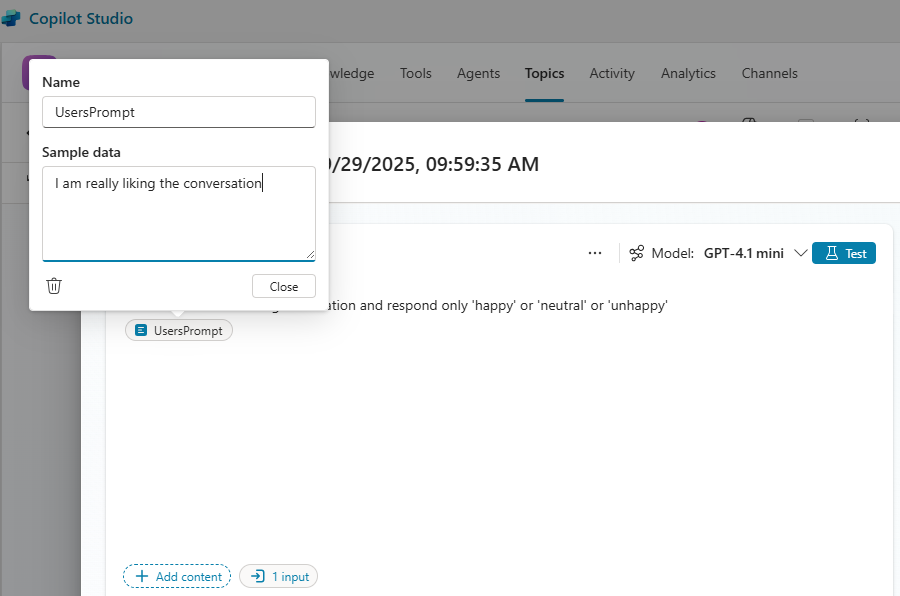
- Rename the prompt to Users Sentiment. You can click Test to simulate the conversation.
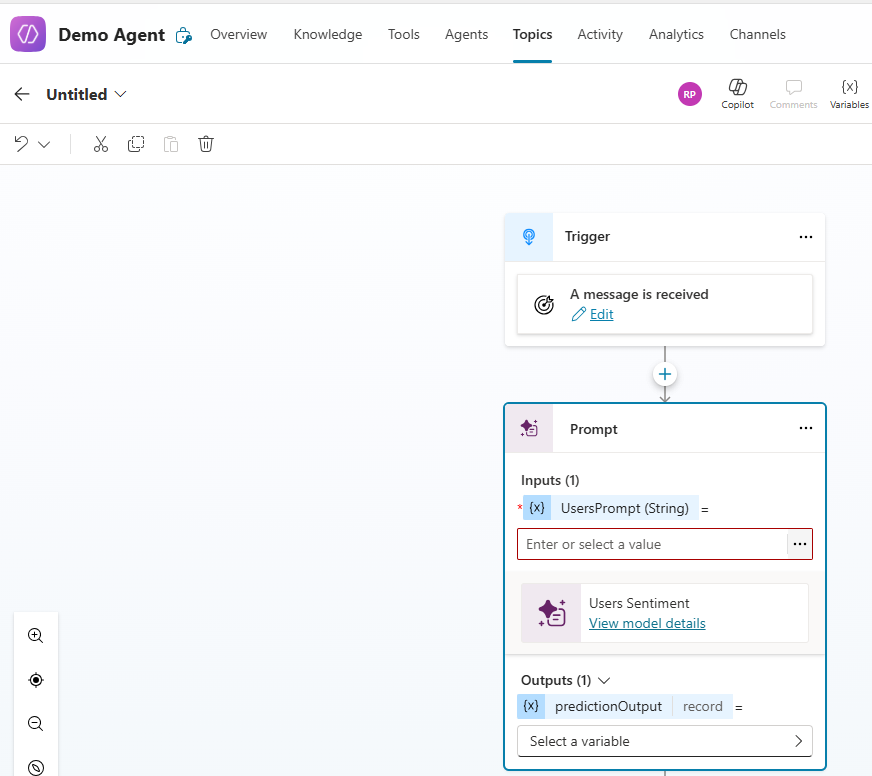
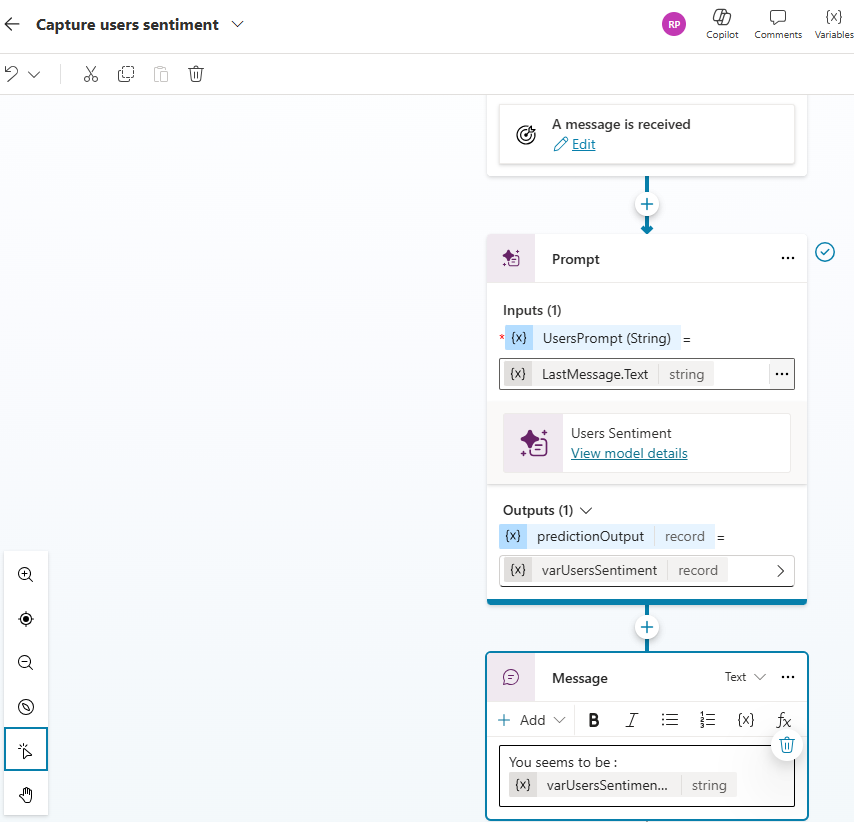
- Once you’ve saved the prompt, your topic should now look like the example below.
- As you can see, the prompt expects input from the UsersPrompt variable.
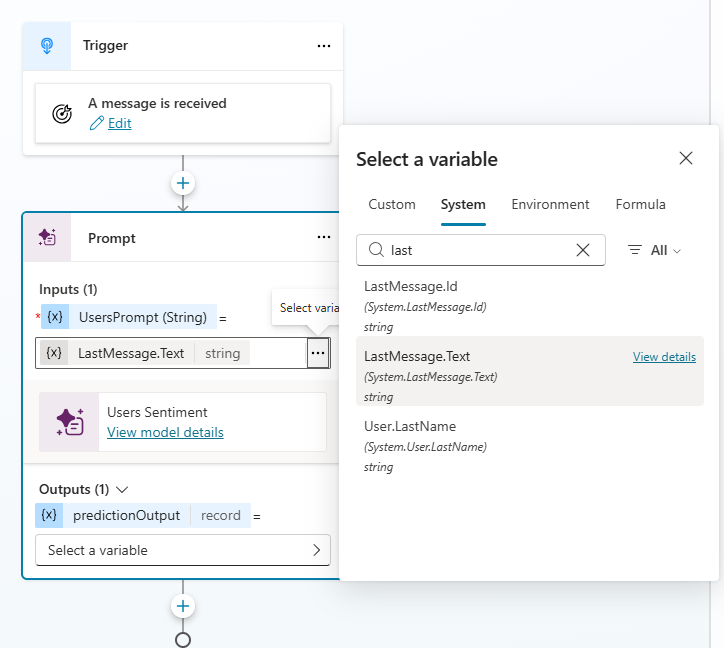
- Pass the System variable LastMessage.Text as UsersPrompt input.
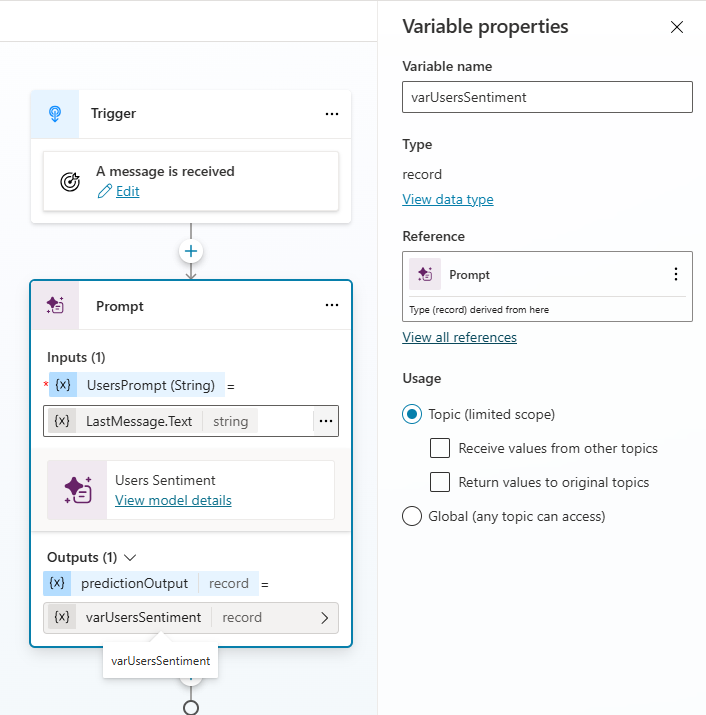
- Next, create a variable to capture the response from the prompt.
- Name the output variable varUsersSentiment. This variable will store the sentiment result for further use in your topic flow.
- Next print the response (i.e.,varUsersSentiment) returned from the Prompt
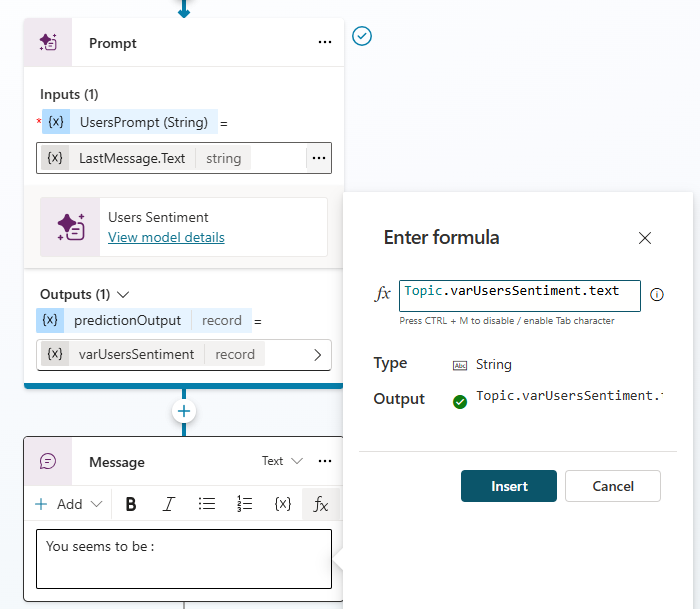
- Since varUsersSentiment is of type Record, you need to access its
textproperty to retrieve the actual sentiment value. - Add a Message node to the topic and click on fx
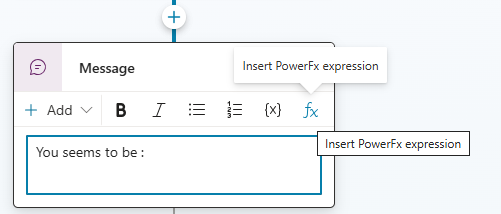
- In the formula pane, enter following formula:
Topic.varUsersSentiment.text
- Save the topic.
You’ve now finished setting up the topic. It’s time to test the agent to see everything in action.
Test the Agent:
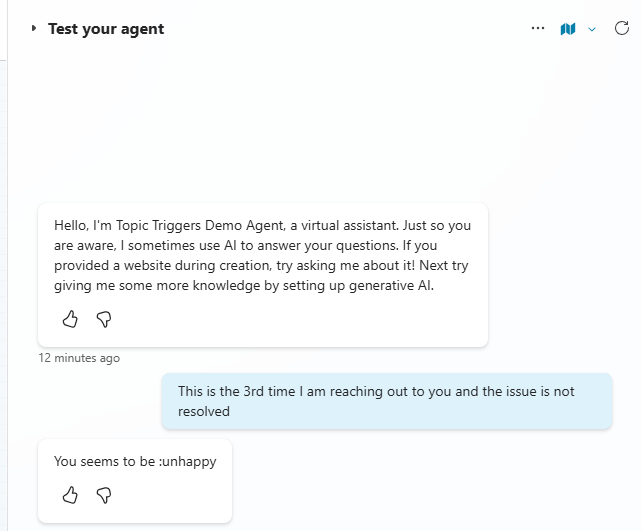
- Try prompting the agent with the following message:
This is the 3rd time I am reaching out to you and the issue is not resolved
- Since the message expresses an unhappy tone, the agent should respond with:
You seems to be :unhappy
- You can further enhance this topic by adding conditional logic based on the sentiment response.
- For example, if the user is detected as unhappy, you could automatically transfer the conversation to a human agent for further assistance.
Hopefully, this post helped you understand the basics of Topics, Triggers, and the Prompt tool.
Refer the Shared Tools approach to achieve the same requirement.
🙂


Leave a reply to Copilot Studio | Shared Tools – Rajeev Pentyala – Technical Blog on Power Platform, Azure and AI Cancel reply