In this article lets explore the ‘Edit Command Bar’ preview feature available in Model Driven Apps designer. But first lets understand the following basics of Command Bar.
- What are Command Bars?
- Where do we find them in Model Driven App (i.e., Command bar locations)?
What are Command Bars?
- Command bars are at the core of every model-driven app and appear in many different locations.
- The group of commands associated with a specific location make up a command bar.
Command bar locations in Model Driven App:
- Main grid. This command bar is displayed when using the left-hand navigation of an app to view a full page list of records in this table.

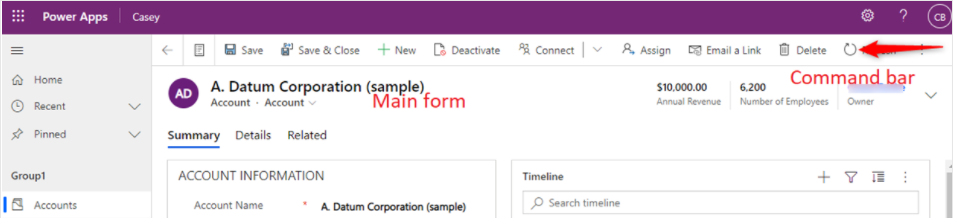
- Main form. This command bar is displayed on the table’s main forms. This appears at the top of the form and is not the same as the associated view or subgrid view that will appear in different areas of the form.
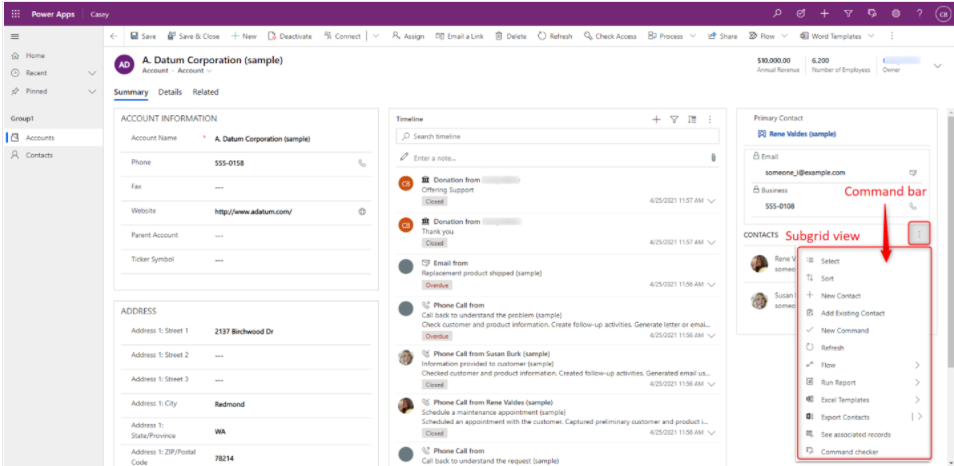
- Subgrid view. This command bar is displayed on forms of other tables that render this table’s data within a subgrid.
- Associated view. This command bar is displayed on the form of a parent table when viewing related data in this table.

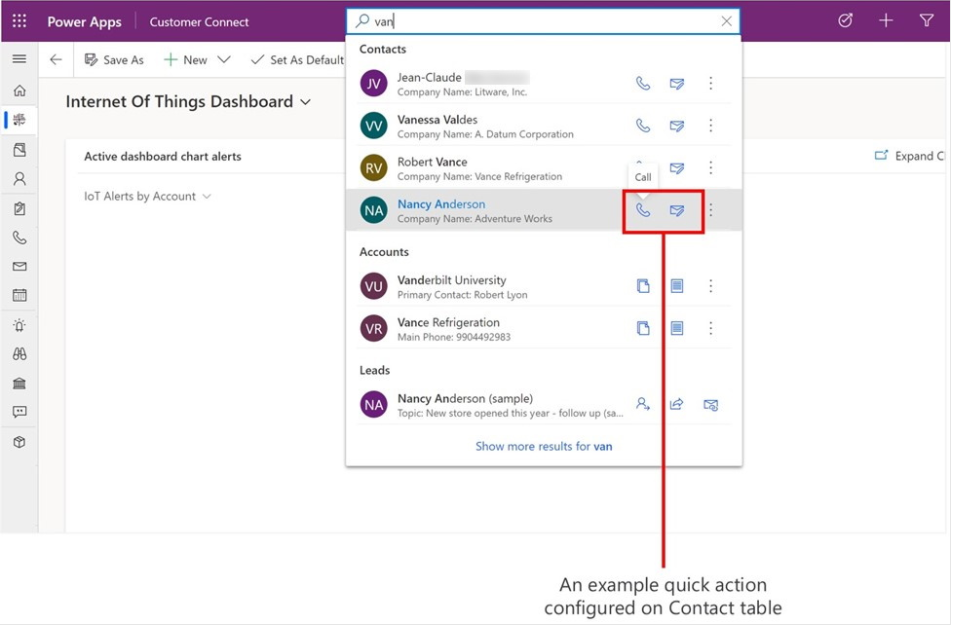
- Quick actions. There isn’t a specialized entry point from the command designer because quick actions are edited from the main grid of the table.
Now that we got the basics, lets explore editing the Command bar.
Using ‘Edit command bar (preview)’:
- To use ‘Edit command bar (preview)’ feature. Connect to Power Apps portal.
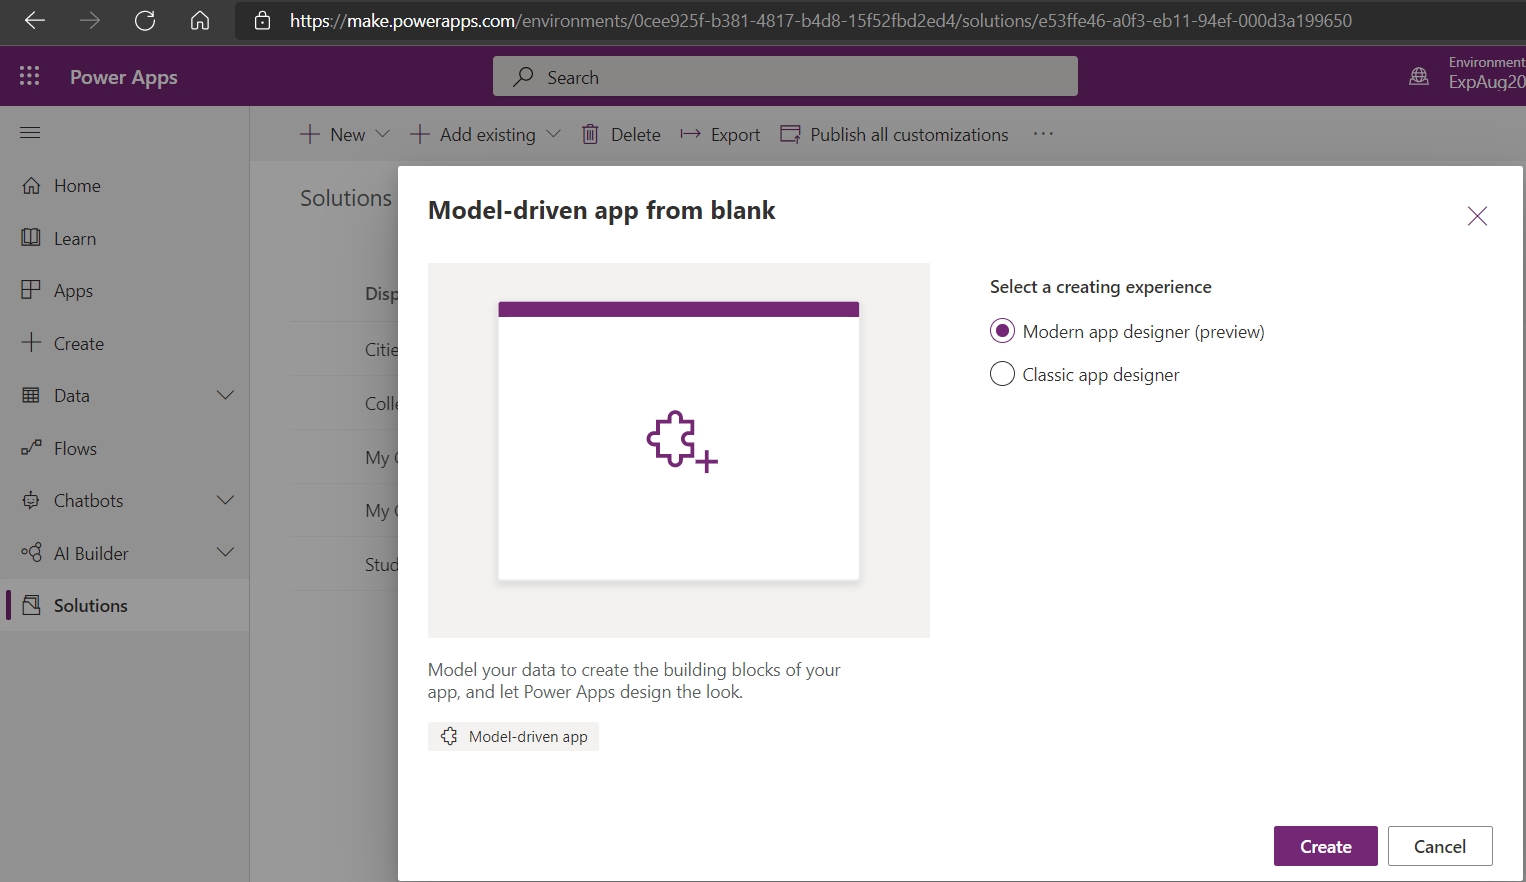
- Create a new ‘Model-driven app from blank’ and select the ‘Modern app designer (preview)’.
- Add a Page and link one of your Dataverse Table.
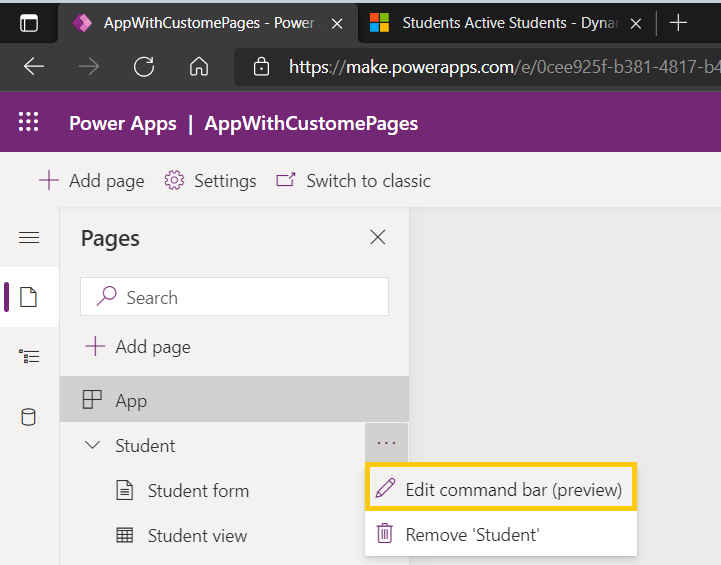
- I’ve added ‘Student’ table as Page.
- Now click on ‘…’ of ‘Student’ and click on ‘Edit command bar (preview)’.
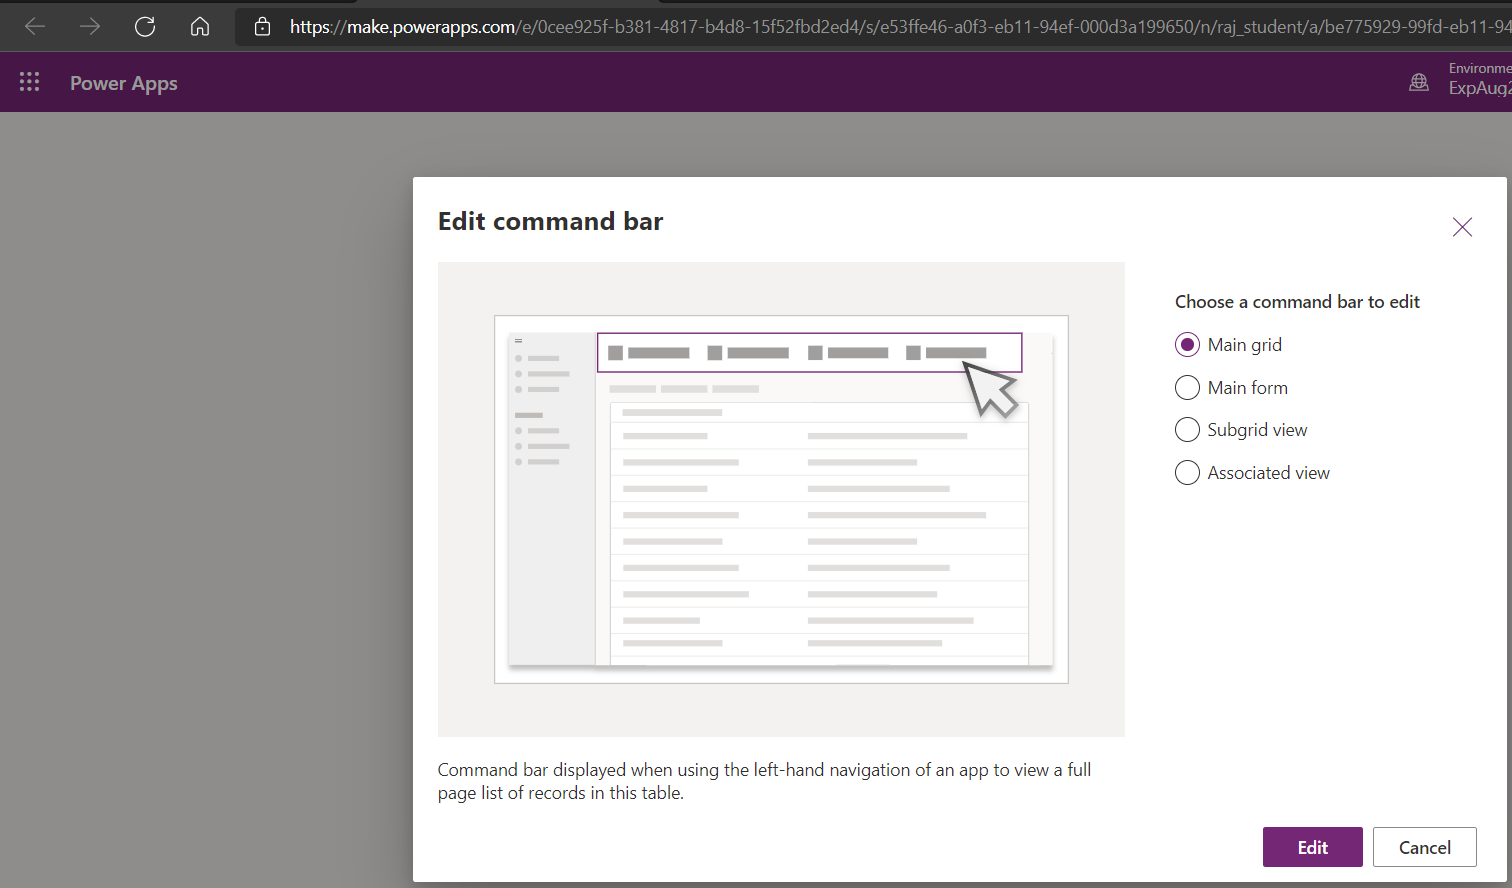
- From the options choose one of the ‘Command Bar’ location you would like to edit.
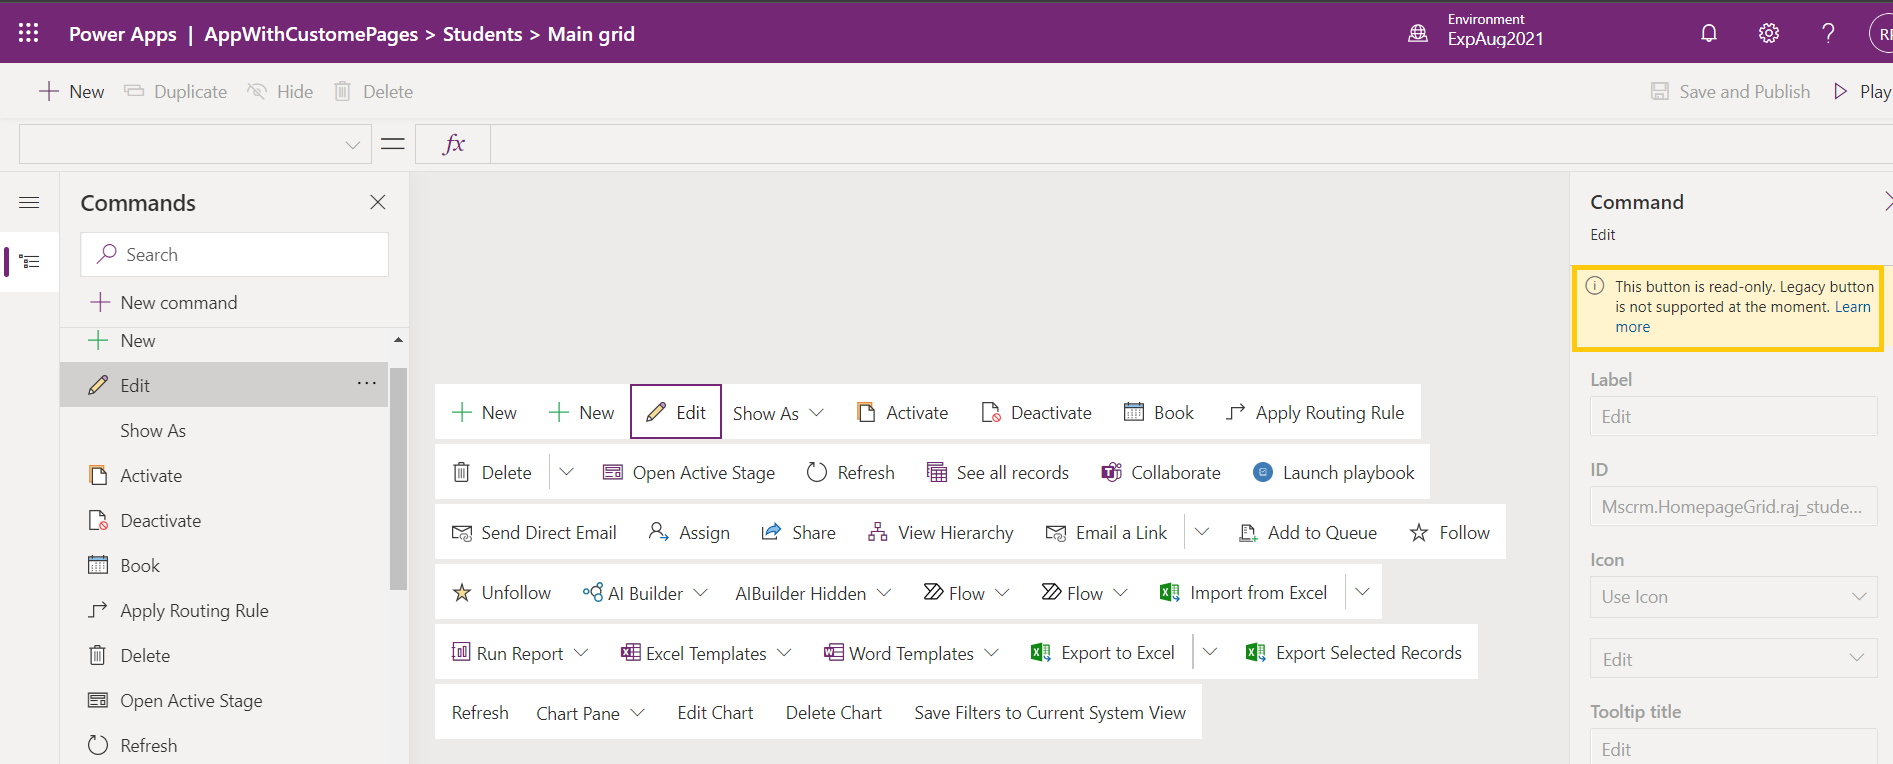
- In the next screen, you will get all the available of Commands displayed as below.
- At this point editing ‘Legacy button is not supported’. Refer the limitations here.
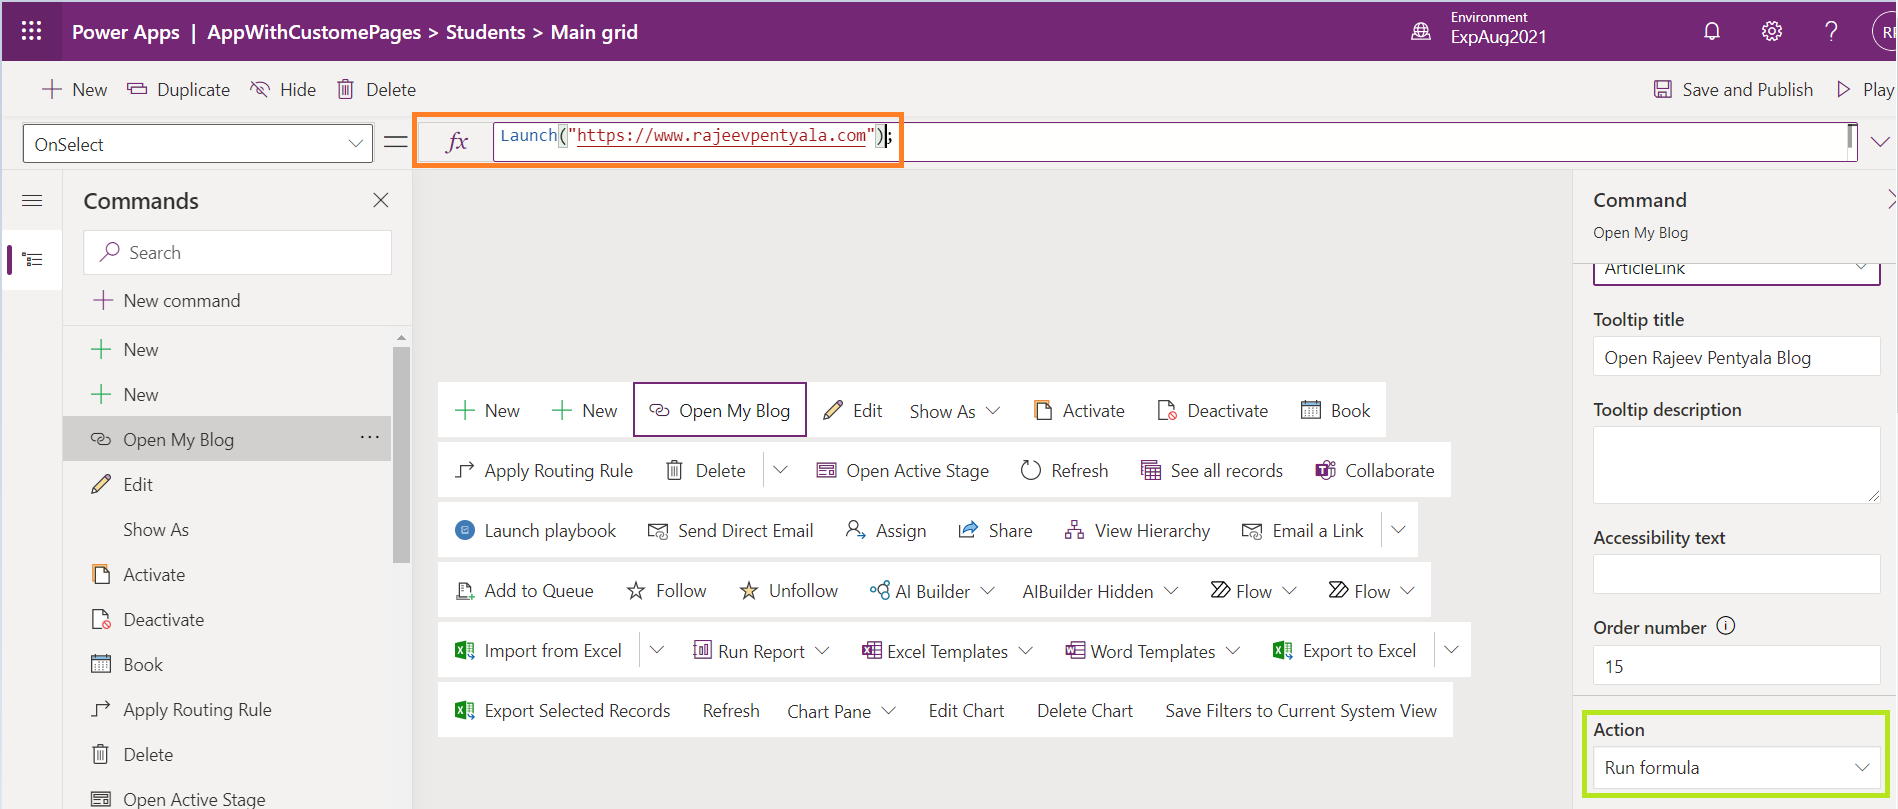
- I am going to add a new ‘Command’ named ‘Open My Blog’ which opens up an URL.
- Click on ‘+New command’ and provide details on the right pane.
- Action property specifies what happens on the ‘Select’ of the ‘Command’. Below are 2 available options.
- Run formula: Accepts the Power Fx formula to run the command action. More information: Use Power Fx for actions and visibility
- JavaScript: Accepts the JavaScript library and command to run the command action. More information: Use JavaScript for actions
- As I need to open URL on the select of my ‘Open My Blog’ command. Under Action’ choose ‘Run formula’ and in the formula bar add ‘Launch()’ Power Fx as below.
- Click ‘Save and Publish’ and ‘Play’.
- On your App, you should see the command and on select it redirects to the provided URL.

Refer the docs link for more details.
🙂


Leave a comment