In my previous article I detailed the steps to get started with PowerApps by signing up to the PowerApps portal.
Now, let me walk you through the steps to create and publish a simple ‘Calculator’ App.
The Calculator App will have 2 Text boxes and an ‘Operation’ dropdown. Upon clicking the ‘Calculate’ button, based on the Operation we either Sum or Subtract the values and show the result.

Pre-requisites:
- You must have PowerApps account. Refer my previous article
Steps to build ‘Calculator’ App UI:
- Connect to the PowerApp studio and click on ‘New App’ of Mode ‘Canvas’
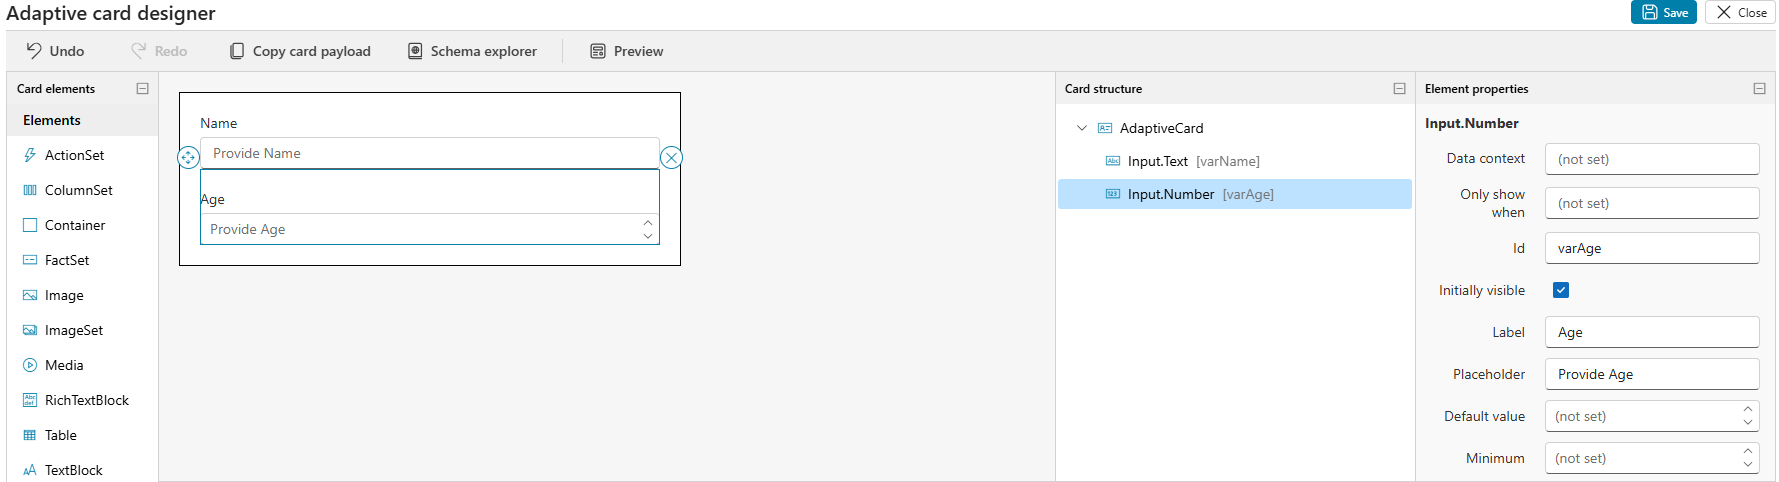
- From the ribbon, click on ‘Insert’ tab and drag & drop the controls on to the Canvas
- For the ‘Text Input’ controls, select ‘Format’ as ‘Number’ so that it only allow digits.

- Add the ‘Dropdown’ control to the Screen

- To add “Sum”,”Substract” as options to the ‘Dropdown’, select ‘Items‘ property and set [“Sum”,”Substract”]
- Add the ‘Button’ control to the screen and set the text as “Calculate”
- Add 3 labels
- Label ‘A’, Label ‘B’ and Label ‘Result’
Steps to add the business logic:
- On buttons ‘OnSelect’ event,

- Declare a variable “varResult”
- Read the selected operation (i.e., Sum/Subtract) from the Dropdown
- Write an If/Else statement
- Add TextA, TextB; if the dropdown values is ‘Sum’ If(ddlOperation.Selected.Value=”Sum”,txtA.Text+txtB.Text))
- Subtract TextA, TextB; if the dropdown values is ‘Substract’ If(ddlOperation.Selected.Value=”Substract”,txtA.Text–txtB.Text))
- Set the Sum/Subtract value to the “varResult” variable using ‘Set‘ method
- Finally, we should display the result by setting it to ‘Result’ label. So, set ‘Text’ as ‘varResult’

Time to Test the App:
- Press F5 to test the App

Save and Publish the App:
Once you done with testing, its time to Save and Publish the App.
- To save the App, either press (Ctrl+S) or go to File -> Save

- Choose either ‘The Cloud’ option or ‘This computer’
- ‘Cloud’ option would save the App in your ‘PowerApps’ account
- ‘Computer’ option would provide the App in .zip folder to save locally.
- Post save, to make the App available to Users, click on ‘Publish’

Notes:
- PowerApps provides excel like formulas to apply business rules. Refer this blog to get exhaustive list of formulas.
🙂


Leave a comment