-
Continue reading →: Did You Know | Power Apps Code Apps have a new CLI (power-apps) that replaces ‘pac code’
If you have been building Power Apps Code Apps with the pac code commands, there is a new CLI you should know about. The power-apps npm CLI is the recommended path going forward, and the pac code commands are on the deprecation list. Lets look at what changed and when to switch. Why Two CLIs?…
-
Continue reading →: Power Apps Code Apps | power-apps authorization error | Reason and fix
In my previous post, Power Apps Code Apps – Trigger a Power Automate Flow, I walked through adding and calling a cloud flow from a code app. On a different project, I hit an authorization error running npx power-apps list-flows. Lets look at what caused it and the two commands that fixed…
-
Continue reading →: Quick Tip | Open a GitHub Repo in ‘VS Code’
I came across this handy tip and wanted to share it. You can open any GitHub repository in Visual Studio Code for the Web straight from the browser URL. No clone, no setup. Lets see this in action. Steps Even Faster: Press the . (period) Key If you are already on the repo page…
-
Continue reading →: “Virus detected” | Exporting Power Platform solution with a Code App
While exporting a managed solution from the Power Apps maker portal , the browser blocked the download with a Virus detected warning. Here is what caused it in my case, and the PAC CLI workaround that got the export through. Possible Reason: The workaround: export via PAC CLI The PAC CLI writes the solution…
-
Continue reading →: Copilot Studio | Restrict Agent Channels
Copilot Studio lets makers publish their agents to many channels like Teams, Facebook, WhatsApp and more. As an admin, you may want to allow only a few sanctioned channels. In this article, lets configure the Agent access channels (preview) rule on an Environment Group and see how it disables the blocked channels…
-
Continue reading →: Step by Step | Power Platform Pay-as-you-go – Create a Billing Plan and Link an Environment
Power Platform Pay-as-you-go is a plan that bills Power Apps, Power Automate, Dataverse, and Copilot Studio consumption directly to an Azure subscription. It removes the need to buy prepaid seat licenses up front. In this post lets walk through steps of creating a billing plan and linking it to a Power…
-
Continue reading →: Power Platform | Environment Creation | self-service plan is required
If you encounter the following error while creating a new Power Platform environment from the Admin Center : A self-service signup plan is required to successfully complete this request This typically indicates that you do not have a Power Platform license assigned to your account. You can use one of…
-
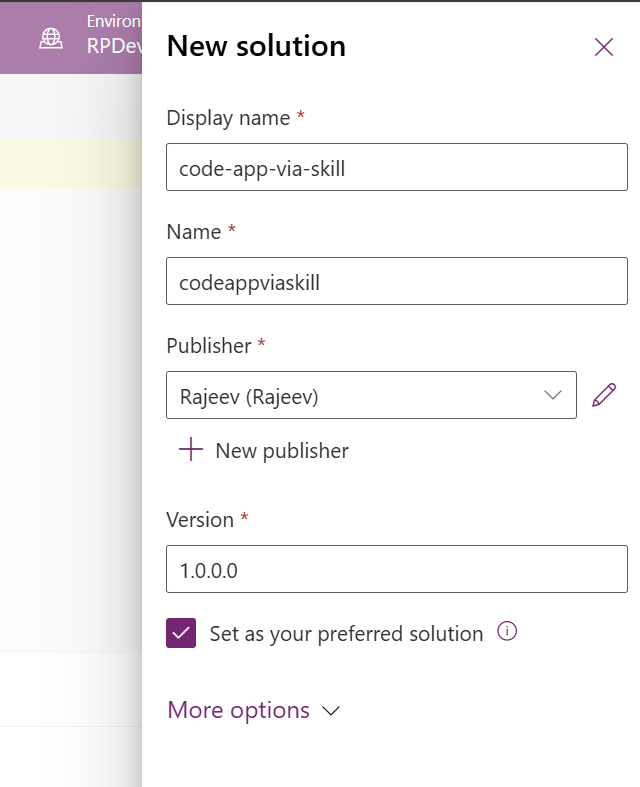
Continue reading →: Step by Step | Power Automate Skills Plugin – Build Cloud Flows from Copilot CLI
The Power Automate skills plugin brings cloud flow authoring into Claude Code and GitHub Copilot CLI. It ships a self-contained FlowAgent MCP server that talks to your Power Platform environments. What is the Power Automate Skills Plugin? Why This Plugin? Before we install the plugin, lets make sure the machine…
-
Continue reading →: Step by Step | GitHub Copilot CLI in GitHub Actions
Did you know that you can use GitHub Copilot CLI inside your GitHub Actions?. This opens up interesting options, for, example: In this post we will build the GitHub Action which uses the Copilot CLI, classifies every new issue, applies the matching label, and posts a two-sentence AI-authored triage comment…
-
Continue reading →: “We couldn’t find your bot” when posting to a Copilot Studio agent from a cloud flow
As part of a POC to post a message to a Copilot Studio agent hosted in Microsoft Teams from a Power Automate cloud flow, I hit this error on the very first run: We couldn’t find your bot The Teams action returned BadRequest and the message never made it to the chat. Here is what caused…
Visitors
2,206,537 hits