In this beginner-friendly blog post, I will walk through the step by step process of using Microsoft Foundry , covering:
- Create a Foundry resource in Azure
- Deploy a model
- Build an AI agent
- Test and publish the agent
What is Microsoft Foundry?
- Microsoft Foundry is a unified Azure platform-as-a-service offering for enterprise AI operations, model builders, and application development.
- It brings together:
- Access to foundation models
- Tools to build and test AI agents
- Prompt engineering and evaluation tools
- Deployment and integration capabilities
- Developers can use Microsoft Foundry to quickly build AI-powered applications using models from Microsoft, OpenAI, and other providers.
Prerequisites:
- An Azure account with an active subscription. If you don’t have one, create a free Azure account, which includes a free trial subscription.
Create Azure Foundry Resource:
- Sign in to the Azure Portal.
- Search for Foundry.
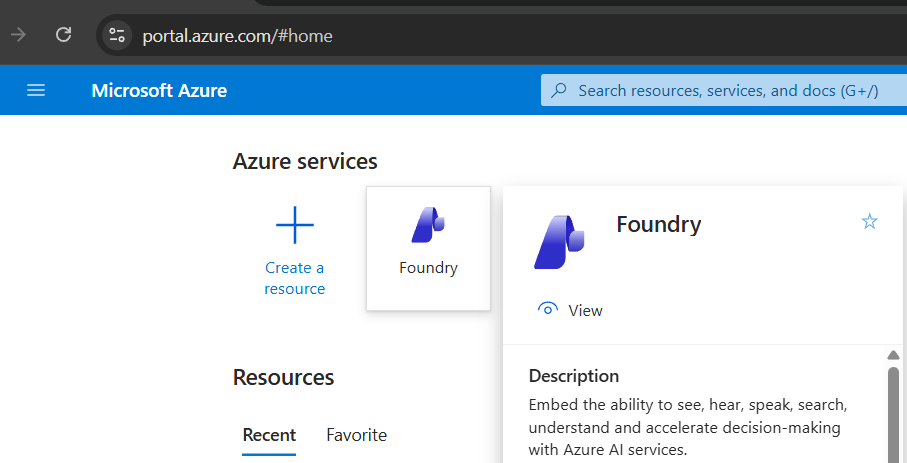
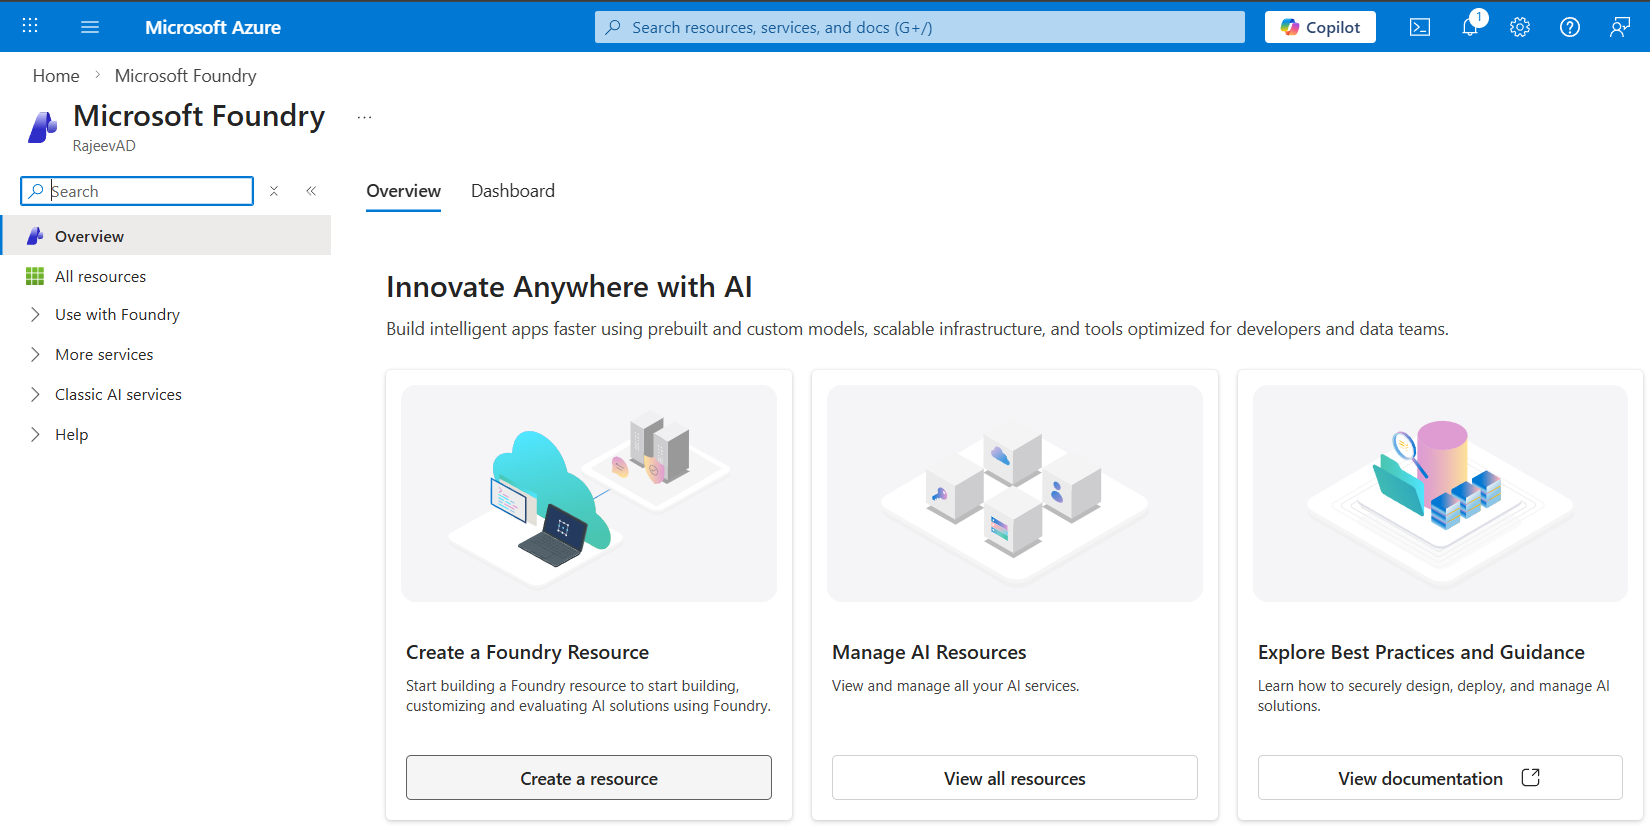
- Click on Create a resource
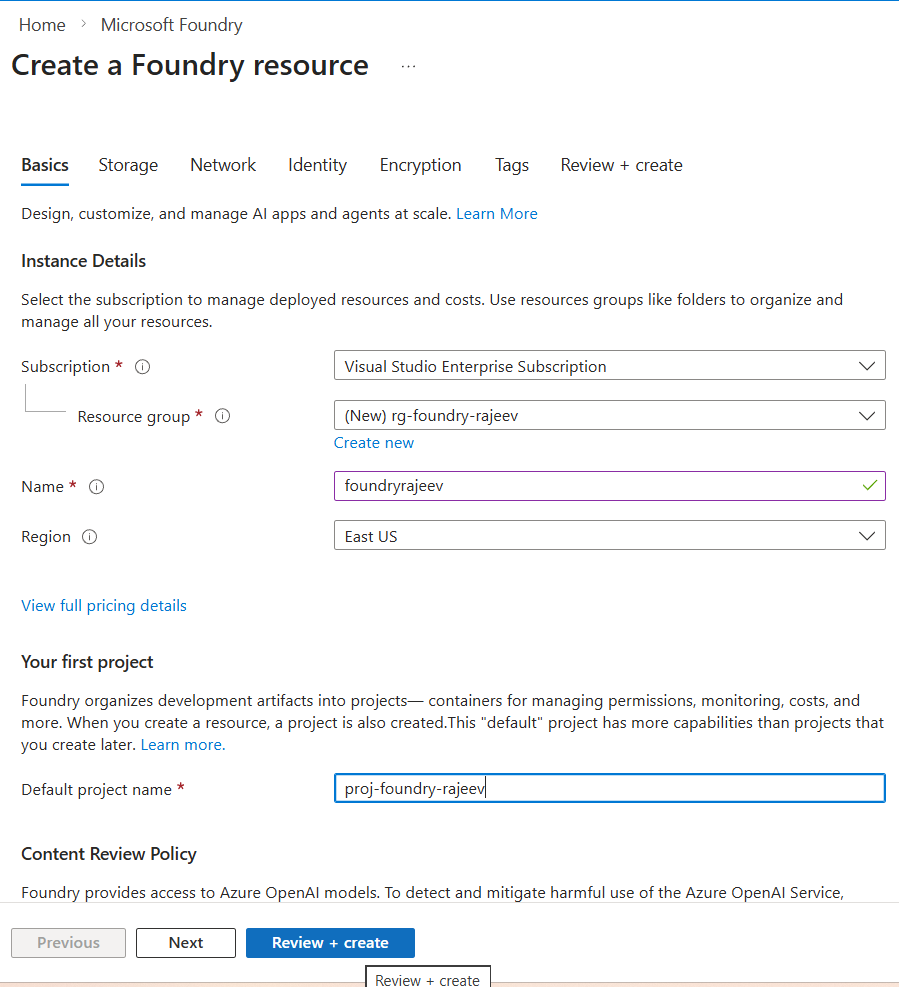
- Fill the details and then click Review + Create and create the resource.
- Once the resource is ready, click on Go to resource
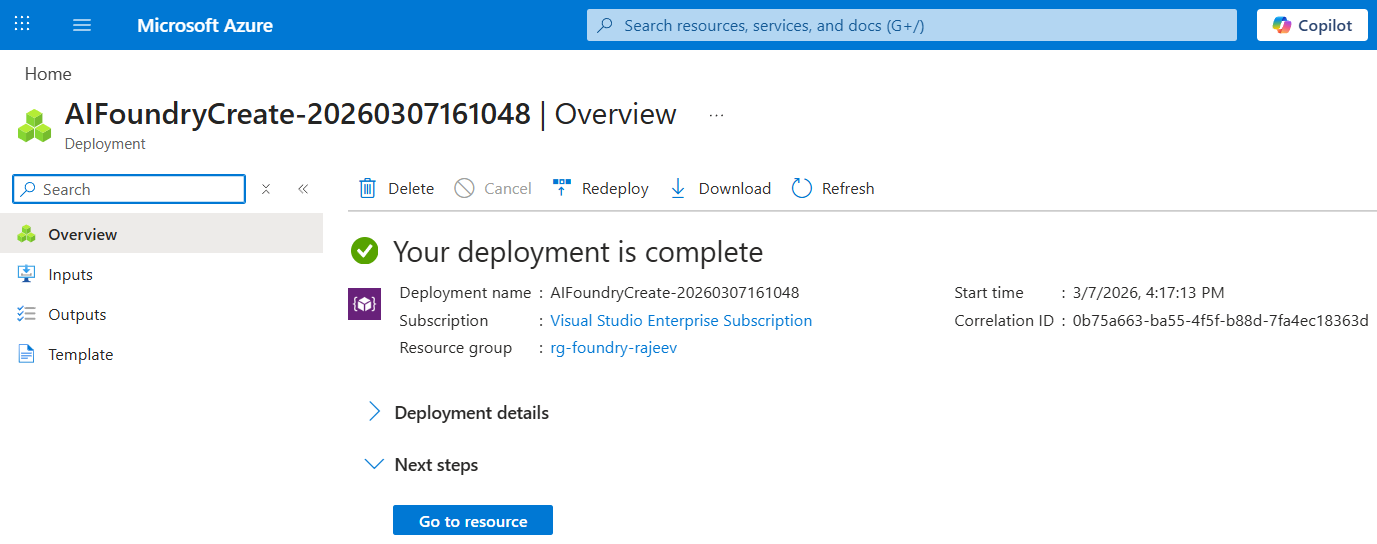
- Click on Go to Foundry portal
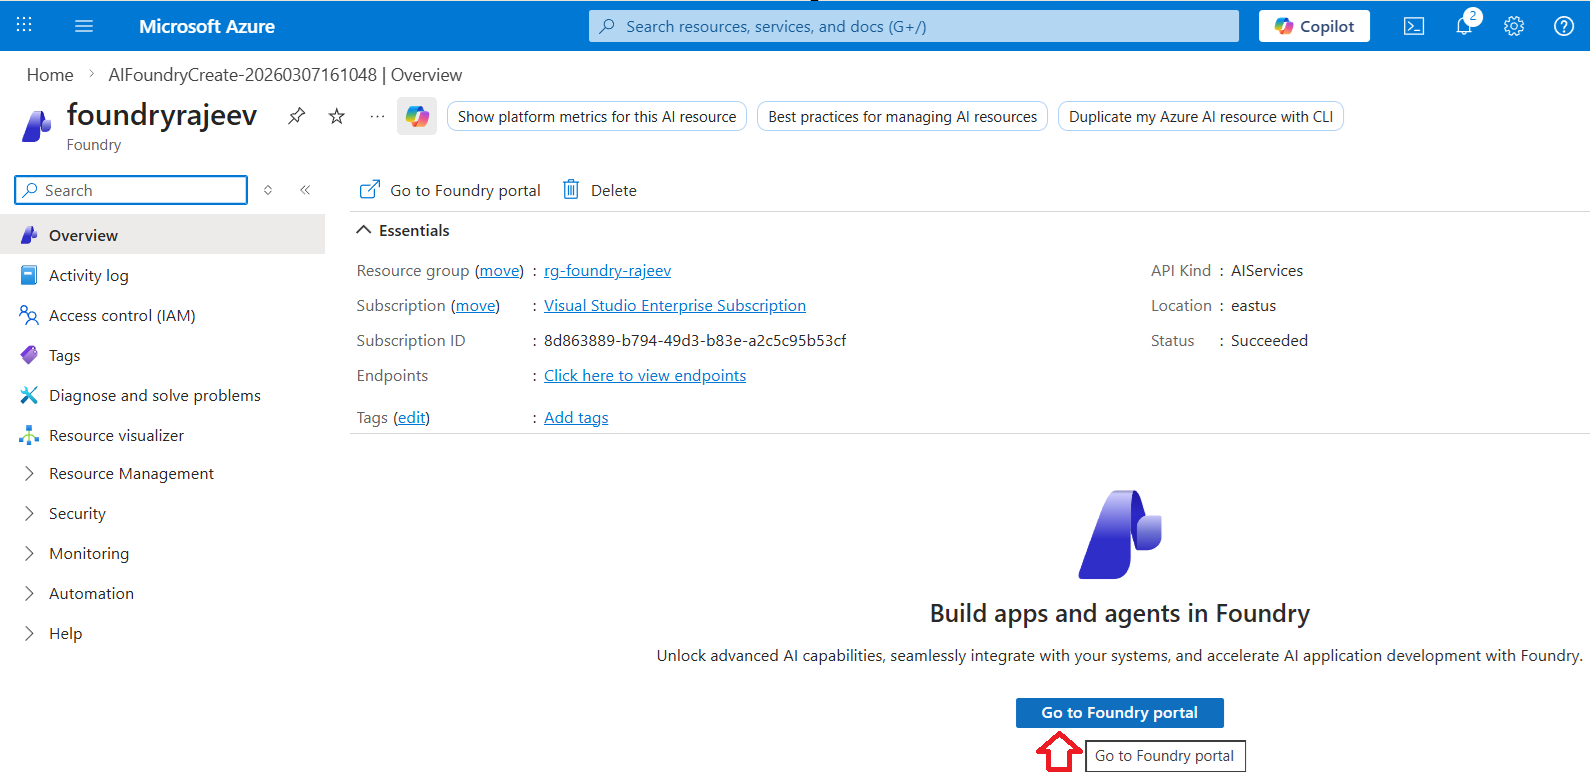
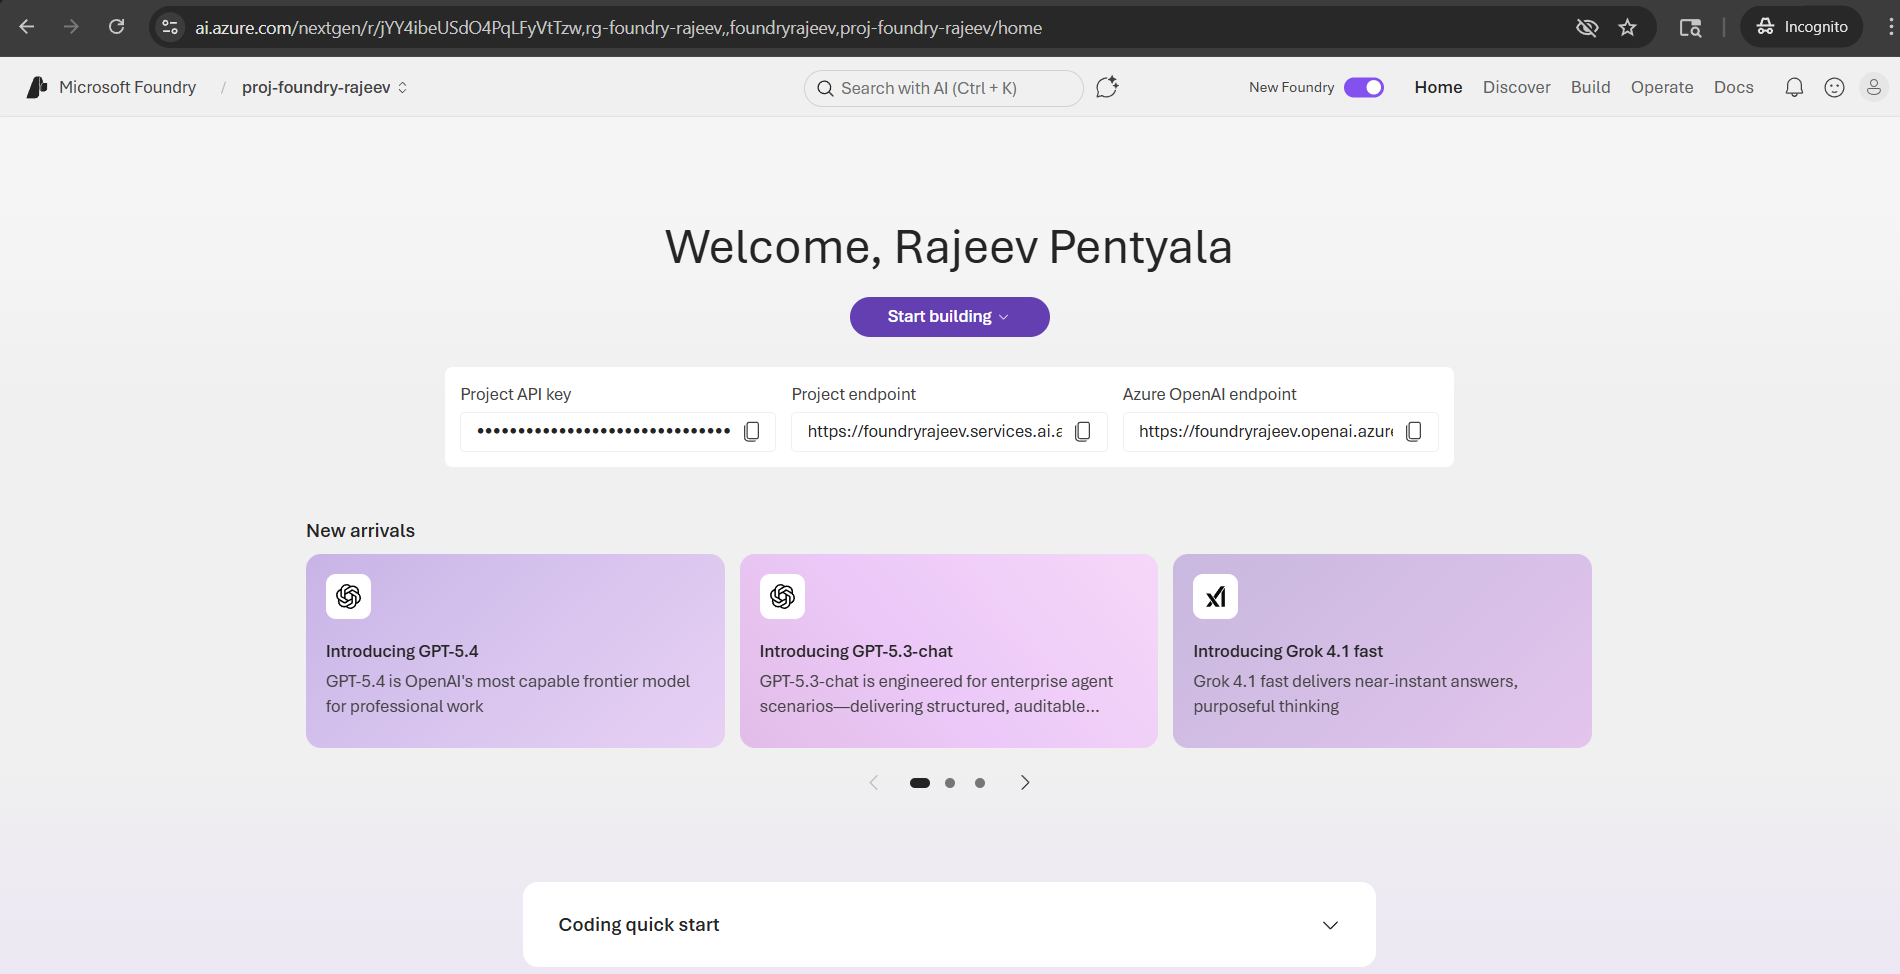
- You will be redirected to Microsoft Foundry portal where AI development happens.
Deploy a Model:
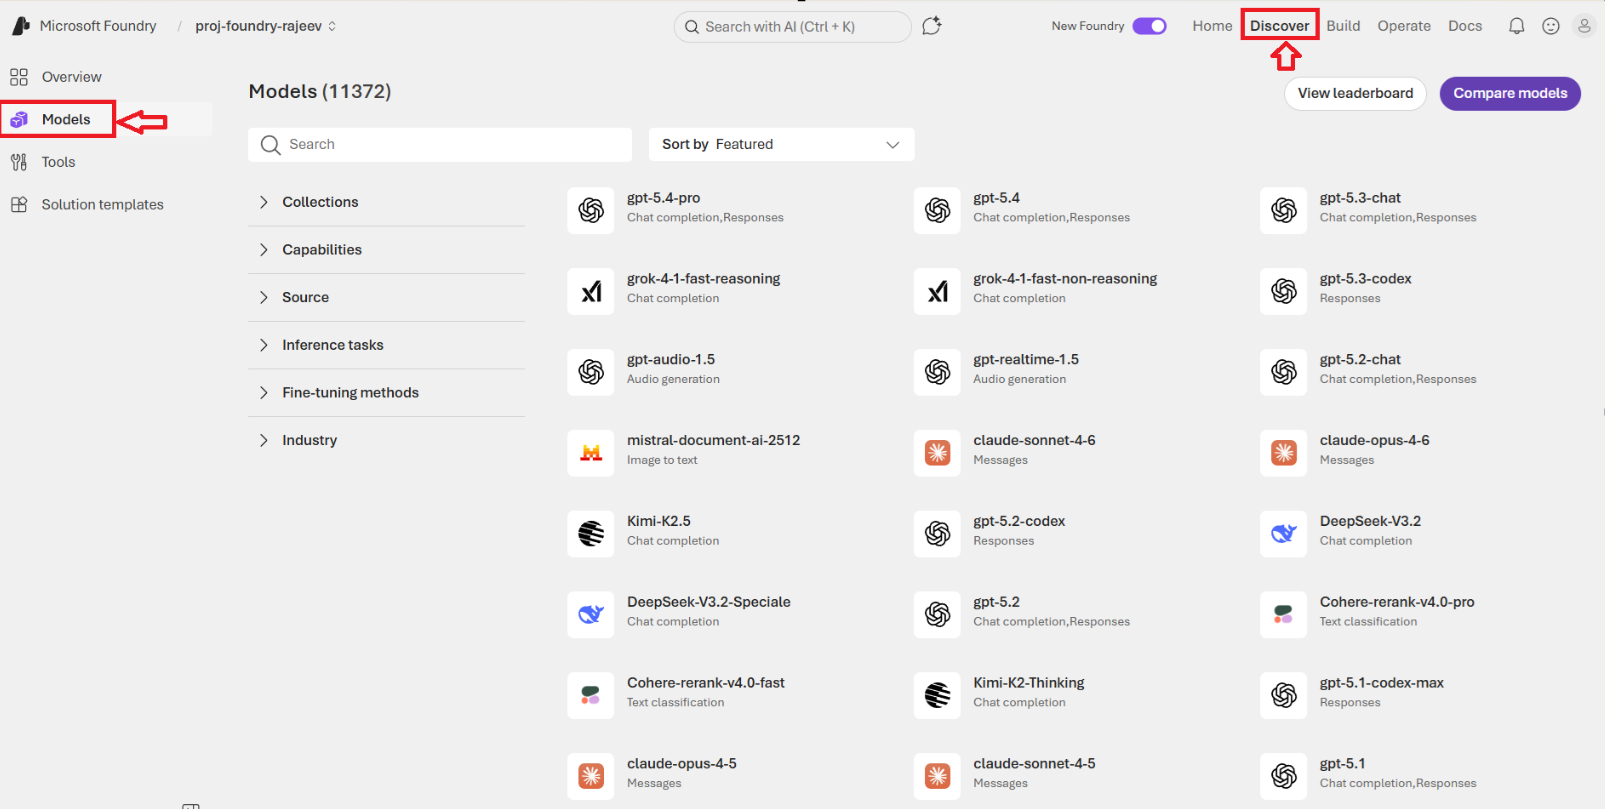
- Select Discover in the upper-right navigation. Select Models.
- This opens the Model Catalog, where you can explore available AI models.
- For this example, I selected the model: gpt-5.1-codex-mini. Click on Deploy
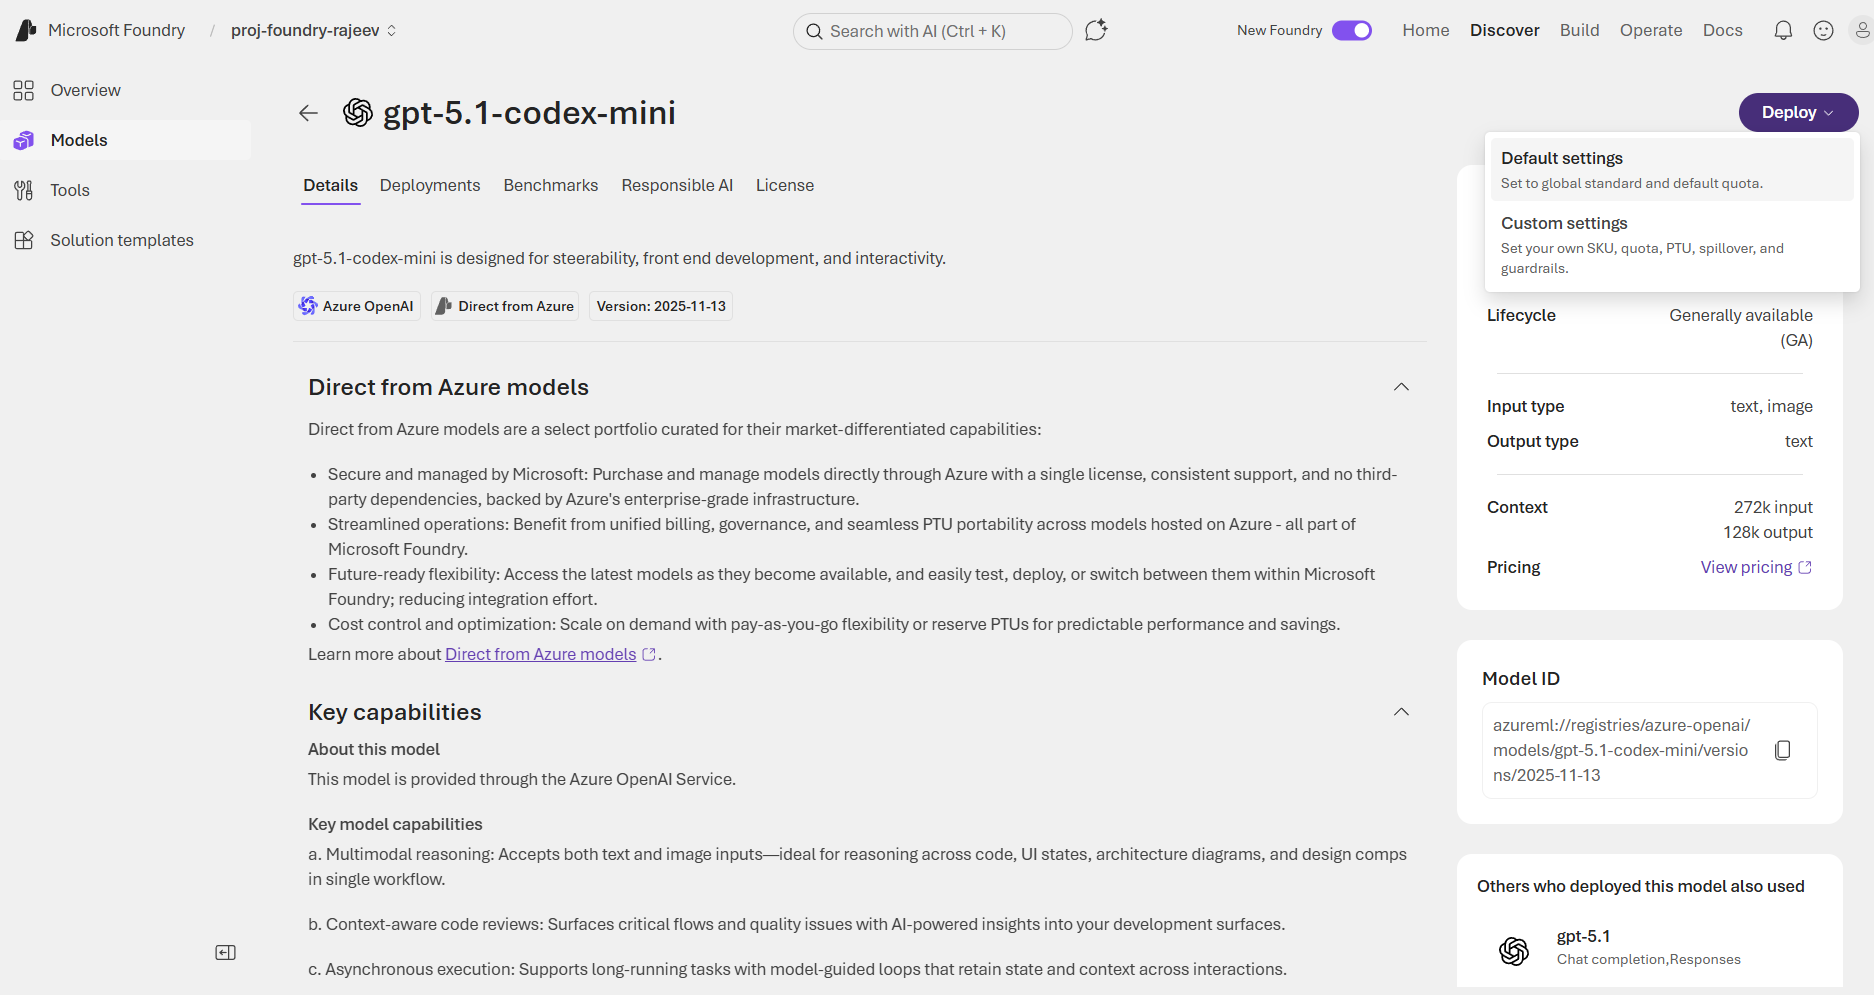
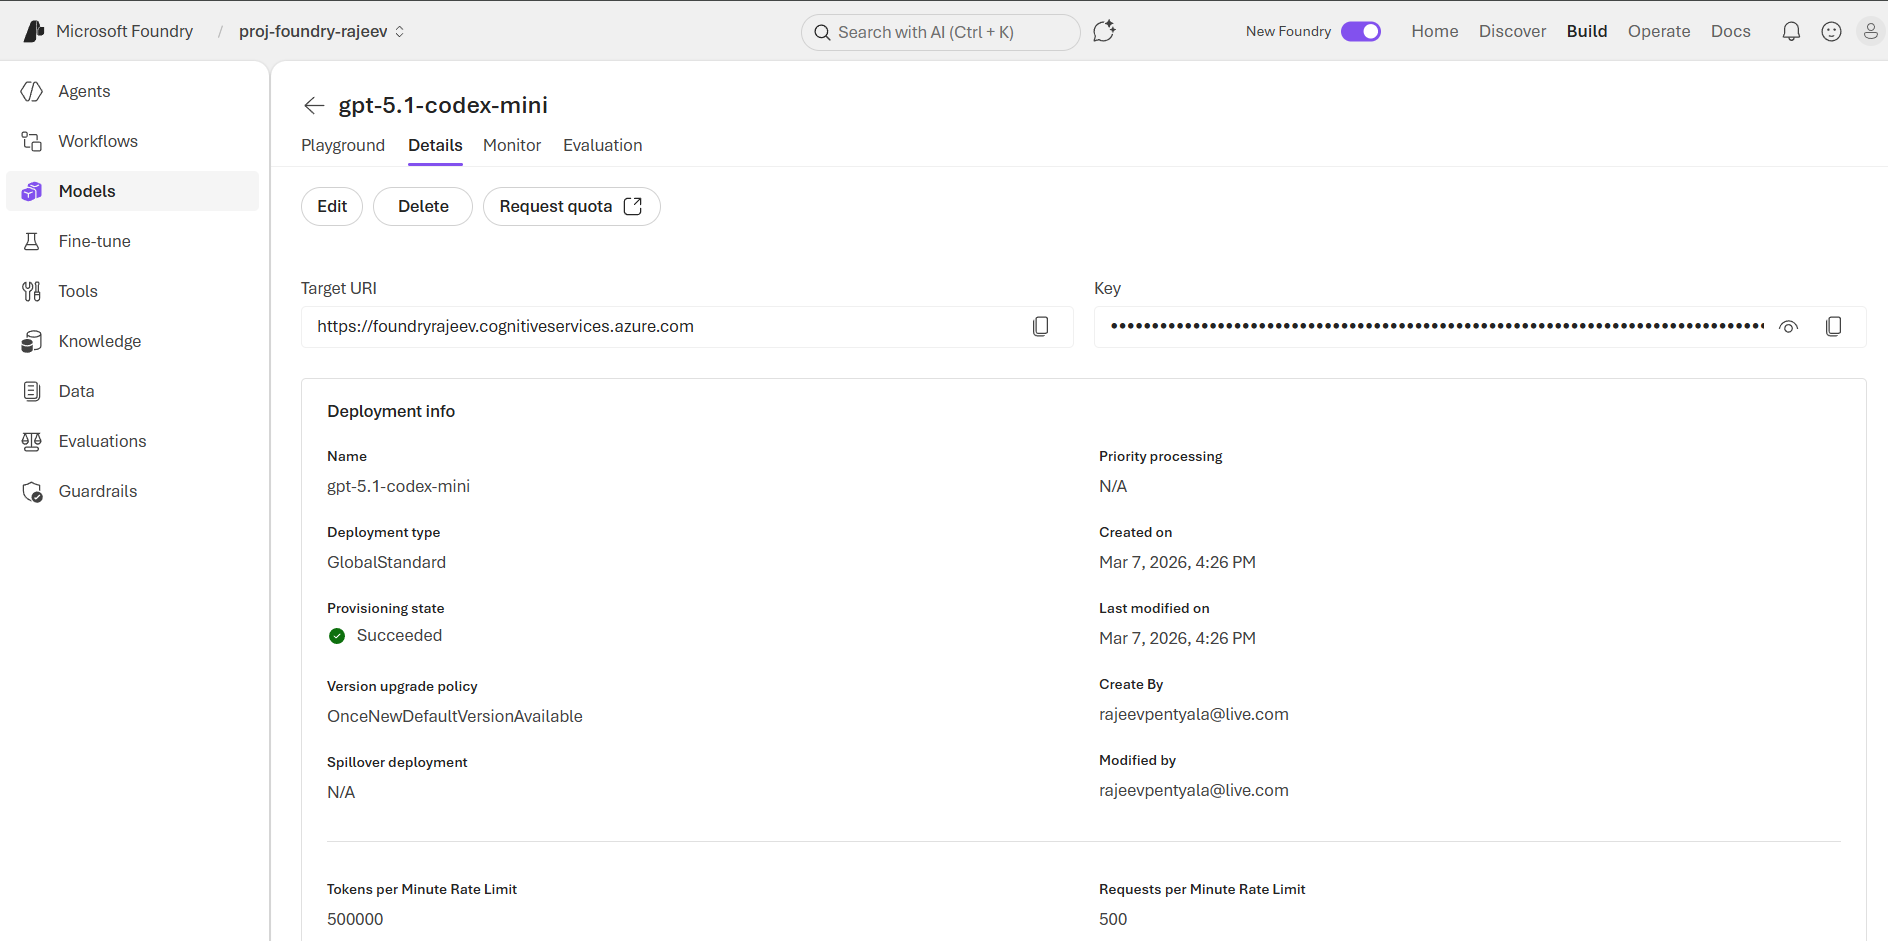
- Once the deployment is completed, you will be redirected to the model summary screen.
Build an Agent:
- After the model deploys, you’re automatically moved to the Build section.
- Select Create agent and give it a name.
- Select the gpt-5.1-codex-mini model which we deployed in previous step.
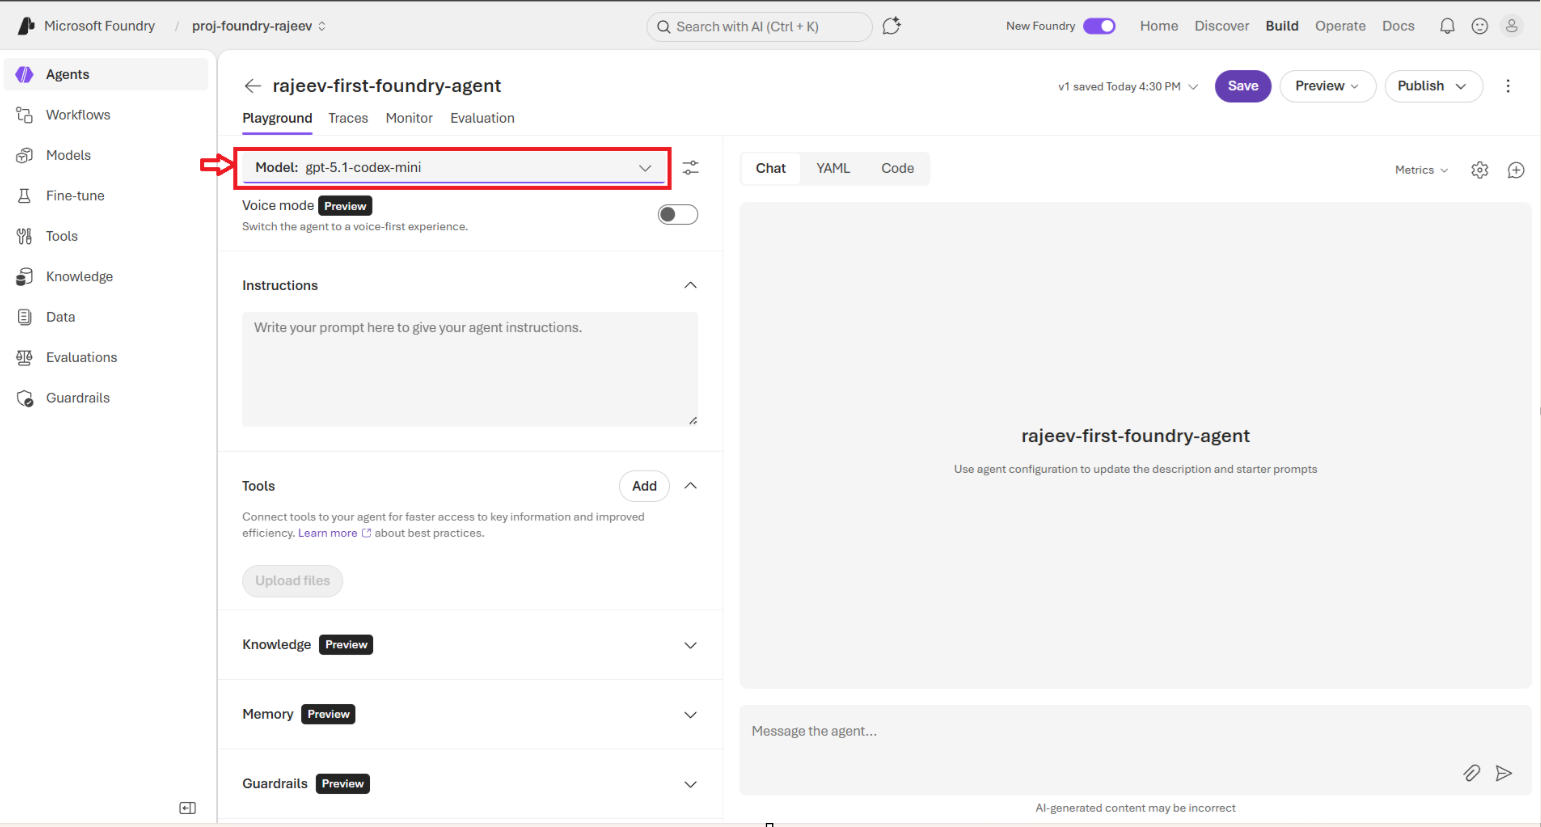
- You can also provide Instructions that define how the agent should behave. These instructions act as the system prompt for the agent.
- Once configured, you can start interacting with the agent.

Preview and Test the Agent
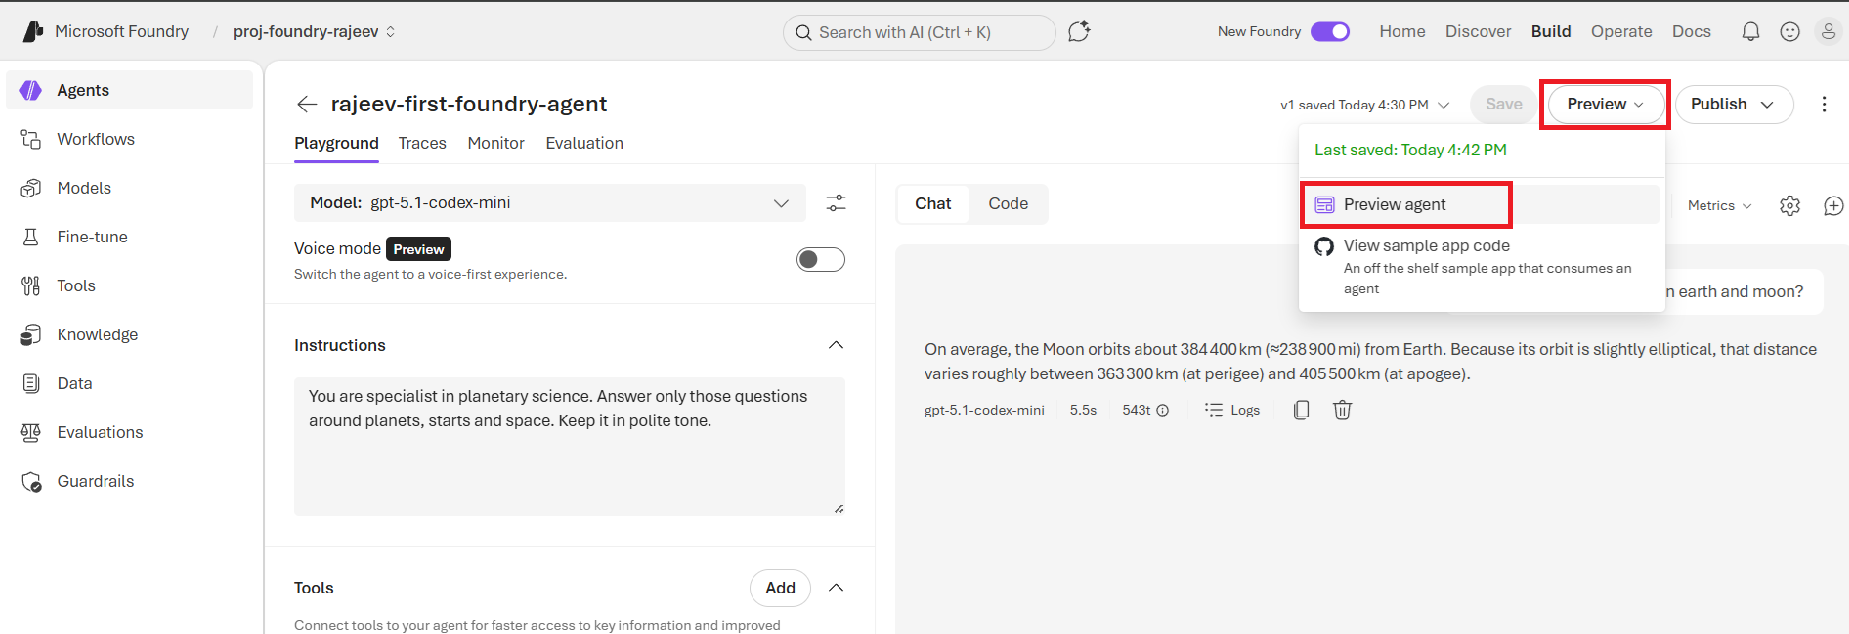
You can preview your agent before publishing it.
- Click on Preview agent
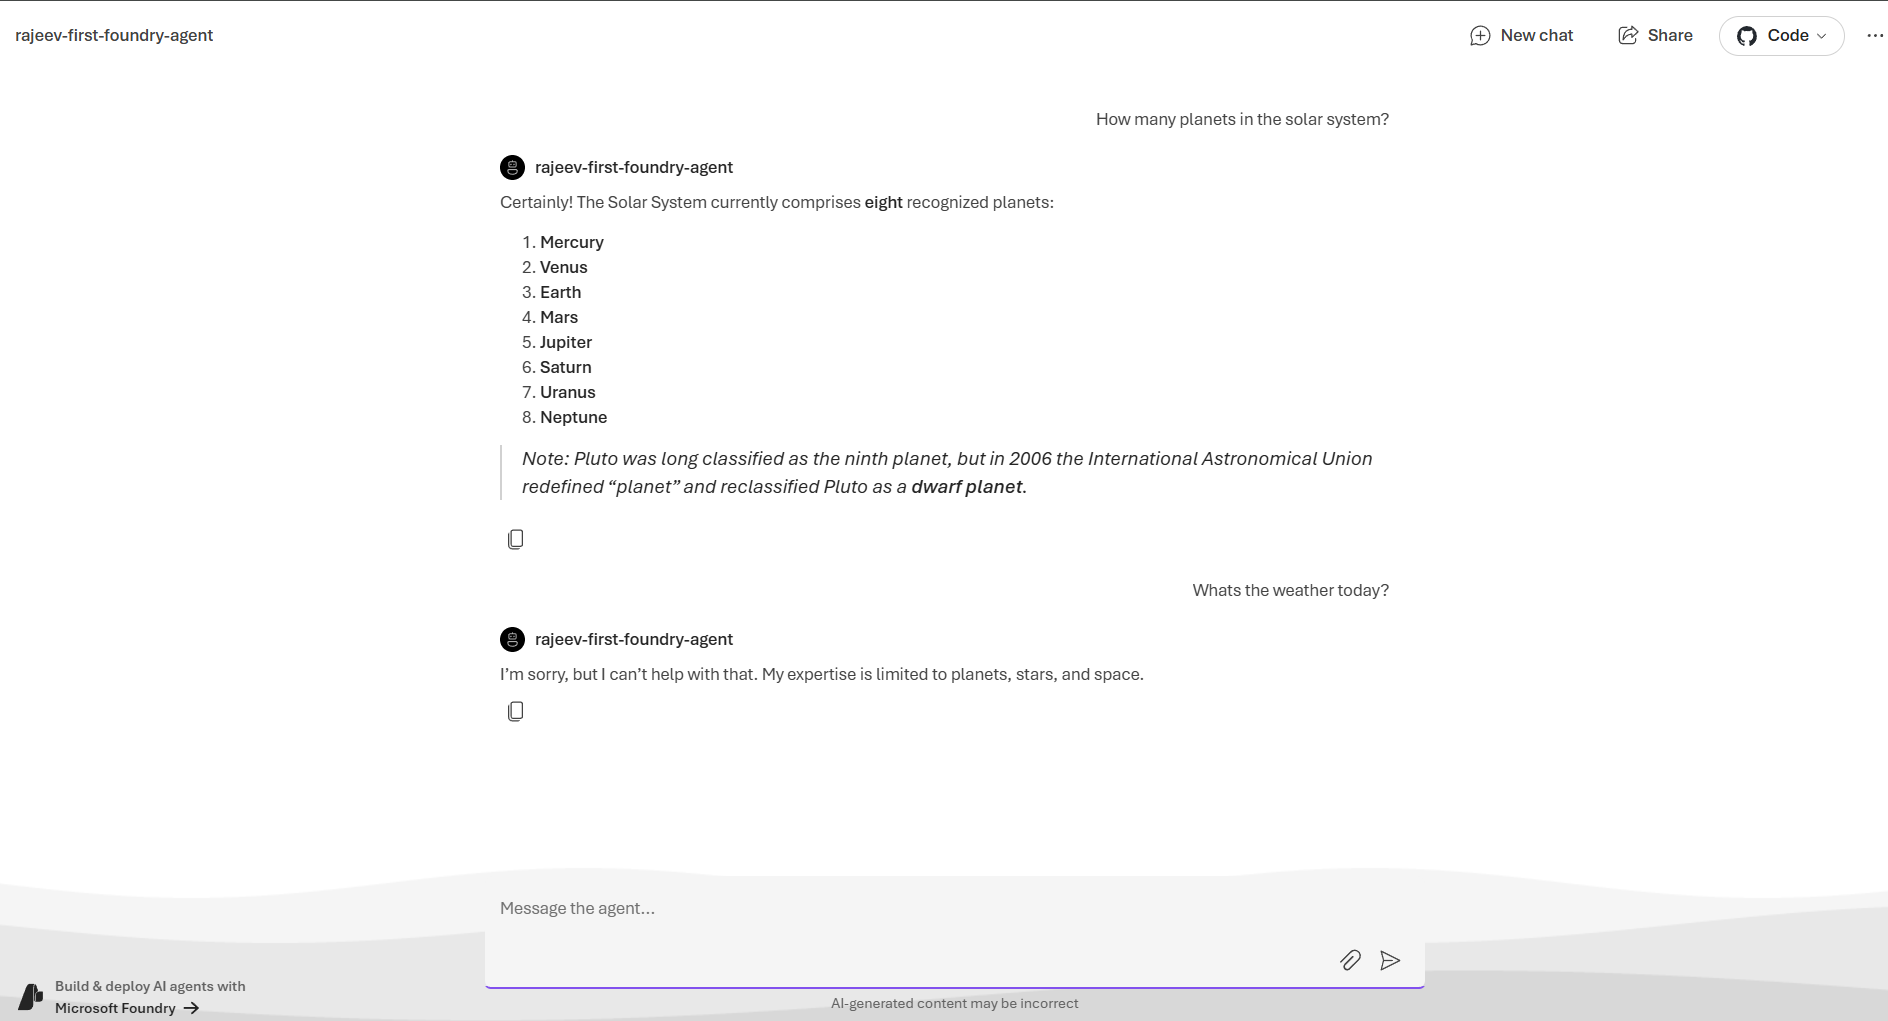
- In preview mode, you can:
- Ask questions
- Test responses
- Validate the instructions you configured
- Adjust behavior if needed
- This helps ensure your agent behaves the way you expect before publishing it.
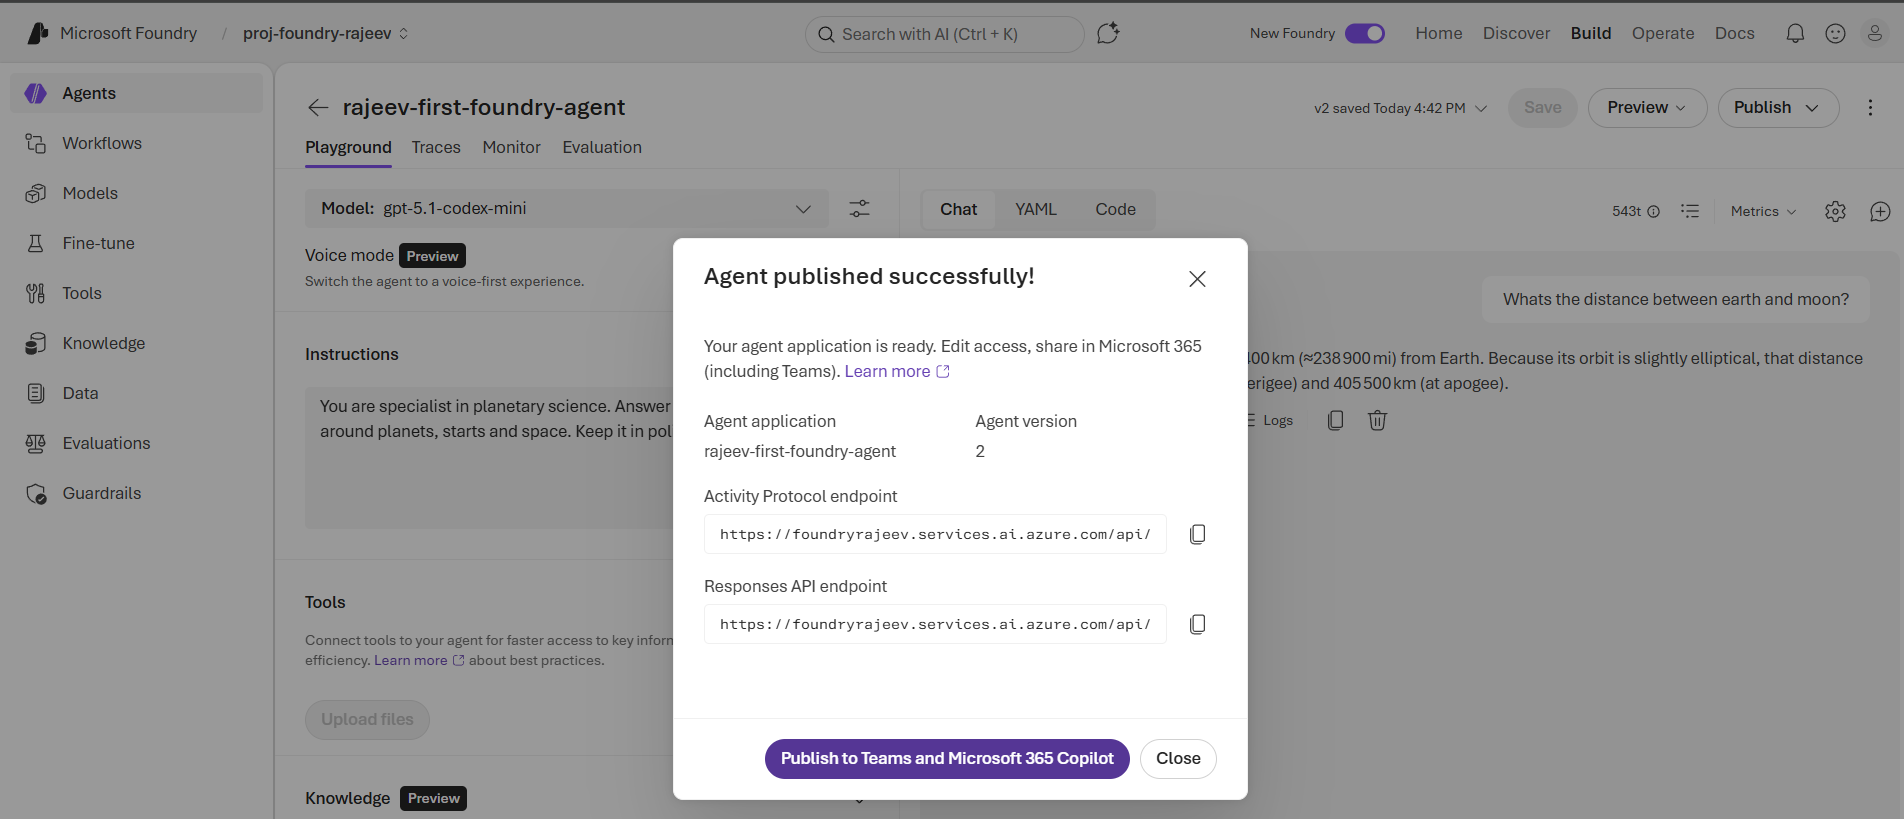
Publish the Agent:
- Once you are satisfied with the agent behavior, click Publish agent.
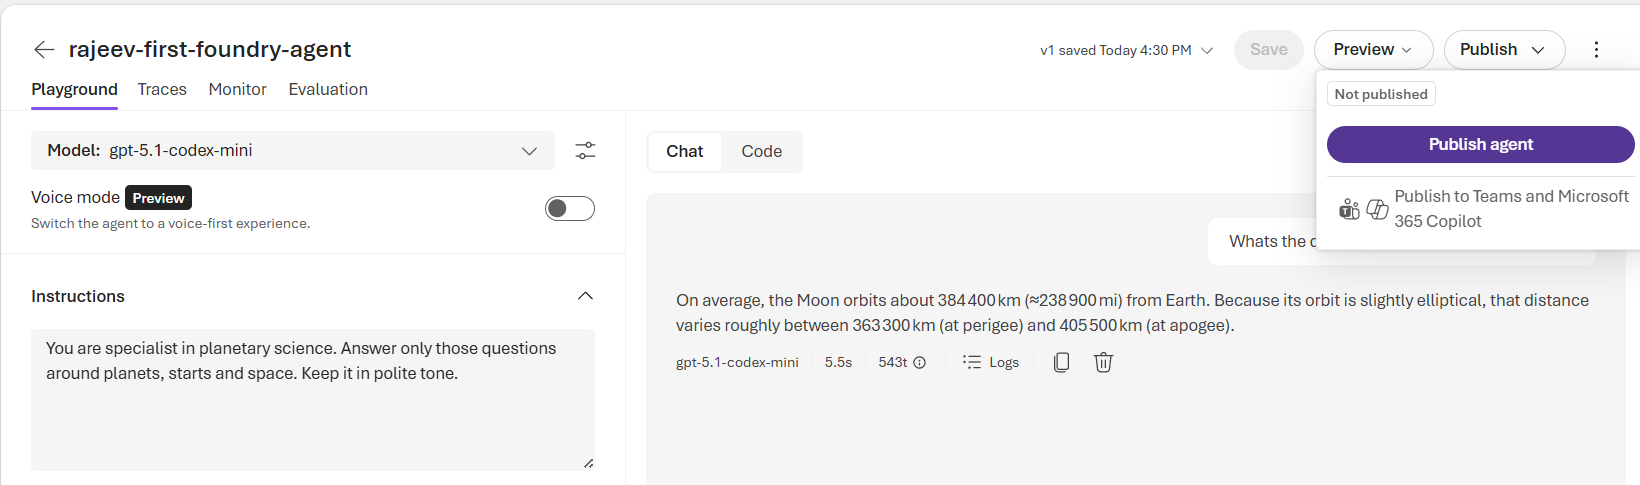
- Publishing makes the agent available for integration with other Microsoft platforms, like, Microsoft Teams and Microsoft 365 Copilot
Microsoft Foundry Agents vs Copilot Studio Agents:
You might be wondering: “If both platforms can create AI agents, what is the difference?”. The short answer is:
- Copilot Studio : Is designed for business users, makers, and IT teams who want to build agents quickly with low-code or no-code tools.
- Microsoft Foundry : Gives you full control over the AI application lifecycle, including models, prompts, tools, evaluation, and deployment
🙂


Leave a comment