I recently tried GitHub Spec-Kit to understand how Spec-Driven Development with AI agents works.
Instead of simply prompting an AI to “build an app,” Spec-Kit introduces structure:
Define principles → Define requirements → Create a plan → Break into tasks → Implement.
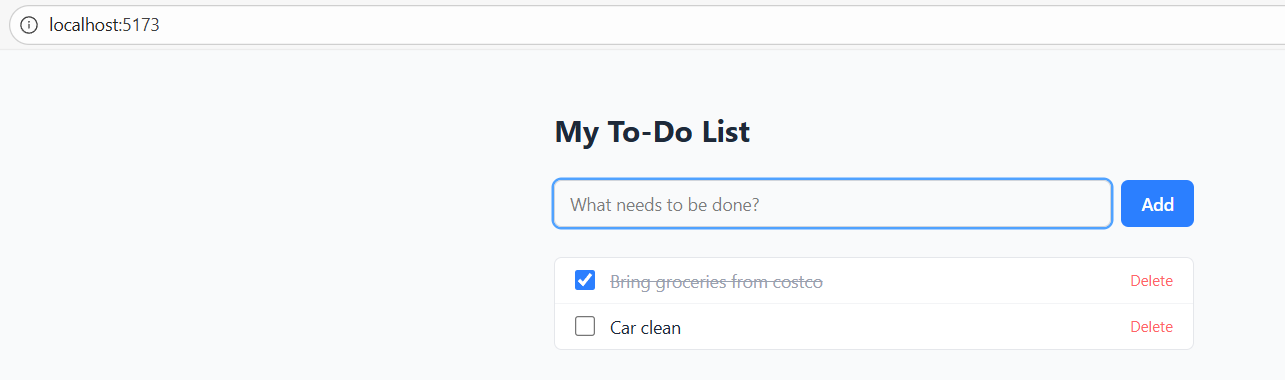
To understand this properly, I built a super simple React To-Do app from scratch using Spec-Kit and Claude Code.
In this article, I will walk you through the process and share what I learned.
Why Not Just Prompt the AI?
Normally, we might ask the AI Agent:
“Build a React To-Do app using TypeScript.”
The AI will generate code quickly. It may even work.
However, over time:
- Requirements may drift.
- Architecture decisions may change.
- Testing standards may not be enforced.
- Performance and quality checks may be skipped.
Spec-Kit addresses this by introducing discipline before implementation.
What is Spec-Kit?
Spec-Kit is an open framework from GitHub that enables Spec-Driven Development with AI agents.
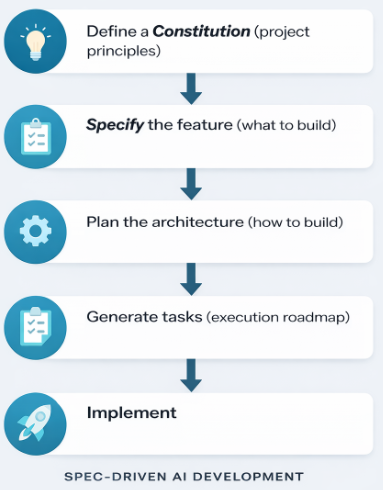
Instead of coding first, you:
- Define a Constitution (project principles)
- Specify the feature (what to build)
- Plan the architecture (how to build)
- Generate tasks (execution roadmap)
- Implement
Each step produces structured artifacts that guide the AI. The result is a more predictable and controlled development process.
Let’s see this in action through a step-by-step example.
Prerequisites:
Before using Spec-Kit, we need to install the required tools.
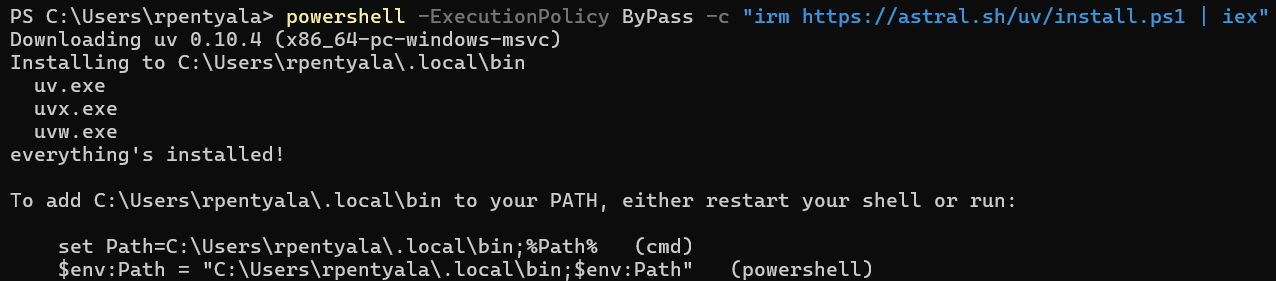
Install UV (Python package manager):
- Run the following command in Console:
powershell -ExecutionPolicy ByPass -c "irm https://astral.sh/uv/install.ps1 | iex"
- This installs the
uvtool.
Install ‘Specify’ CLI:
- Once
uvis installed, install the Spec-Kit CLI:
uv tool install specify-cli --from git+https://github.com/github/spec-kit.git
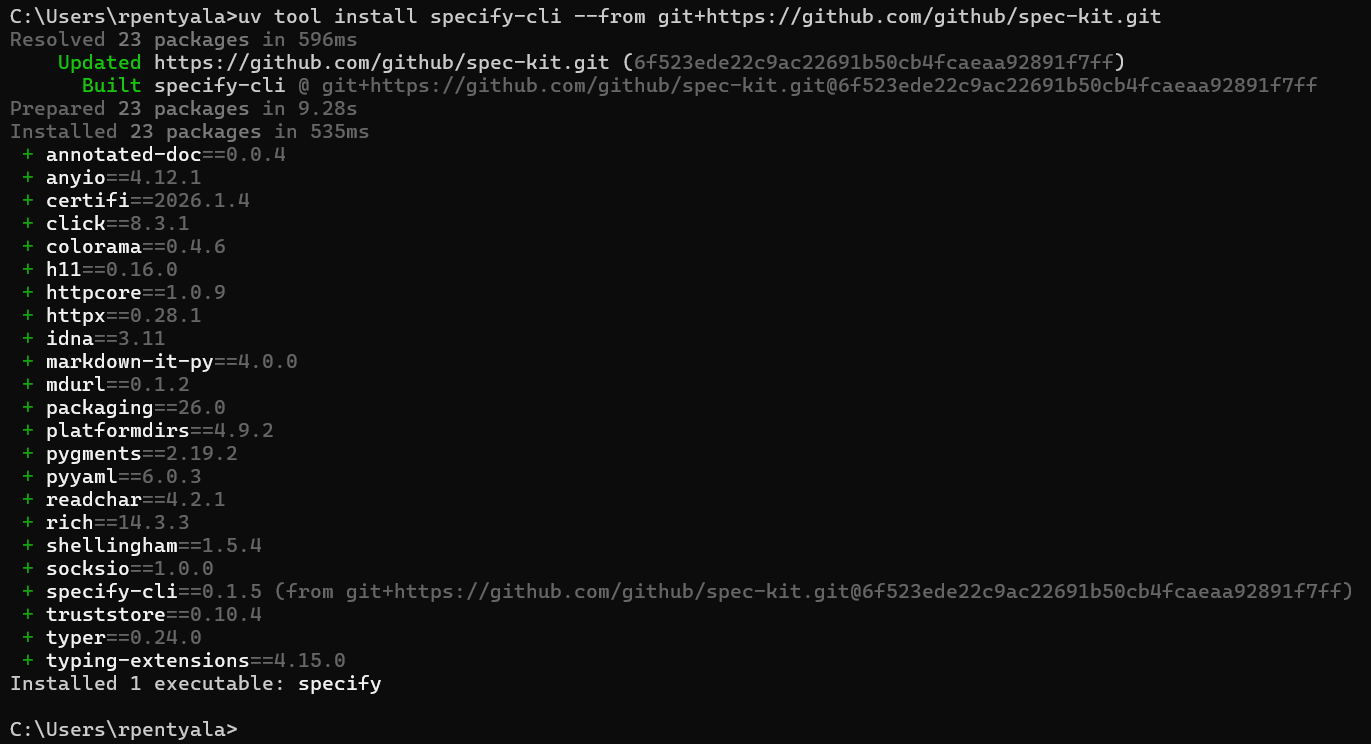
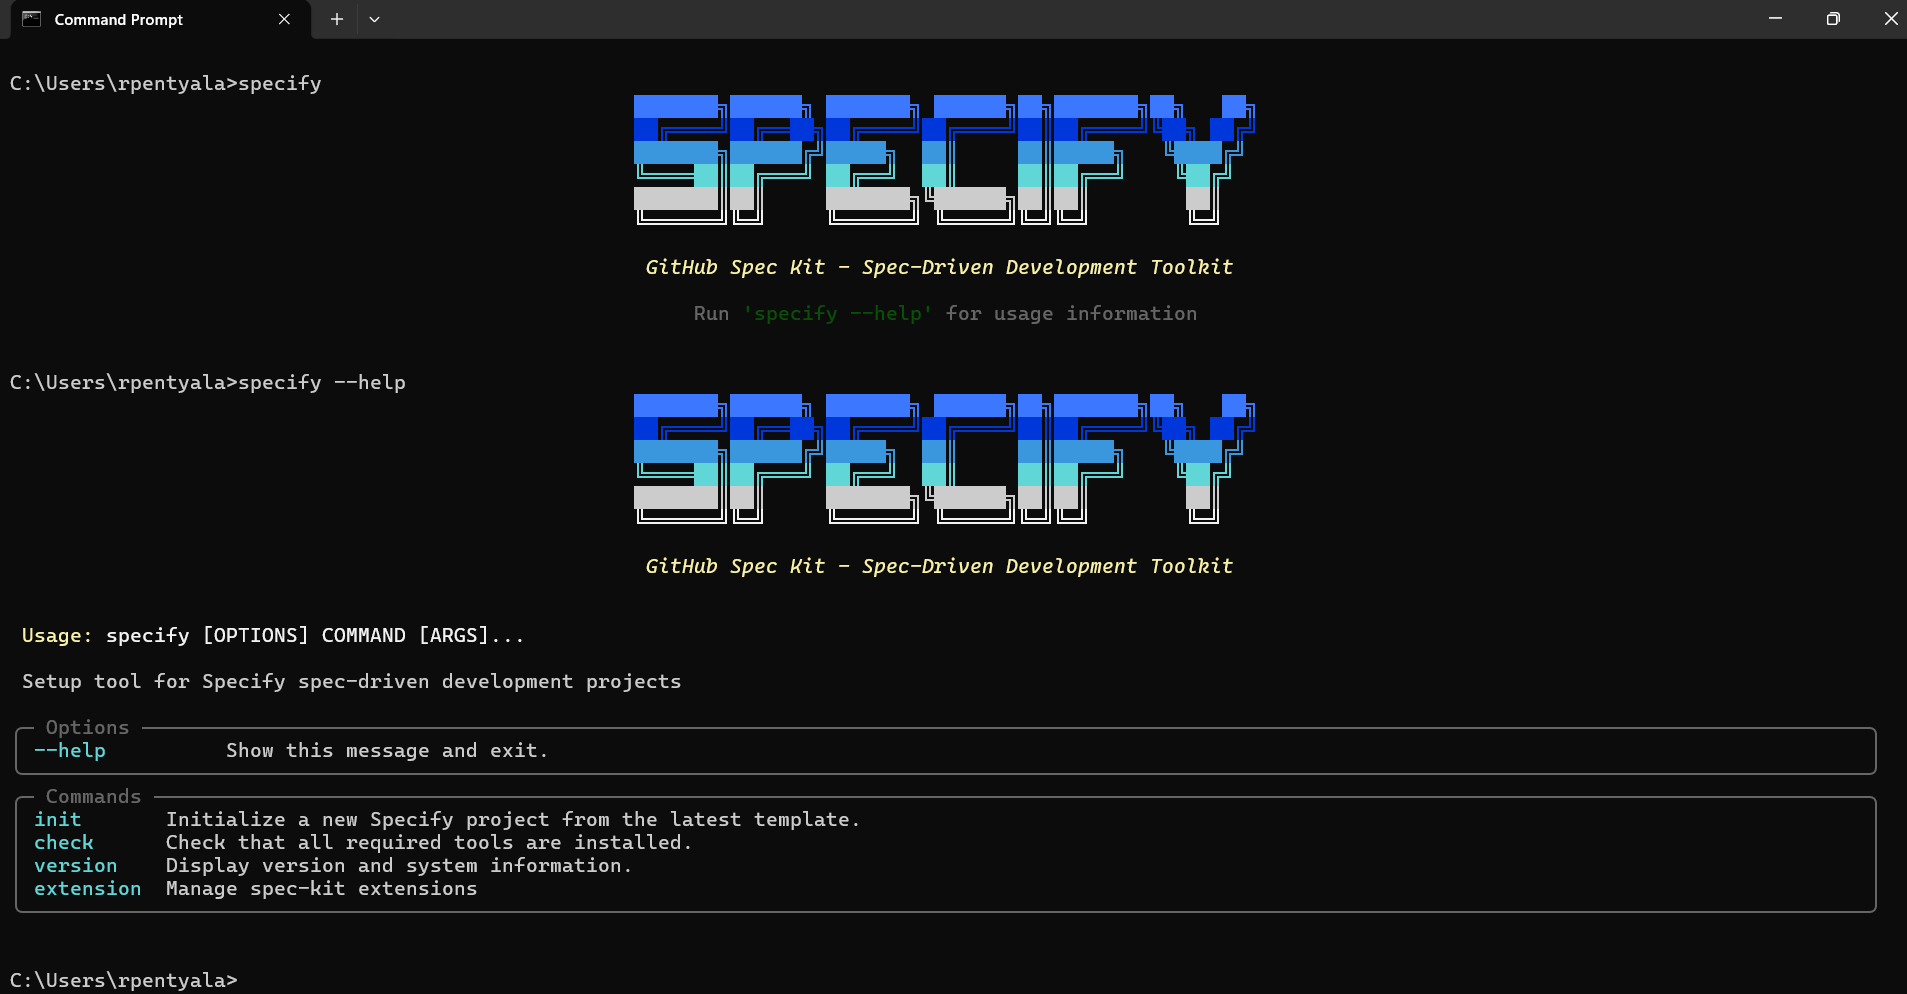
- To verify installation, run:
specify
Initialize Spec-Kit with Claude:
In the previous step, we installed the Specify CLI. Next, we need to choose the AI agent to work with. In this example, I will use Claude Code as the AI agent and VS Code as the code editor. You can choose any AI agent of your preference.
- Create a blank folder and open it in VS Code
- In the Terminal run the following command and choose script type as ps (powershell)
specify init spec-kit-demo --ai claude
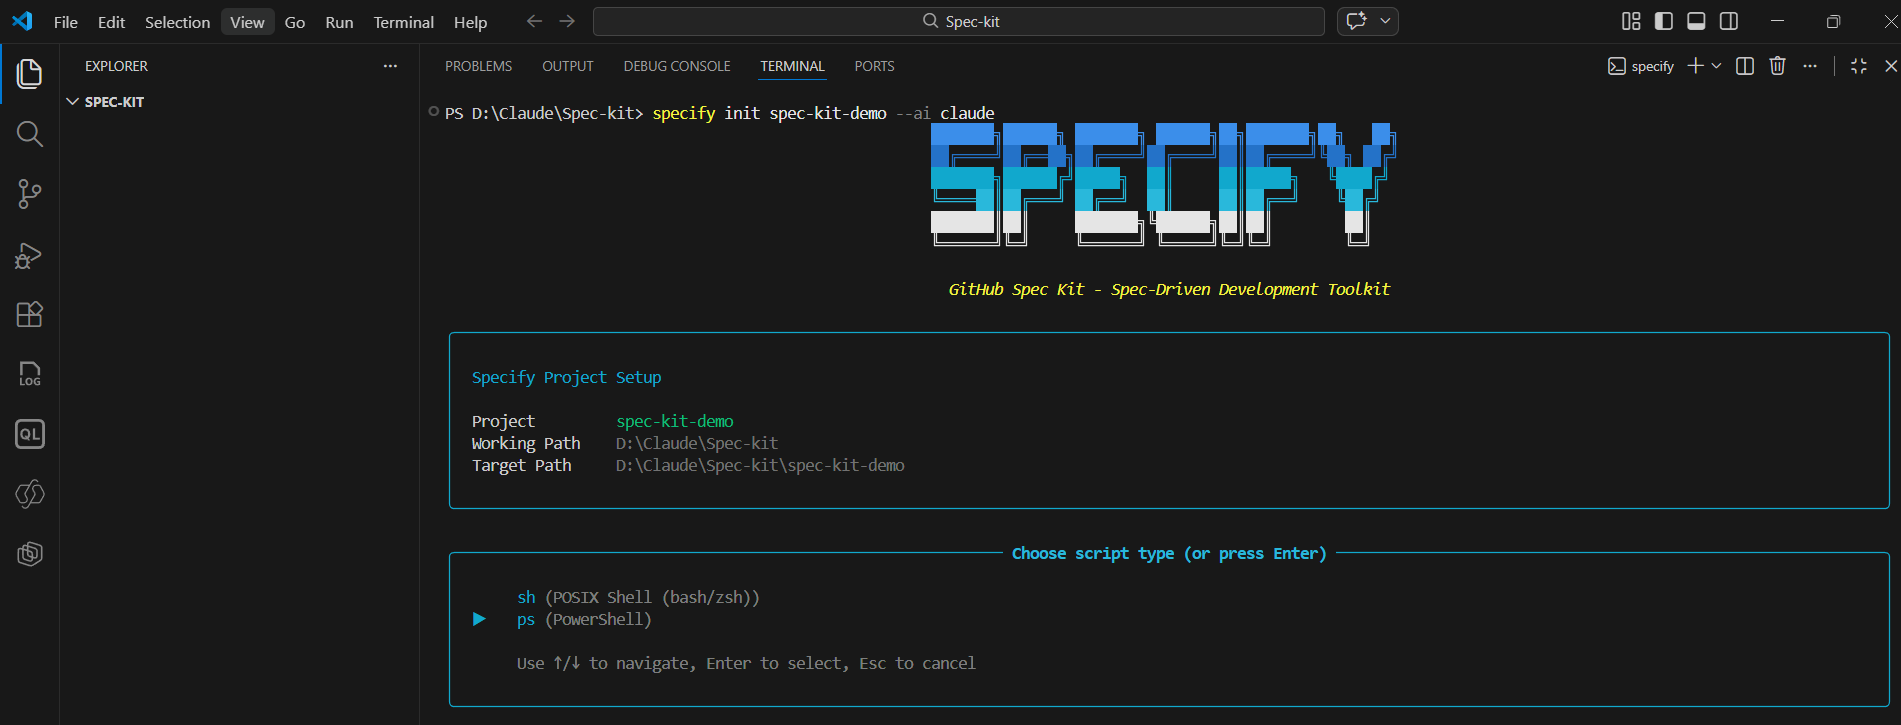
- Note:
spec-kit-demois the project name. You can choose any name. - Once executed, a new folder is created with template files, including Claude /slash commands etc. You do not need to understand all generated files at this stage.

- Next, change your terminal path to the
spec-kit-demofolder.
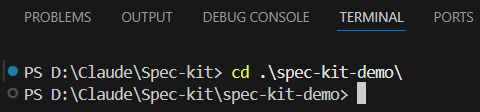
At this point, the setup is complete and we are ready to build our application using the Spec-Driven approach.
Build the App using Spec-kit commands and Claude Code:
The core idea of Spec-Kit is to execute the following five commands in sequence:
- Constitution
- Specify
- Plan
- Tasks
- Implement
After each command, specification files are generated.
As already mentioned we will be using Claude Code as our AI Assistant, follow these steps:
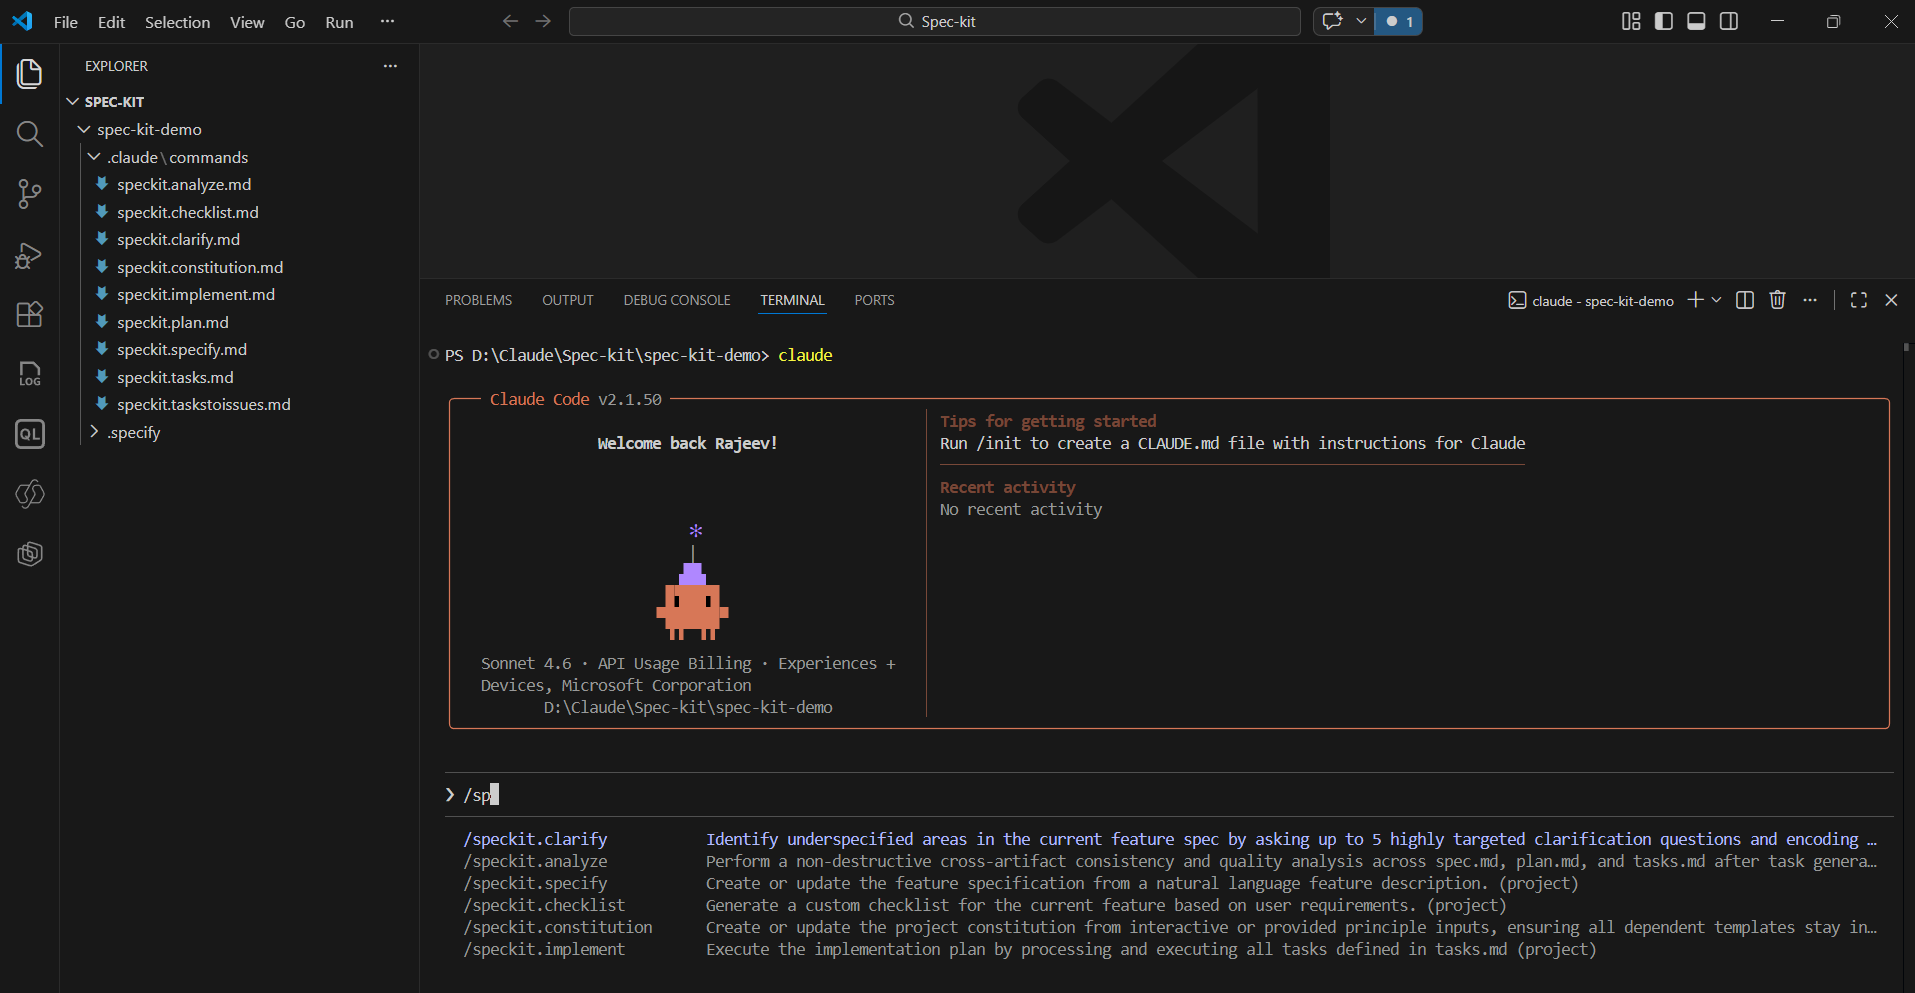
- In the VS Code terminal, open Claude Code by executing Claude command:
Claude
- When you start typing /speckit- you will see all the available commands.
Now let’s go through each step.
Step 1: Constitution — Define the Rules
- Think of the Constitution as the engineering rulebook for your project.
- Execute:
/speckit.constitution Create principles focused on code quality, testing standards, user experience consistency, and performance requirements for a beginner-friendly React app.
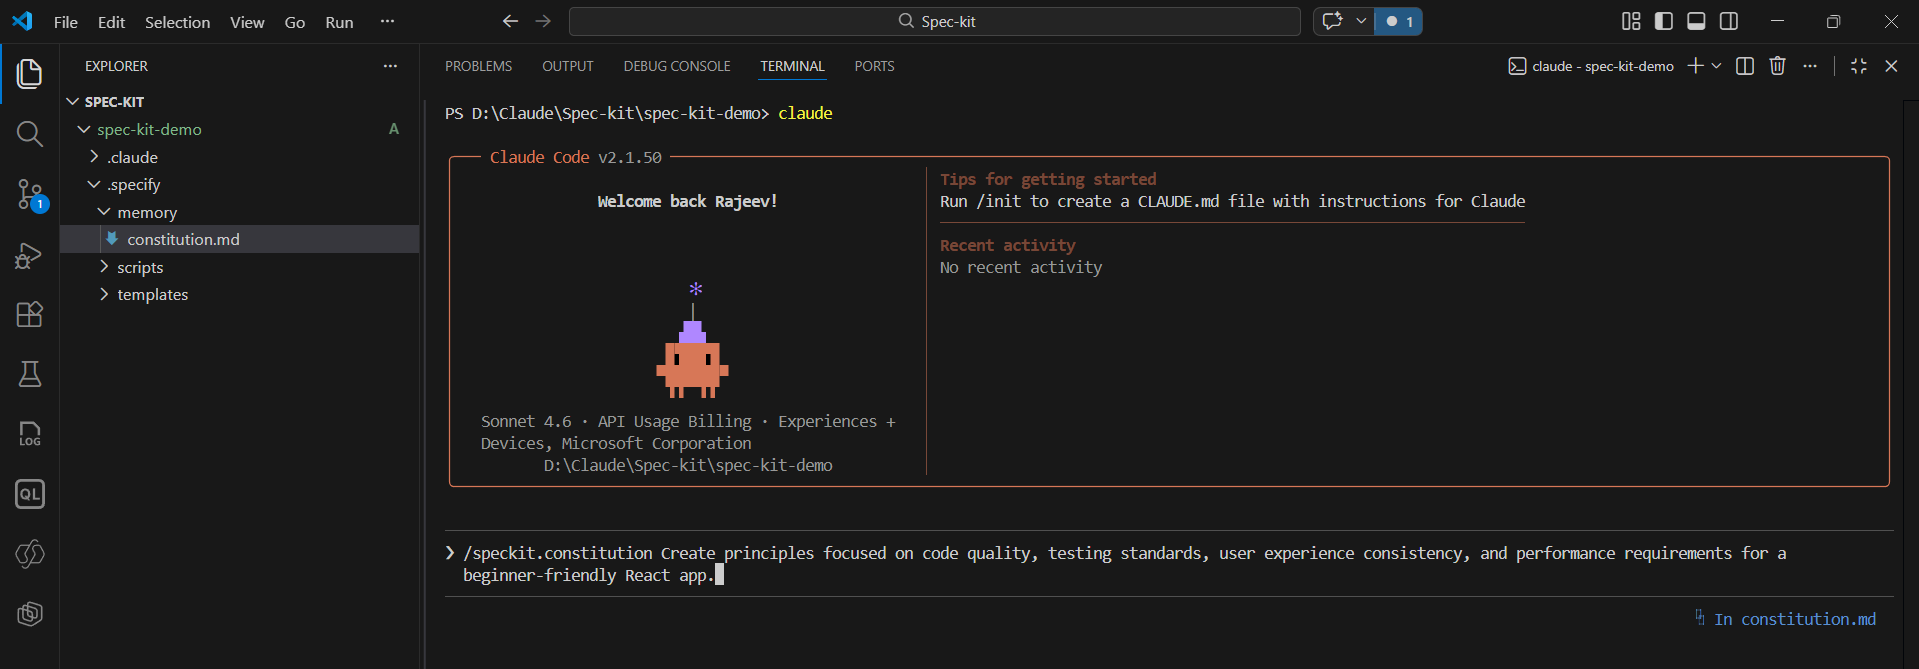
- Provide consent if prompted.
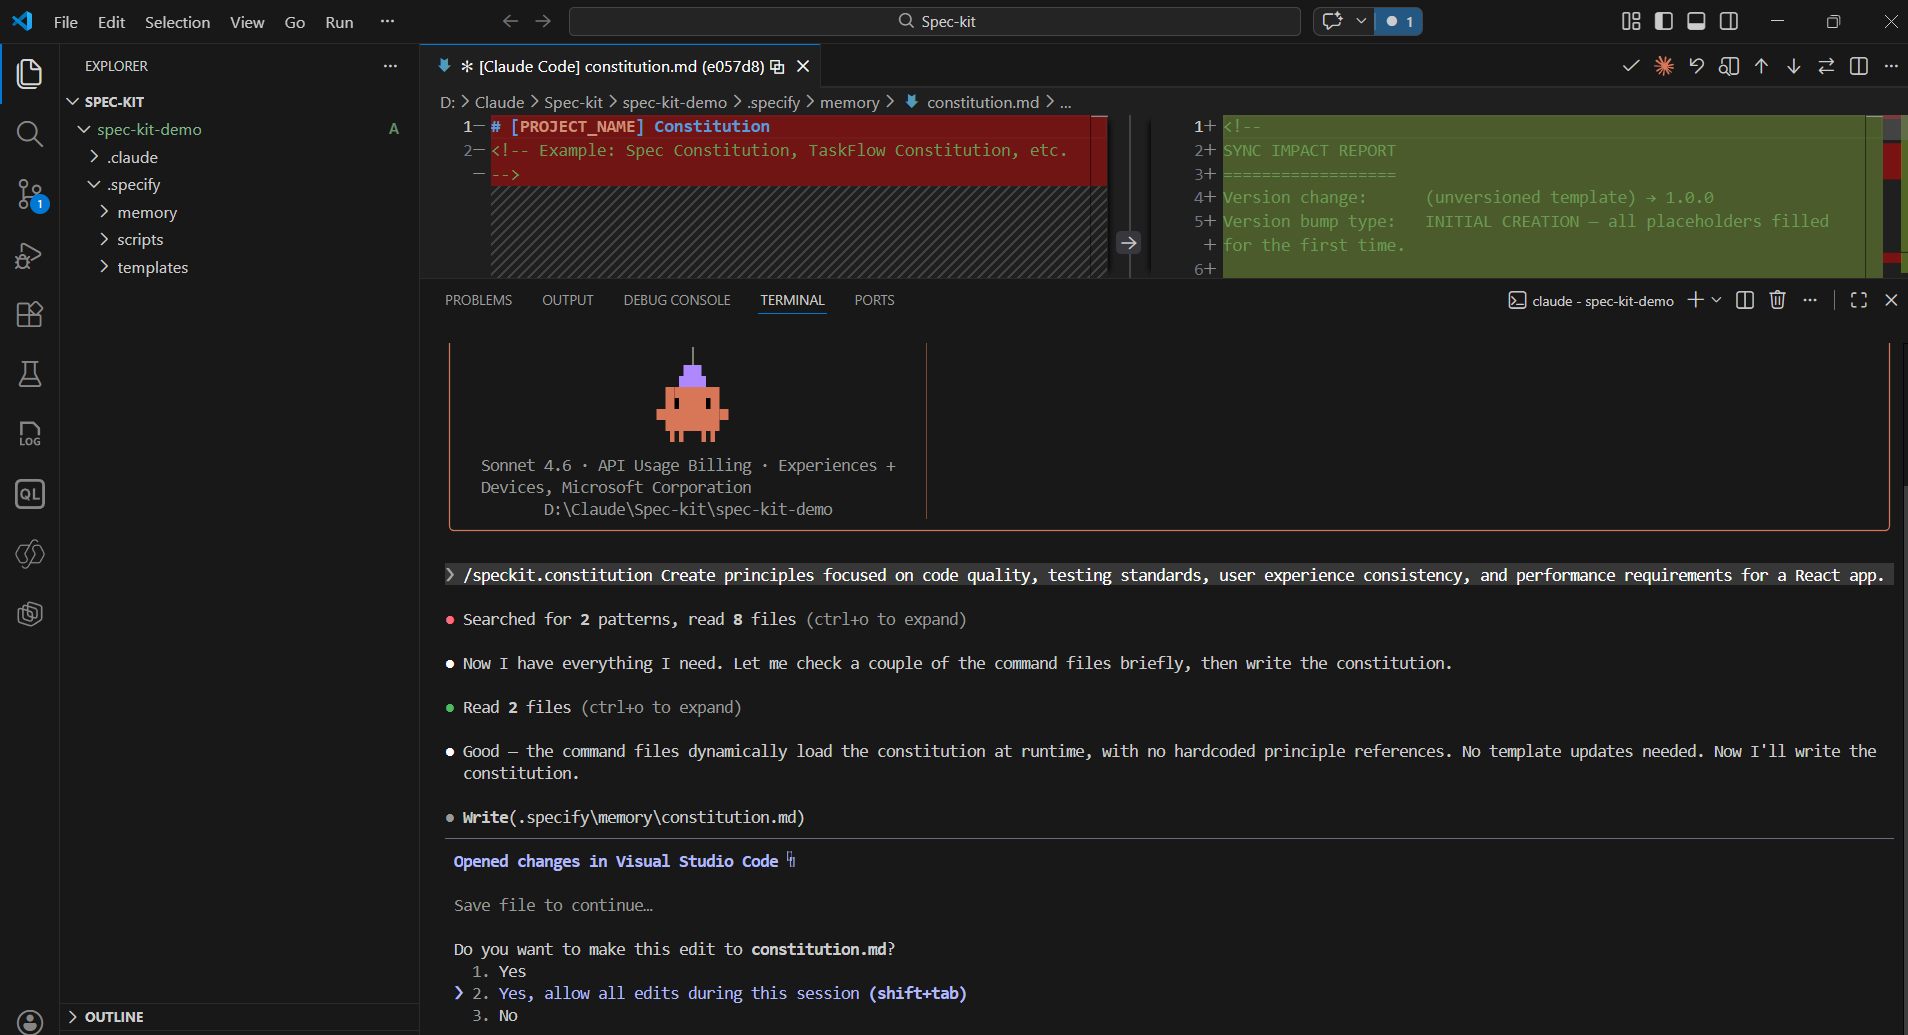
- /speckit.constitution command updates the spec-kit-demo.specify\memory\constitution.md file with rules.
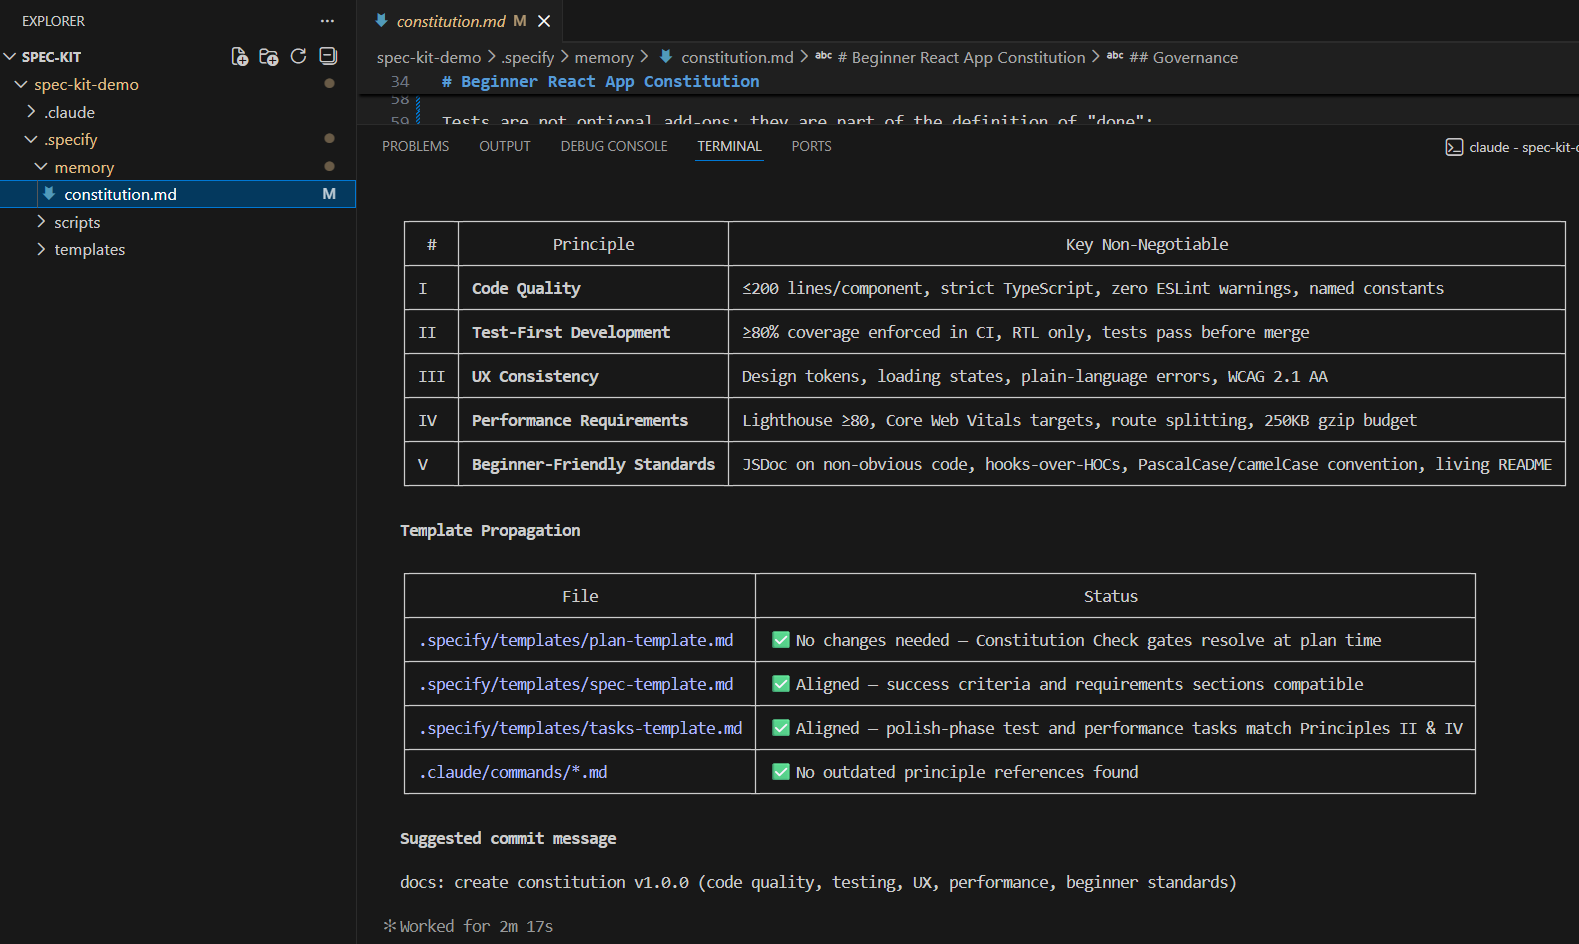
- Important lesson : If your constitution is too strict (like enterprise-level testing + performance budgets), everything downstream becomes complex.
- The Constitution directly influences planning, tasks, and implementation.
Step 2: Specify — Define What to Build:
Next, execute:
/speckit.specify Build a super simple To-Do List React application for learning purposes.

- /speckit.specify generates
spec.md(user stories)requirements.md(functional requirements)
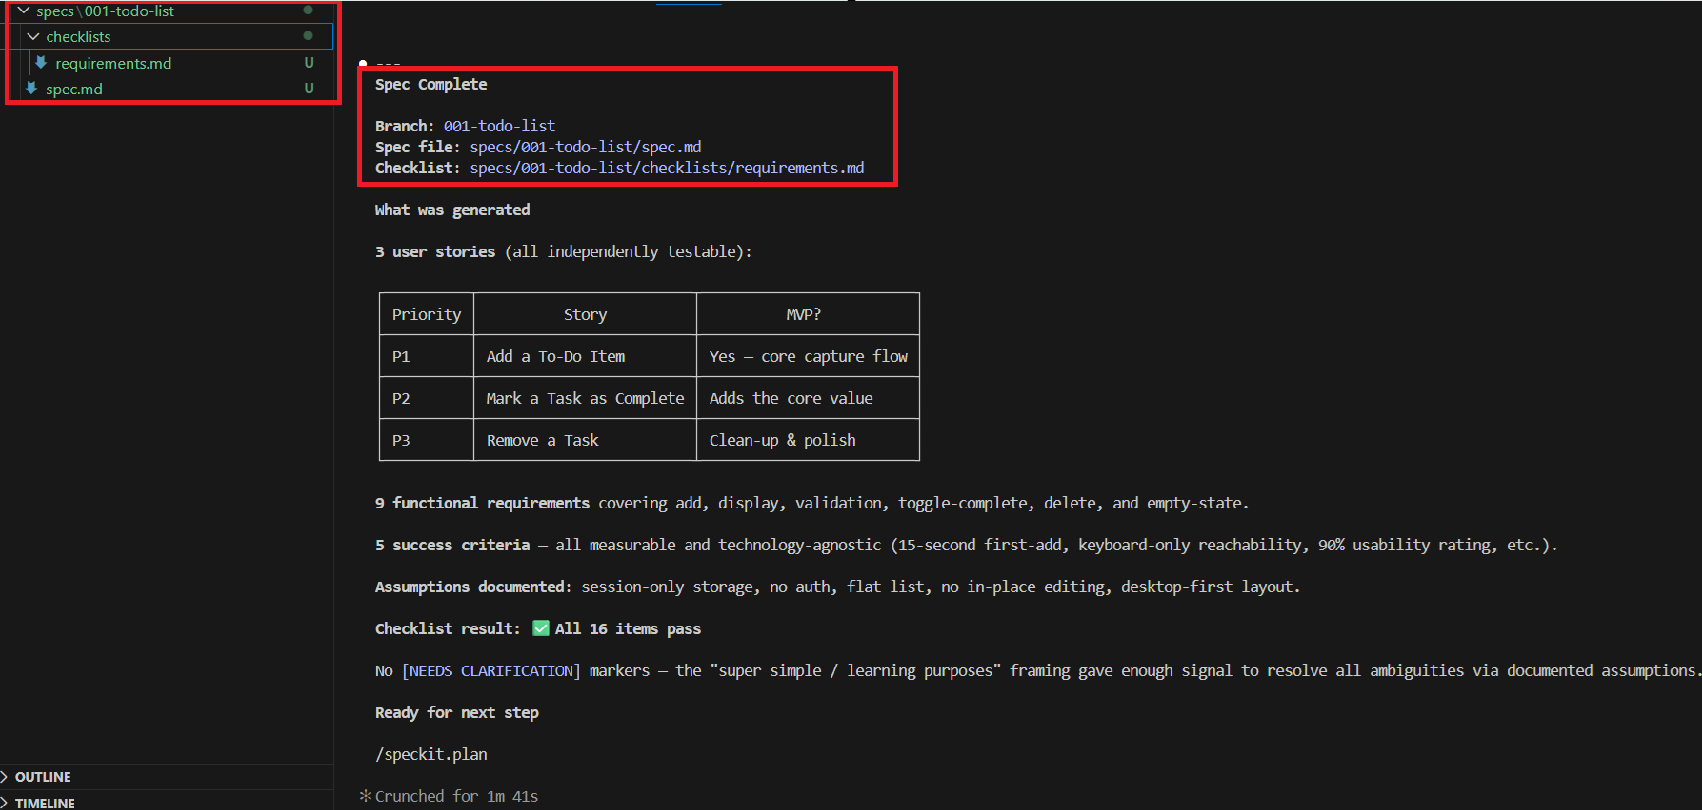
- You can open the generated
spec.mdfile to understand what has been created.
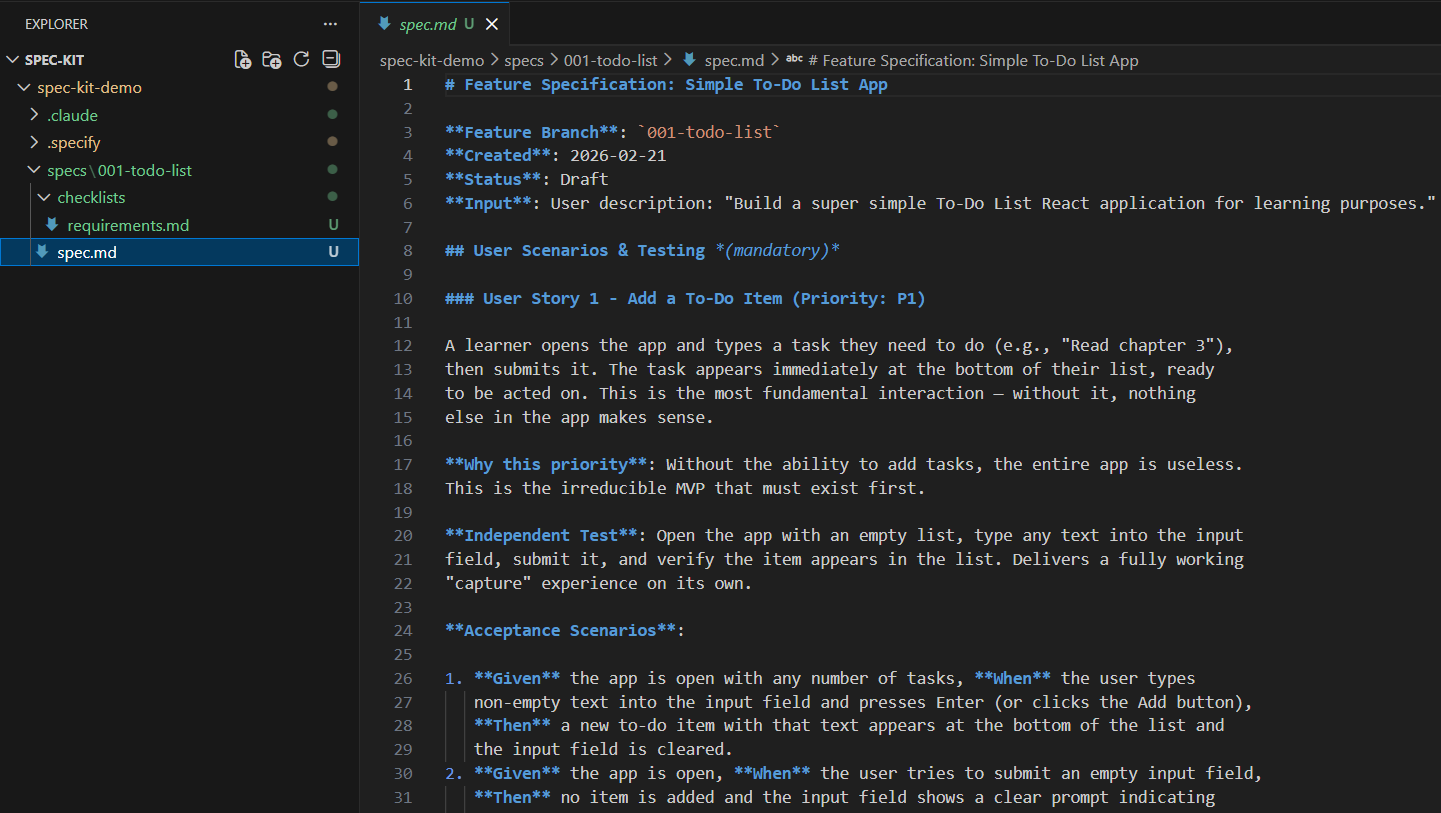
- At this stage, we are defining what to build — not how to build it.
Step 3: Plan — Decide How to Build:
- Next, execute:
/speckit.plan Create a simple implementation plan for the To-Do list app defined in specs/001-todo-list/spec.md. Use Vite + React + TypeScript.Use localStorage for persistence (load on startup, save on change).No backend, no auth, no routing.

- This generates architectural specifications such as:
plan.md- Data model documentation
- This is where the “how” gets defined. Architecture decisions are locked in before writing code.

Step 4: Tasks — Break It Down:
Next, execute:
/speckit.tasks

- This converts the plan into:
- Small, executable tasks
- Logical implementation sequence
- Clear completion steps
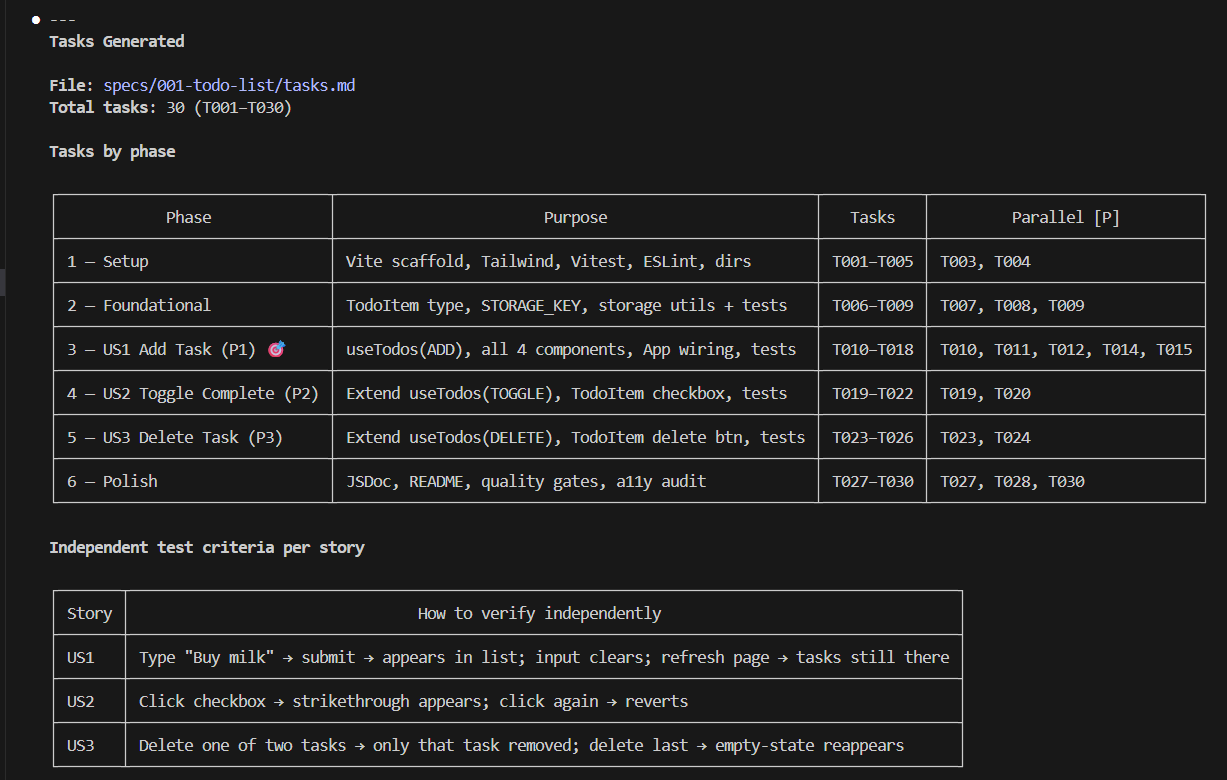
- Instead of writing code directly, we now have a structured execution roadmap.
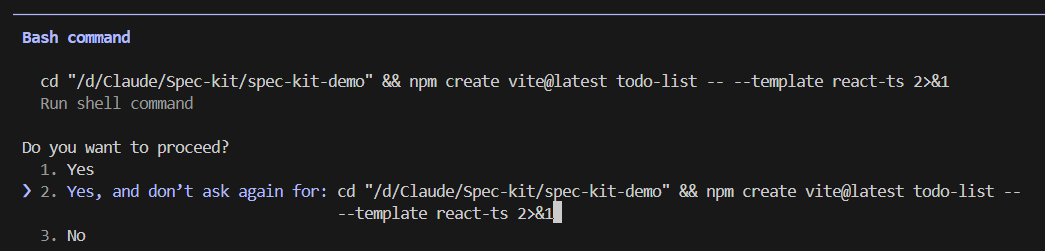
Step 5: Implement — Let the Agent Build:
Finally, execute:
/speckit.implement

- This step generates the actual project.
- It may take some time depending on complexity. Provide consent when prompted.
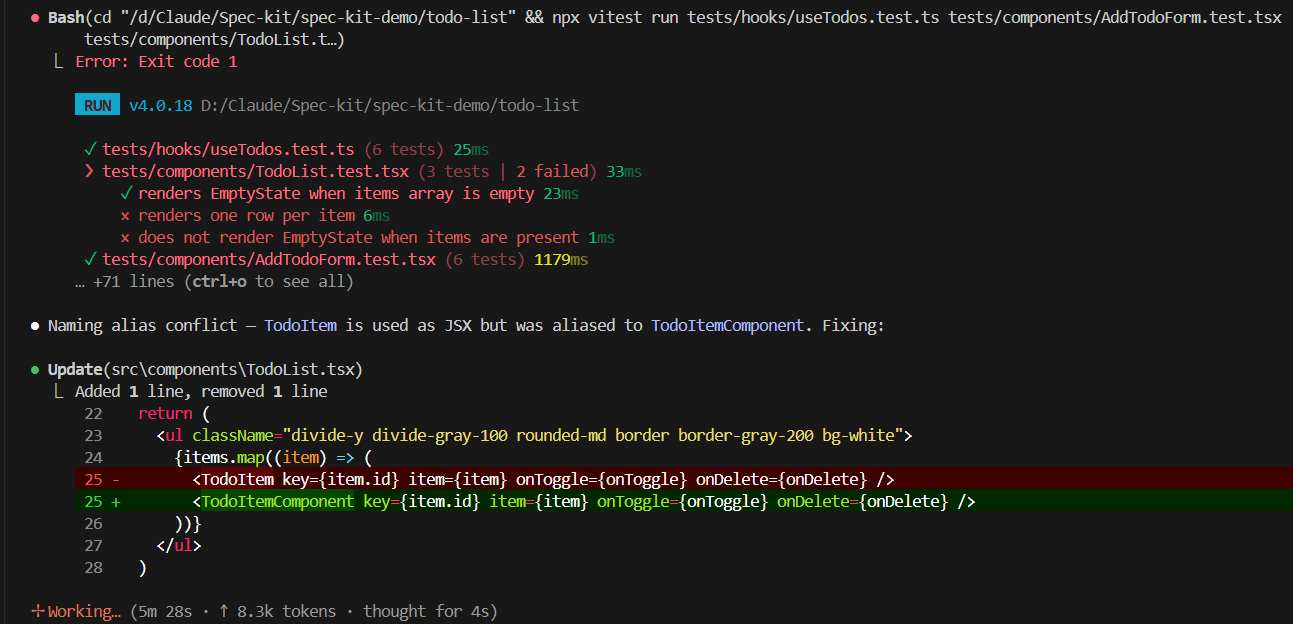
- What impressed me most was this:
- The React project was generated.
- Unit tests were automatically created.
- Tests executed immediately.
- Issues were fixed proactively during execution.
- The generated output included:
- A Vite React + TypeScript project
- All required components
- localStorage utilities
- Strict TypeScript configuration
- Test cases
- Quality checks
- Run the project using:
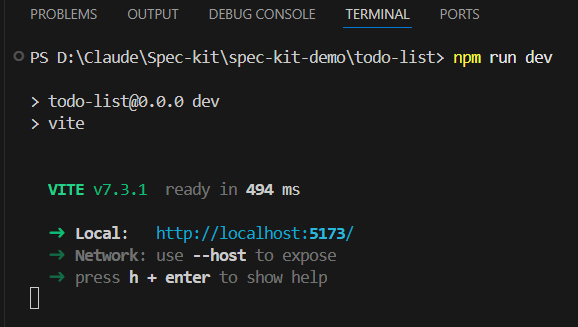
- The application worked immediately.
What Surprised Me
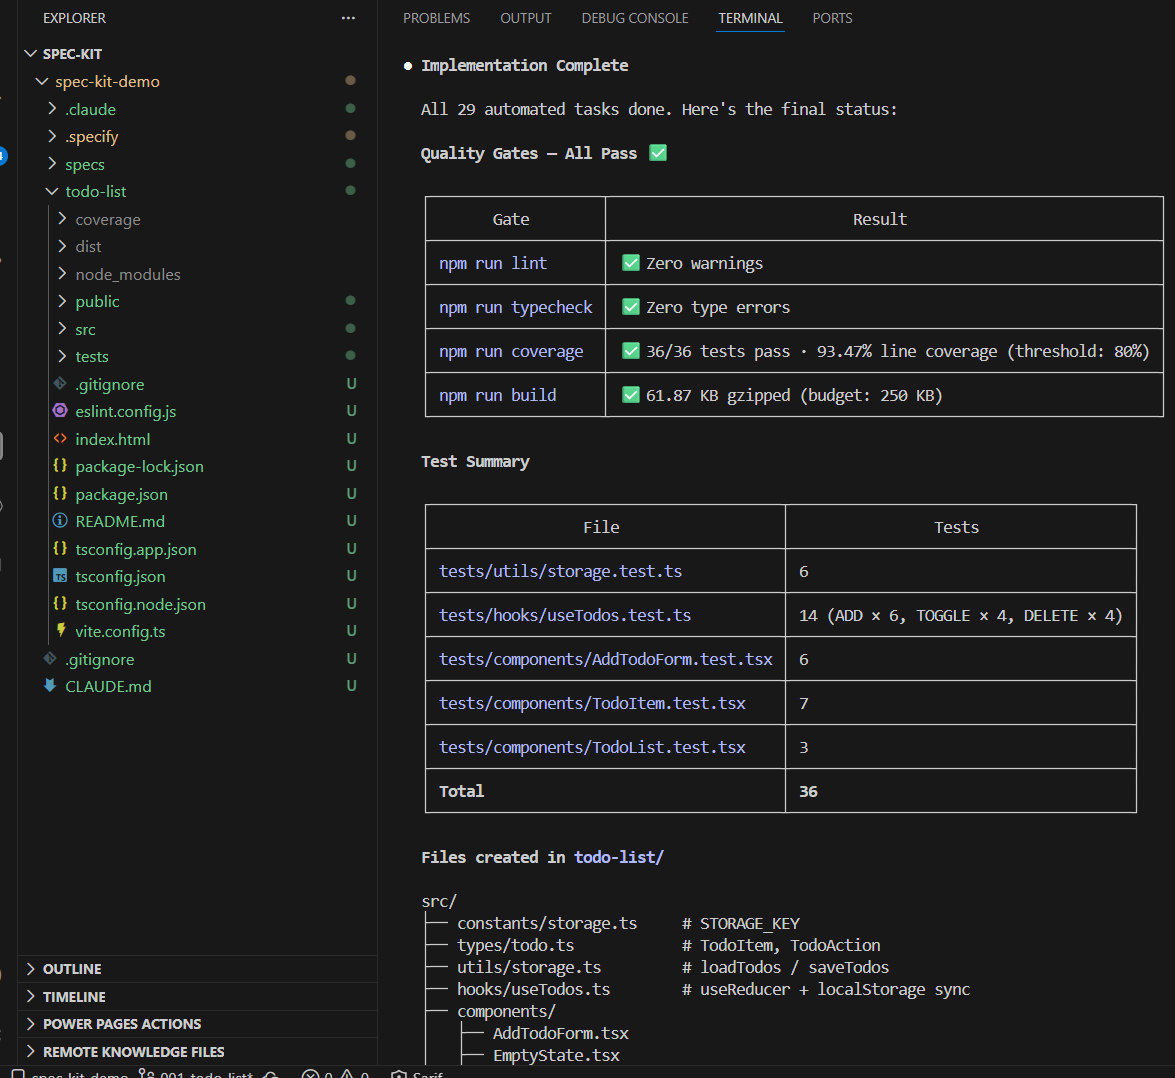
Even though this was a simple To-Do application, the final output was production-ready.
The results included:
- 29 automated tasks completed
- Zero ESLint warnings
- Zero TypeScript errors
- 36 test cases
- Over 93% test coverage
- Optimized production build
This level of discipline was not explicitly requested during implementation. It happened because of the Constitution and the structured workflow defined earlier.
Conclusion:
Spec-Driven Development ensures that:
- Requirements are clear before coding.
- Architecture decisions are documented.
- Tasks are measurable.
- Quality gates are enforced.
- AI behavior becomes predictable.
Without structure, AI can generate working code. With structure, AI generates disciplined engineering output.
🙂


Leave a comment