Did you know? In Copilot Studio, you’re not limited to building a single, monolithic agent. You can create multi-agent systems, where Copilot Studio allows you to enhance your agent by connecting it to other agents.
To add other agents to your existing Copilot Studio agent:
- Sign in to Copilot Studio and open your existing agent.
- Go to Agents > Add agent

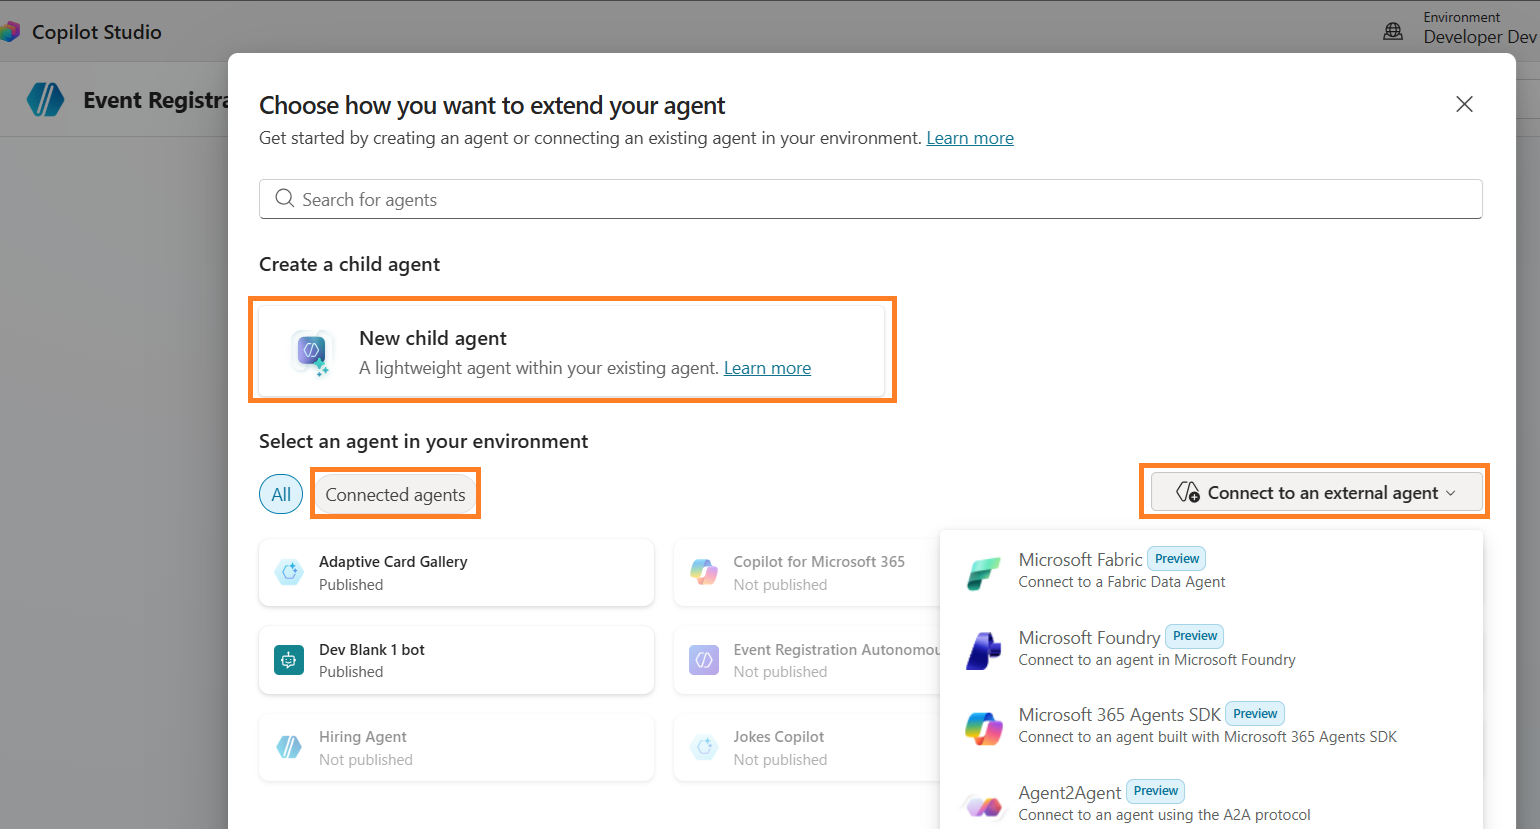
- You will find following options:
- Child agents : Child agents are lightweight agents within your existing agent.
- Connected agents within your environment.
- External agents
In this article, I am going to explain the basics of Child vs Connected agents and when to use each option.
Child Agents:
Child agents live within the parent agent and have a single configuration page.
- Tools and Knowledge are stored at the parent agent, but configured to be “Available to” the child agent.
- Child agents share the topics of their parent agent. Topics can be referenced by the child agent instructions.
- Child agents don’t need separate publishing
Use child agents when:
- A single team manages the entire solution
- You want to logically organize tools and knowledge into sub-agents
- You don’t need separate authentication or deployment for each agent
- The agents won’t be published separately or used independently
Connected agents:
Connected agents are full-fledged, independent agents that your main agent can collaborate with.
- Connected agents have their own topics and conversation flows.
- Connected agents must be published before they can be added to and used by other agents.
Use connected agents when:
- Multiple teams develop and maintain different agents independently
- Agents need their own settings, authentication, and deployment channels
- You want to publish and maintain agents separately with independent application lifecycle management (ALM) for each agent.
If you want to go deeper into multi-agent architecture, I highly recommend reviewing Agent Academy documentation here: Copilot Studio Multi Agent
🙂


Leave a comment