Let’s say you’ve created an agent in Copilot Studio, and you also have a native C# console application. You might want to integrate the agent into your console app so you can send prompts and receive responses directly within the console.
In this article, lets learn how to integrate your Copilot Studio Agent in a C# console project using Microsoft 365 Agents SDK
Before diving in to the C# console project, let’s first understand the Copilot Studio agent. For this scenario, I’ll be using the out-of-the-box Website Q&A Agent, as documented here.
About the Agent:
- The Agent is a simple Website Q&A that uses the Microsoft website as its knowledge source.

- Authentication is set to No authentication.

- If you navigate to Channels > Web app you will see two hosting options : Embed code and Microsoft 365 Agents SDK.
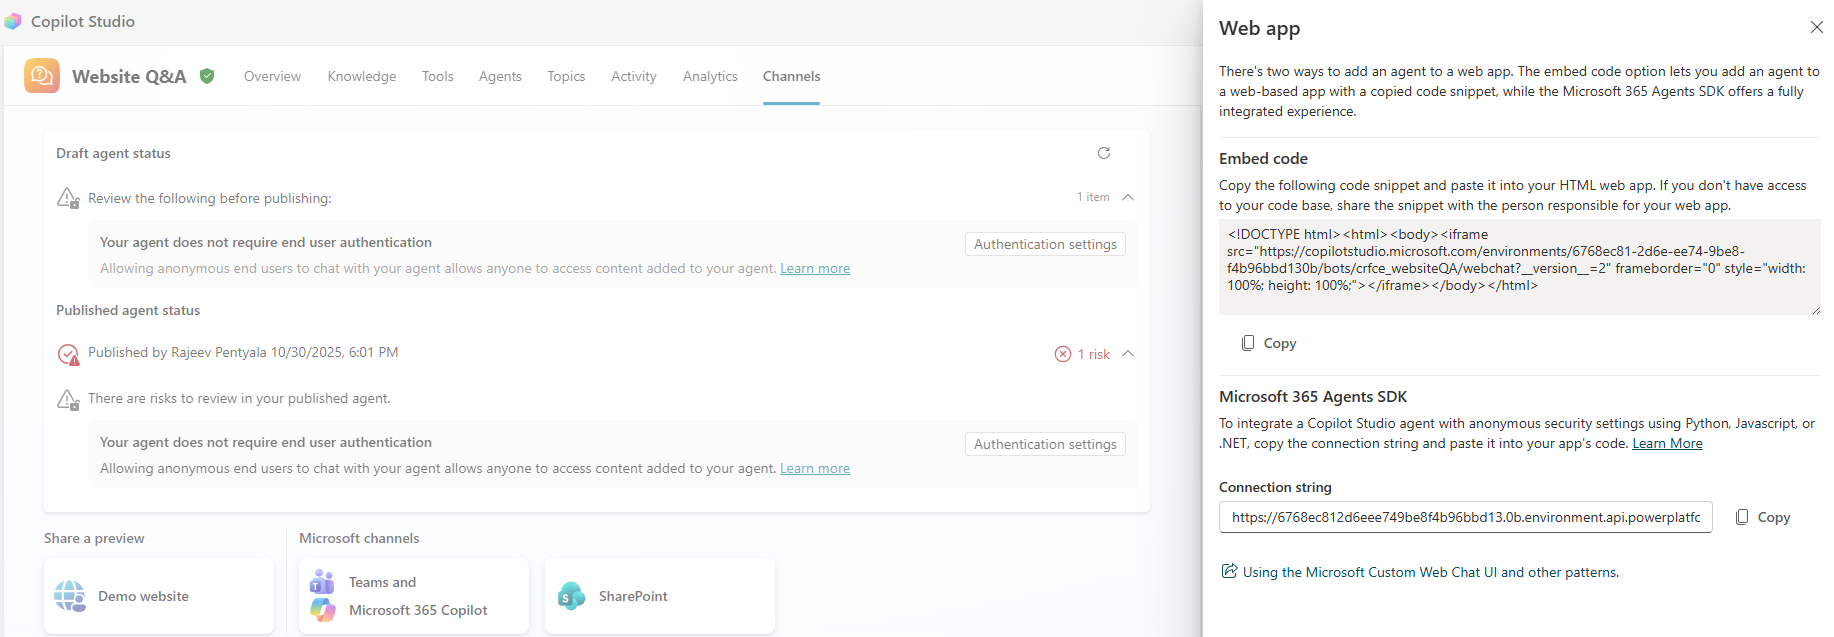
- In this article, we’ll focus on the Microsoft 365 Agents SDK option.
Now that you have a basic understanding of the agent, let’s move on to configuring the C# console project. We’ll use the sample project provided by Microsoft.
Configure the C# project from Microsoft samples:
- Clone the GitHub repo : https://github.com/microsoft/Agents.git
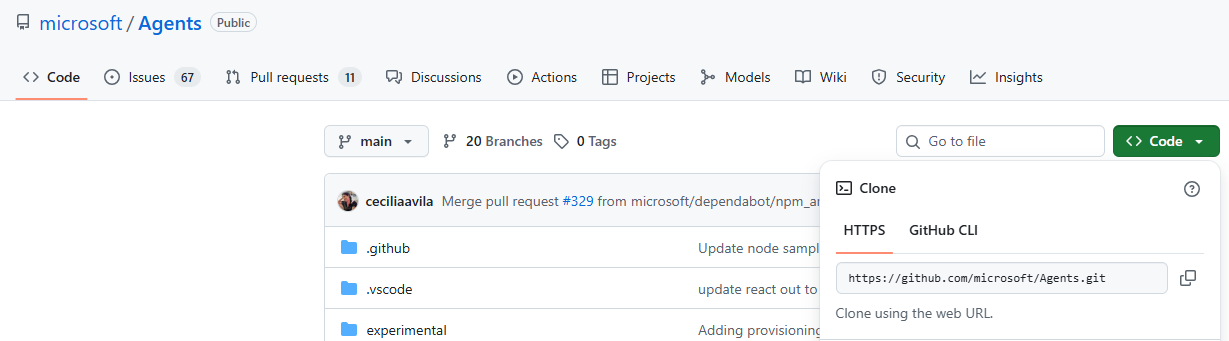
- Open the repo in either VSCode or Visual Studio
- Navigate to samples/dotnet/copilotstudio-client folder. Build the project and ensure there are no errors.

With the console project successfully configured and built, the next step is to create an application registration in Entra ID.
Create an Application Registration in Entra ID:
For this sample, we will create a Native Client Application Identity, which does not require secrets.
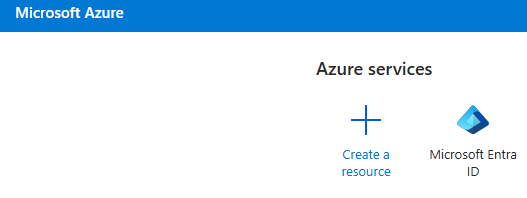
- Go to https://portal.azure.com
- Navigate to Microsoft Entra Id
- Go to Manage > App registrations > + New registration
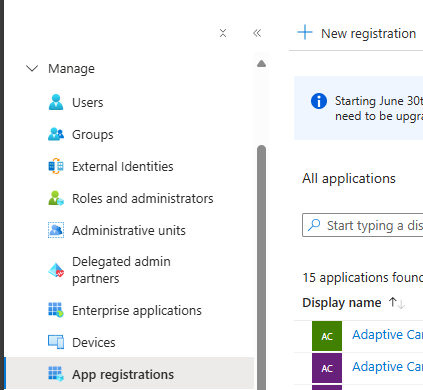
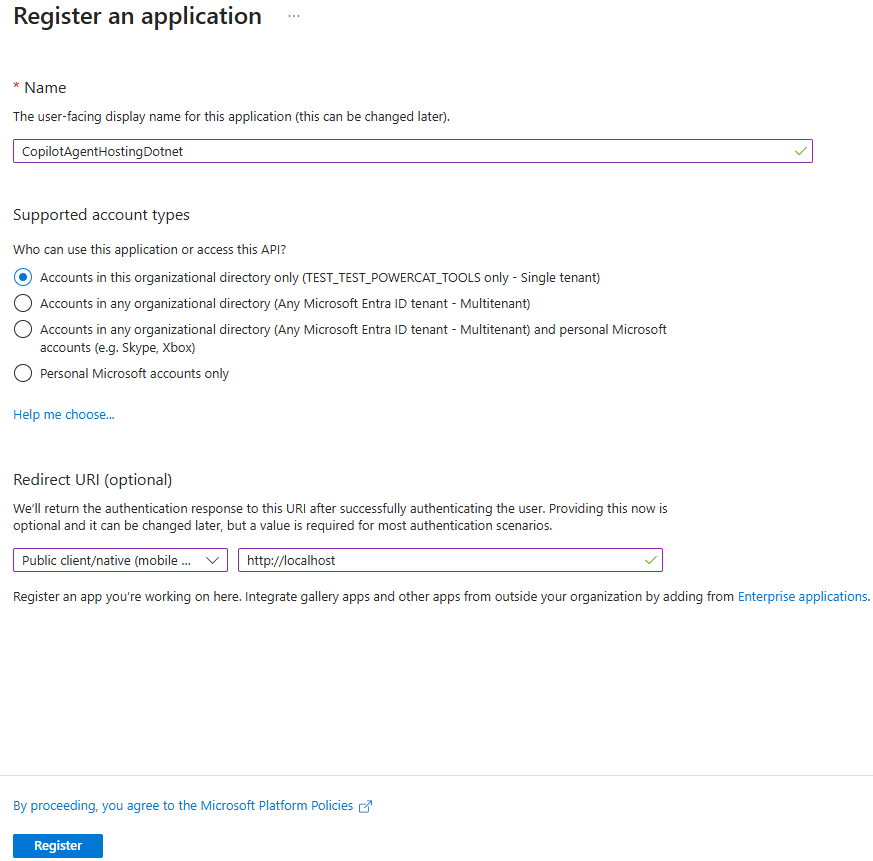
- In the App registration screen
- Provide a Name
- Choose “Accounts in this organization directory only”
- In the “Select a Platform” list, Choose “Public Client/native (mobile & desktop)
- In the Redirect URI url box, type in
http://localhost(note: use HTTP, not HTTPS) - Then click Register.
- On the Overview page, Note down Application (client) ID and Directory (tenant) ID to use later.
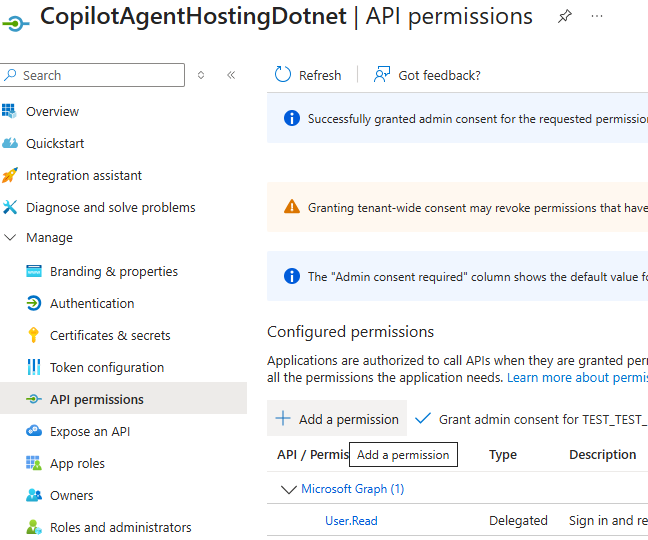
- Go to Manage > API Permissions > Add Permission
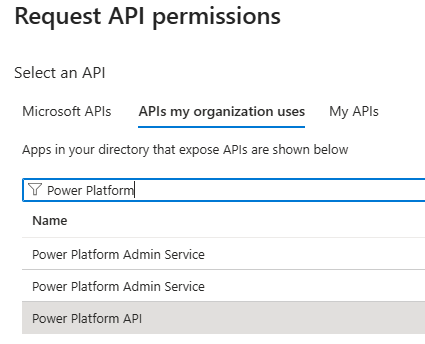
- In the side panel that appears, Click the tab
API's my organization uses - Search for
Power Platform API
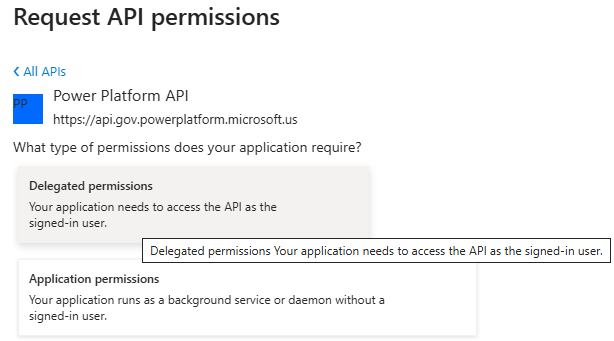
- In the permissions list choose
Delegated Permissions
- Choose
CopilotStudioand selectCopilotStudio.Copilots.Invoke - Click on Add permissions
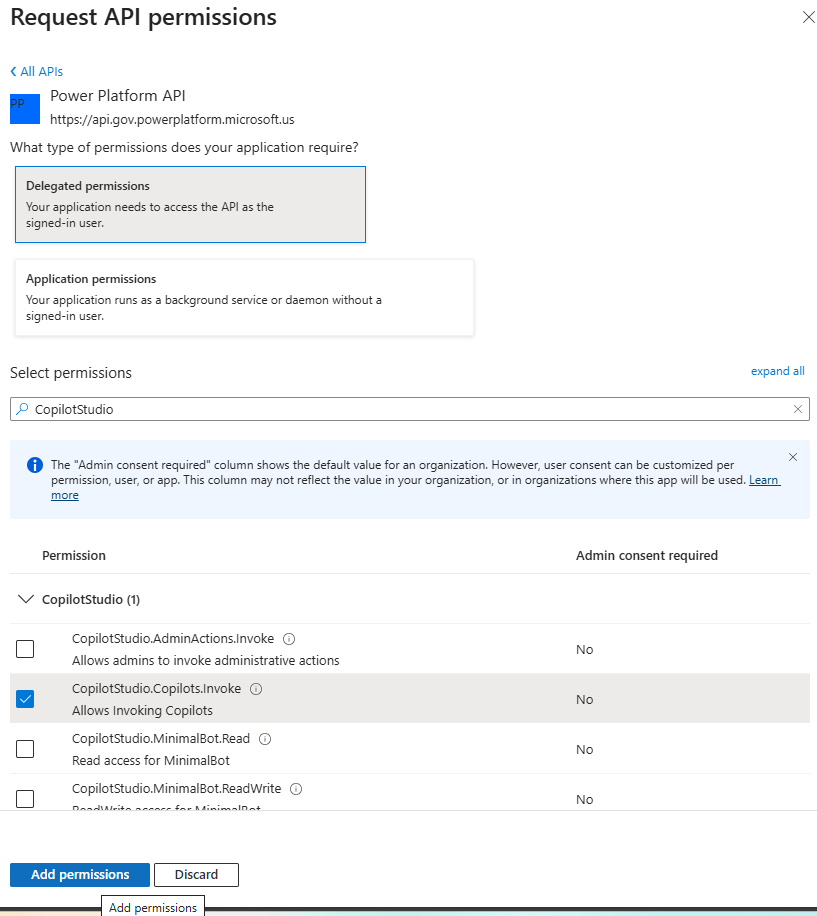
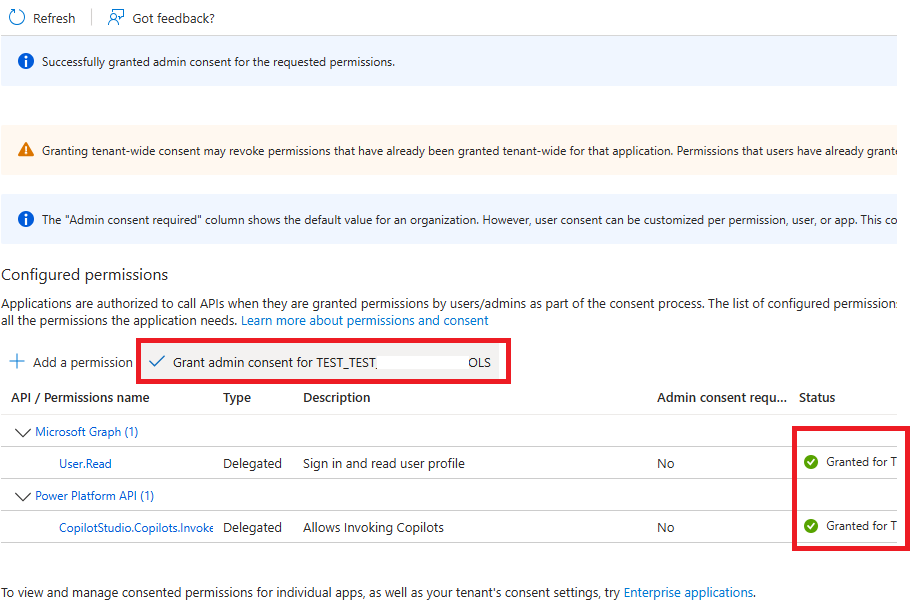
- Click
Grant Admin consent
We’ve completed the app registration. Now it’s time to test the C# console application by sending prompts to the Copilot Studio agent and verifying that it responds correctly within the console.
Test the C# console application:
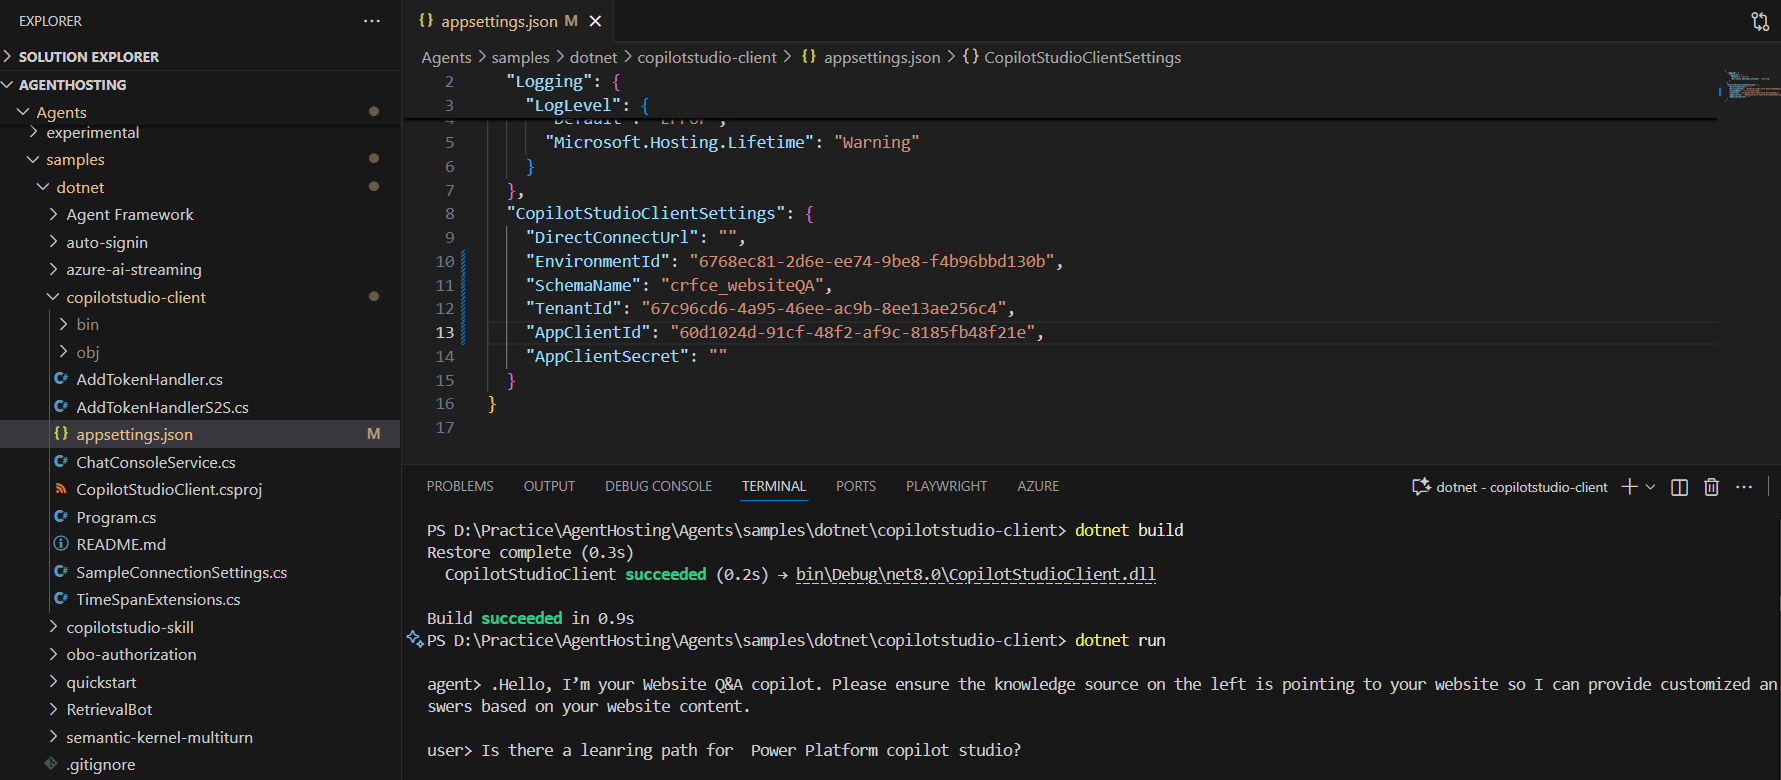
- Before running the console project, you’ll need to configure the appsettings.json file.

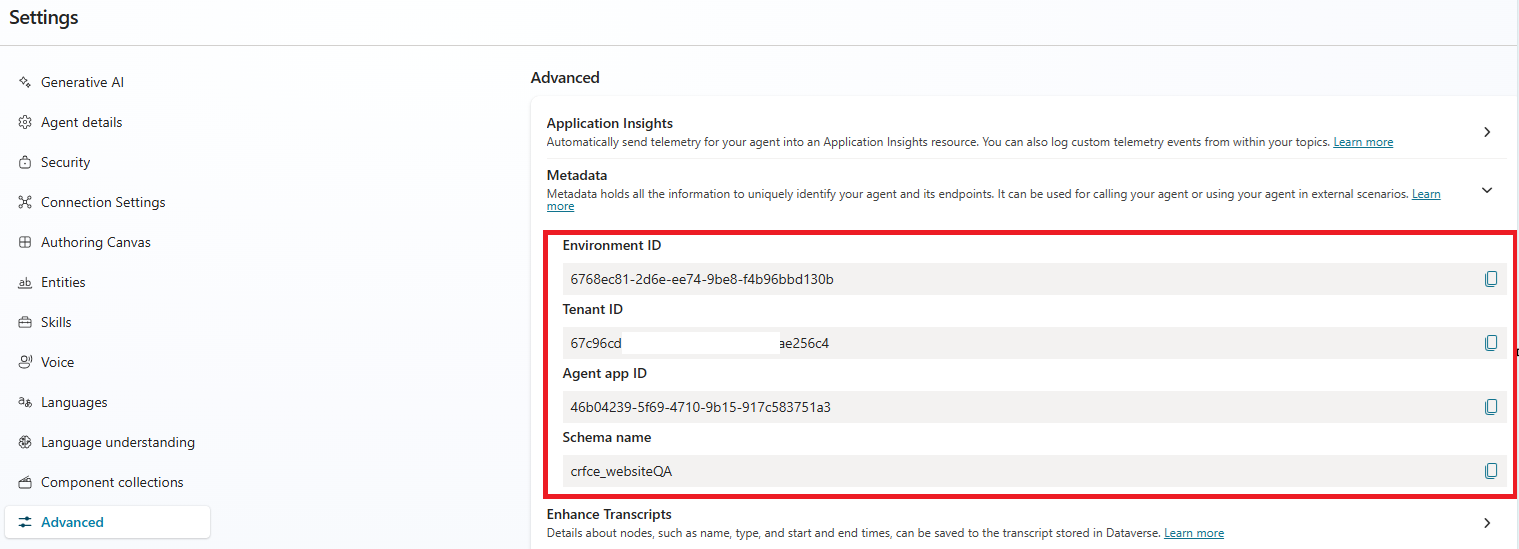
- To get the required values—Agent Schema Name, Environment ID, and Tenant ID—go to your agent in Copilot Studio and navigate to: Agent > Settings > Advanced > Metadata.
- Copy these values.
- Paste them into the
appsettings.jsonfile as shown below.
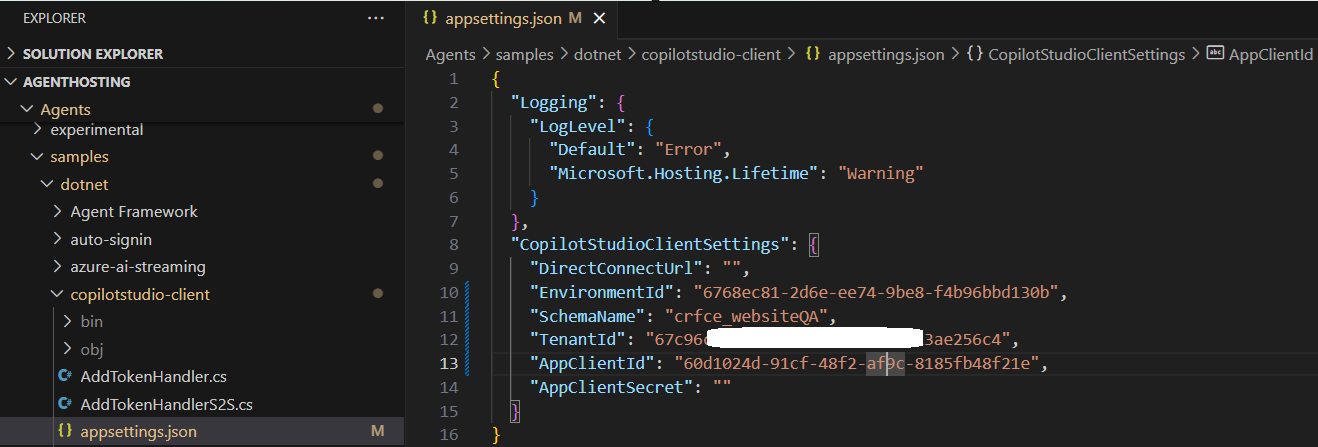
- Next, build and run the C# project
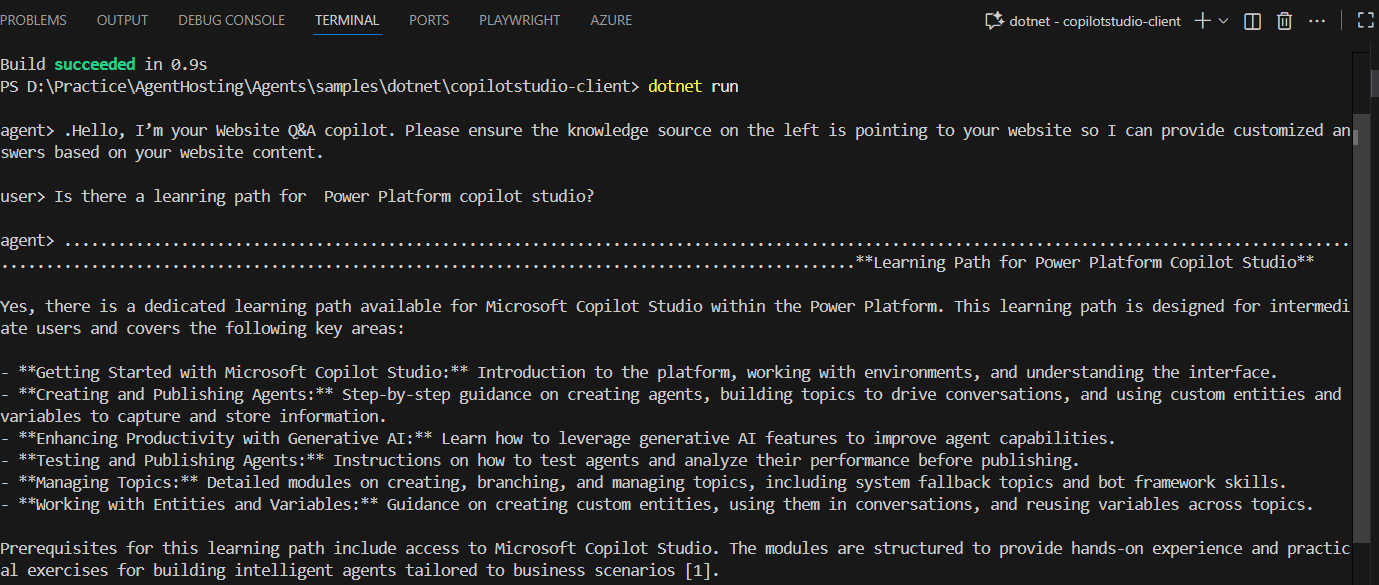
- On the first run, you’ll be prompted to sign in—complete the sign-in process.
- Once authenticated, you can start chatting with your agent directly from the console and view the responses in real time, as shown below.
I hope this helped you understand how to integrate a Copilot Studio agent into a C# console application using the Microsoft 365 Agents SDK. You can seamlessly connect your agent and start interacting with it from your own applications.
🙂


Leave a comment