In one of my previous articles : Create Your First Local MCP Server using C# , I explained how to build an MCP server using the C# SDK
In this article, we’ll cover:
- How to host the locally built MCP Server using Dev Tunnels.
- How to add the MCP Server as a tool in Copilot Studio Agent
What are dev tunnels?
- Dev tunnels allow developers to connect your local development environment with cloud services.
- In our scenario, we’ll use Dev Tunnels to host our MCP Server—built as a C# .NET 8 ASP.NET Core web application—on a secure, globally accessible URL.
In this blog post, I’ll be using the Consuming an MCP server example available in the Copilot Developer Camp.
Let’s start with the prerequisites.
Prerequisites:
Make sure you have the following installed:
- Install Dev tunnel
- Install MCP Inspector (optional, for testing MCP server tools locally)
- Node.js v.22 or higher
Follow the steps below to install Dev Tunnel
Installing Dev tunnel:
- Open Command prompt
- Run following command:
winget install Microsoft.devtunnel

Once all prerequisites are in place, we’ll move on to setting up the MCP Server C# project.
Setting up MCP Server C# project:
We won’t be building a new MCP Server project from scratch. Instead, we’ll use the pre-built HR MCP Server project provided in the Copilot Developer Camp.
Follow the steps below to get started.
- Download the MCP project files from here
- Open the project in VSCode.
- The core logic resides in the
HRTools.csclass, which exposes the following MCP tools (Tools are nothing but C# functions):- ListCandidates: Retrieves all candidates
- AddCandidate: Adds a new candidate with validation
- UpdateCandidate: Modifies existing candidate information
- RemoveCandidate: Deletes a candidate by email
- SearchCandidates: Finds candidates by name, email, skills, or role

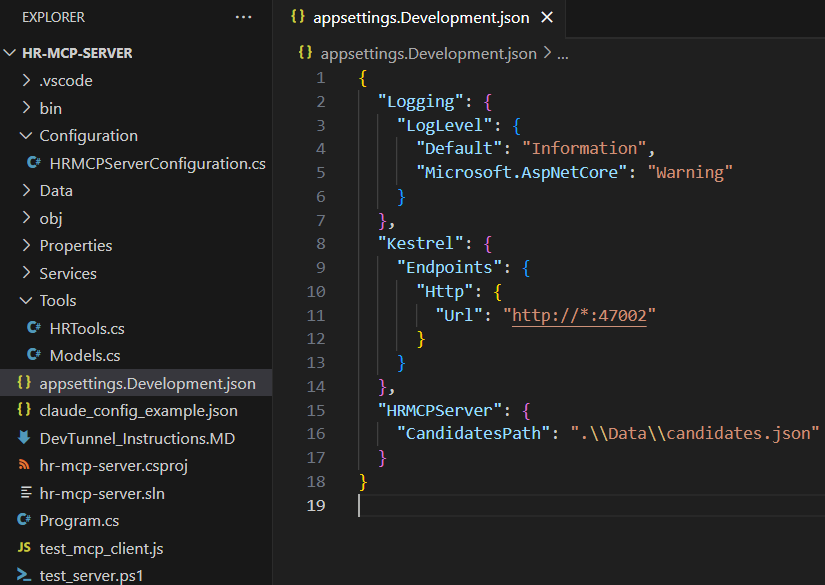
- Another important file is, appsettings.Development.json which specifies the port number
47002.
- You don’t need to make any changes to the downloaded project.
- Now Build (dotnet build) and Run (dotnet run) to ensure the project runs without any errors.
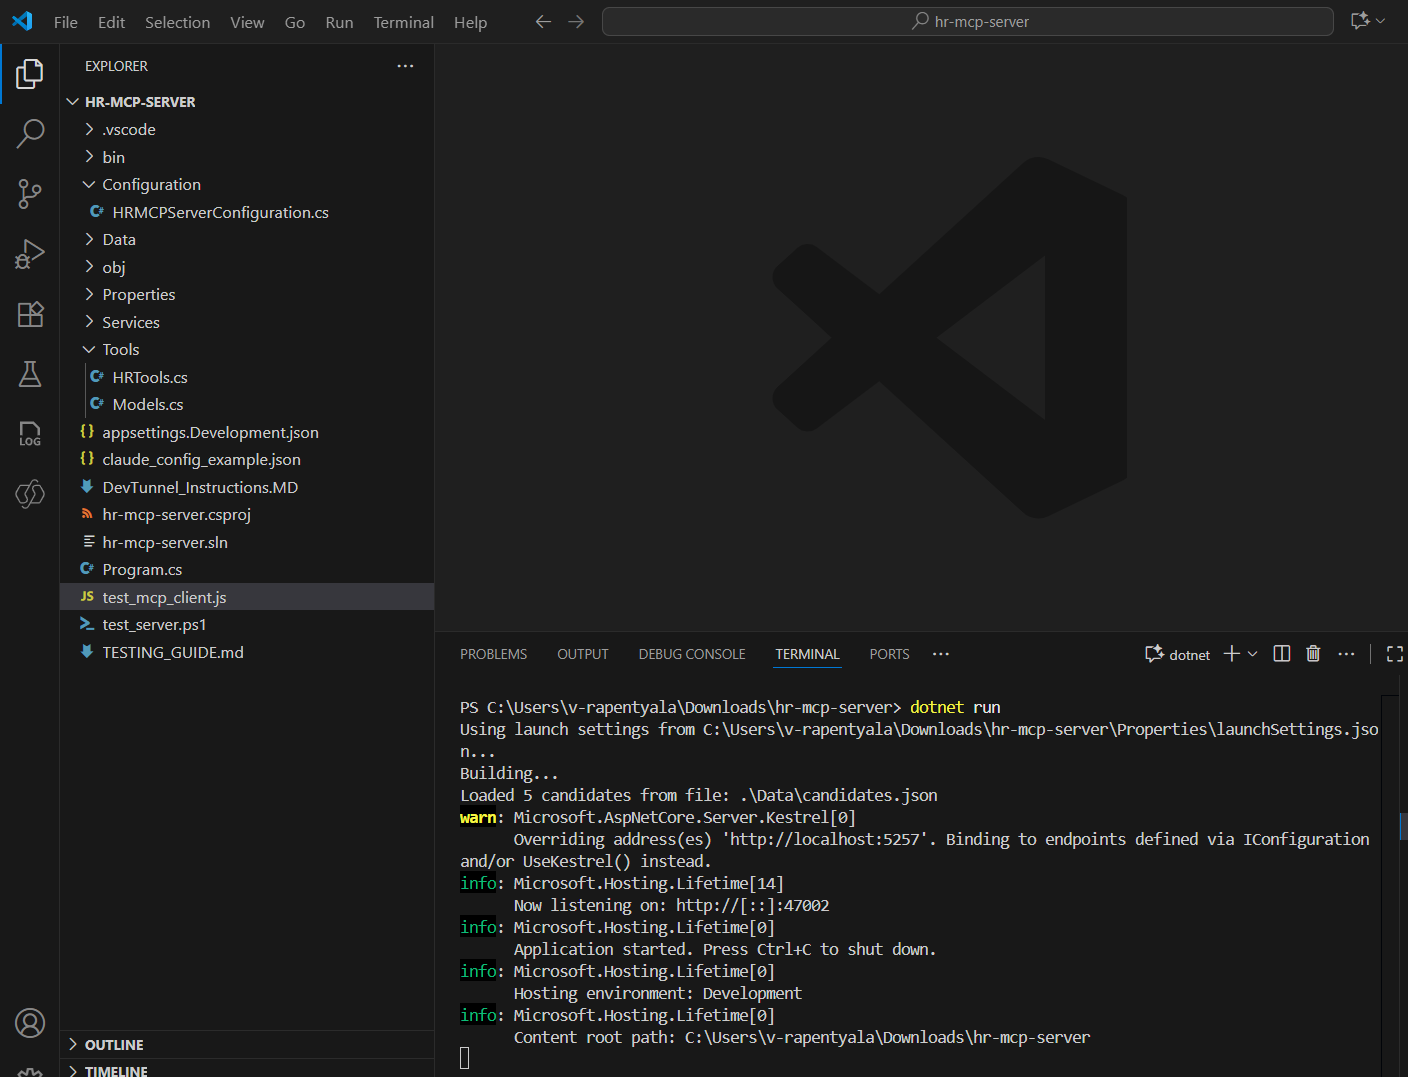
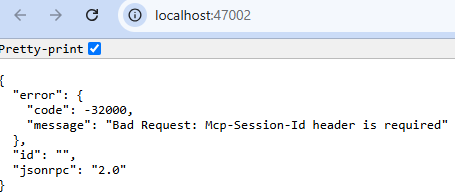
- You can browse the URL http://localhost:47002/ which will show the messages as below, which is fine.
Now that we’ve successfully built and run the C# MCP Server project, let’s move on to hosting it using Dev Tunnels.
Hosting the C# MCP Server project in Dev Tunnel:
- Open the PowerShell console.
- Run the following command
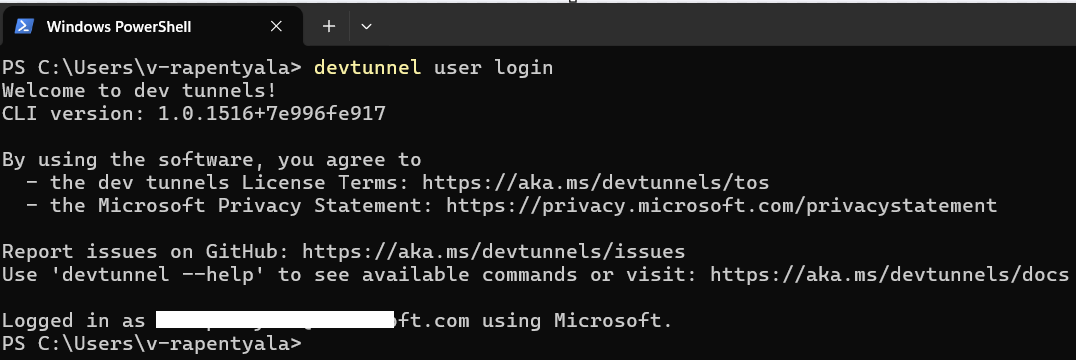
devtunnel user login
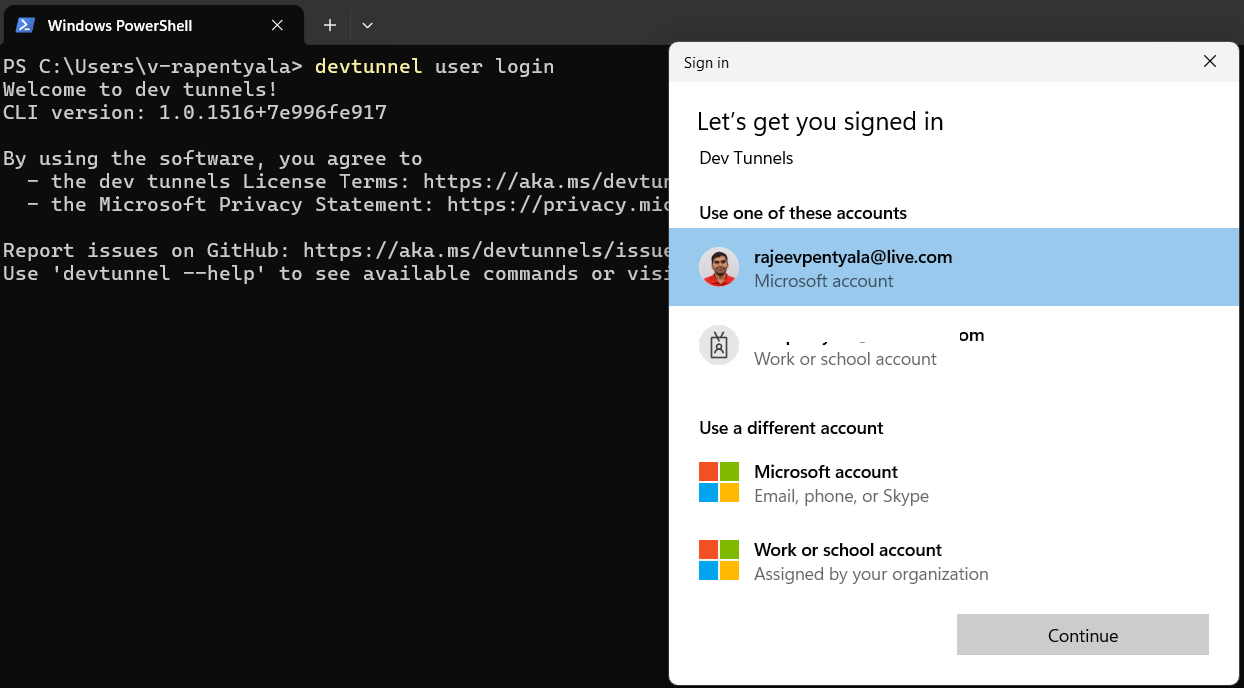
- Complete the login process. Once successful, you should see a message like “Logged in as…”, as shown below.
- Next we need to create a port in dev tunnel by executing following command:
- Replace the rajeev-hr-mcp name suggested below with whatever name you like,
devtunnel port create rajeev-hr-mcp -p 47002

- Next execute following command
devtunnel host rajeev-hr-mcp
- The command line will display the connection information:
- Copy the “Connect via browser” URL and save it in a safe place.

We’ve successfully hosted our C# MCP Server project using Dev Tunnels.
The next two steps are optional but recommended, as they help you test the functionality of your MCP Server tools before integrating with Copilot Studio.
Test the MCP Server Locally:
- Open a browser and navigate to the just copied URL. You might need to confirm that you want to consume the MCP server via the dev tunnel through a confirmation page like the following one.

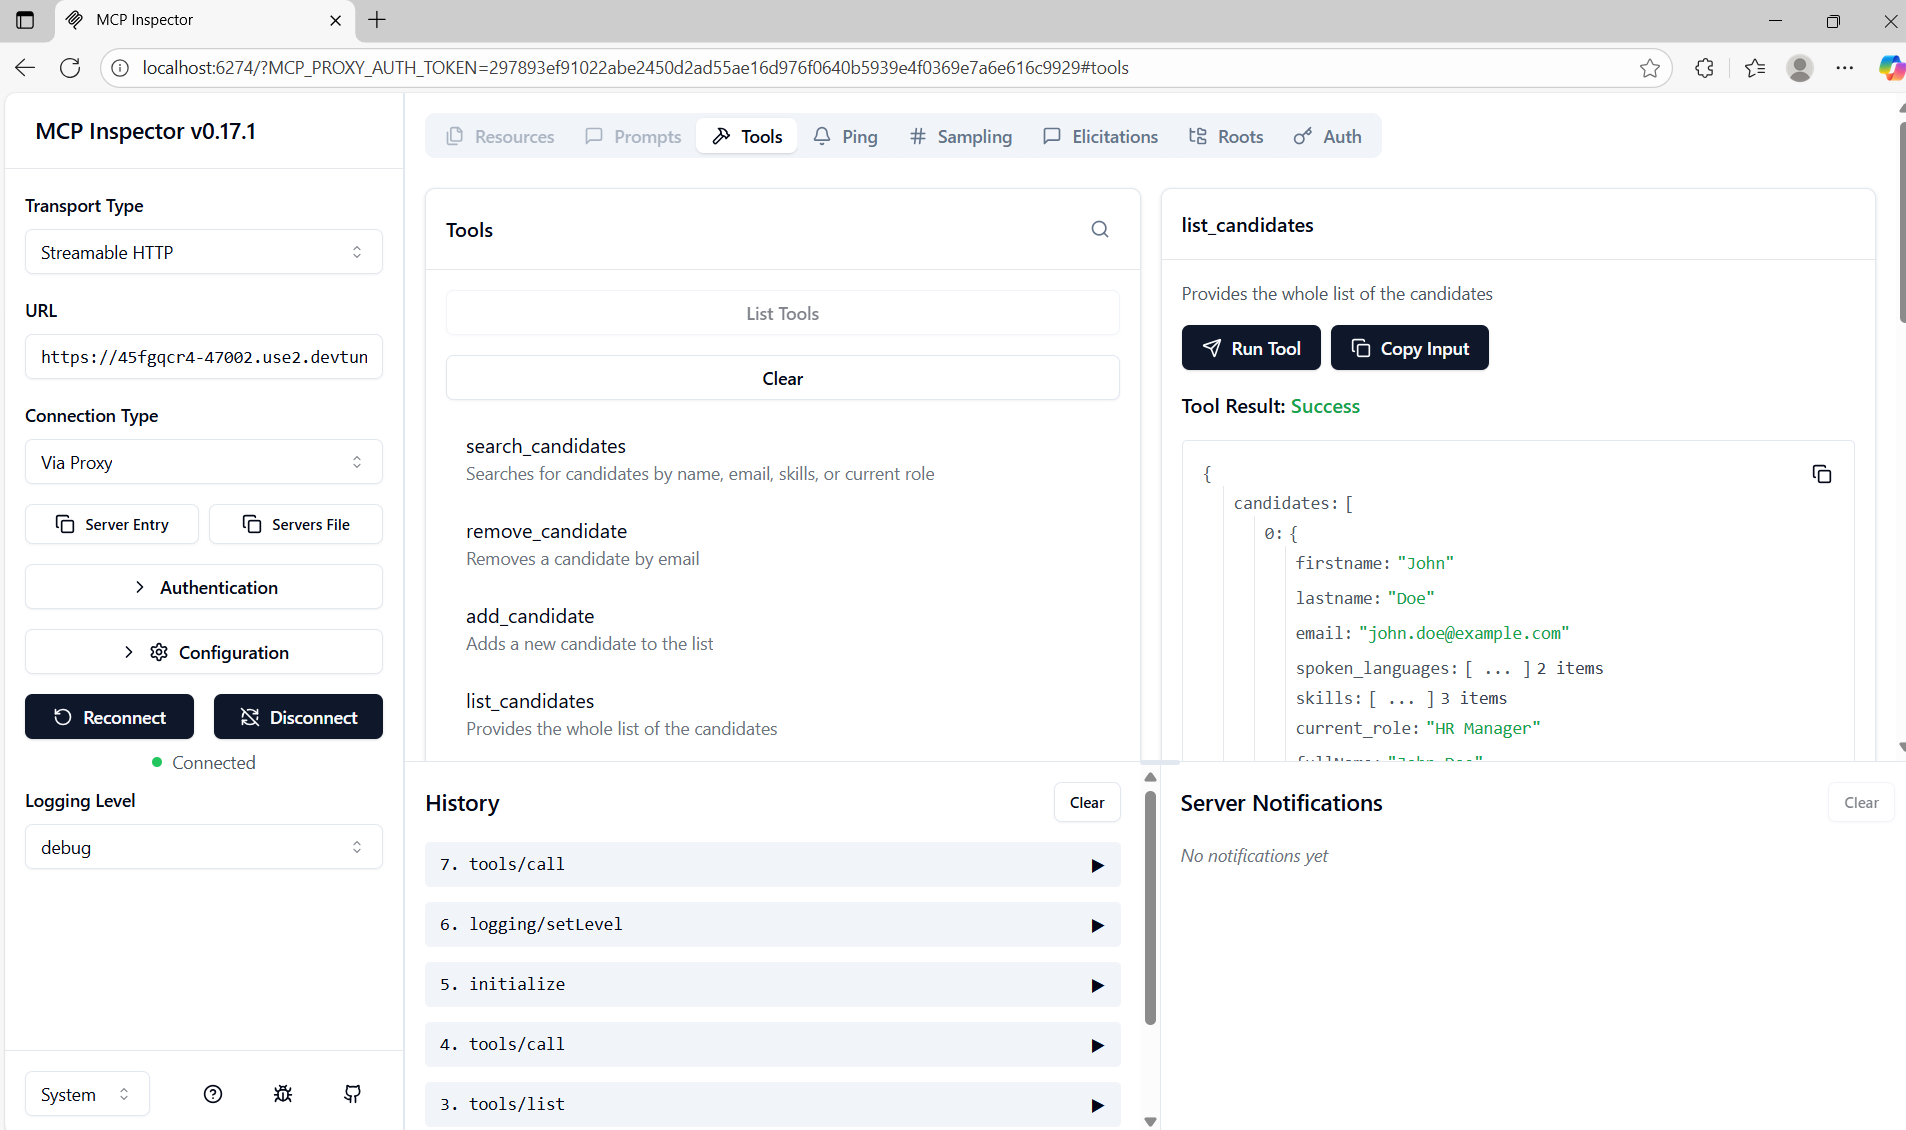
- We will be using the MCP Inspector to test the tools. To use the MCP Inspector, open PowerShell console and run the following command:
npx @modelcontextprotocol/inspector

- The browser will start automatically.
- Configure the MCP Inspector with the following settings:
- Transport type: Streamable HTTP
- URL: the URL that you saved from the “Connect via browser” of the dev tunnel

- Click on Connect which displays the available MCP server tools.
- To test, you can select the list_candidates tool, and then select Run tool to invoke the selected tool. You will see the response JSON in Tool Result
With the C# MCP Server project now hosted on Dev Tunnels and successfully tested using MCP Inspector, we’ve confirmed that it’s accessible via a public URL.
Now it’s time to create an agent in Copilot Studio and add the MCP Server as a tool.
Create a new Agent:
- Navigate to https://copilotstudio.microsoft.com to start using Microsoft Copilot Studio.
- Click on Agents > New Agent
- Choose to Configure and define your new agent with the following settings:
- Name : HR Candidate Management
- Description : An AI assistant that helps manage HR candidates using MCP server integration for comprehensive candidate management.
- Instructions : You are a helpful HR assistant that specializes in candidate management. You can help users search for candidates, check their availability, get detailed candidate information, and add new candidates to the system. Always provide clear and helpful information about candidates, including their skills, experience, contact details, and availability status.

- Click on Create to create the agent.

- Navigate to the Tools section and select + New tool.
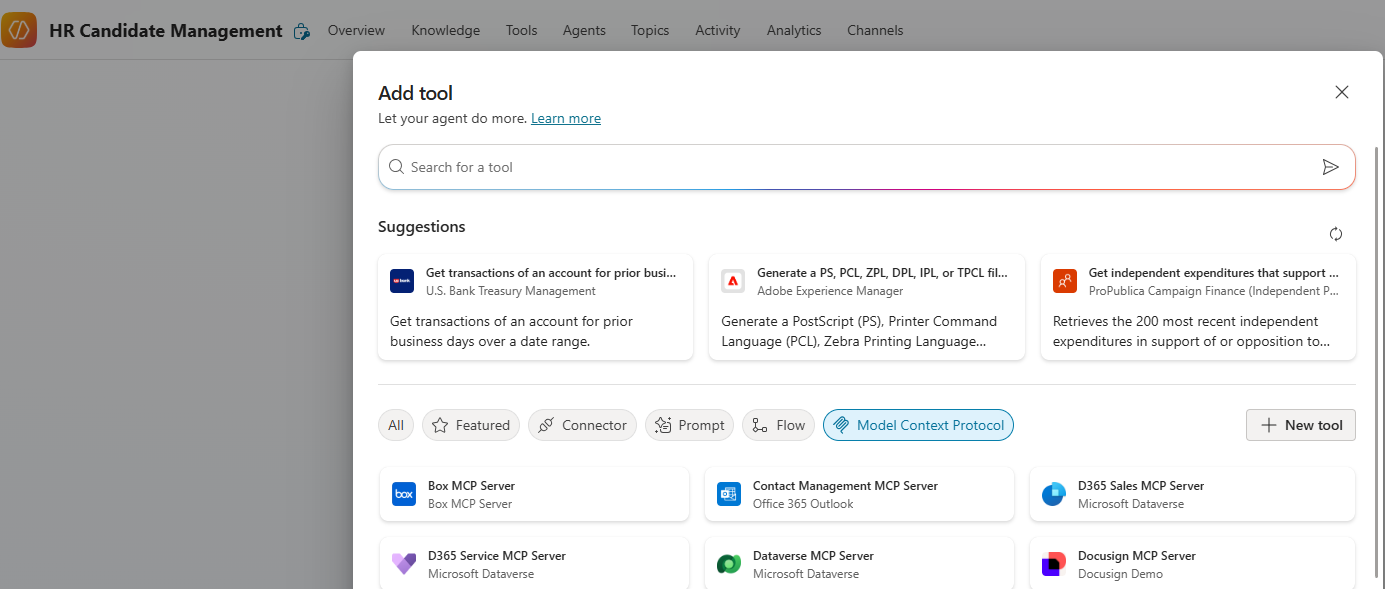
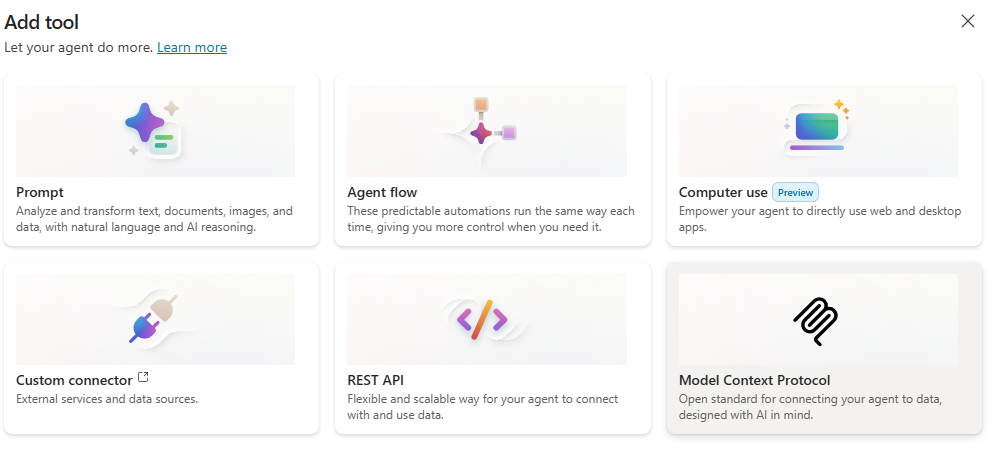
- From the options, choose Model Context Protocol
- In the popup, provide
- Server name : Your desired name
- Server Description : Allows managing a list of candidates for the HR department.
- Server URL : Provide the URL that you copied from the dev tunnel with name
[Connect via browser of your dev tunnel].
- Select None as the authentication method and then select Create to configure the actual tool.

- In the next screen, configure a Connection by clicking on Create new connection

- Click on Create

- Click on the Add and configure and see the MCP server and tools properly configured.
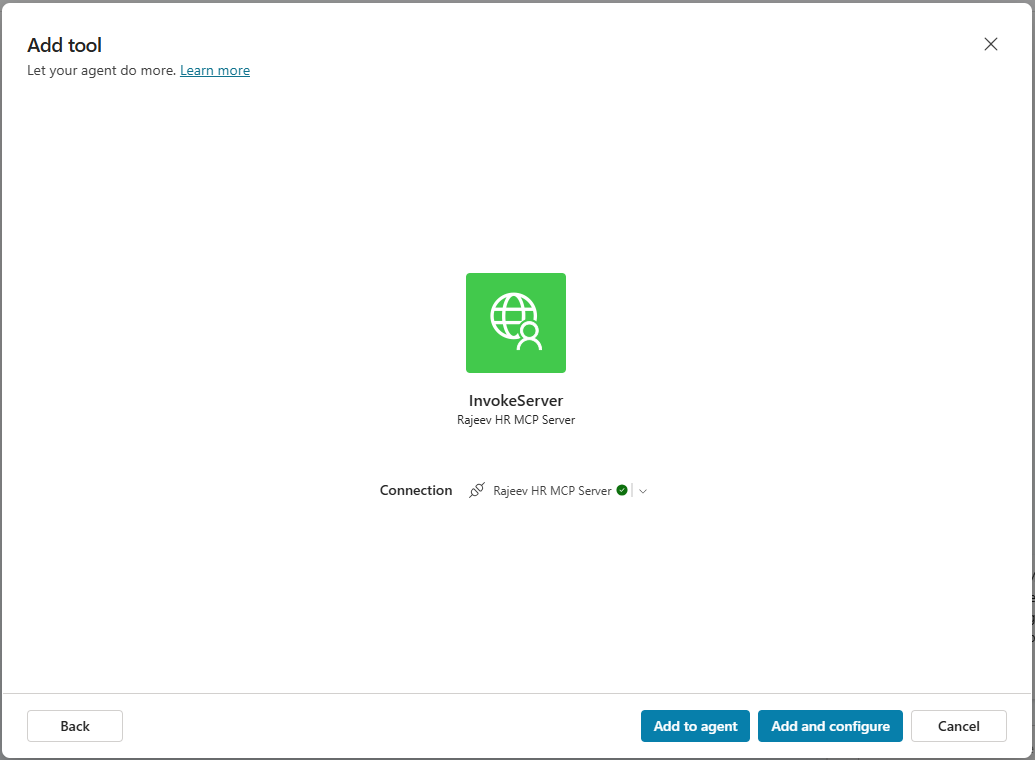
- Correct the Name (For some reason, name came as InvokeServer which I corrected) and click on Save

- The MCP Server will be added as a Tool in the Agent as shown below.

We have successfully configured the MCP Server as a Tool to the Copilot Studio Agent. Its time to Test the agent.
Testing the Agent:
- In the Test your agent pane, prompt List all candidates. Agent will connect to our MCP Server and triggers the list_candidates and generate the response as shown below.

- If you are a developer and you like to dig into the MCP server implementation, you can add breakpoints to the
HRTools.csfile and attach a debugger from Visual Studio Code. You will be able to dig into the code and debug the actual MCP server in action.
🙂


Leave a comment