In my previous article (Make FetchXML Liquid Template Tag reusable), I have explained how to reuse fetchxml liquid template tag using a Web Template approach.
In that example, I was displaying all the active Offer records.

Above example works great. But what if we need to parameterize the number of records to be shown? For example, I want to display 3 records and might change the count as needed without modifying the Liquid template.
The answer is Web templates as components. In this article, lets learn how to parametrize the fetchxml tag using a simple example..
What are ‘Web templates as components’:
- Web templates can be created and used as components in web pages to allow makers to use these reusable components and provide parameters to meet requirements.
- To create a web template component to which you can allow a maker to pass parameters, you need to add a
{% manifest %}tag to the web template. - The manifest is a JSON object that defines the properties of the web template displayed in the design studio: type, display name, description, tables, and parameters.
As mentioned above, the key to parametrization is {% manifest %} tag. Now that you understand the basics, let’s learn how to create a Web template component.
How to: Create a web template component:
- In my previous article (Make FetchXML Liquid Template Tag reusable) I have used following Web Template with simple ‘fetchxml tag’ to fetch the active Offers.

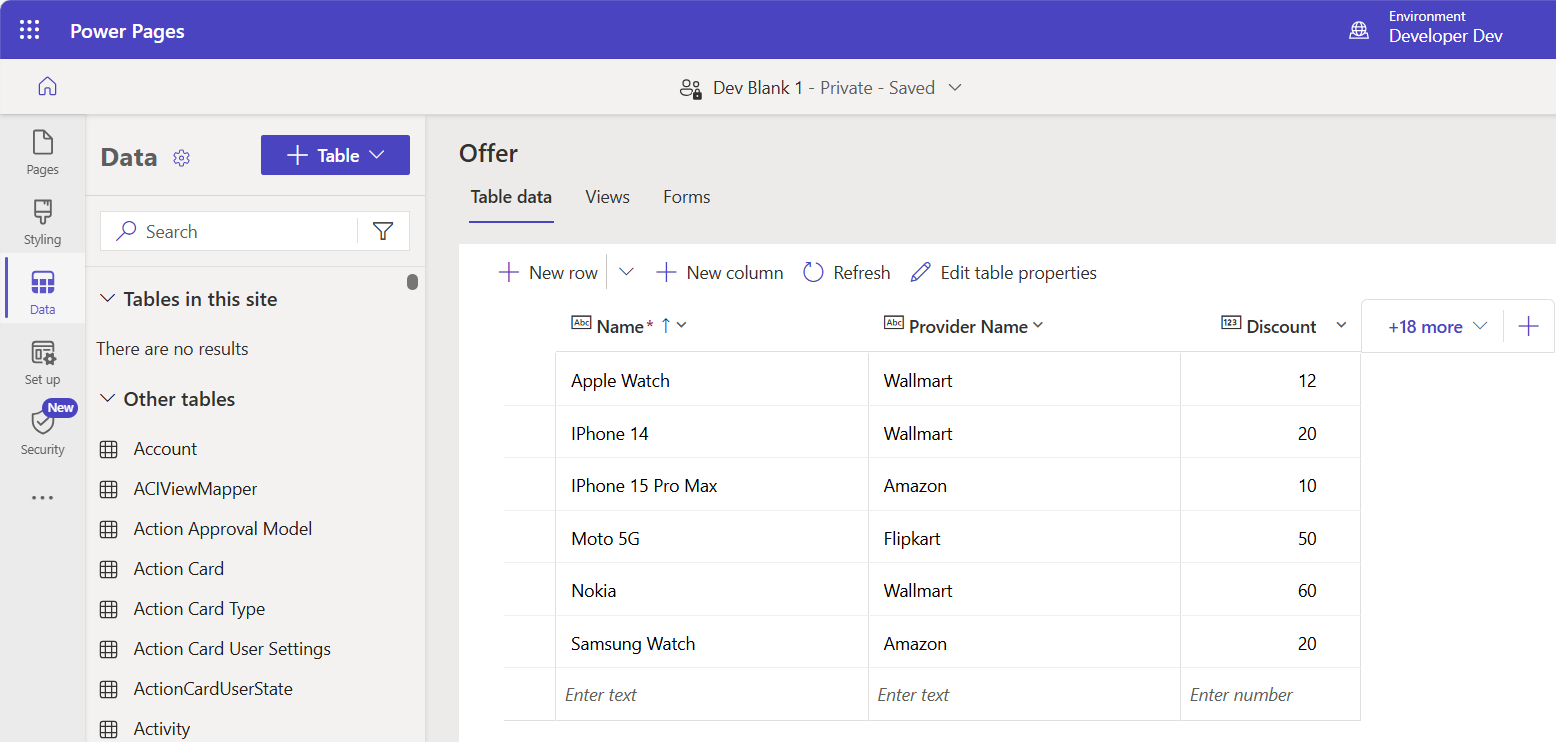
- Following is my Offers table.
- Now lets parameterize the fetchxml tag using the {% manifest %} tag.
- Here is the fetchxml tag with {% manifest %} tag
{% fetchxml resultOffers %}
<fetch mapping='logical'>
          <entity name="raj_offer">
            <attribute name="raj_offerid" />
            <attribute name="raj_name" />
            <attribute name="raj_discount" />
            <attribute name="statecode" />
            <attribute name="raj_providername" />
            <order attribute="raj_name" descending="false" />
            <filter type="and">
              <condition attribute="statecode" operator="eq" value="0" />
            </filter>
          </entity>
        </fetch>
{% endfetchxml %}
{% assign offers_count = count | times: 1 %}
{% assign col_div = columns | integer %}
<h2>({{resultOffers.results.entities.size}}) {{"Active Offers"}} </h2>
{% if resultOffers.results.entities.size > 0 %}
    <div class="col-sm-12">
      <ul style="list-style: none;">
          {% for offer in resultOffers.results.entities limit:count %}
              <li class="col-md-{{ 12 | divided_by: col_div }}">
                  <div class="panel panel-default">
                      <div class="panel-heading">{{offer.raj_name}} <span class="badge" style="float:right">{{offer.raj_discount}}</span></div>
                      <div class="panel-body">
                          <p>{{offer.raj_providername}}</p>
                      </div>
                      <div class="panel-footer">{{offer.createdon}}</div>
                  </div>
            </li>
          {% endfor %}
      </ul>
    </div>
{% endif %}

{% manifest %}
{
  "type": "Functional",
  "displayName": "Offers",
  "description": "Shows all Offers",
  "tables": ["raj_offer"],
  "params": [
    {
      "id": "count",
      "displayName": "Count",
      "description": "No. of items"
    },
    {
      "id": "columns",
      "displayName": "# of Columns",
      "description": "less than 12"
    }
  ]
}
{% endmanifest %}
- Place the above fetchxml tag in the Web Template and Save.

- Now refer this Web Template in Web Page using {% include %}
{% include 'Fetch Offers Parameterized' %}

- Select CTRL-S to save the code. Return to design studio and select Sync. A preview of the component on your webpage will display.
- Select Edit custom component and you can configure the parameters that are defined in the manifest of the web template component.

- Preview the site to view the layout, return to the design studio and experiment with different layout options.
Hope you understand how you use Web templates as components to parameterize and reuse components.
🙂


Leave a comment