Let’s consider a scenario with a Dataverse table containing multiple columns. While Model Driven Apps allow us to organize data using different sections and tabs, in the realm of Canvas Apps, how can we design a multi-screen app for entering and saving records?

In this article, I am going to build a basic Canvas app to collect the Customer data from multiple forms and save it.

Scenario:
- Create a ‘Customer’ Dataverse table with columns to capture the ‘Details’, ‘Communication’ and ‘Address’.
- Create a Canvas App with following screens.
- Home Screen
- Details Screen
- Communication Screen
- Address Screen
- Design a multi-form data capture system and create a new customer using Patch function.
Design the Canvas App:
- Create a new Canvas App and add ‘Customer’ Dataverse table as DataSource.

- Rename the default screen to ‘Home Screen’.
- Add a Gallery control and Form control to display the data of the selected Customer record from the Gallery.

- Add a new screen and name as “Customer Details Screen”.
- Add a new Form control, set ‘Customers’ as Data source and include ‘First Name’, ‘Last Name’ and ‘Middle Name’ columns.

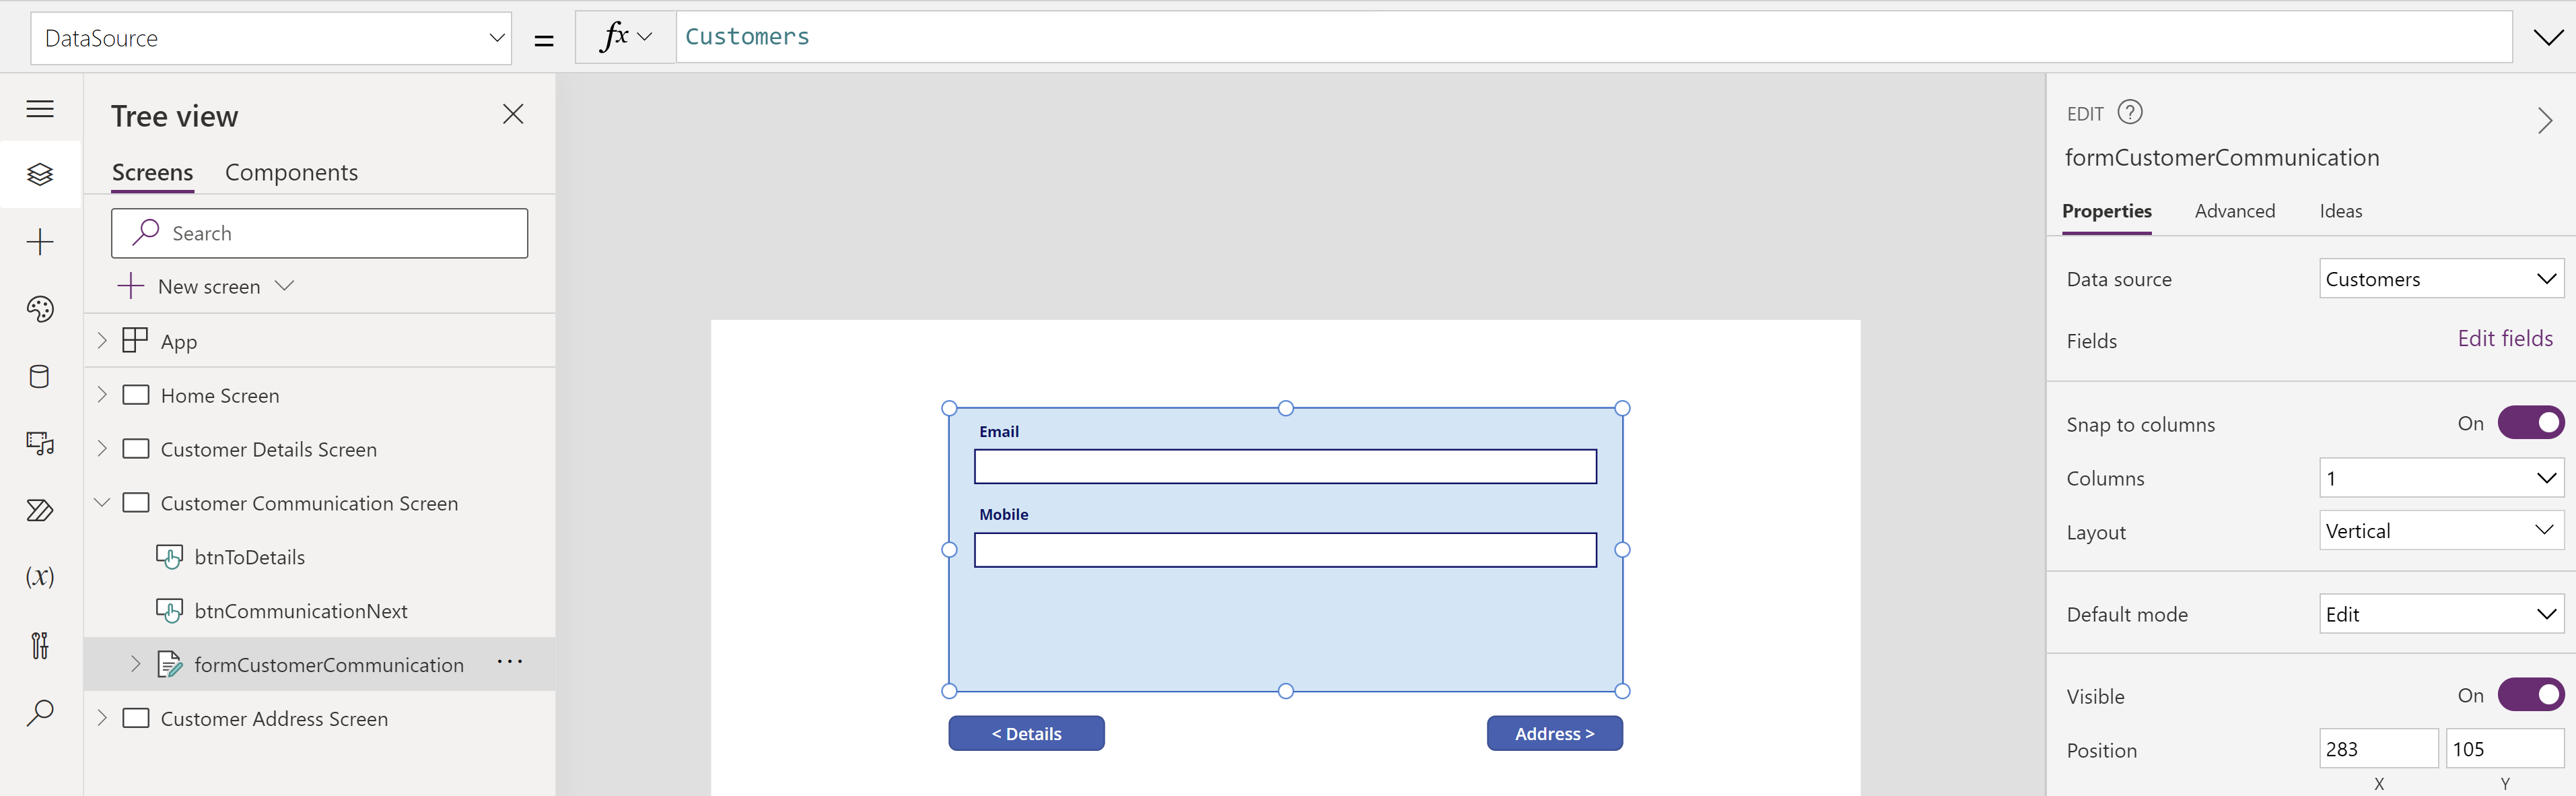
- Add another new screen and name as “Customer Communication Screen”.
- Add a Form control, set ‘Customers’ as Data source and include the ‘Email’ and ‘Mobile’ columns.
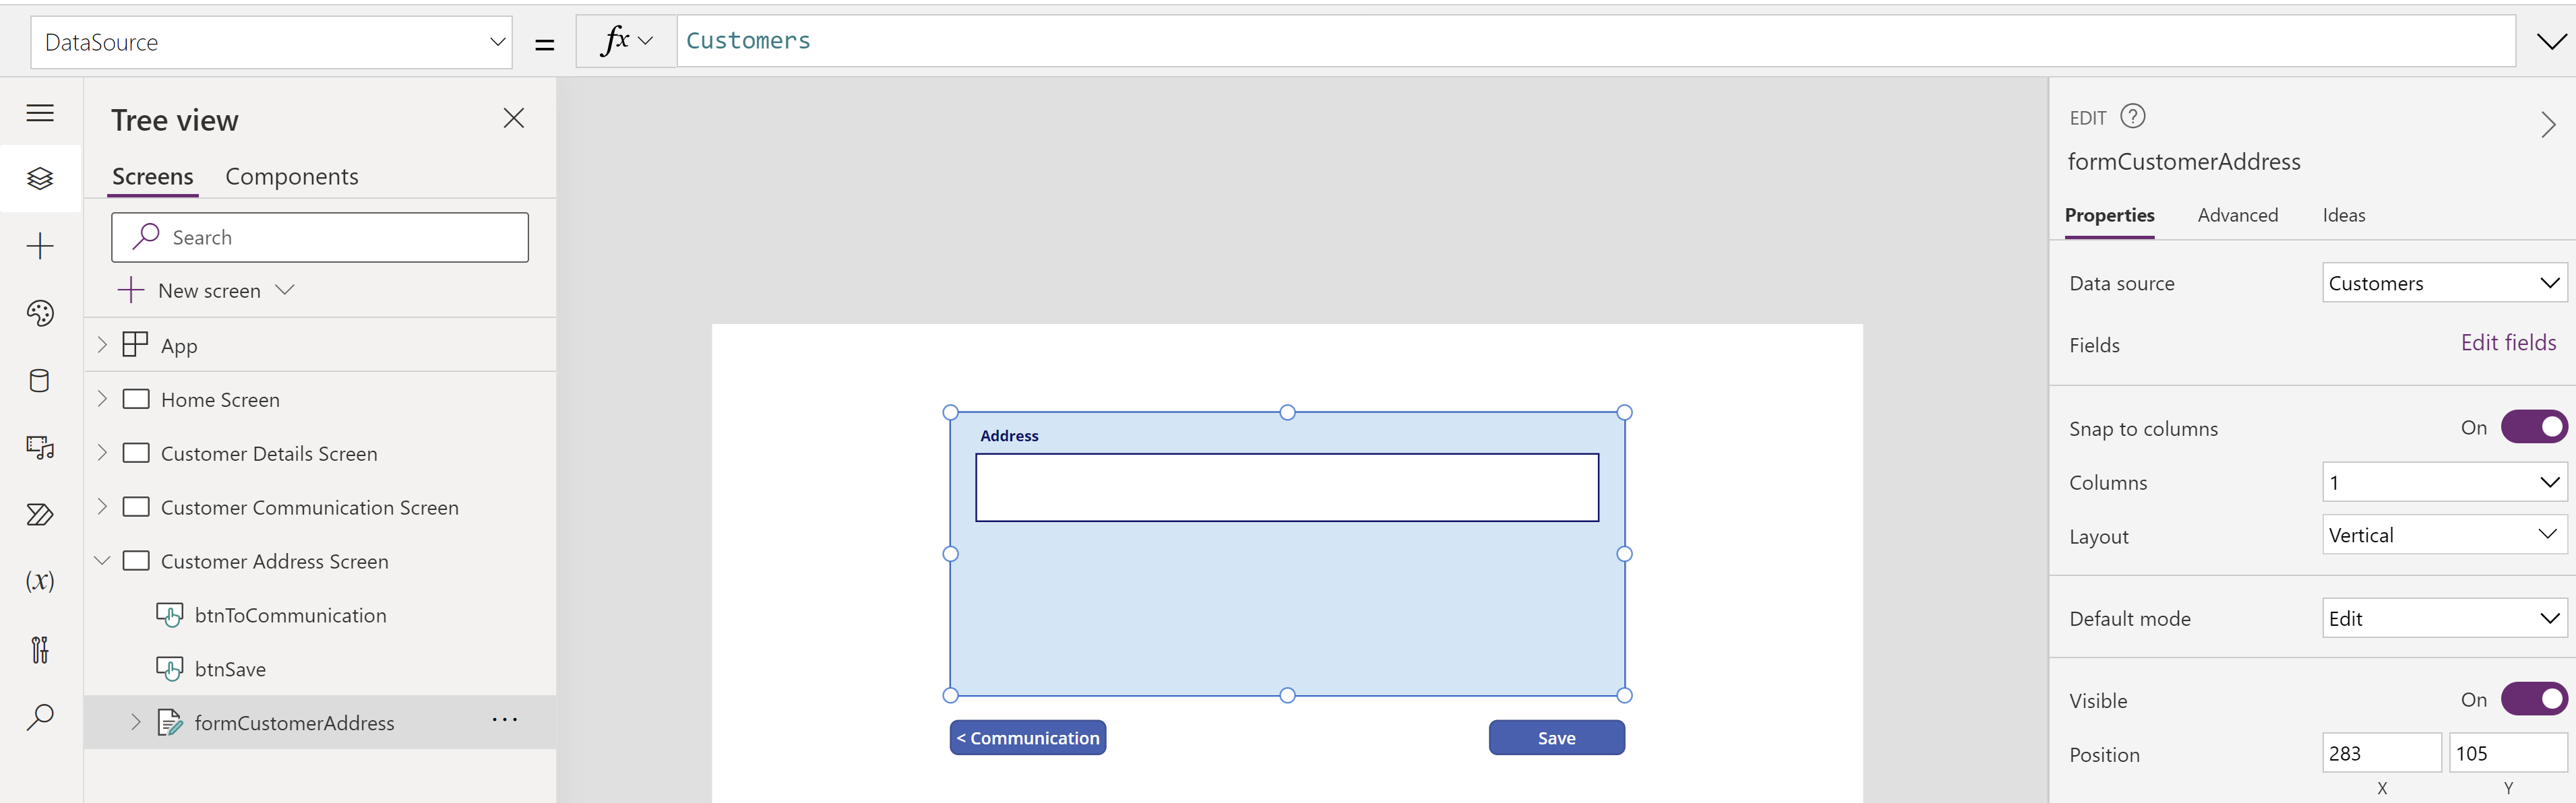
- Add another and final screen and name it as “Customer Address Screen”.
- Add a Form control, set ‘Customers’ as Data source and include the ‘Address’ column.
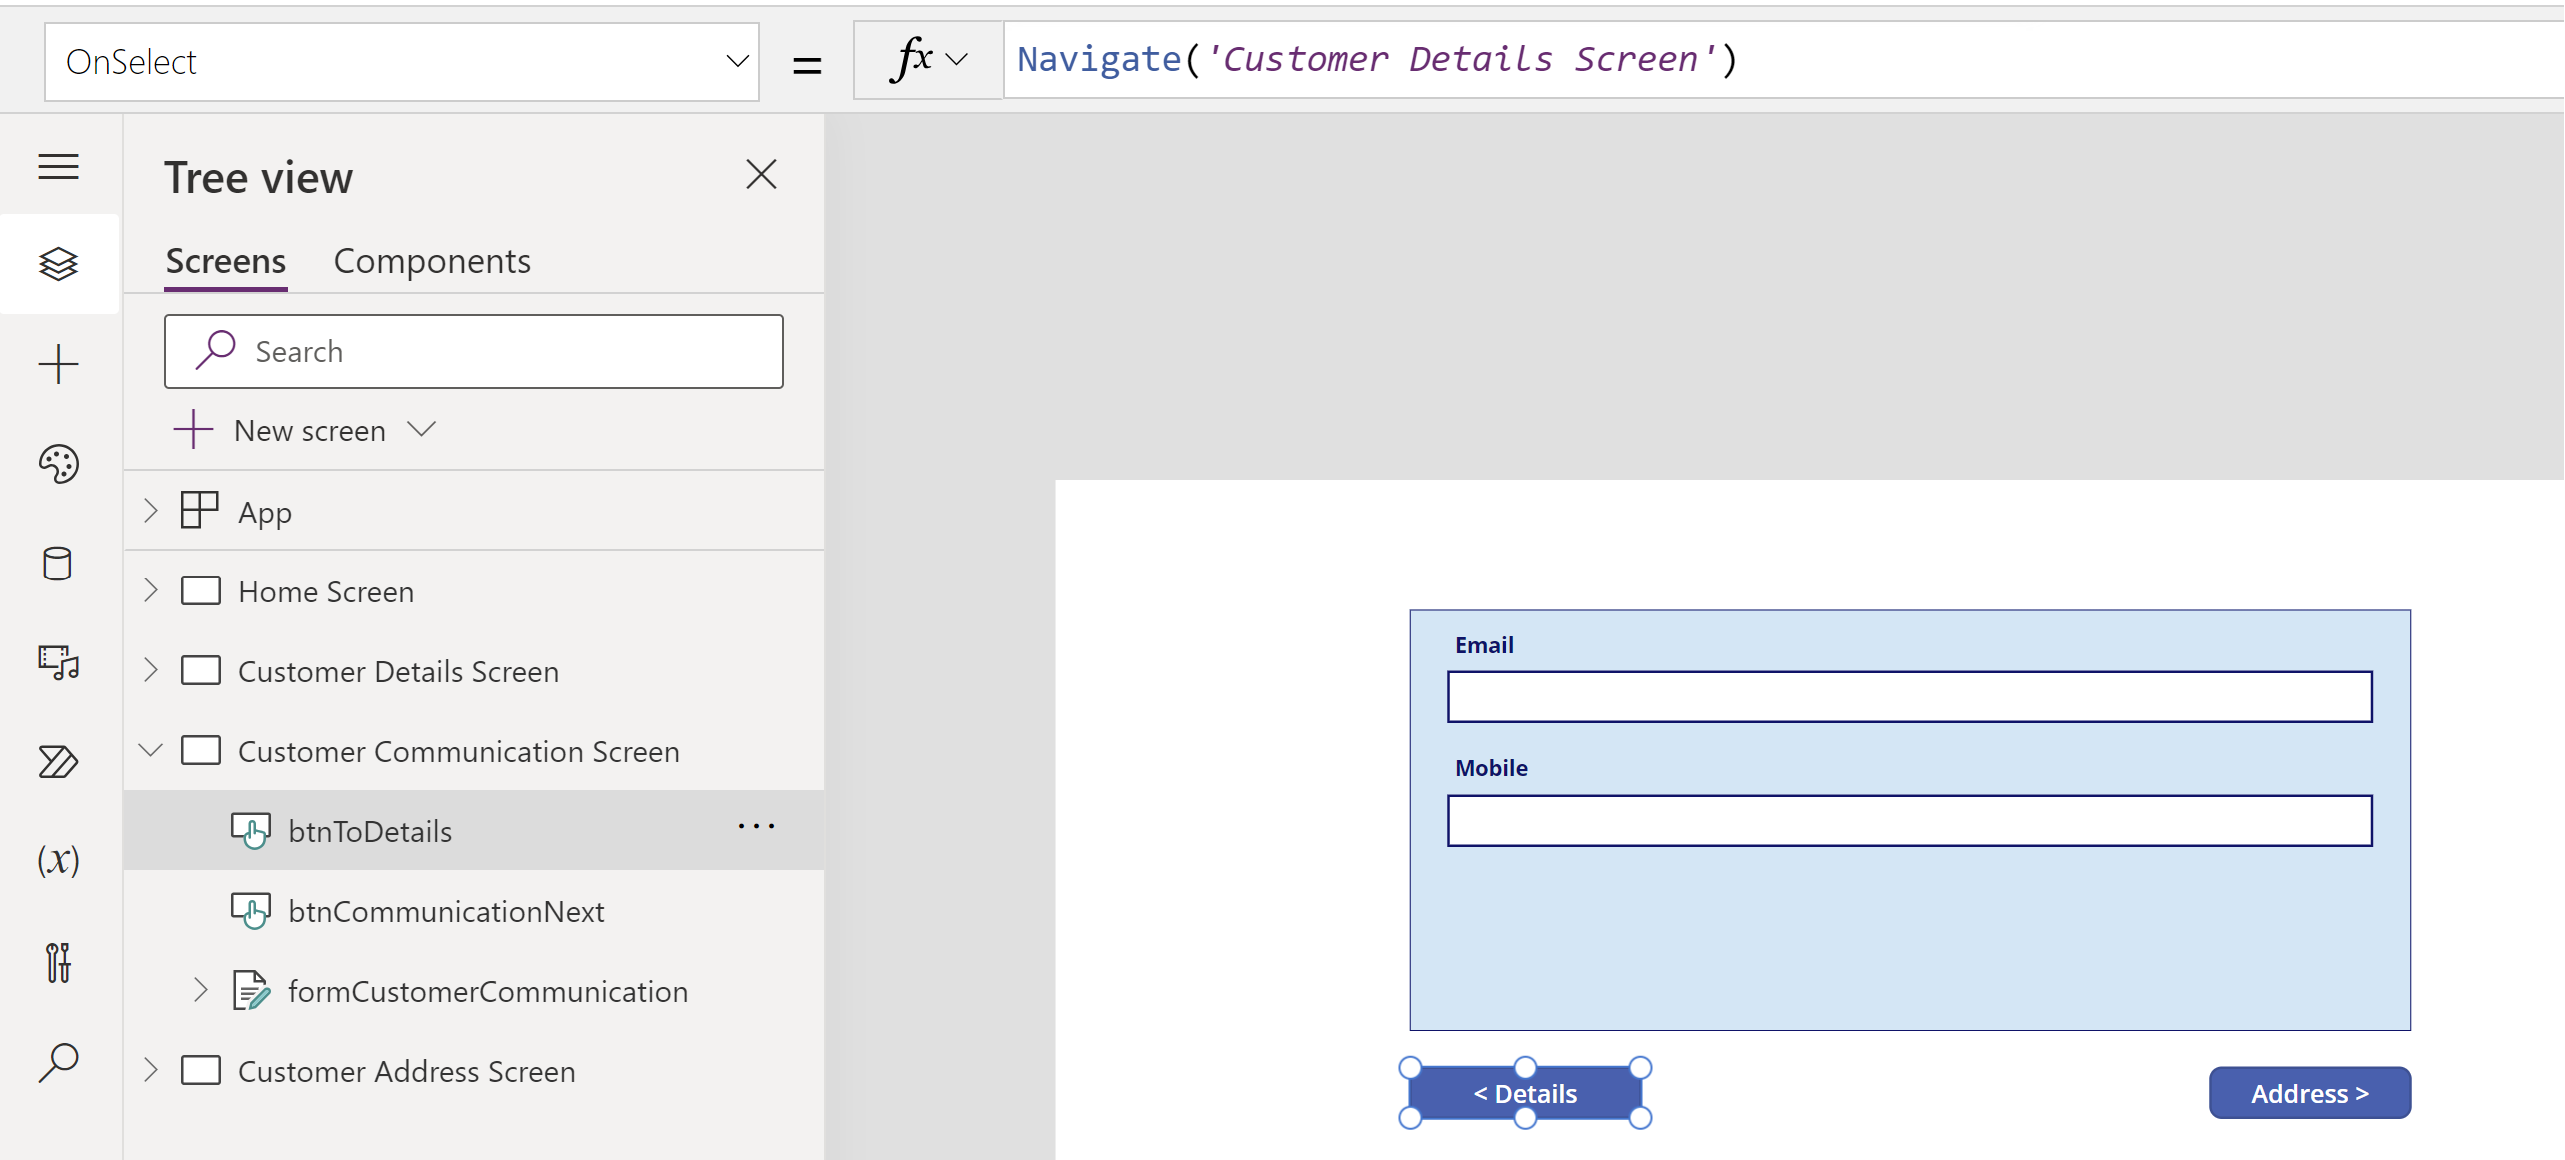
- To establish back-and-forth navigation among “Customer Details Screen”, “Customer Communication Screen” and “Customer Address Screen”, add buttons and use Navigate function.
- For example, as the “Customer Communication Screen” is the middle screen between “Customer Details Screen” and “Customer Address Screen”, add 2 buttons.
- On the “< Details” button click, Navigate backwards to the “Customer Details Screen” screen.
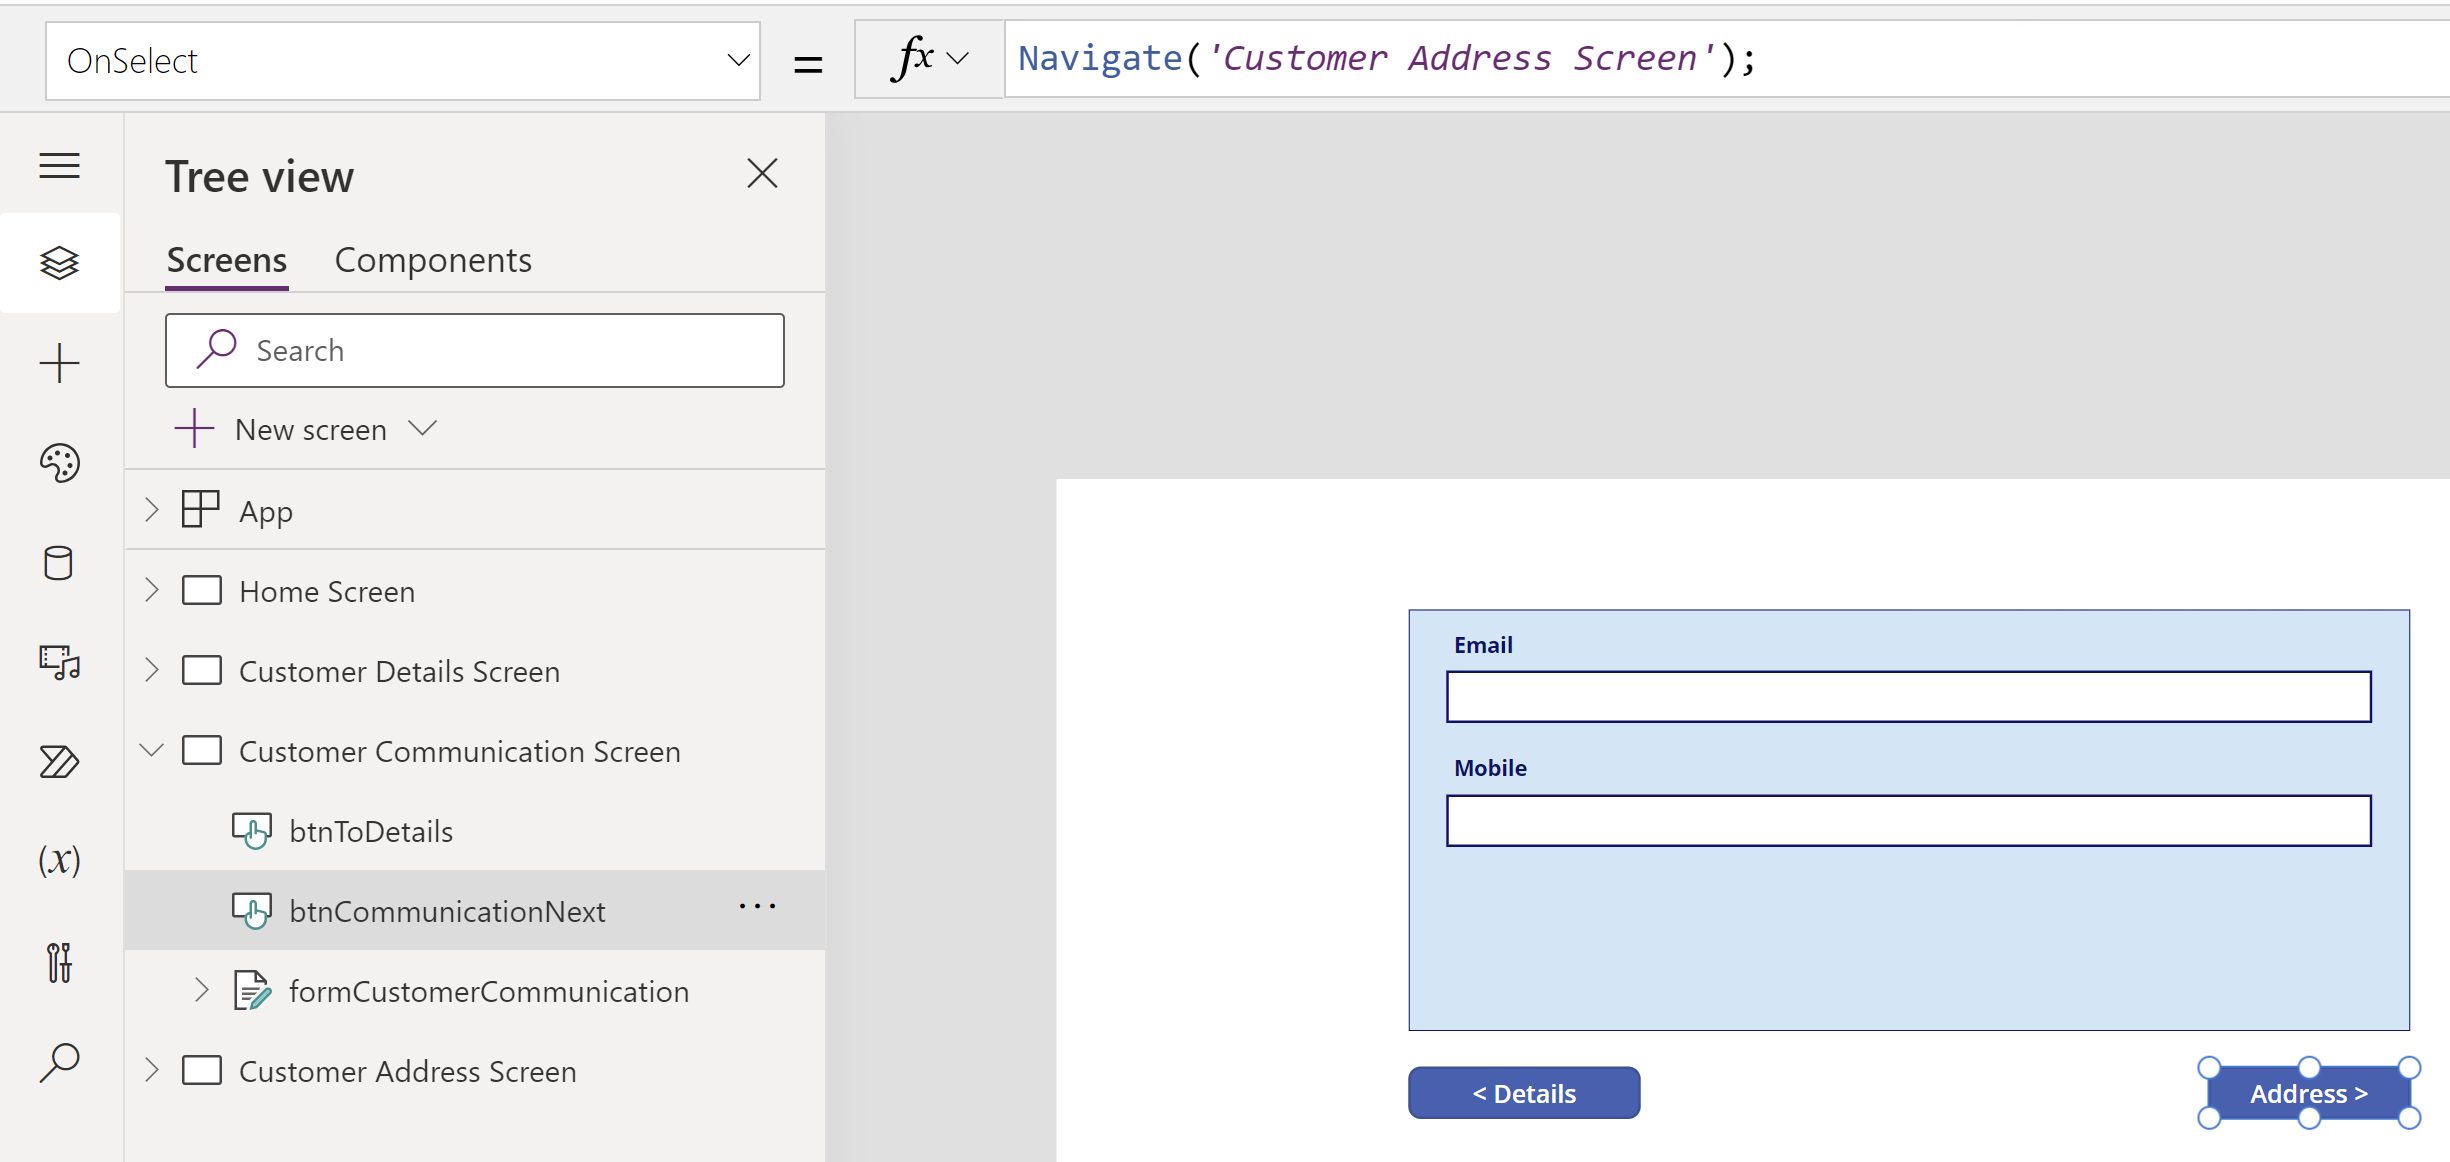
- On the “Address >” button click, Navigate forward to the “Customer Address Screen” screen.
- Add required navigation buttons on all your screens as stated above.
Collect data from multi forms and create a new Customer:
Now that we have all the required screens with form controls added, the key step is to collect data from multiple forms and create a new Customer.
- On the ‘Save’ button click of “Customer Address Screen” screen, use the Patch function. Pass the data entered on the “Customer Details Screen”, “Customer Communication Screen” and “Customer Address Screen” using the Form control’s Updates property to create the Customer.

Formula:
// Use Patch and pass the data from forms using the 'Updates' property.
Patch(
    Customers,
    Defaults(Customers),
    formCustomerDetails.Updates,
    formCustomerAddress.Updates,
    formCustomerCommunication.Updates
);
Refresh(Customers); // Refresh the Customer data source to reflect the newly created customer on Home screen gallery.
Navigate('Home Screen'); // Navigate to Home Screen
New ‘Customer’ trigger on Home Screen:
Another important step is that every time you click the’+’ button on the ‘Home Screen’, we need to Reset all the Form controls and set the mode to New using following formula.
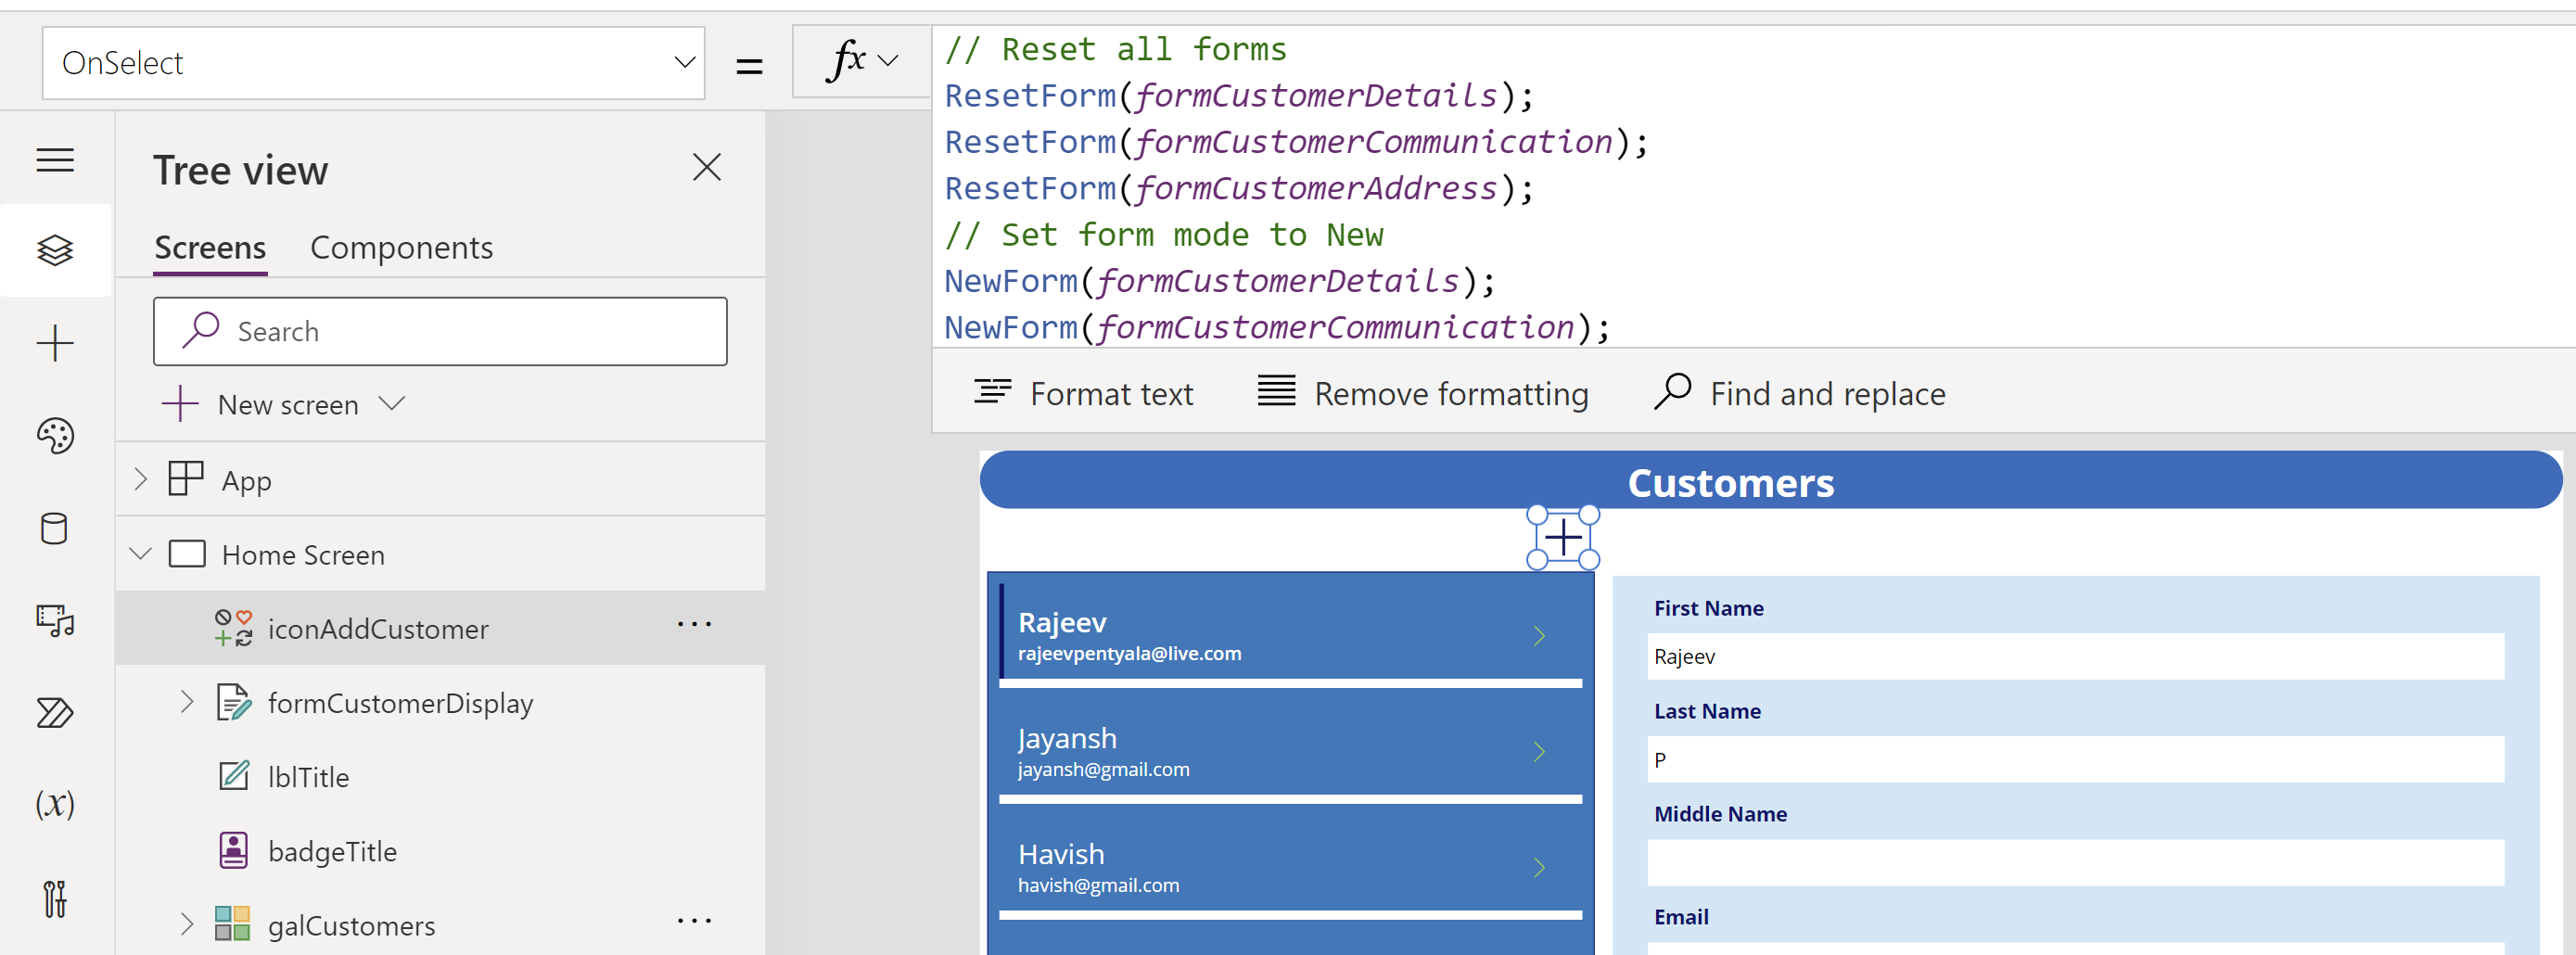
Formula:
// Reset all forms
ResetForm(formCustomerDetails);
ResetForm(formCustomerCommunication);
ResetForm(formCustomerAddress);
// Set form mode to New
NewForm(formCustomerDetails);
NewForm(formCustomerCommunication);
NewForm(formCustomerAddress);
Navigate('Customer Details Screen');- We are all set. Play the App and you should be able to capture data from multiple screens and create a new Customer record.
🙂


Leave a comment