In this article, I will explain how to use the Camera control to automatically capture images at specified intervals.
Manually capture an Image:
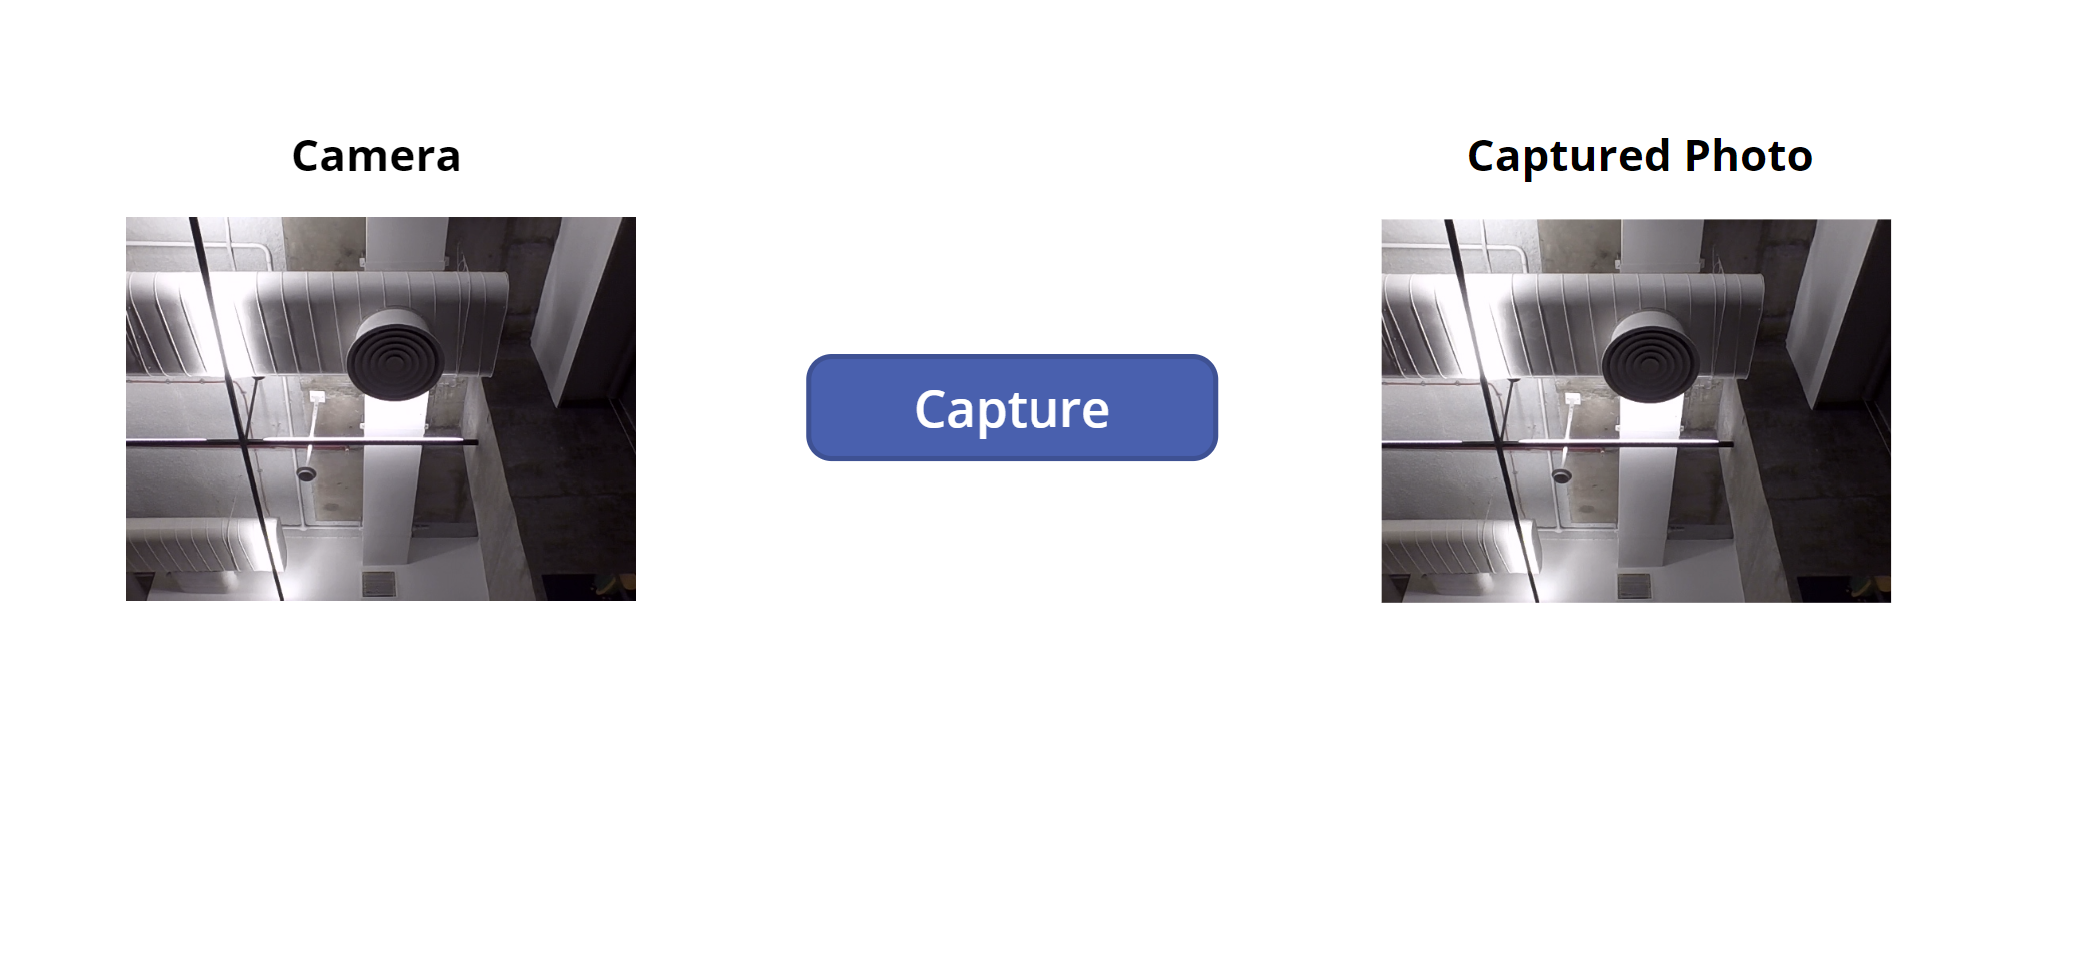
To capture an image on a button click,
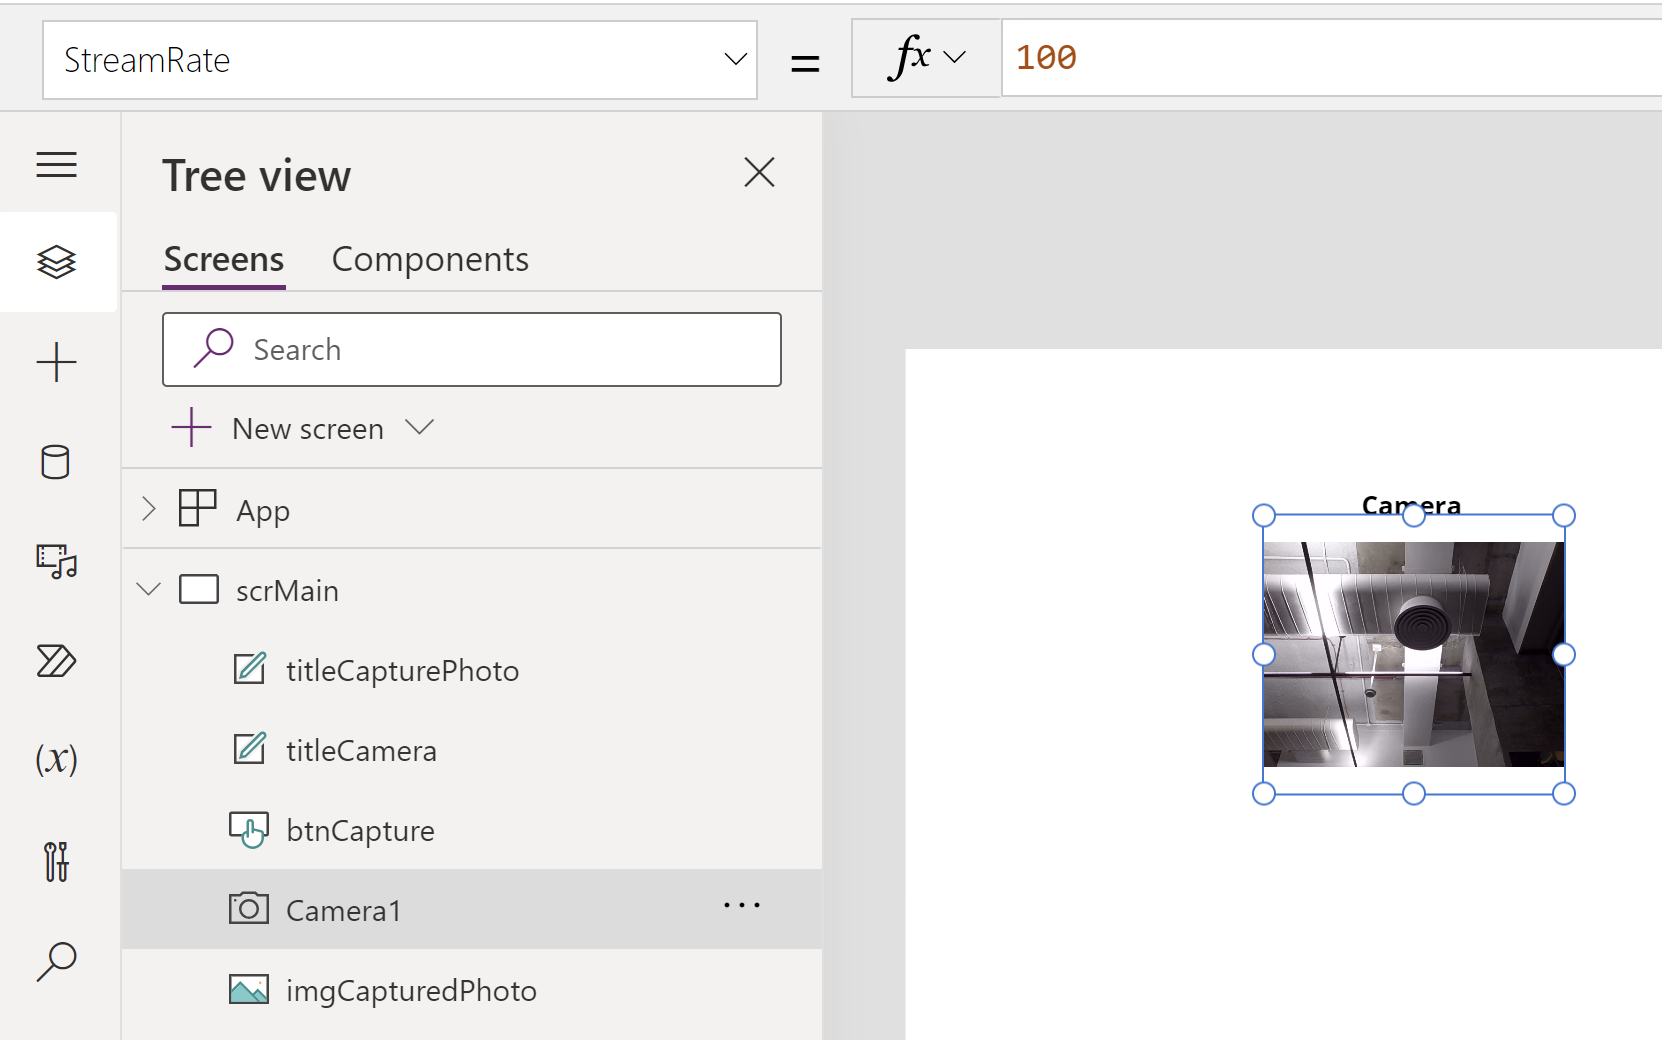
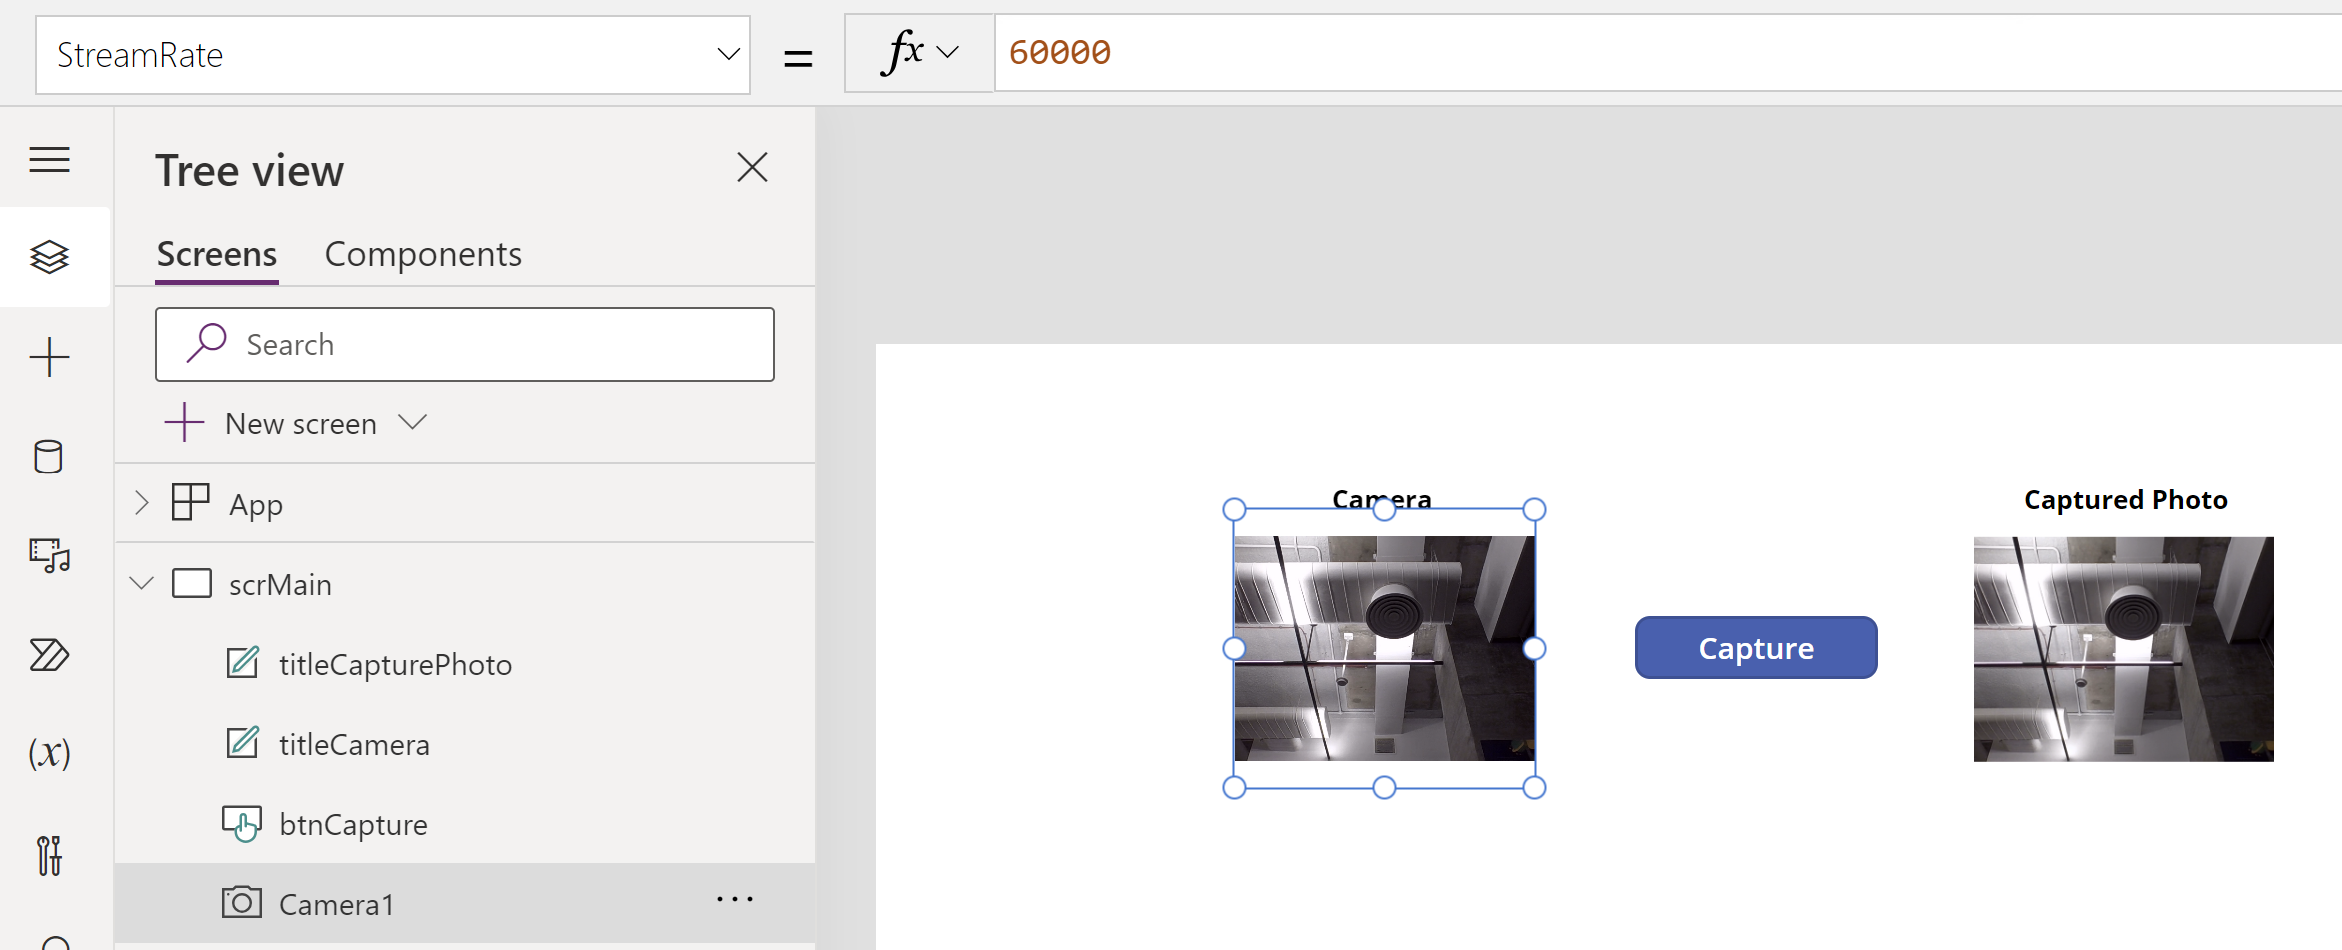
- Set the StreamRate property of the Camera control. The default value is 0.
- The StreamRate property specifies how often to update the image on the Stream property, in milliseconds.
- This value can range from 100 (1/10th of a second) to 3,600,000 (1 hour).
- Now use the Stream property of Image control, which holds the captured picture and set this to Image control.
- Add a button and on OnSelect , set the Camera Stream to a capturedImage variable using below formula.
UpdateContext({capturedImage: Camera1.Stream});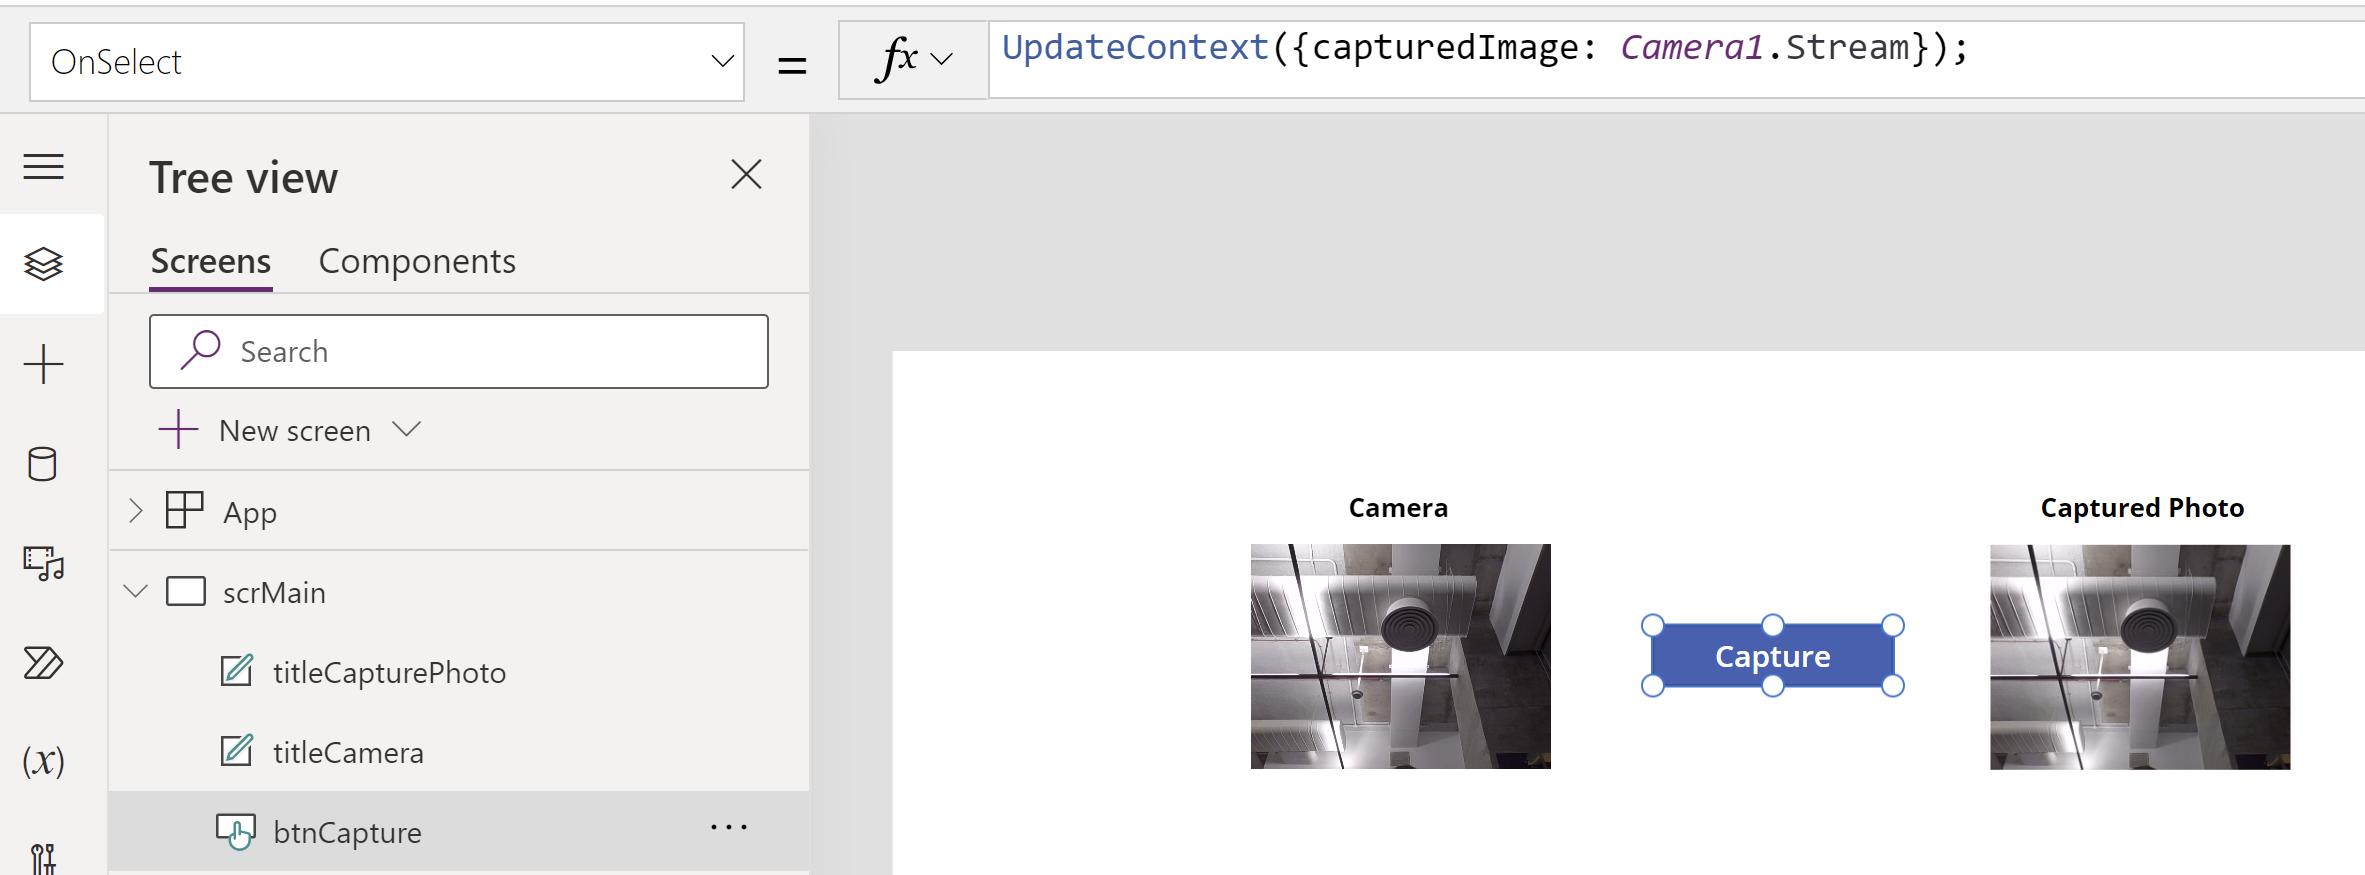
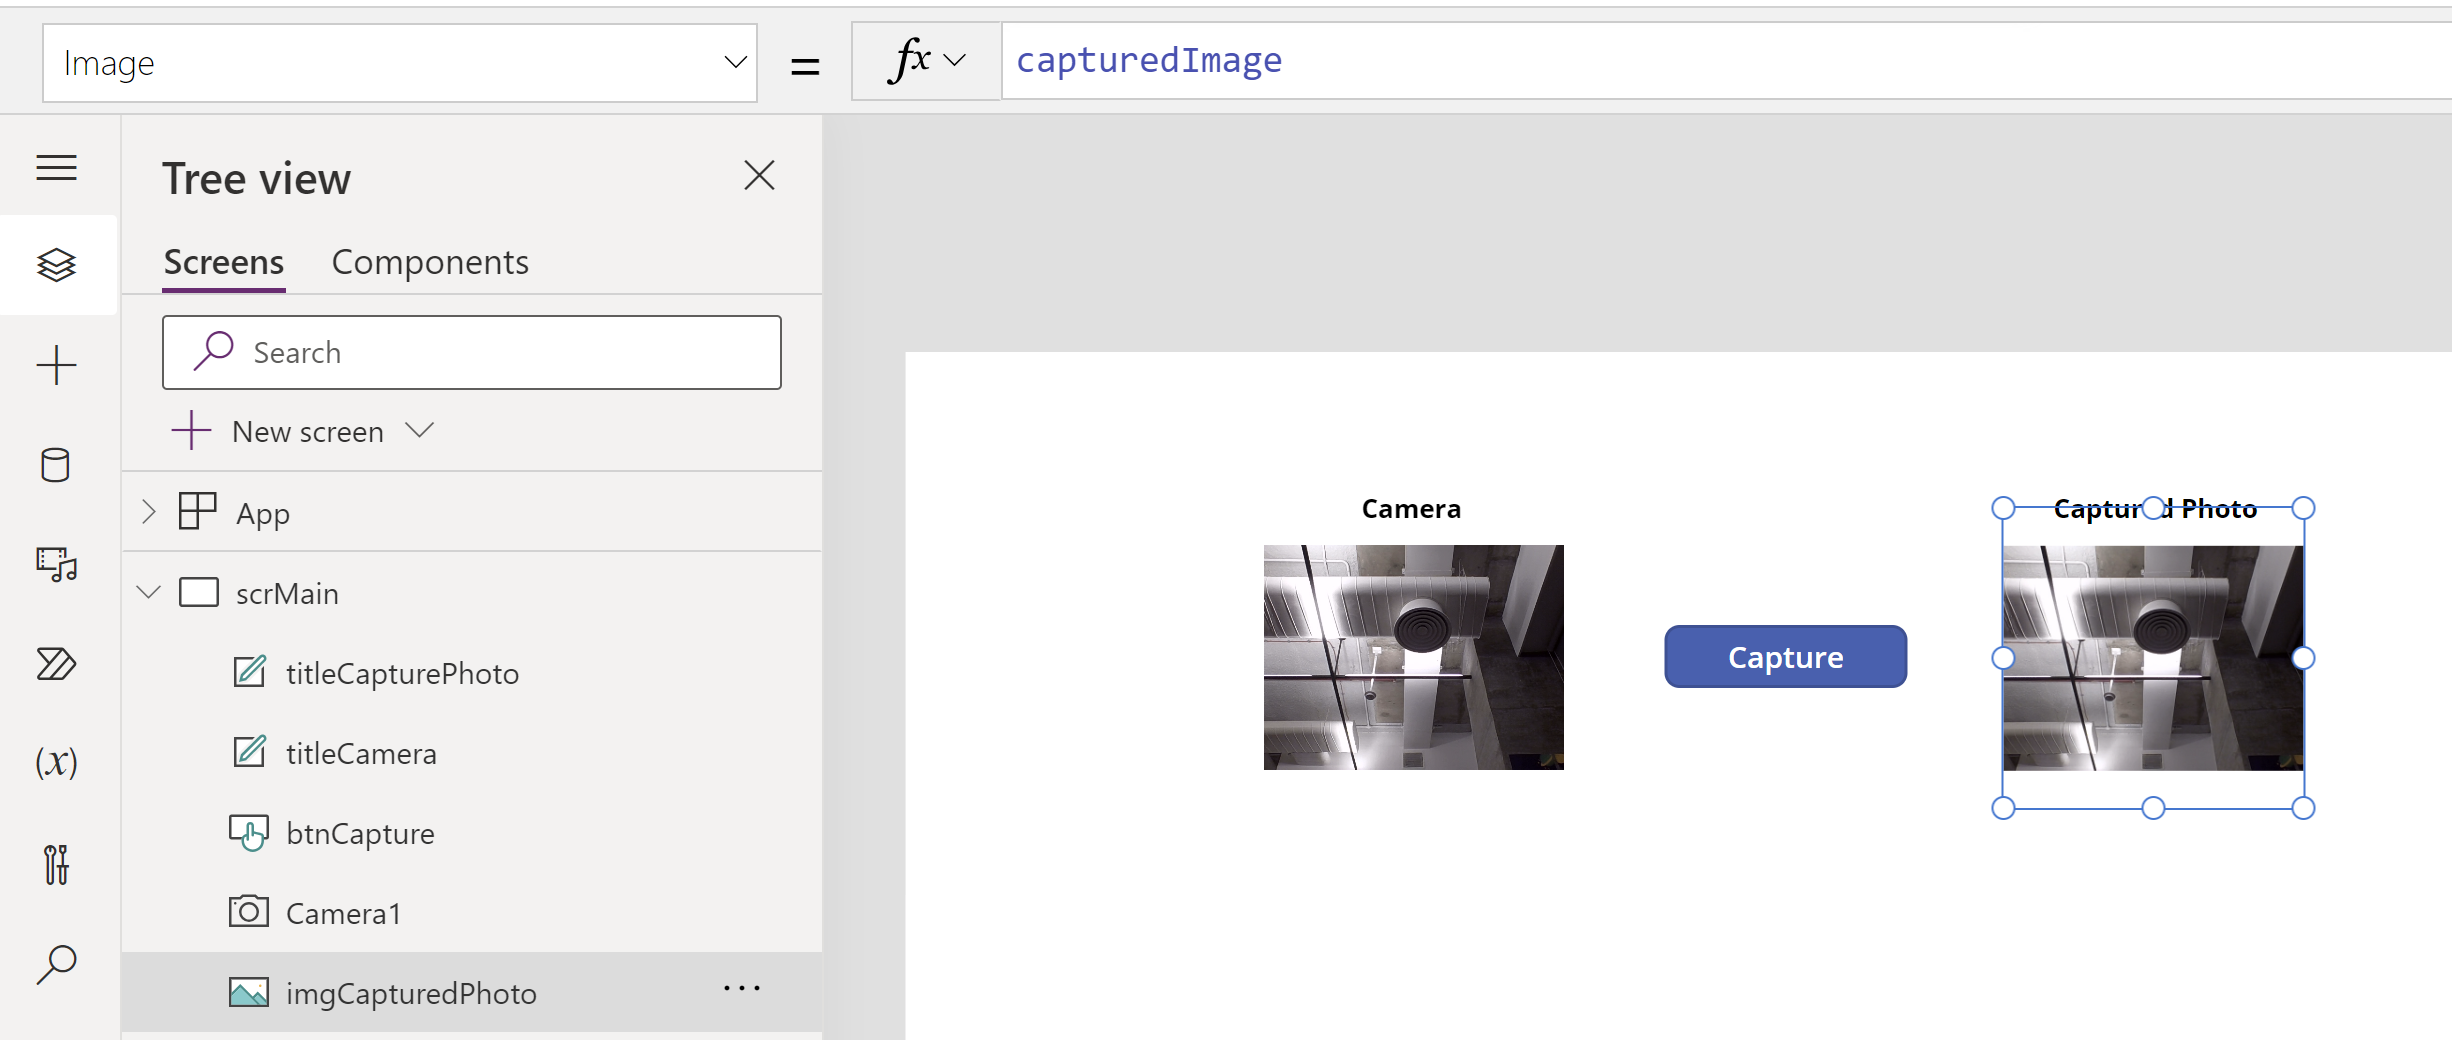
- Finally, set the Image property of Image control to the capturedImage variable.
- That’s it play the App and click the button to capture the desired picture.
- Note: You cannot capture a picture, if the StreamRate property of Camera control is set to 0.
Auto capture the Image:
Use the Stream, StreamRate, and OnStream properties to automatically capture images on a timer, for example snapping a picture every second to create a time-lapse sequence.
- For example, if you want to capture image after every minute, set the StreamRate to 60000.
To implement the auto capture, you just need to move the capturedImage variable declaration to OnStream event of Camera control, as shown below.
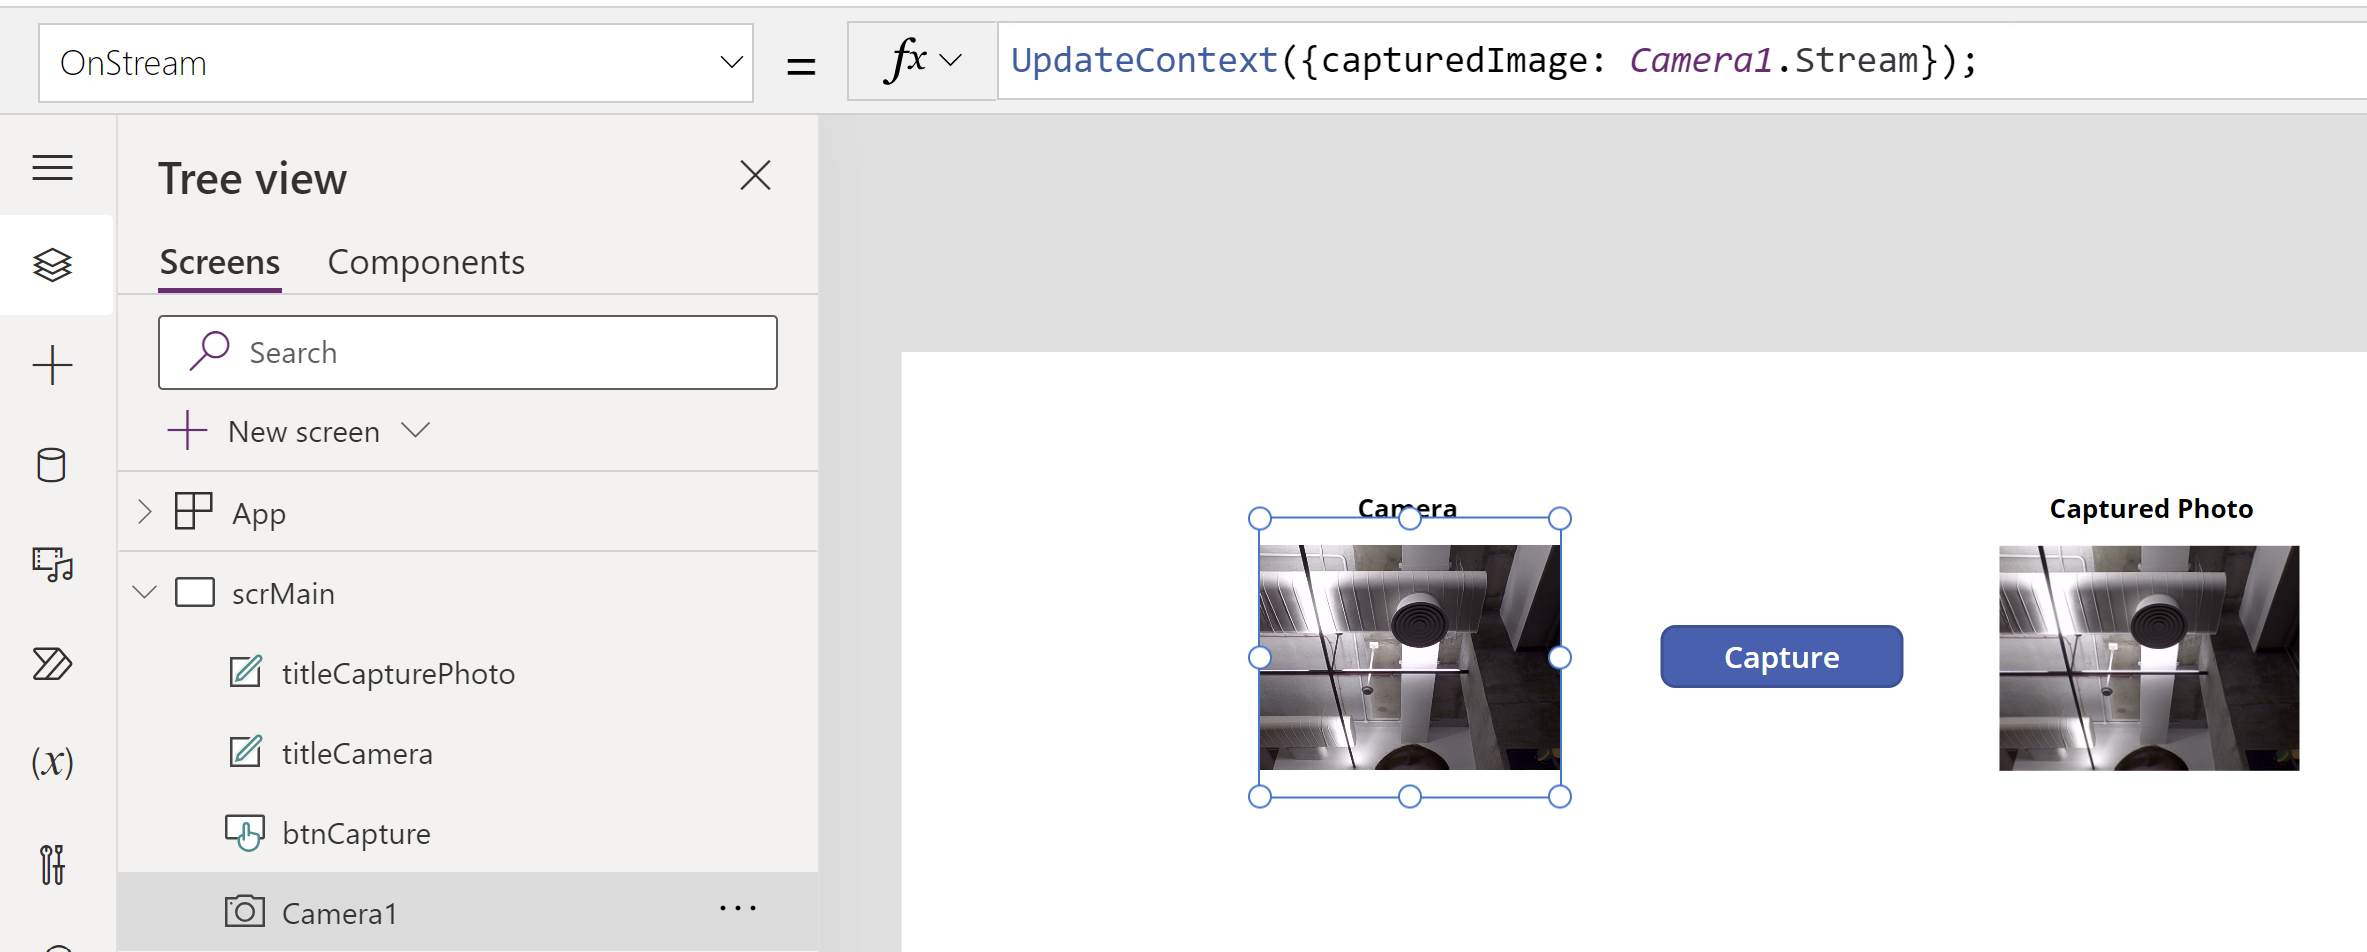
That’s all that is needed. OnStream repeats every time based on the duration defined in the StreamRate property and sets the capturedImage variable with the captured image. The image control automatically displays the latest captured picture.
🙂


Leave a comment