PowerApps is a service for building and using custom business apps that connect to your data and work across the web and mobile.
PowerApps enables power users in line of business roles to easily build and deploy business apps – without the time and expense of custom software development.
In this article, I am going to create a simple PowerApp which allows me to work with my Case records.
Step by step creating App:
- Subscribe for 30 days trail of Office 365
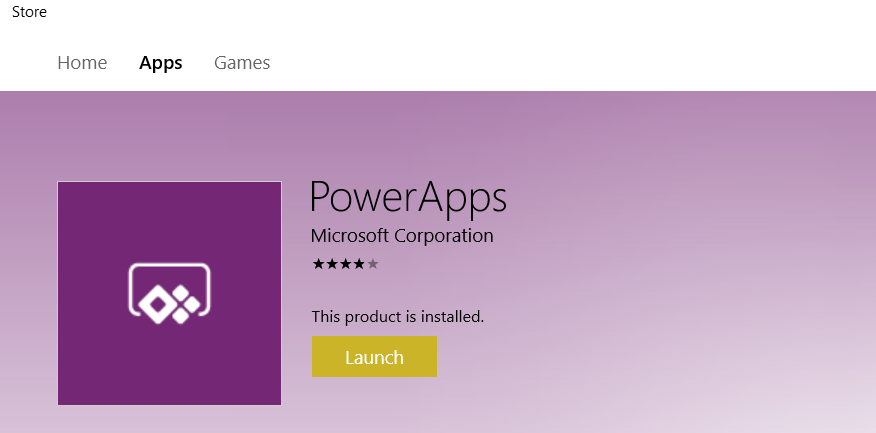
- After sign up, on the Home page, select “PowerApps”

- It will take to ‘PowerApps’ home screen.
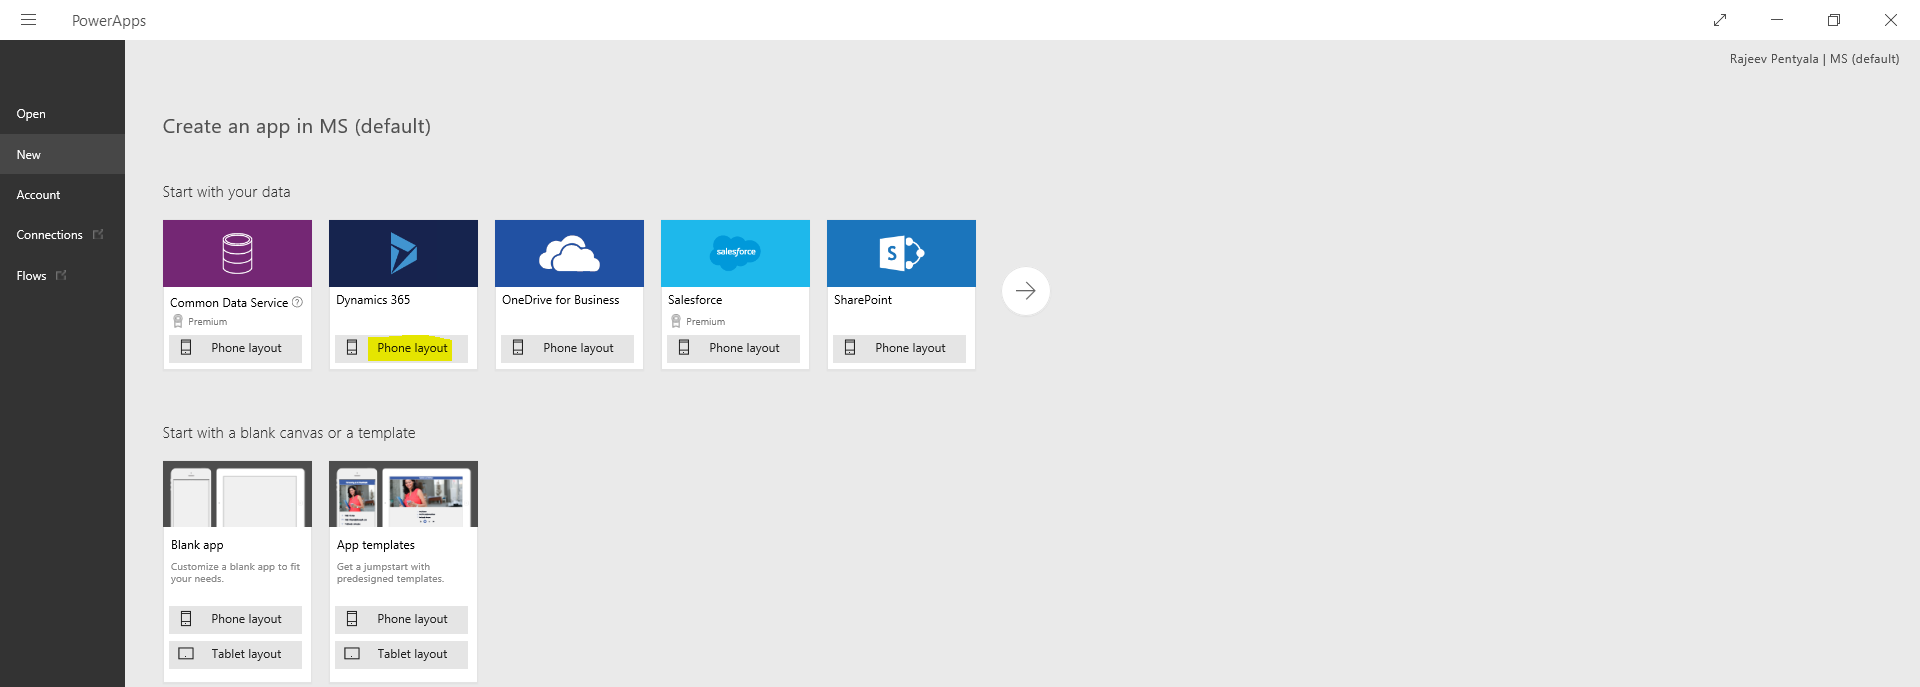
- To create new App, click on “New app” and from the popup,
- If you have machine running on Windows 8 or Windows 10, Choose “PowerApps Studio for Windows” which will take you to Store to download the App
- Choose “PowerApps Studio for Web” to design in browser.

- I chose “PowerApps Studio for Windows” and downloaded the “PowerApps” from Windows Store
- After download, launch the “PowerApps” studio.
- As we are creating App to work with CRM Cases, choose “Dynamics 365” as your Data Source
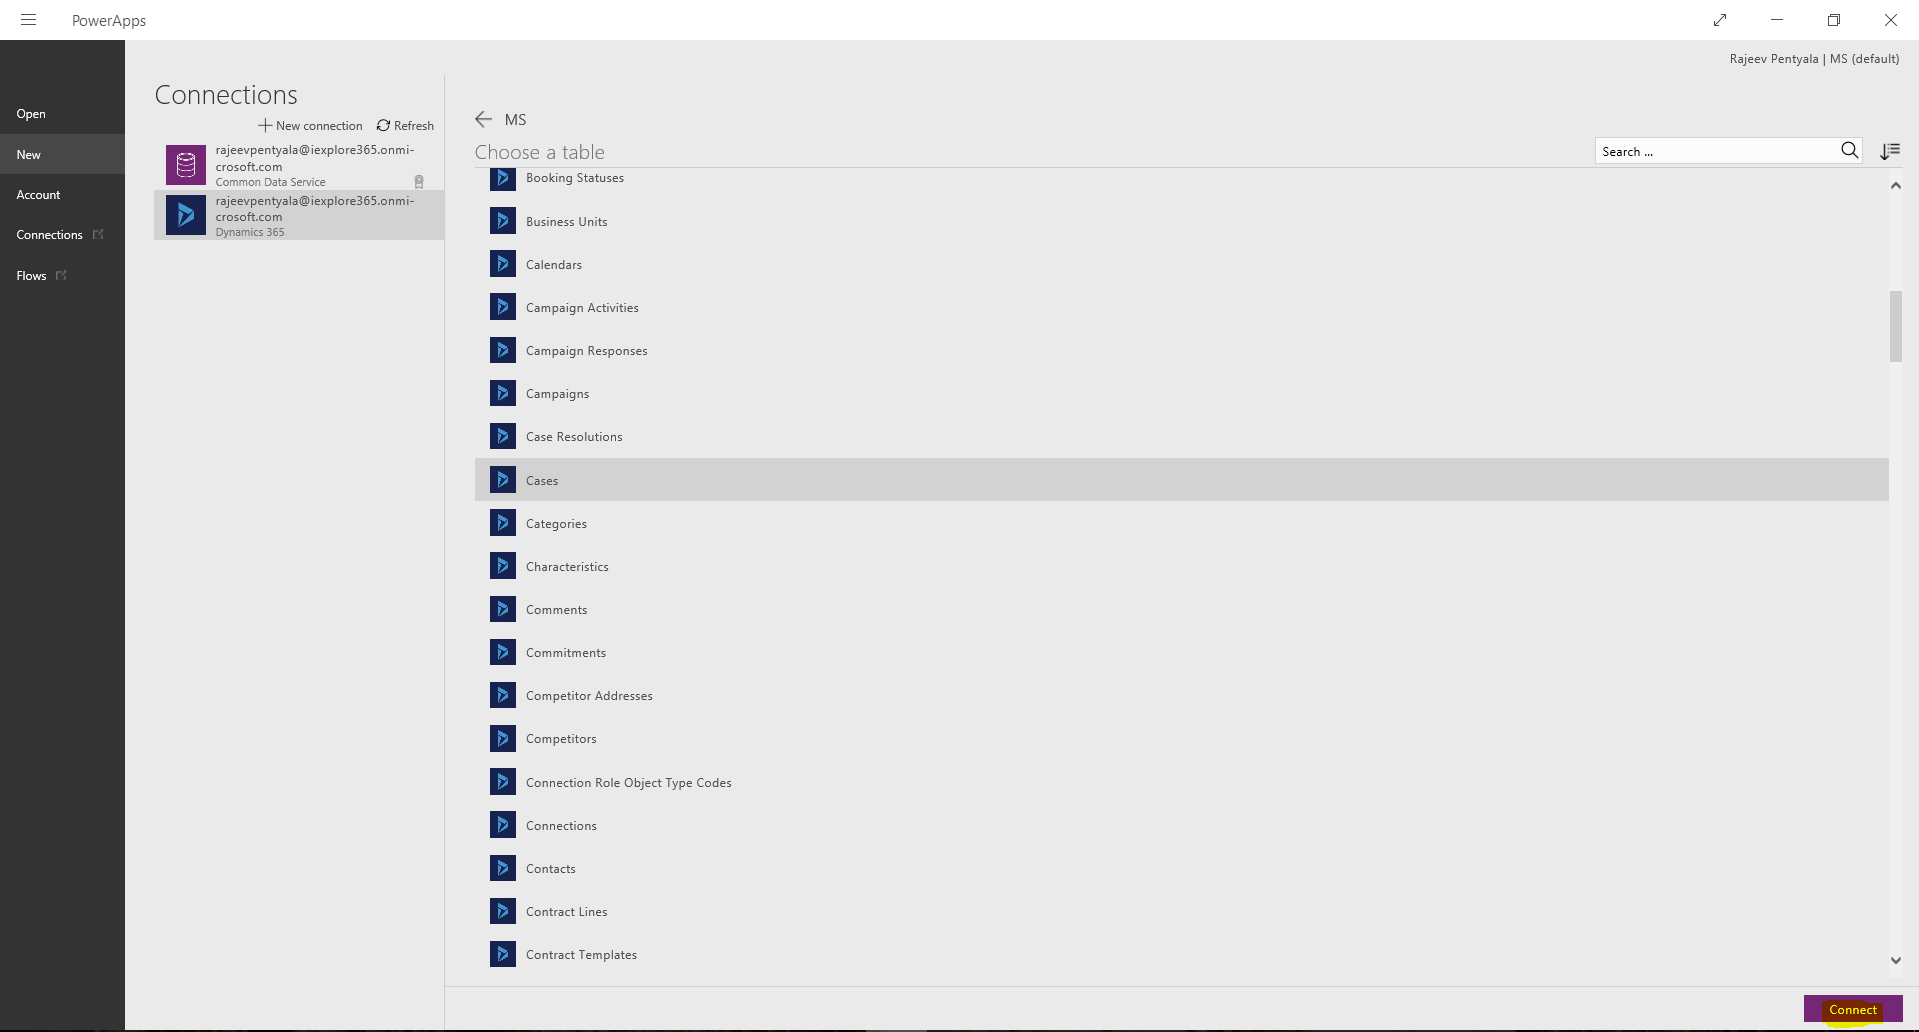
- Choose the ‘Dataset’ as your Organization (Its “MS” for me)
- Choose the ‘Table’ as “Cases” entity and click on “Connect”
- Studio opens up the designer with default screens (i.e.,Browse, Details, Edit) for Case’s records.

- You can add/remove fields or icons on the screens or create a new screen.
- Once the design completes, click “ File -> Save” to save the App

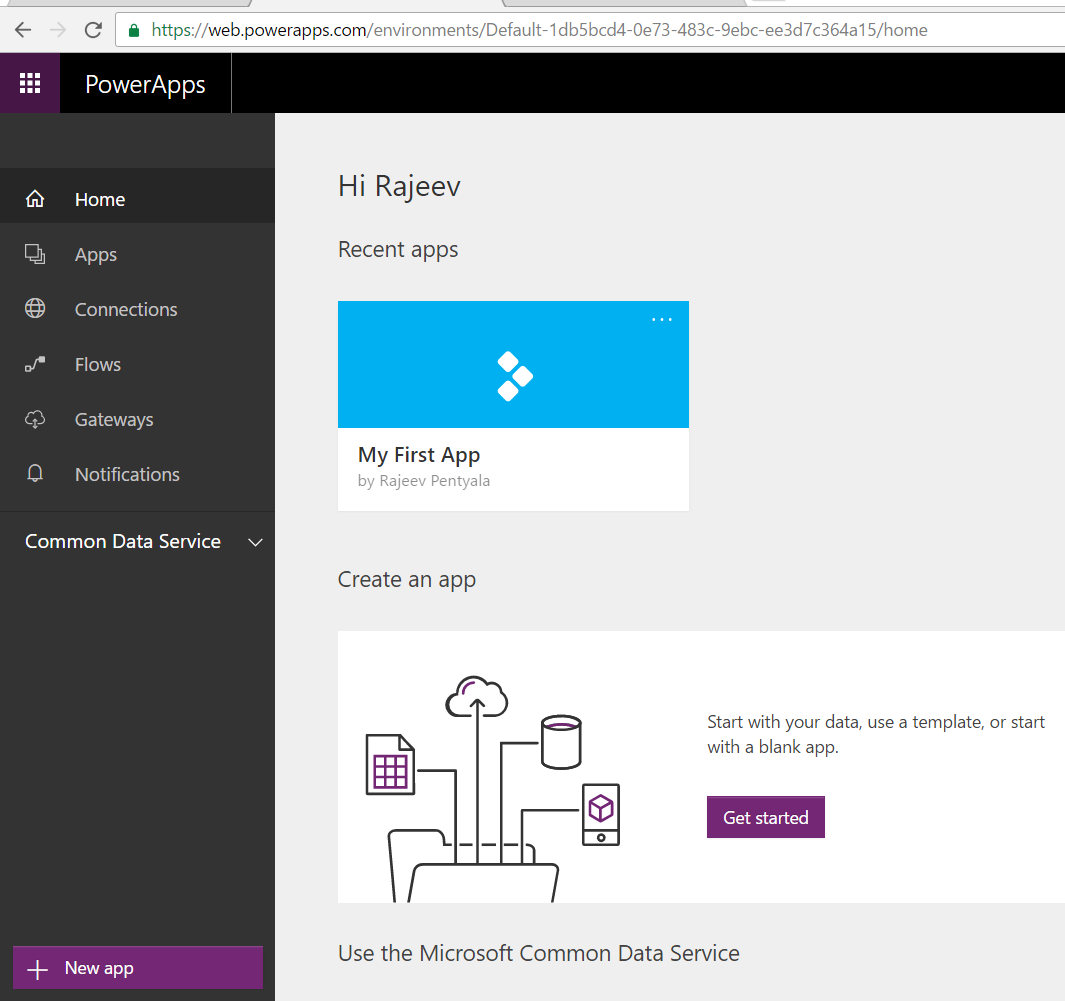
- I saved the App as “My First App”
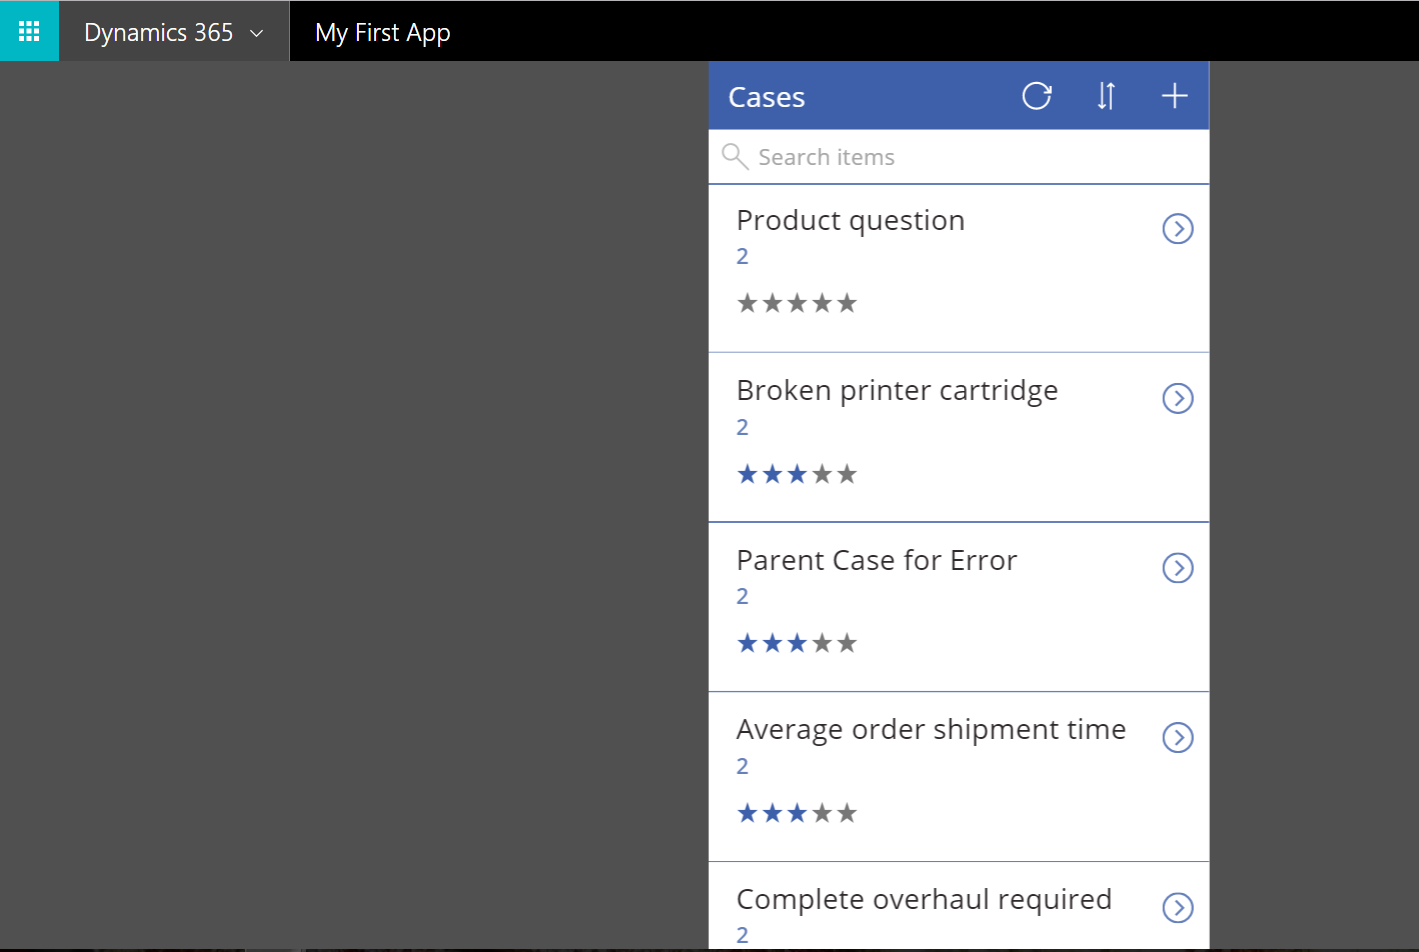
Run the App:
- Go to PowerApps home screen and select the App to run.
- Click the App and it will run and pull the Cases from my Dynamics 365 organization.
Share the Power App:
- Also, App can be shared across the Organization or to specific Users.
- Select the App and click on ‘Share’ option

🙂


Leave a comment