In my previous blog post, I explained how to build a Code App using Power Platform Connectors. In that example, I used the Office 365 connector to retrieve and display user information.
In this blog post, I’ll show how to build a Code App using Dataverse as the data source. We’ll implement basic CRUD operations (Create, Read, Update, Delete) on the Account table.
By the end of this walkthrough, the completed Code App will support the following capabilities:

In this article, I’ll explain at a high level how to build this Code App. I’ll also share the GitHub repository that contains the complete, working Code App, so you can download it and run it on your own machine.
Prerequisites:
Authenticate PAC CLI and point to your Power Platform environment:
- Open a command prompt
- Run the pac auth create command to create an authentication profile. This command sets up a connection to the Power Platform environment where you’ll be deploying the Code App.
I am not creating the Code App project from scratch. Instead, I’ll start with the Hello World project from Code Apps Samples and build on top of it.
Building the Code App:
- Download the Hello World project from Code Apps Samples repository.
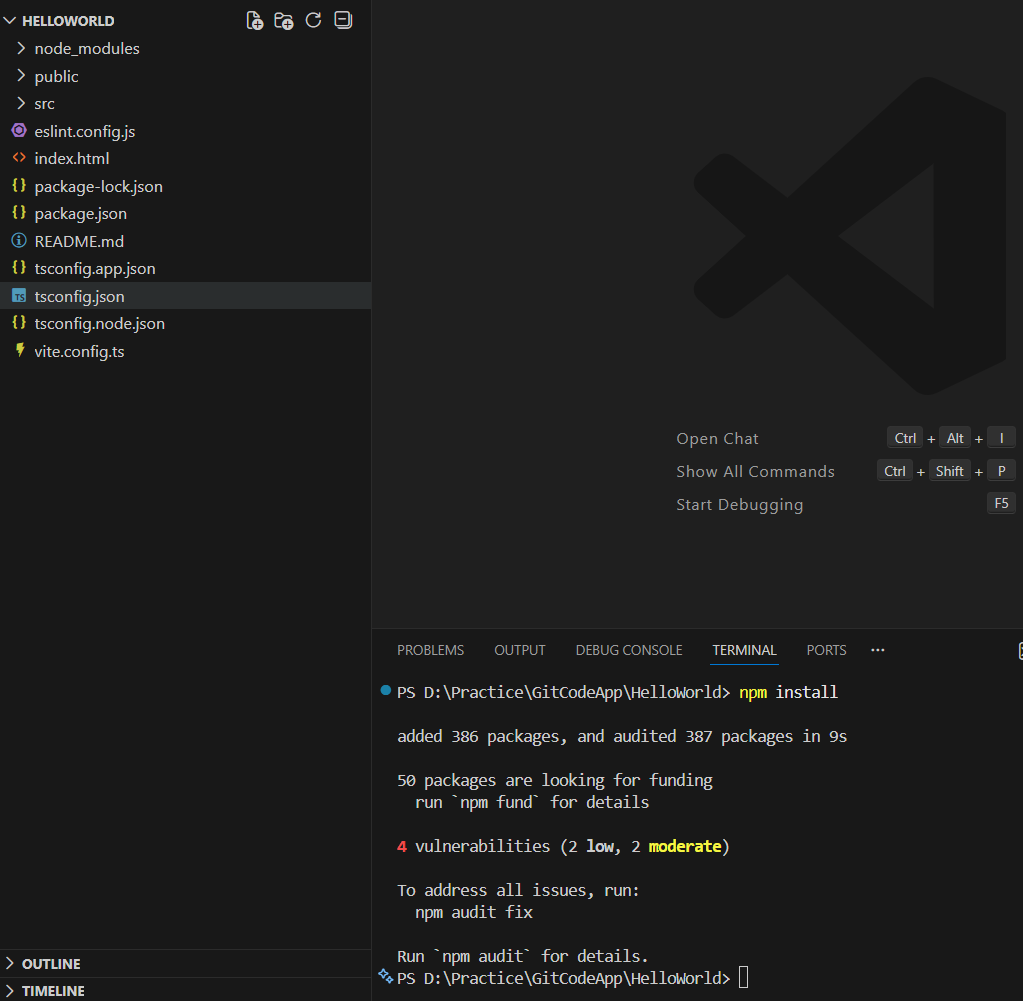
- Once downloaded, restore the project dependencies by executing the npm install command
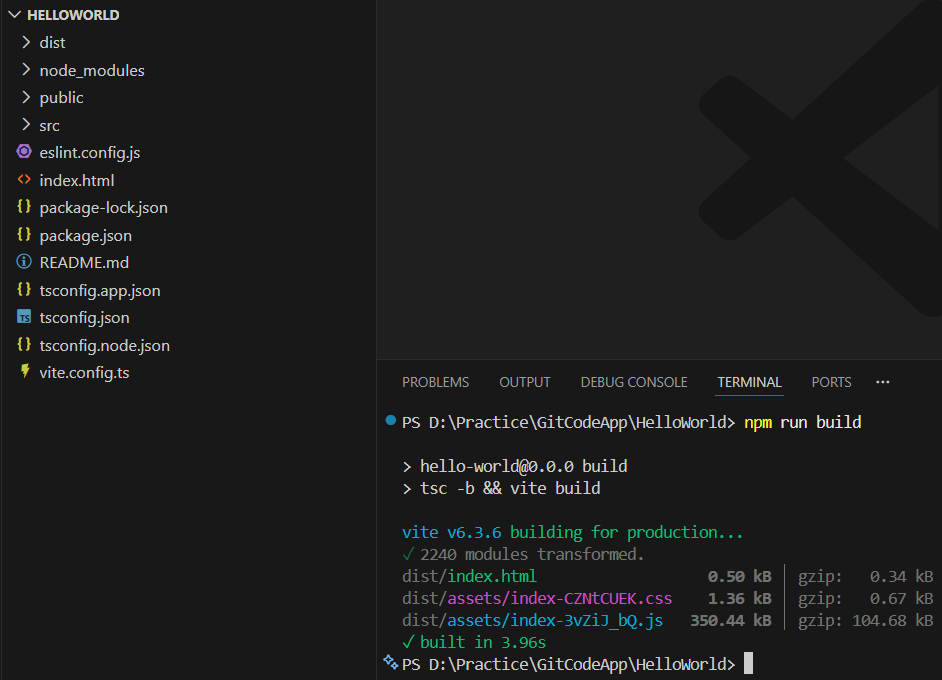
- Build the project using npm run build command.
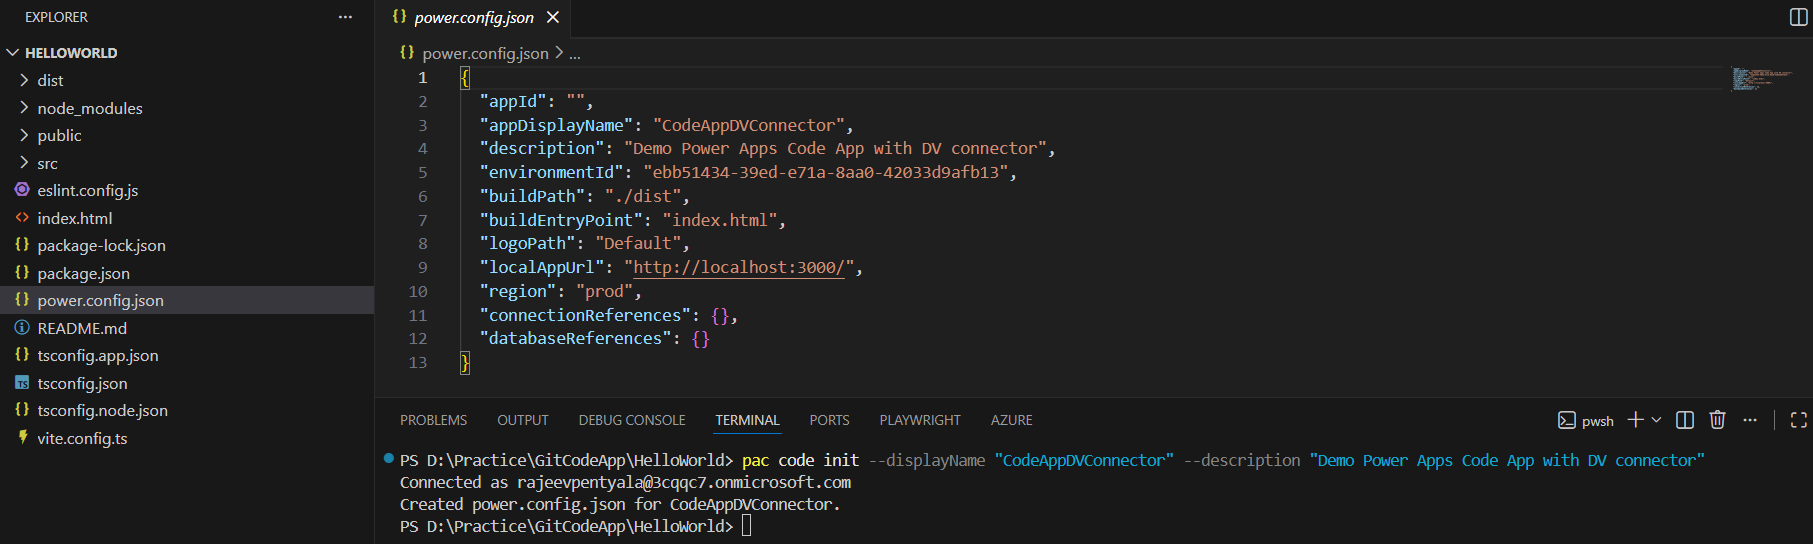
- After the build is complete, connect the Code App to your target Dataverse environment using pac code init command. This command creates a power.config.json file with App and target environment details.
pac code init --displayName "CodeAppDVConnector" --description "Demo Power Apps Code App with DV connector"
- Next, trigger npm run dev command to run the project locally.
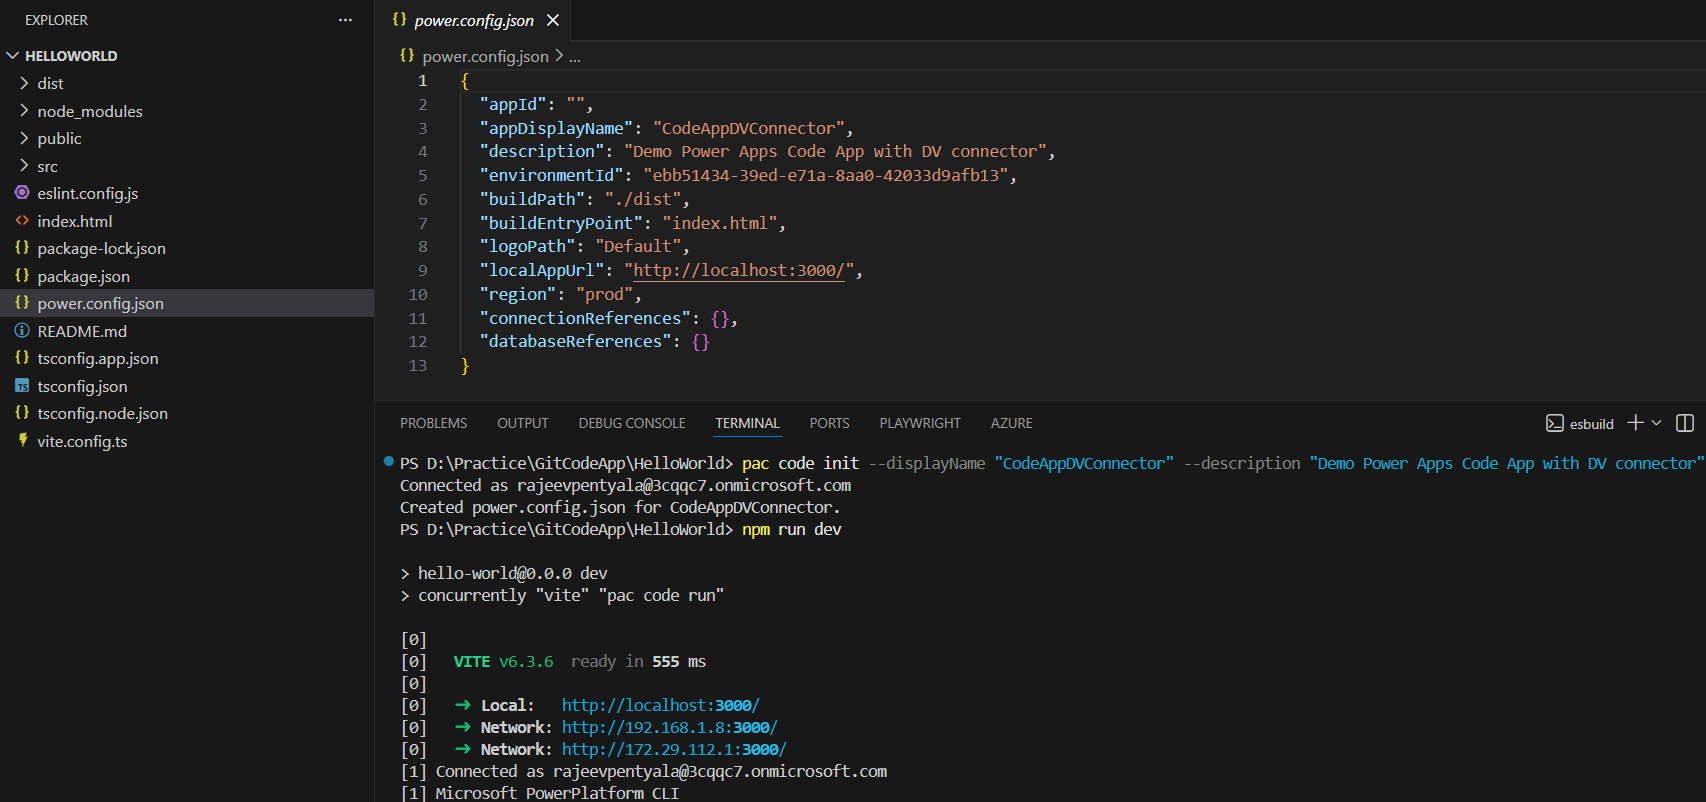
- The UI looks as below when you run the project locally.
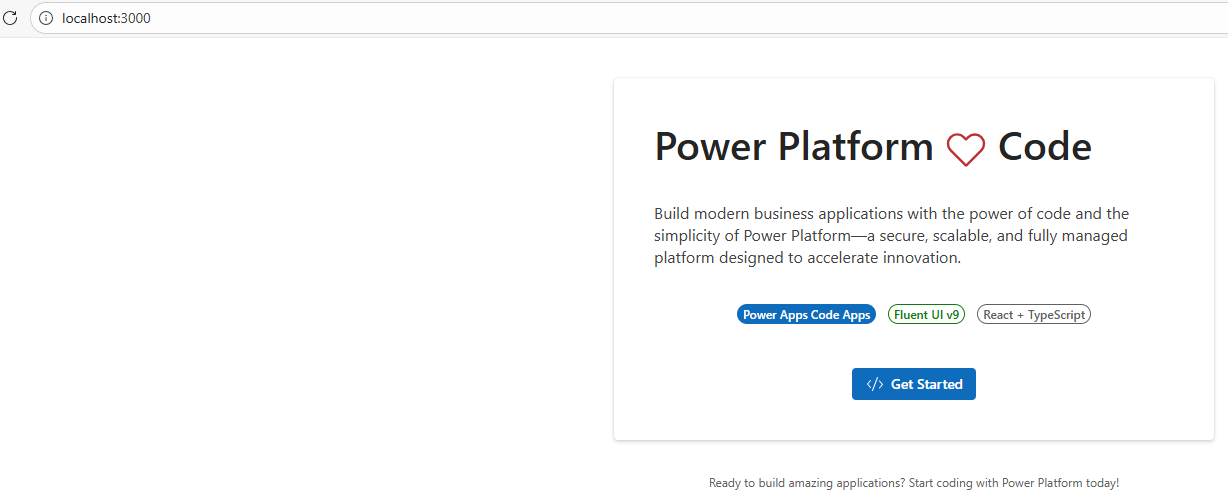
With this step completed, we’ve successfully built and verified the base Code App project, and we’re now ready to extend it by connecting to Dataverse.
Referencing Dataverse as a Data Source:
- To use Dataverse in a Code App, use the pac code add-data-source command to add Dataverse as a data source to your code app.
pac code add-data-source -a dataverse -t account
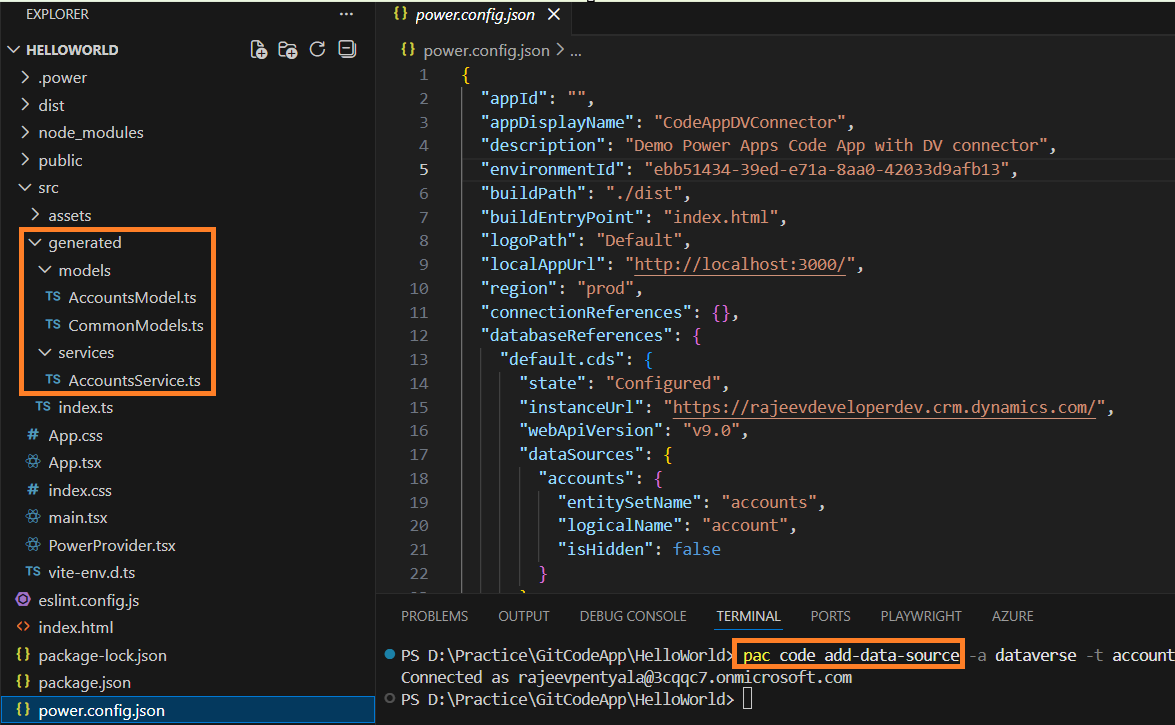
- pac code add-data-source command generates required helper Models and Services code files as highlighted above.
- With Dataverse now successfully referred to the Code App, we’re ready to update the UI and implement CRUD operations on the Account table.
Building CRUD functionality in Code App:
At this stage, you can proceed with implementing the CRUD operations in the Code App by using the Dataverse data source.
Before performing create, read, update, and delete (CRUD) operations in your code app, complete these two setup steps.
Ensure Power Apps SDK initialization before data calls:
- In your
App.tsxfile, implement logic that waits for the Power Apps SDK to fully initialize before performing any data operations. - Use an asynchronous function or state management to confirm initialization before making API calls.
Import required types and services:
When you add a data source, model and service files are automatically generated and placed in the /generated/services/ folder.
Import and use them in the code like this:
import { AccountsService } from './generated/services/AccountsService';
import type { Accounts } from './generated/models/AccountsModel';
- Once you completed above two steps, you can proceed with CRUD operations logic. For detailed guidance on CRUD operations, refer to the Microsoft documentation : Connect your code app to Dataverse (preview).
- I used GitHub Copilot to help design the UI and implement the CRUD functionality on the Account table.
- You can download the complete, working Code App from my GitHub repository: RajeevPentyala/CodeAppsDVConnector
Test the Code App:
To test the Code App, push it to your Power Platform environment.
- Trigger pac code push command.

- Once the app loads, you can start testing the CRUD operations on the Account table directly from the UI.
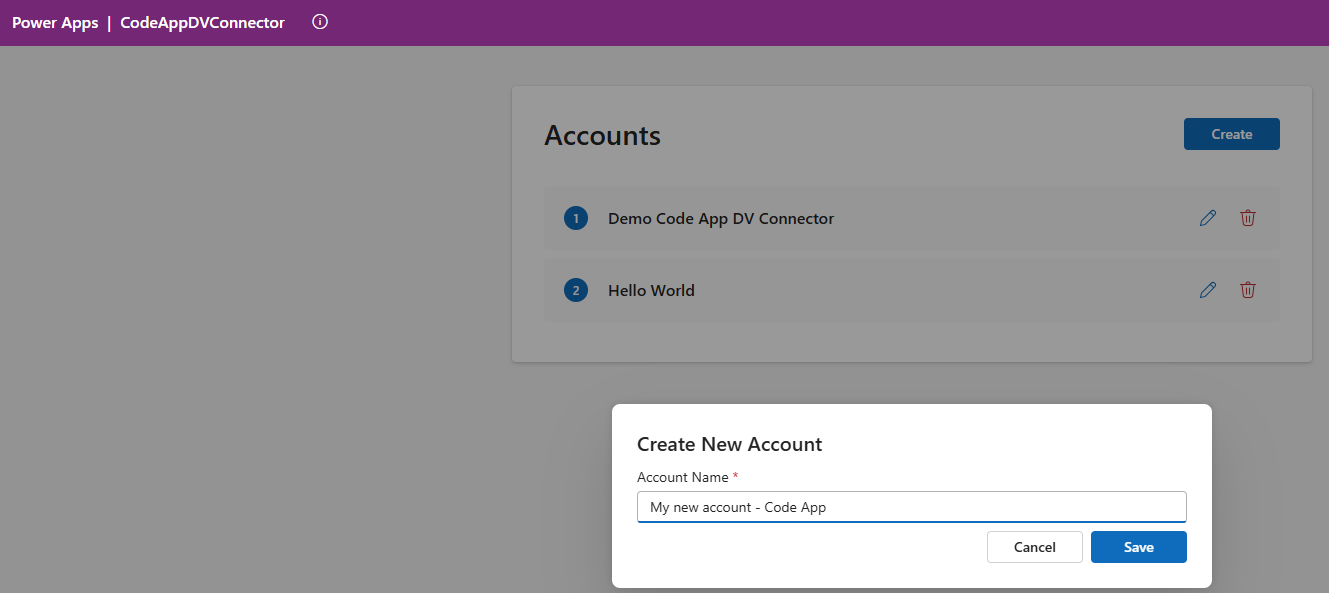
In this article, we walked through how to connect a Power Apps Code App to Dataverse and build basic CRUD functionality on the Account table.
🙂


Leave a comment