Did you know you can watch session recordings of your users interacting with your Canvas App?
I came across this video on OhThreeSixtyFive channel about integrating Microsoft Clarity with Canvas App and decided to give it a try myself. In this article, I’ll walk you through the step-by-step process to set it up.
What is Microsoft Clarity:
Clarity is a cutting-edge behavioral analytics tool that helps you understand user interaction with your website or app. Clarity is a free service forever. There’s no obligation to upgrade to a paid version.
In the next steps, I’ll walk you through how to set up a Clarity account and integrate it with a Canvas App. To enable this integration, We’ll import a Dataverse solution that includes a PCF control from this GitHub project
Clarity Account Setup:
- Navigate to https://clarity.microsoft.com/ and click on Get Started > Sign in to Microsoft

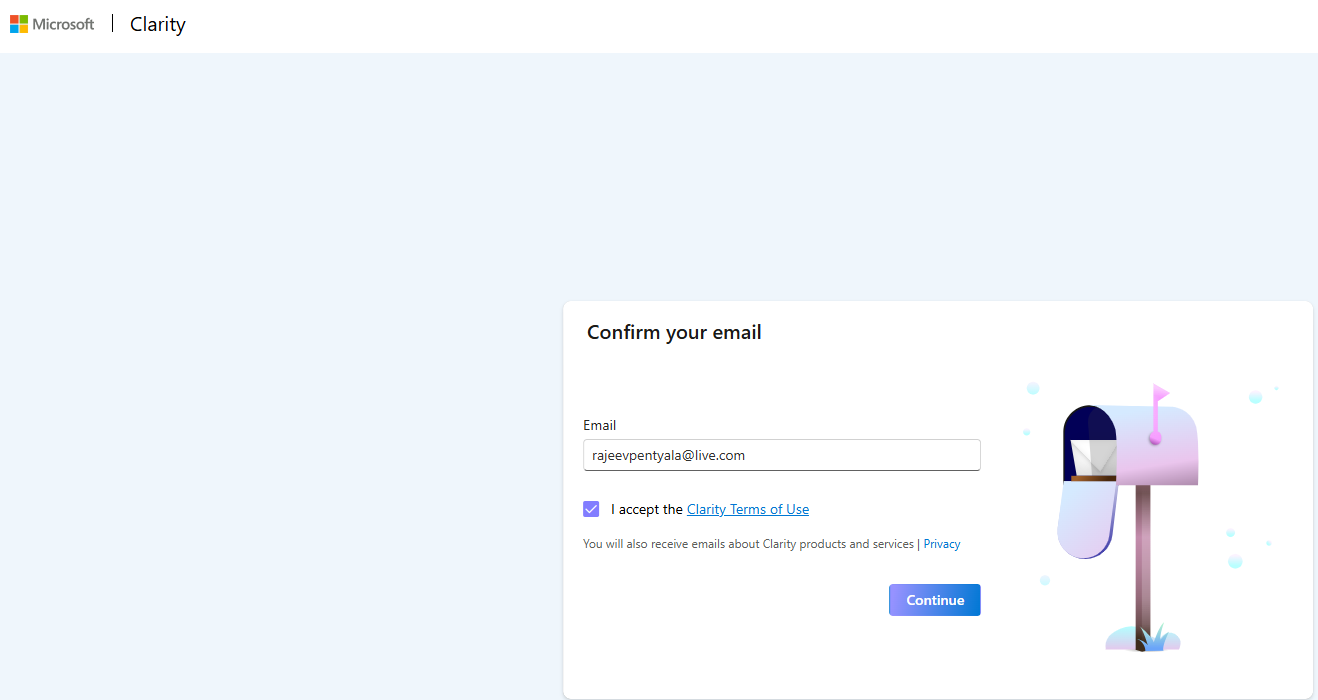
- Complete the Sign In and in the next screen confirm your email.
- Next, we need to create a Project. Fill the details as shown below.
- Set Website URL as play.powerapps.com
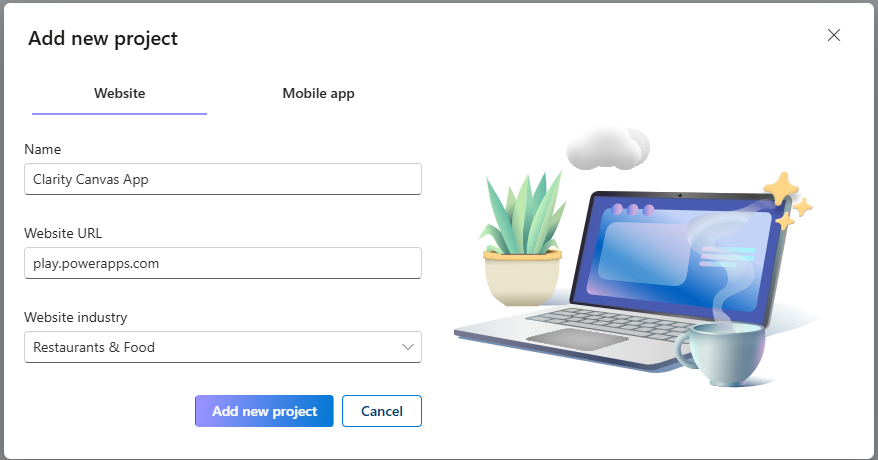
- Click on Add new project and complete the project creation.
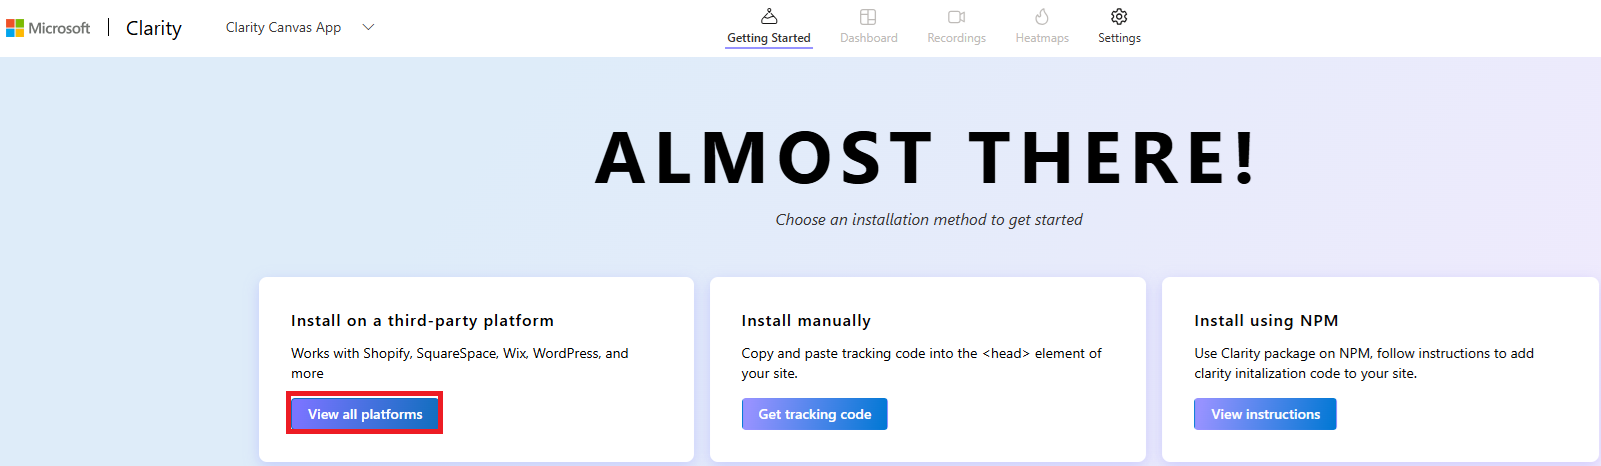
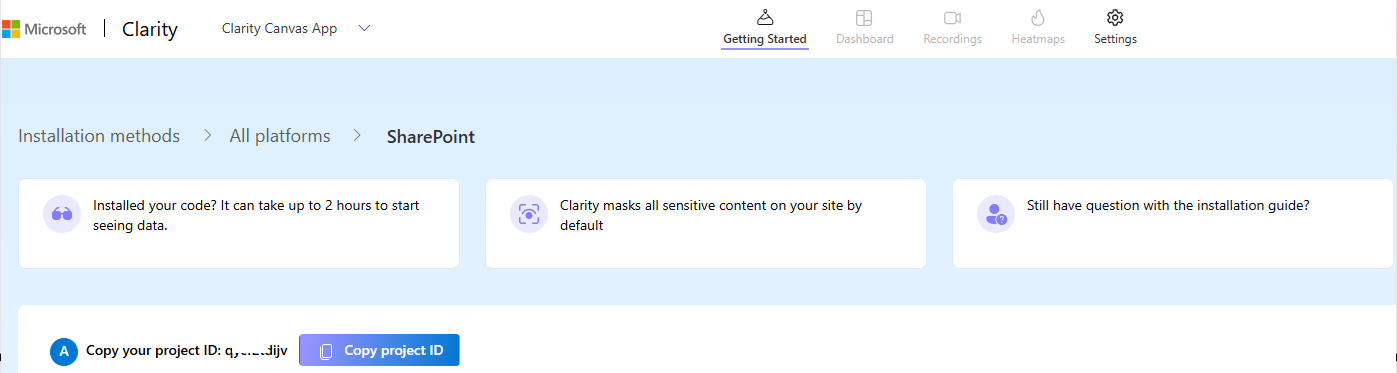
- Next, we need to choose installation method. Click on View all platforms
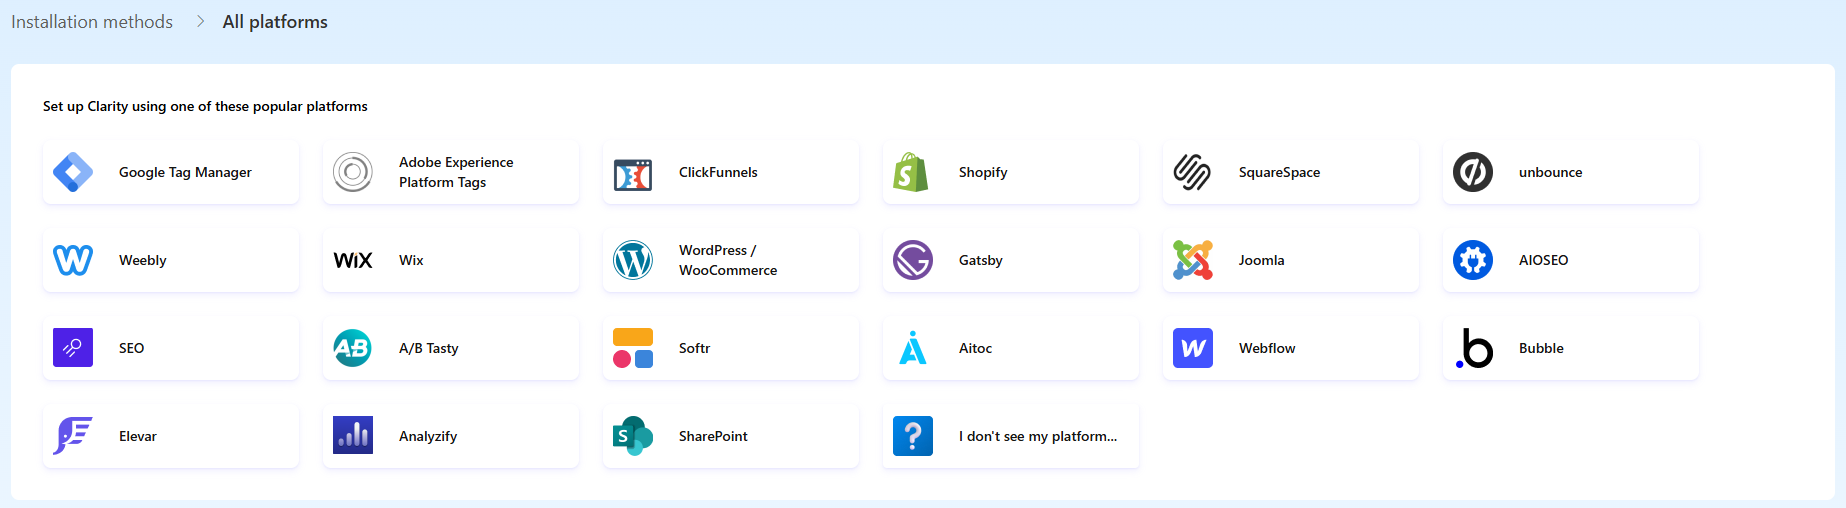
- At the time of writing this article, there is no Power Platform option. So choose SharePoint instead.
- On the next screen, you will get an auto generated project Id. Copy your project ID as you’ll need it in the upcoming steps.
We have completed the Clarity project setup. Next we need to download and install the Dataverse solution containing the PCF control from GitHub portal.
Installing Solution to Power Platform Environment:
- On your Power Platform Environment, Enable the Power Apps component framework feature by following steps mentioned here

- Now we need to download the Dataverse solution. Follow the steps below:
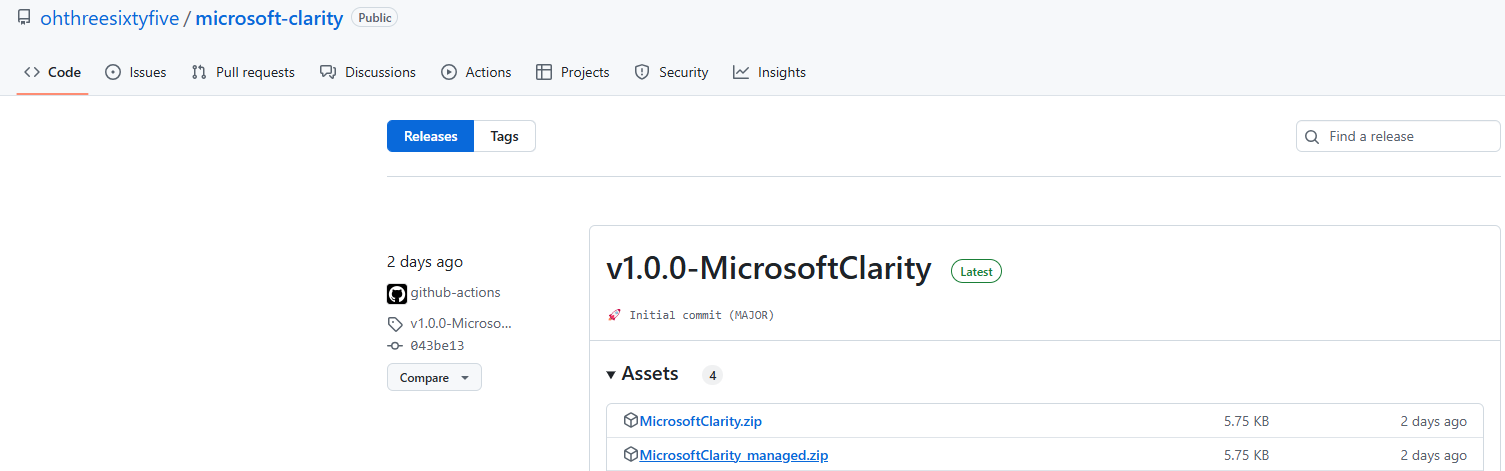
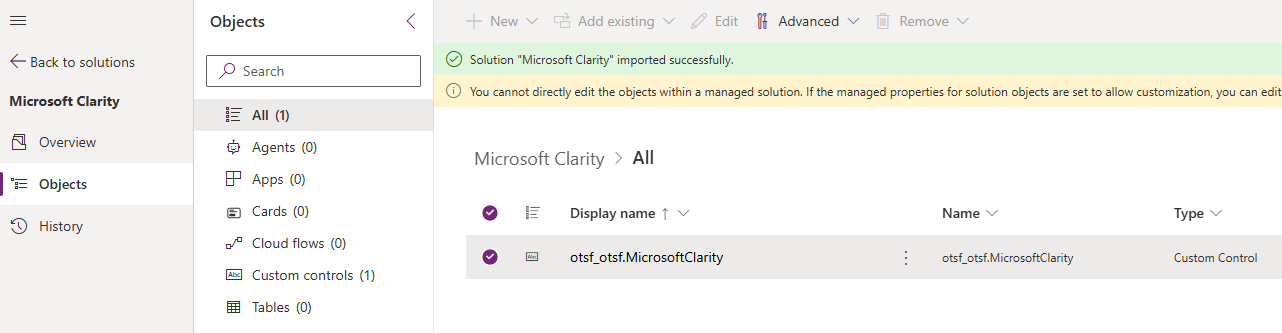
- Import the solution file into your Power Platform environment.

- After successfully importing the solution, open it and you’ll notice a custom control included.
With all the prerequisites completed, we’re now ready to start building the Canvas app.
Configure Clarity Custom Control in Canvas App:
- Create a new or open an existing Canvas App.
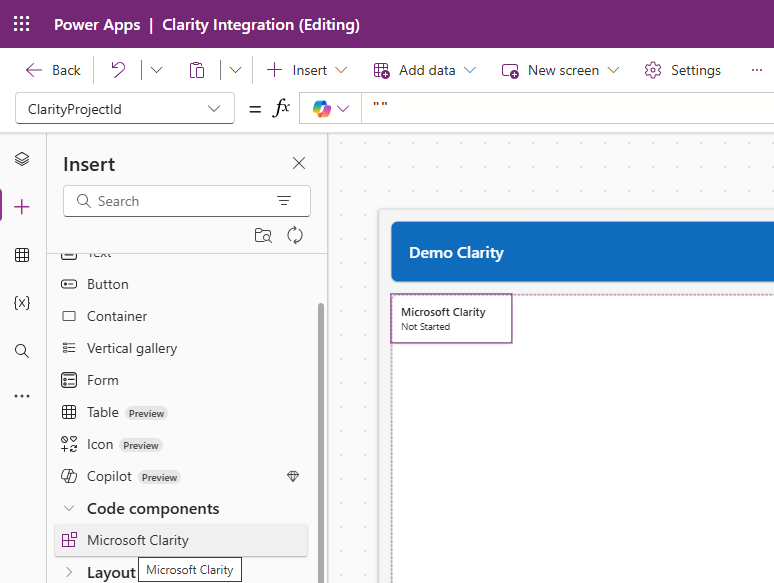
- Click on Get more components
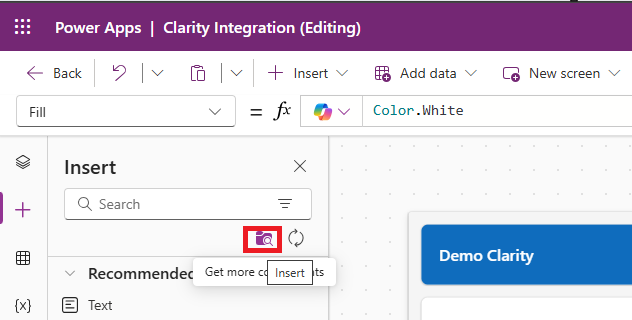
- Select Microsoft Clarity component and click on Import

- Next add the Microsoft Clarity component to your Canvas App Screen
- Set the properties,
- ClarityProjectId [Required]: The ID of the Clarity project we copied previously.
- ConsentGranted [Required]: If consent has been granted for recording and tracking the current user session.

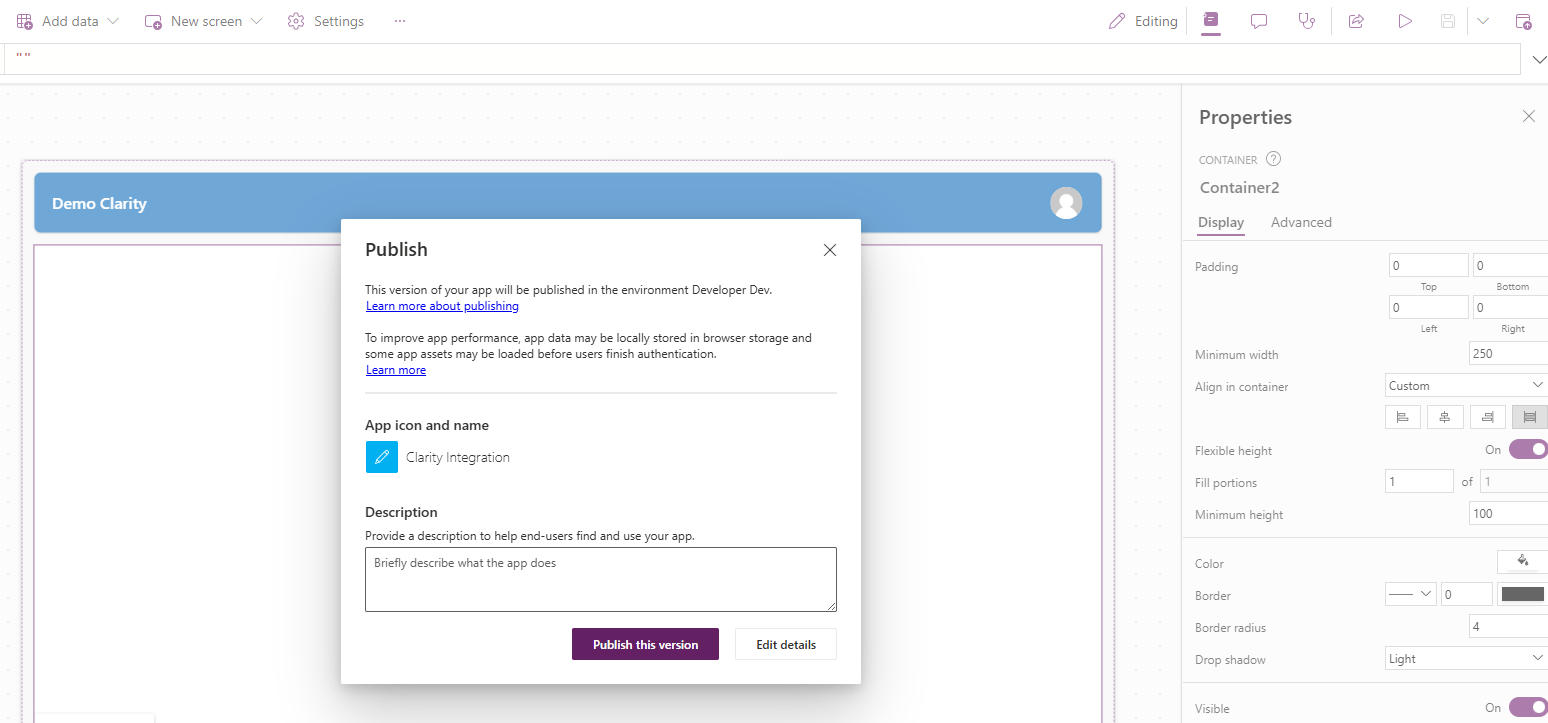
- I made some changes, and my screen now looks like this:

- Publish the App
It’s time to monitor Canvas App usage and start watching session recordings.
Monitor the Canvas App from Clarity Portal:
- Navigate to Clarity Portal.
- You will see user is online notification.

- Click on Watch now and you will be taken to the Recordings tab, where you can view the live session.

- You can even track granular details—such as the events that occurred on the Canvas App screen—by clicking on More details.
In the next article, I will cover how to configure Clarity in a Power Pages Website.
🙂


Leave a comment