In Microsoft Entra ID (Formerly known as Azure Active Directory), Assigned groups allow you to add specific users as members of a group. Administrators have direct control over membership, enabling them to add or remove members as needed.
Did you know that you can also create a Dynamic group using Membership type > Dynamic User? Dynamic groups use dynamic membership rules to automatically add and remove members.
In this article, I will explain how to create a dynamic group with a dynamic query, where users are added/removed automatically.
Also, I will explain a use case where dynamic groups can be used with Dataverse teams.
Create a Dynamic group:
- Sign in to the Microsoft Entra admin center as at least a Groups Administrator.
- Select Microsoft Entra ID.> Groups.
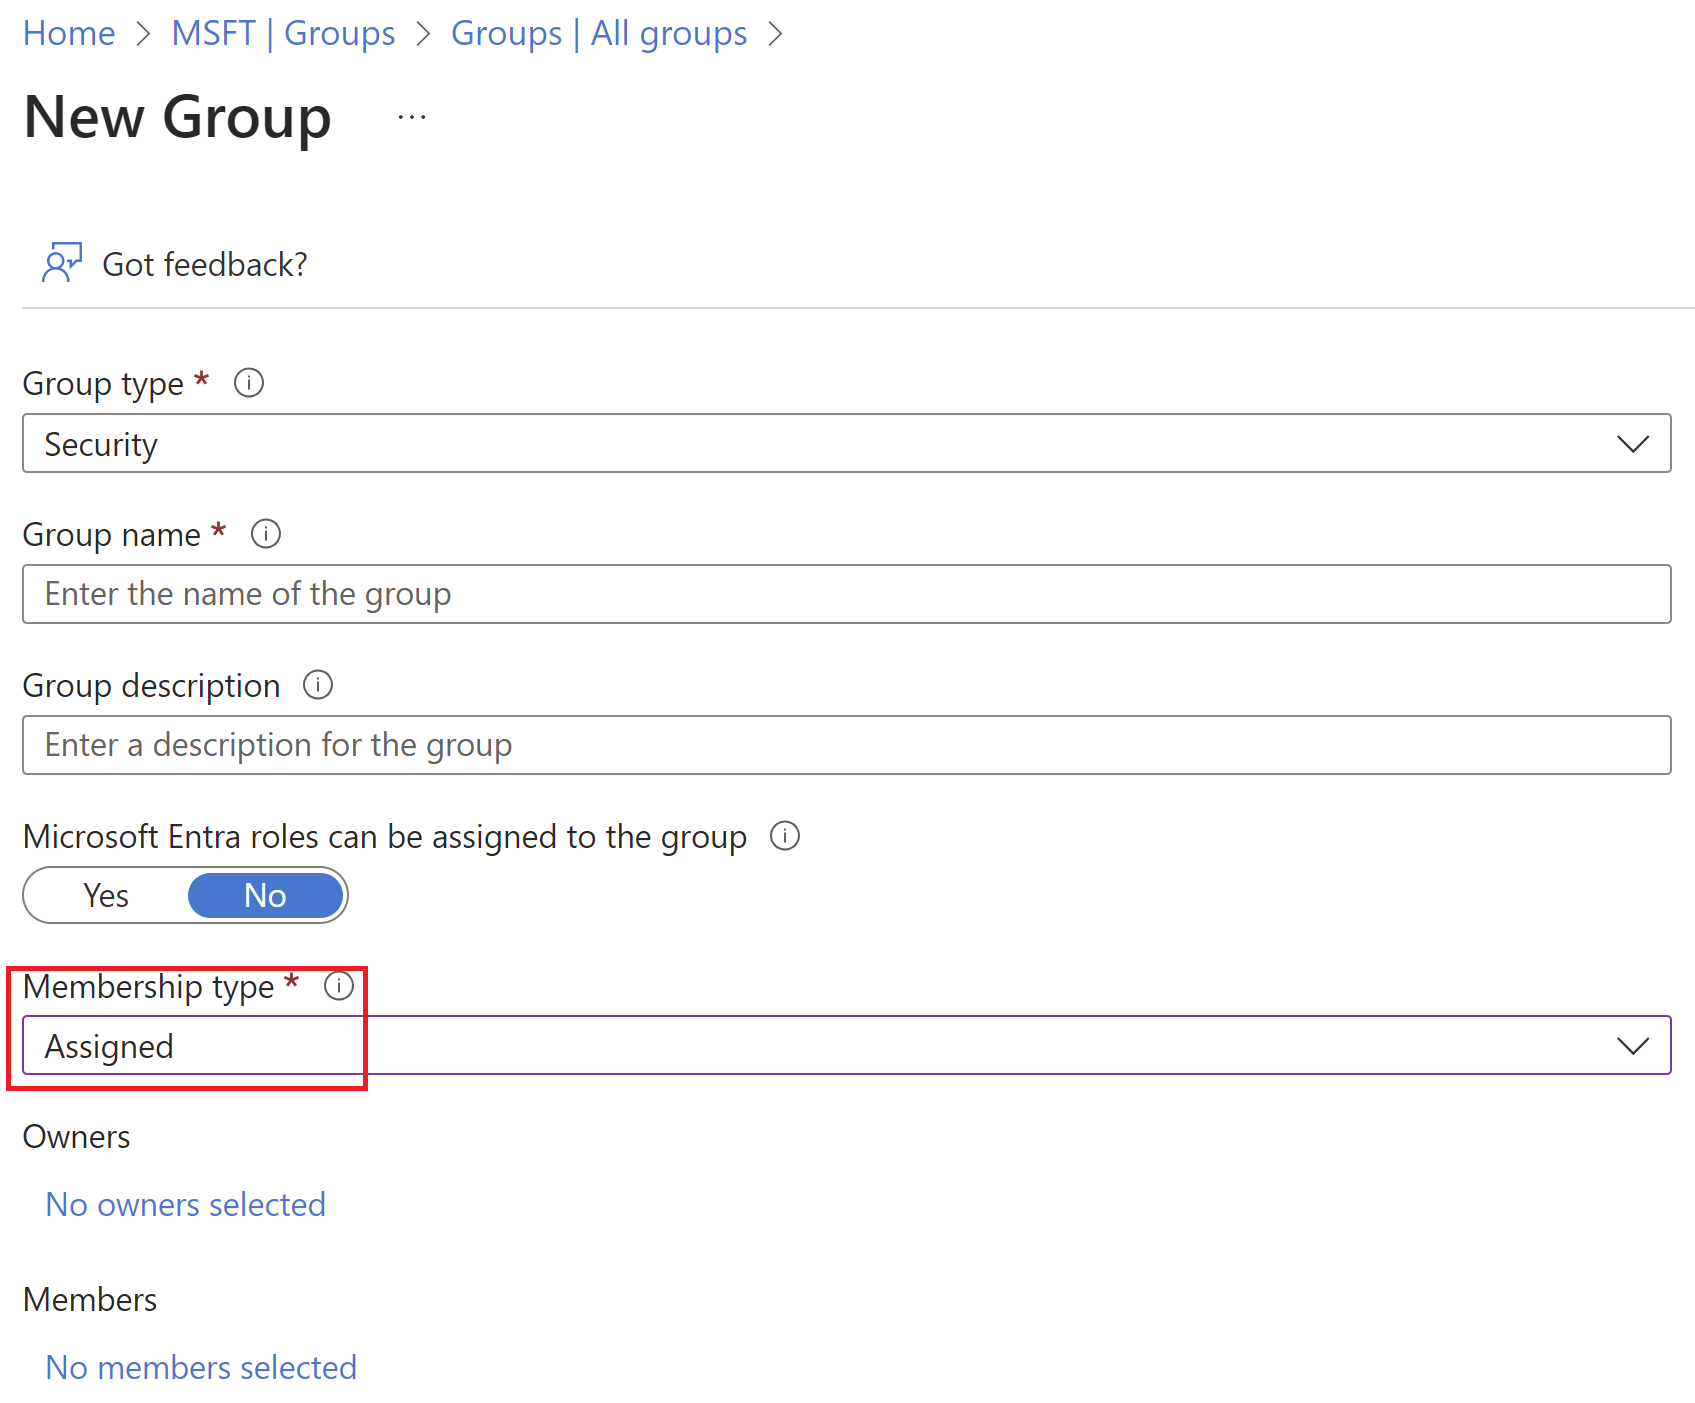
- Select All groups, and select New group.
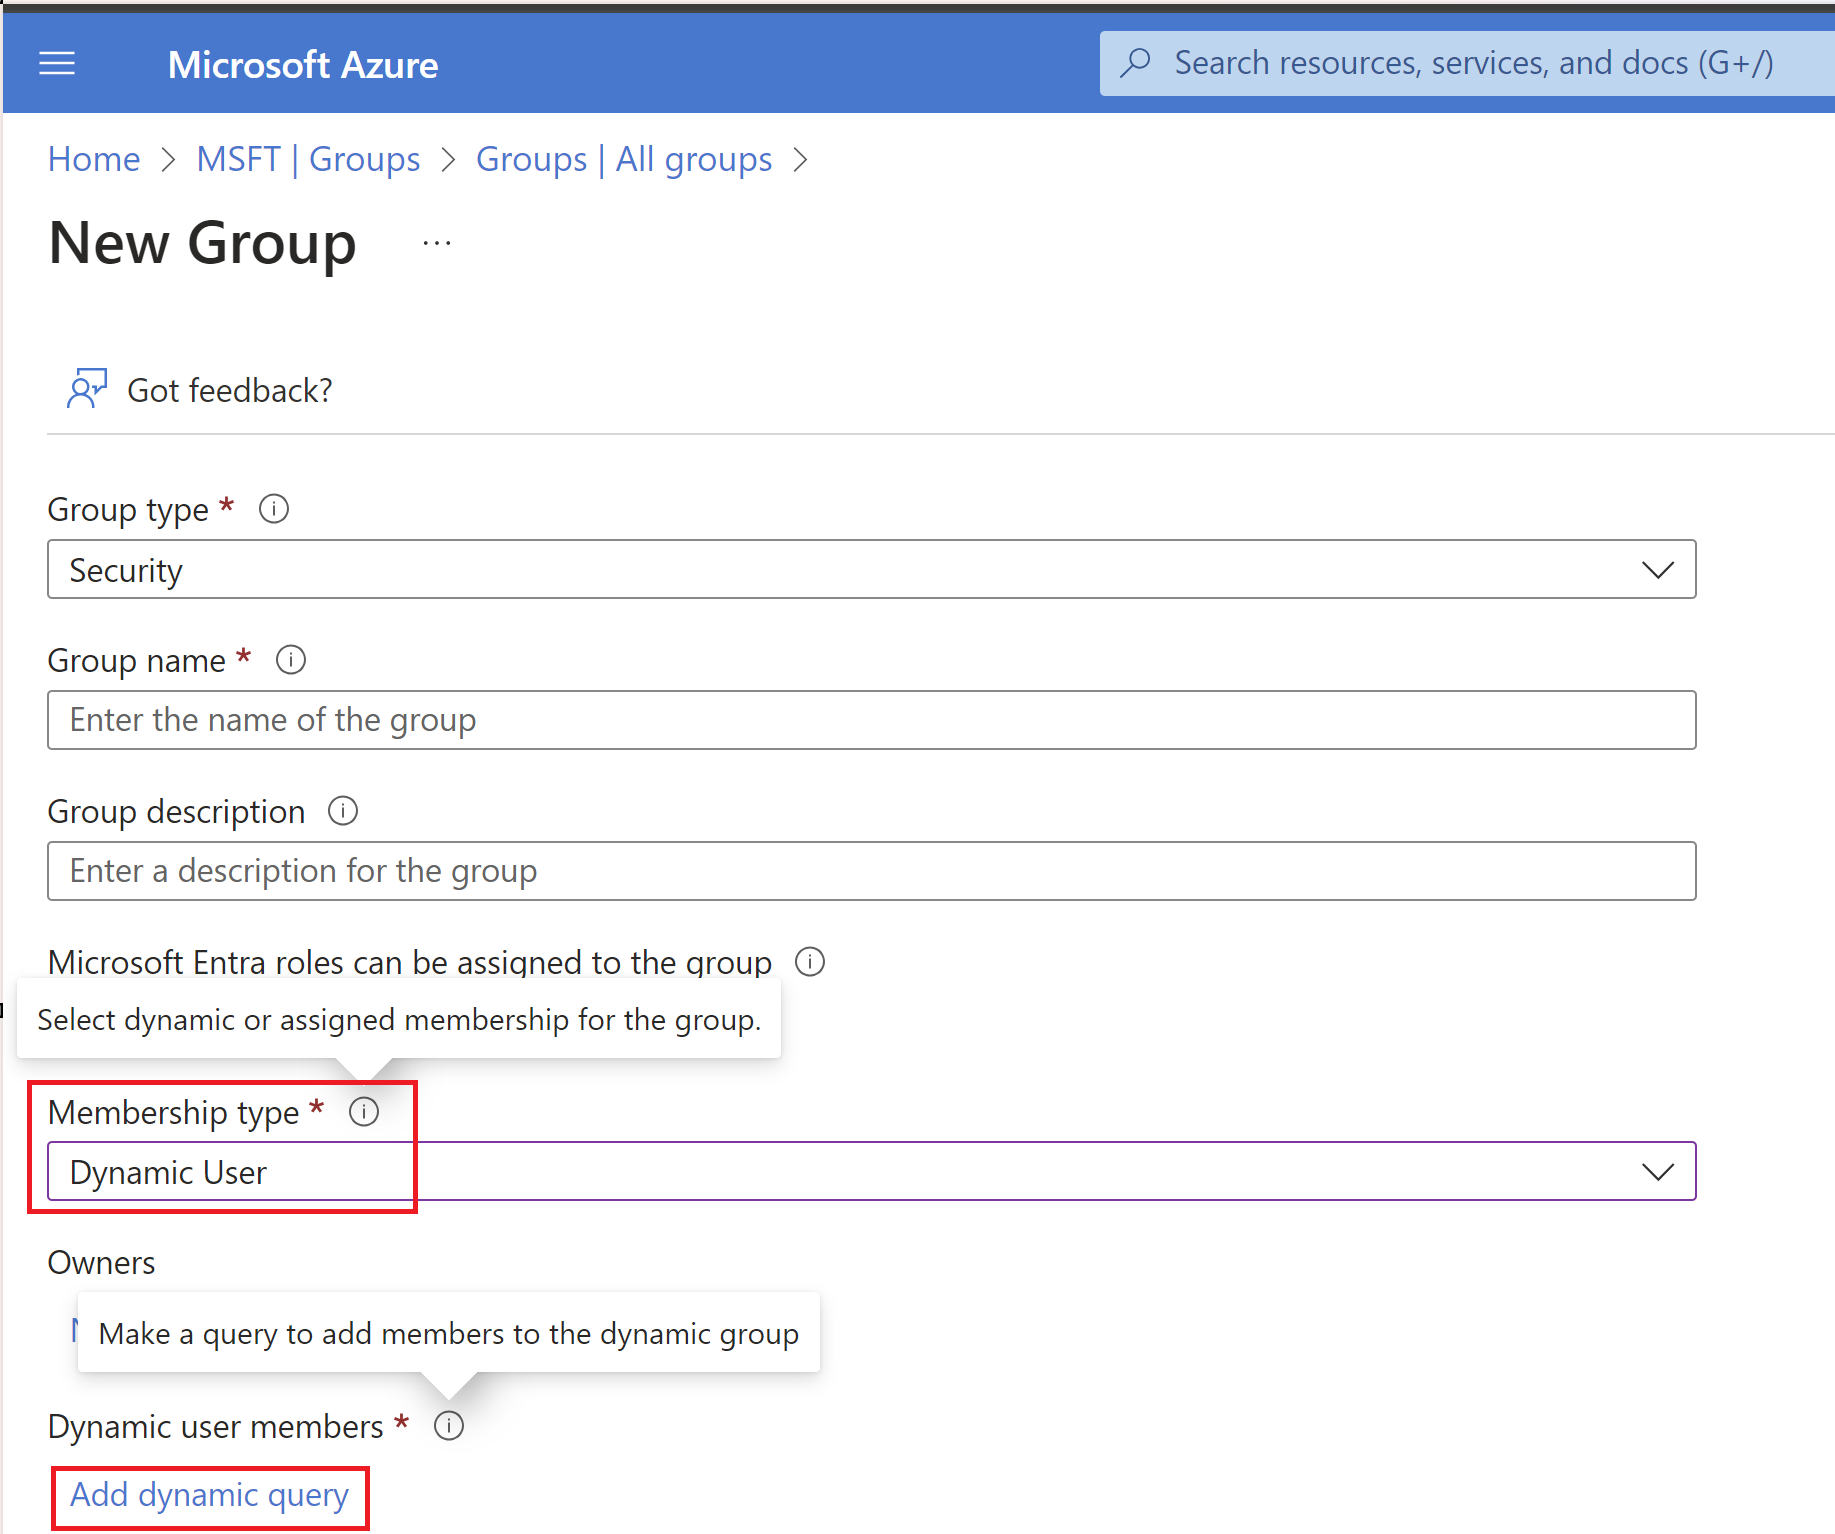
- On the Group page, enter a name and description for the new group. Select a Membership type as Dynamic User.
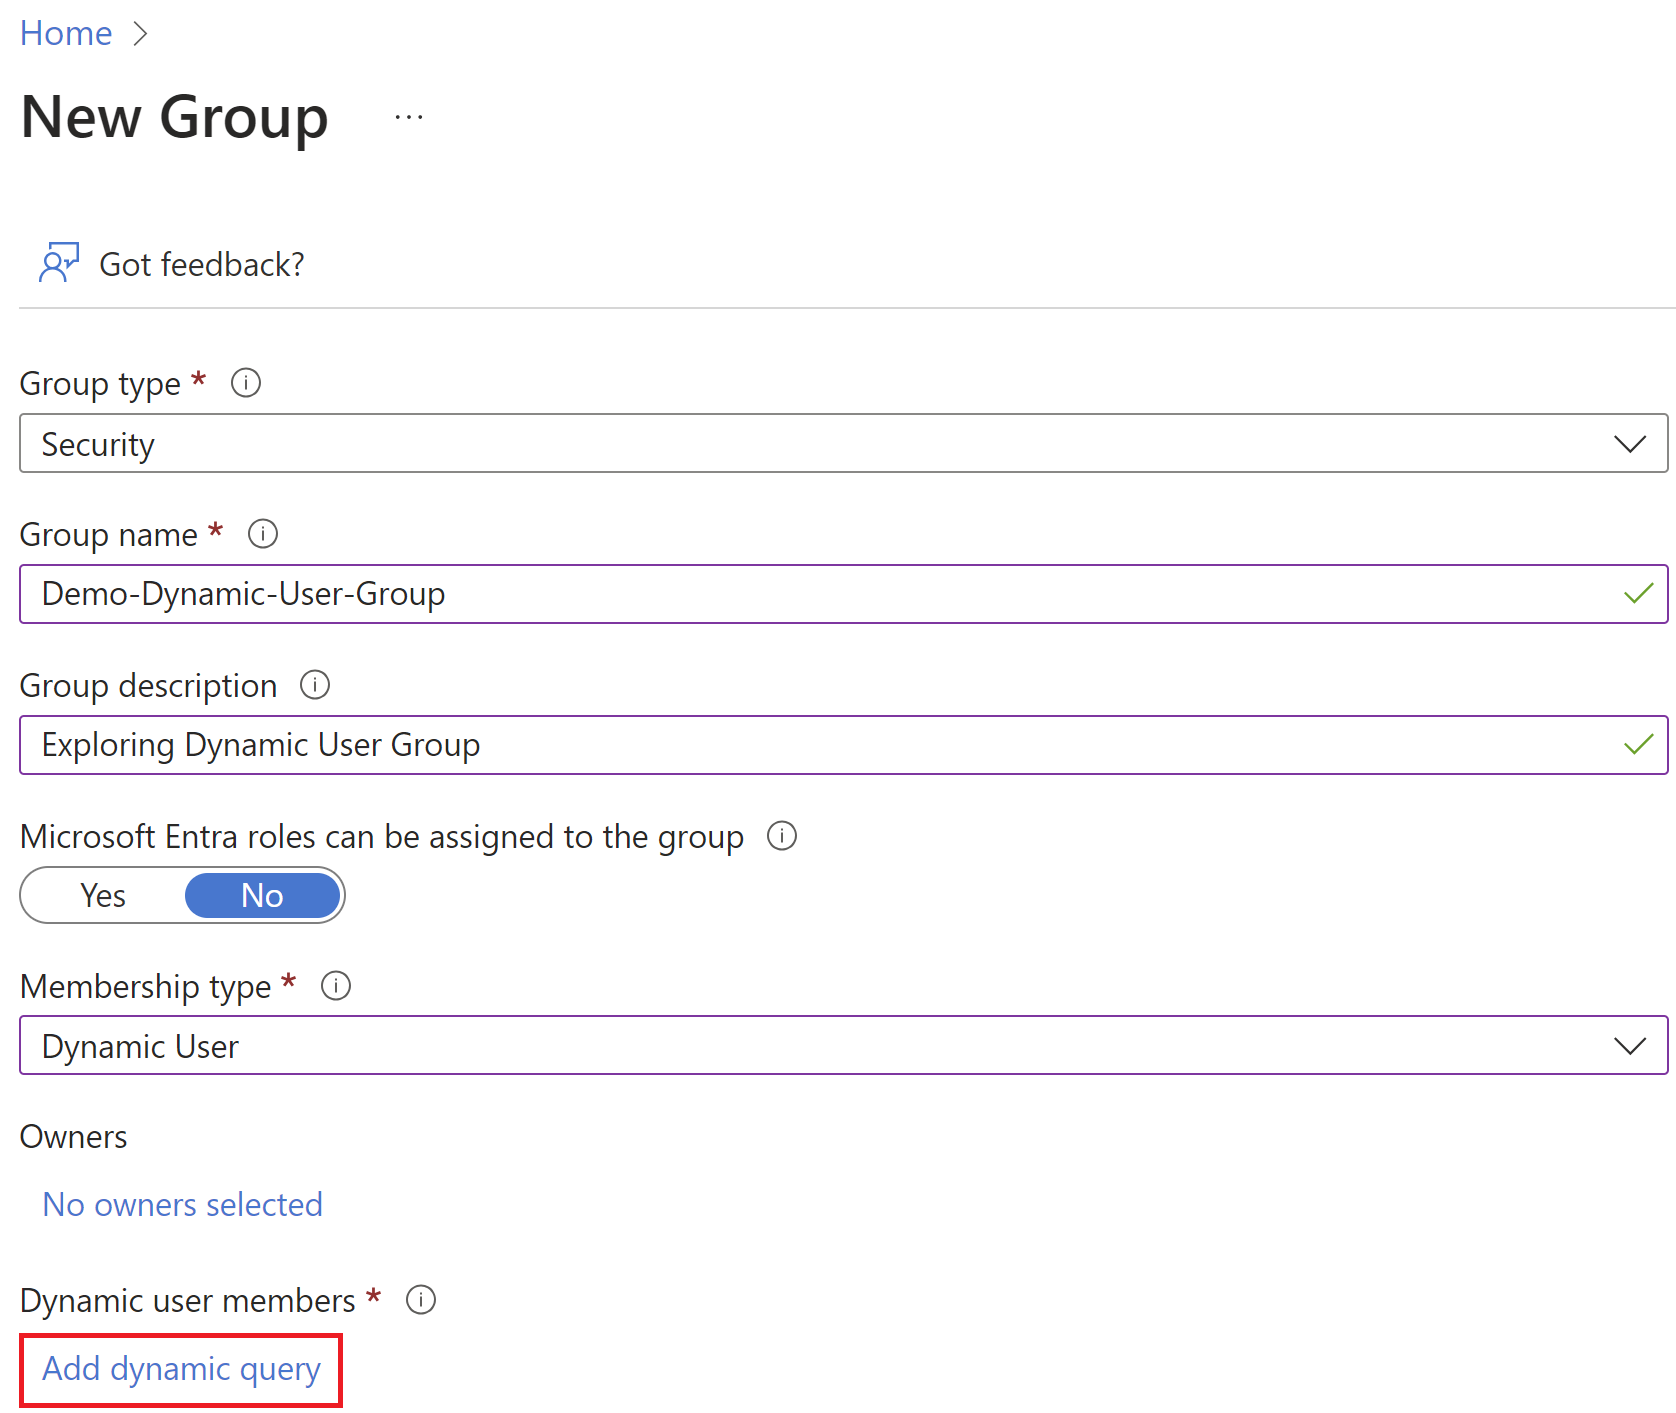
- Then select Add dynamic query link, which will load a ‘Dynamic membership rules’ screen as shown below.

- The rule builder supports up to five expressions. To add more than five expressions, you must use the ‘Rule syntax’ text box.
- I am using a simple rule where all users from the ‘Sales’ department (i.e., ‘Depart’ equals ‘Sales’) will be added to this group.

- After creating the rule, select Save.
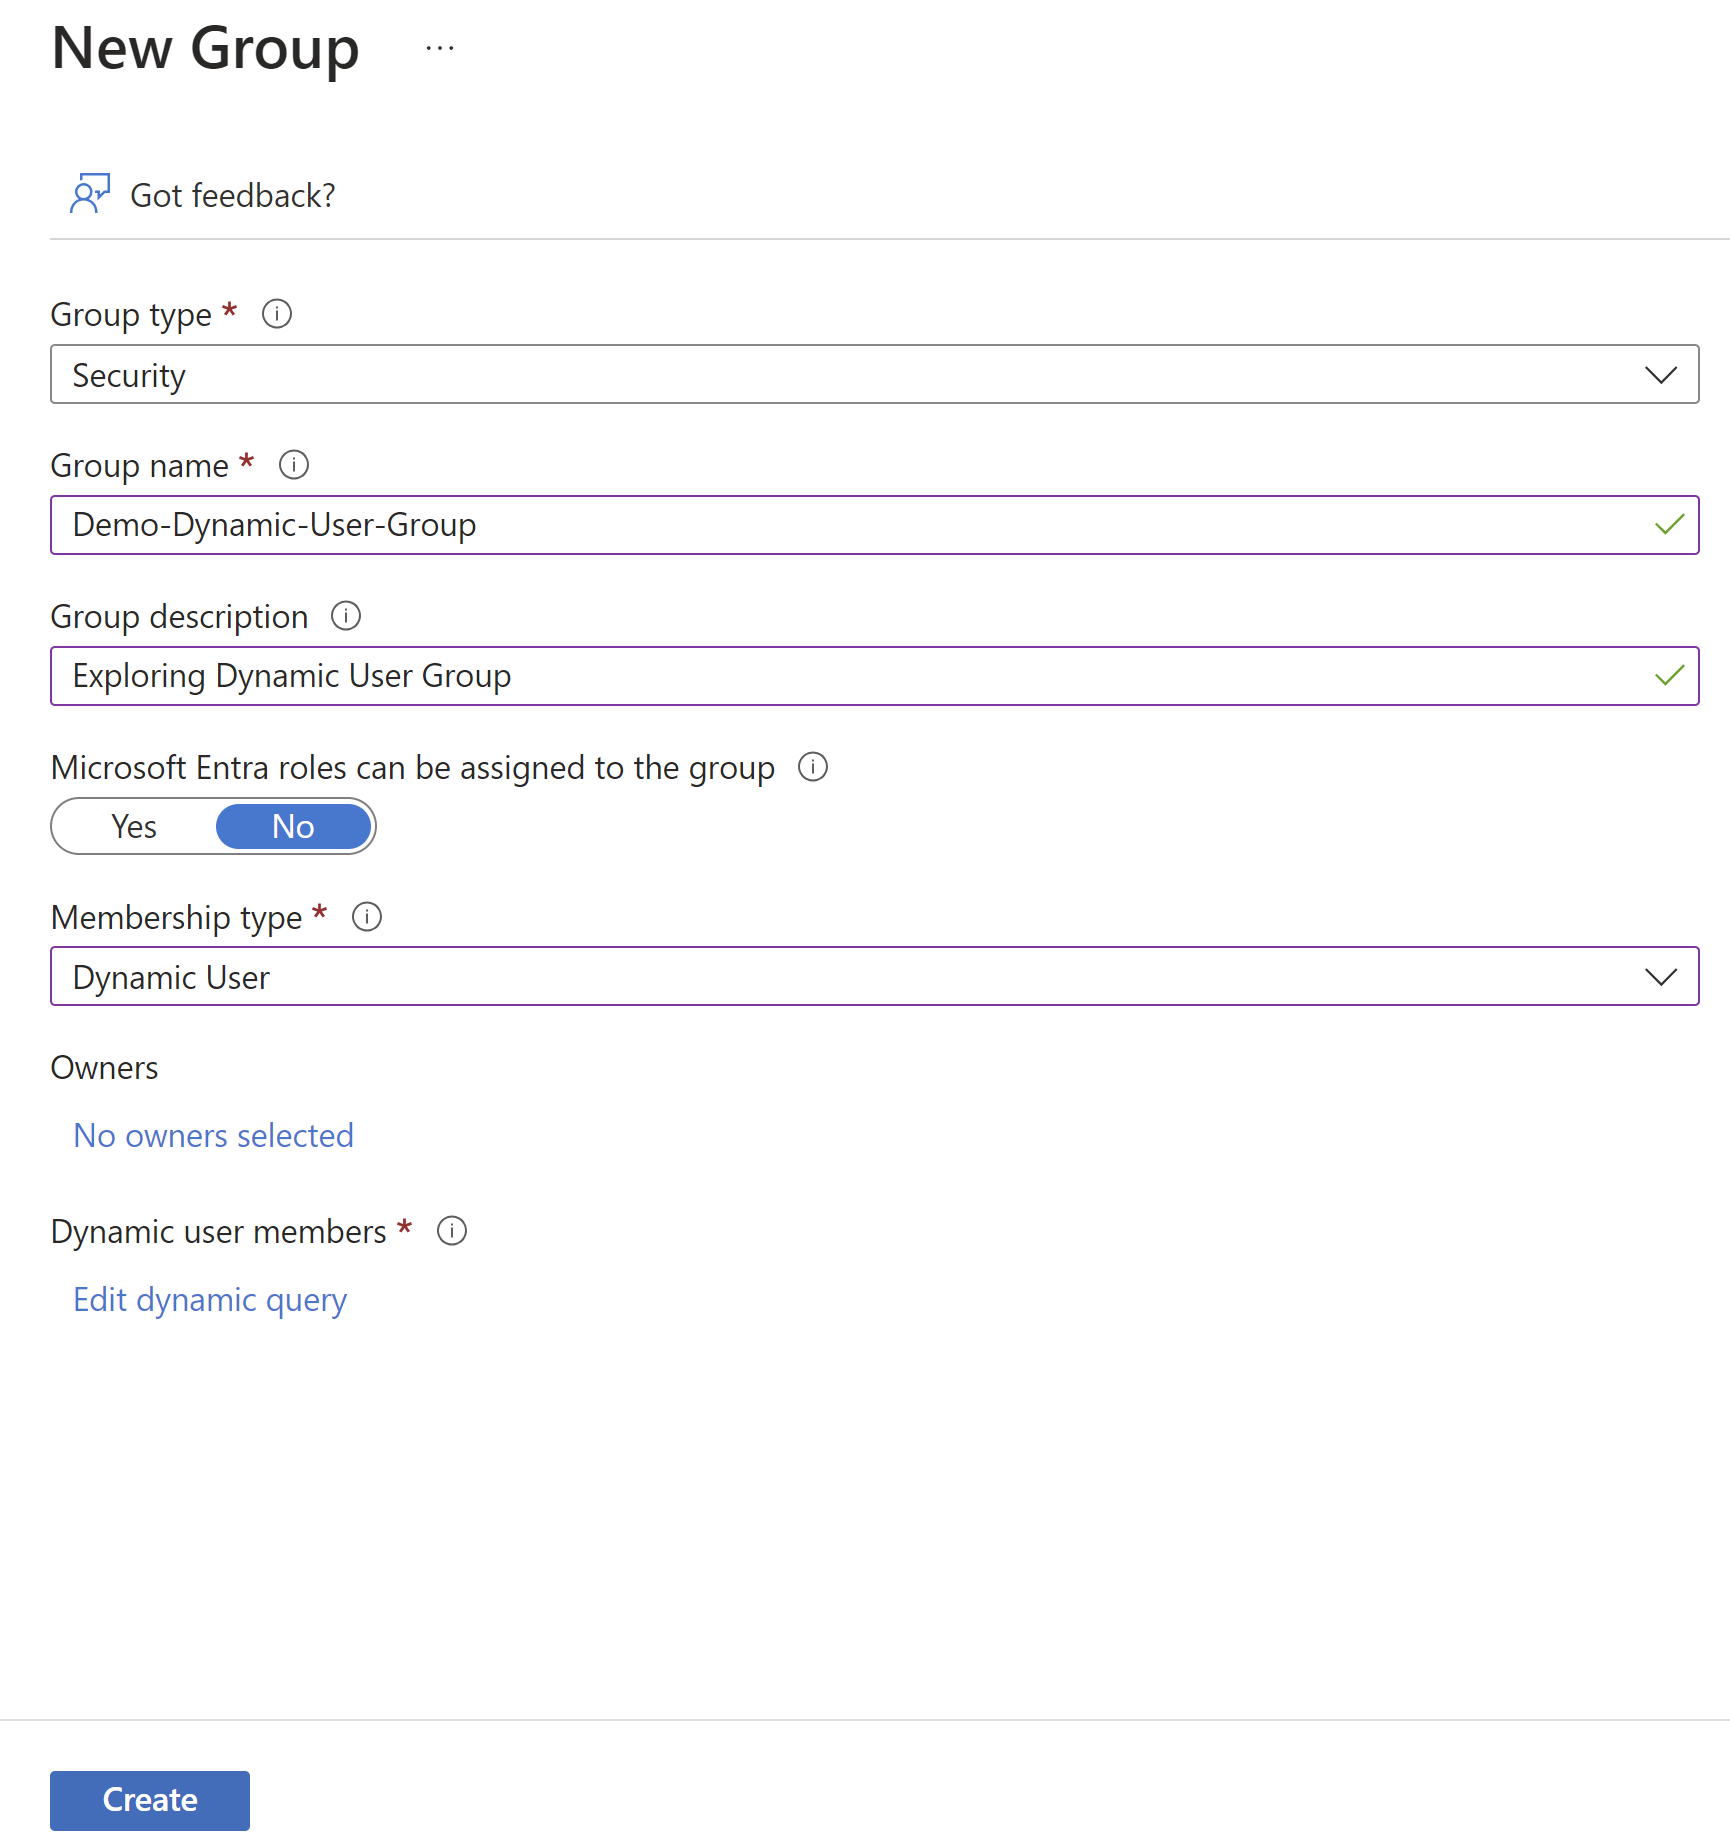
- Select Create on the New group page to create the group.
- With that a new group by name Demo-Dynamic-User-Group gets created.
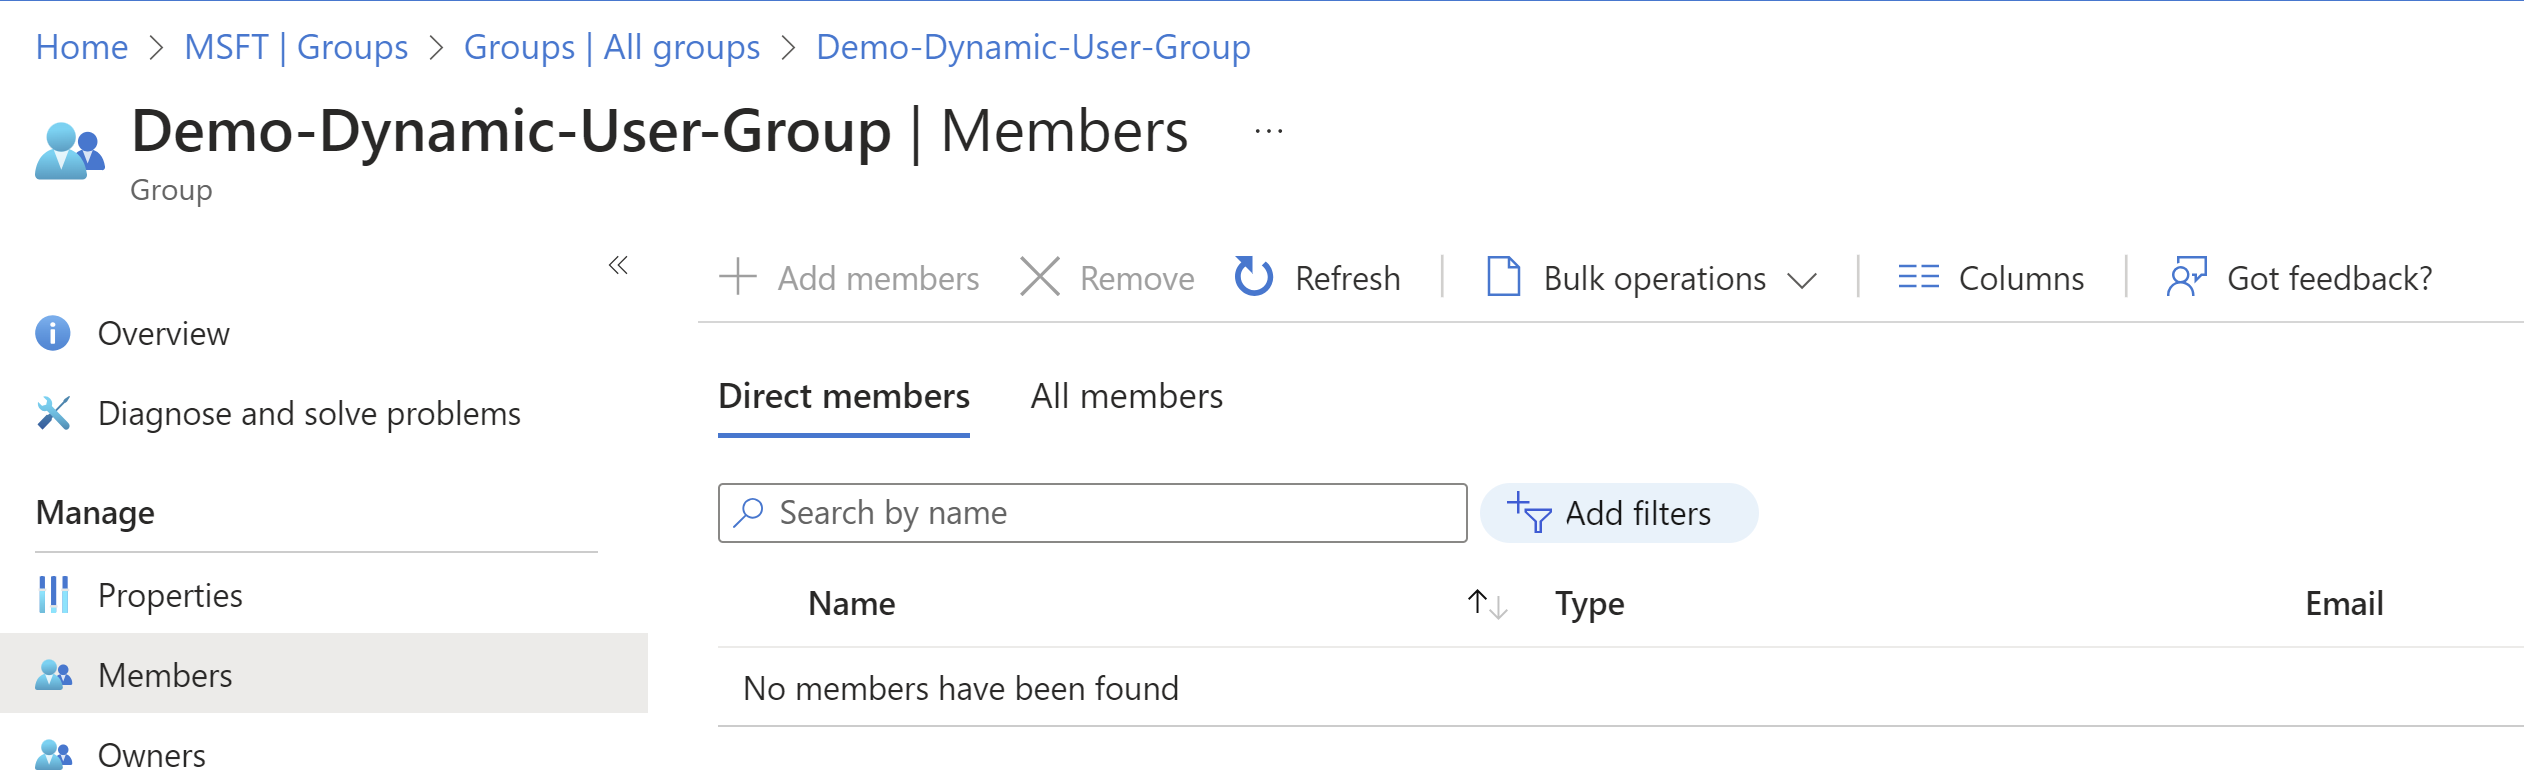
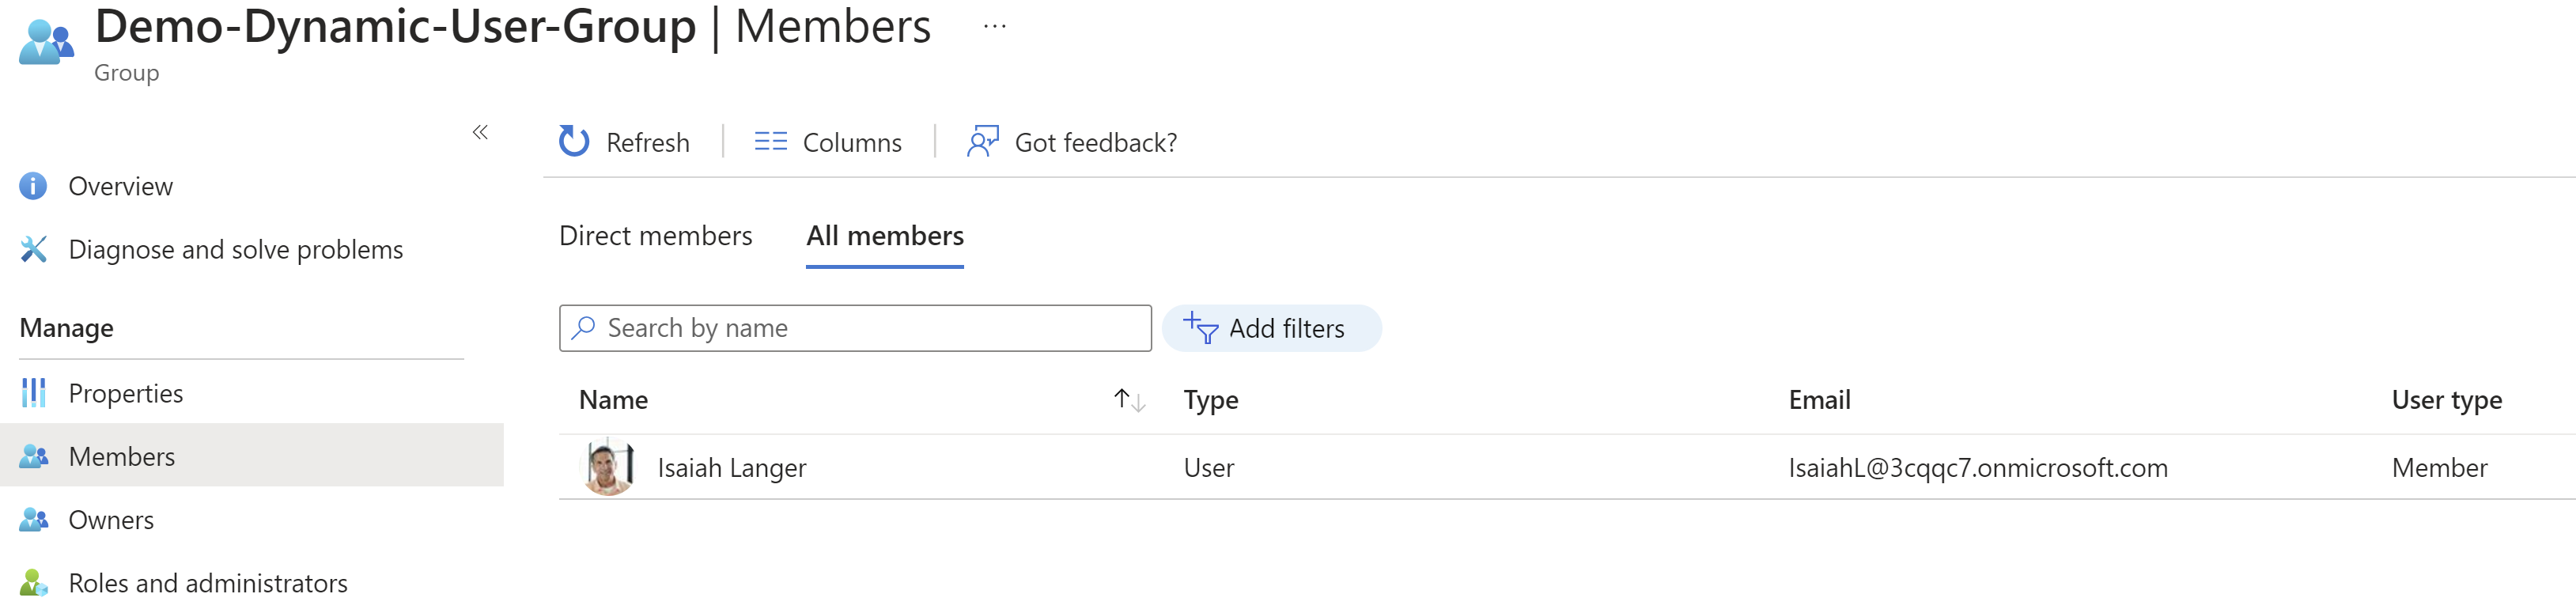
- Now, go to the Members tab of the group, and you may not find any members at this point. Usually, the member sync takes time, and once completed, you will see all the users with ‘Department’ set as ‘Sales’ added as members to this group
Steps to create a new User:
Let’s create a new User with ‘Department = Sales’ by following the steps below.
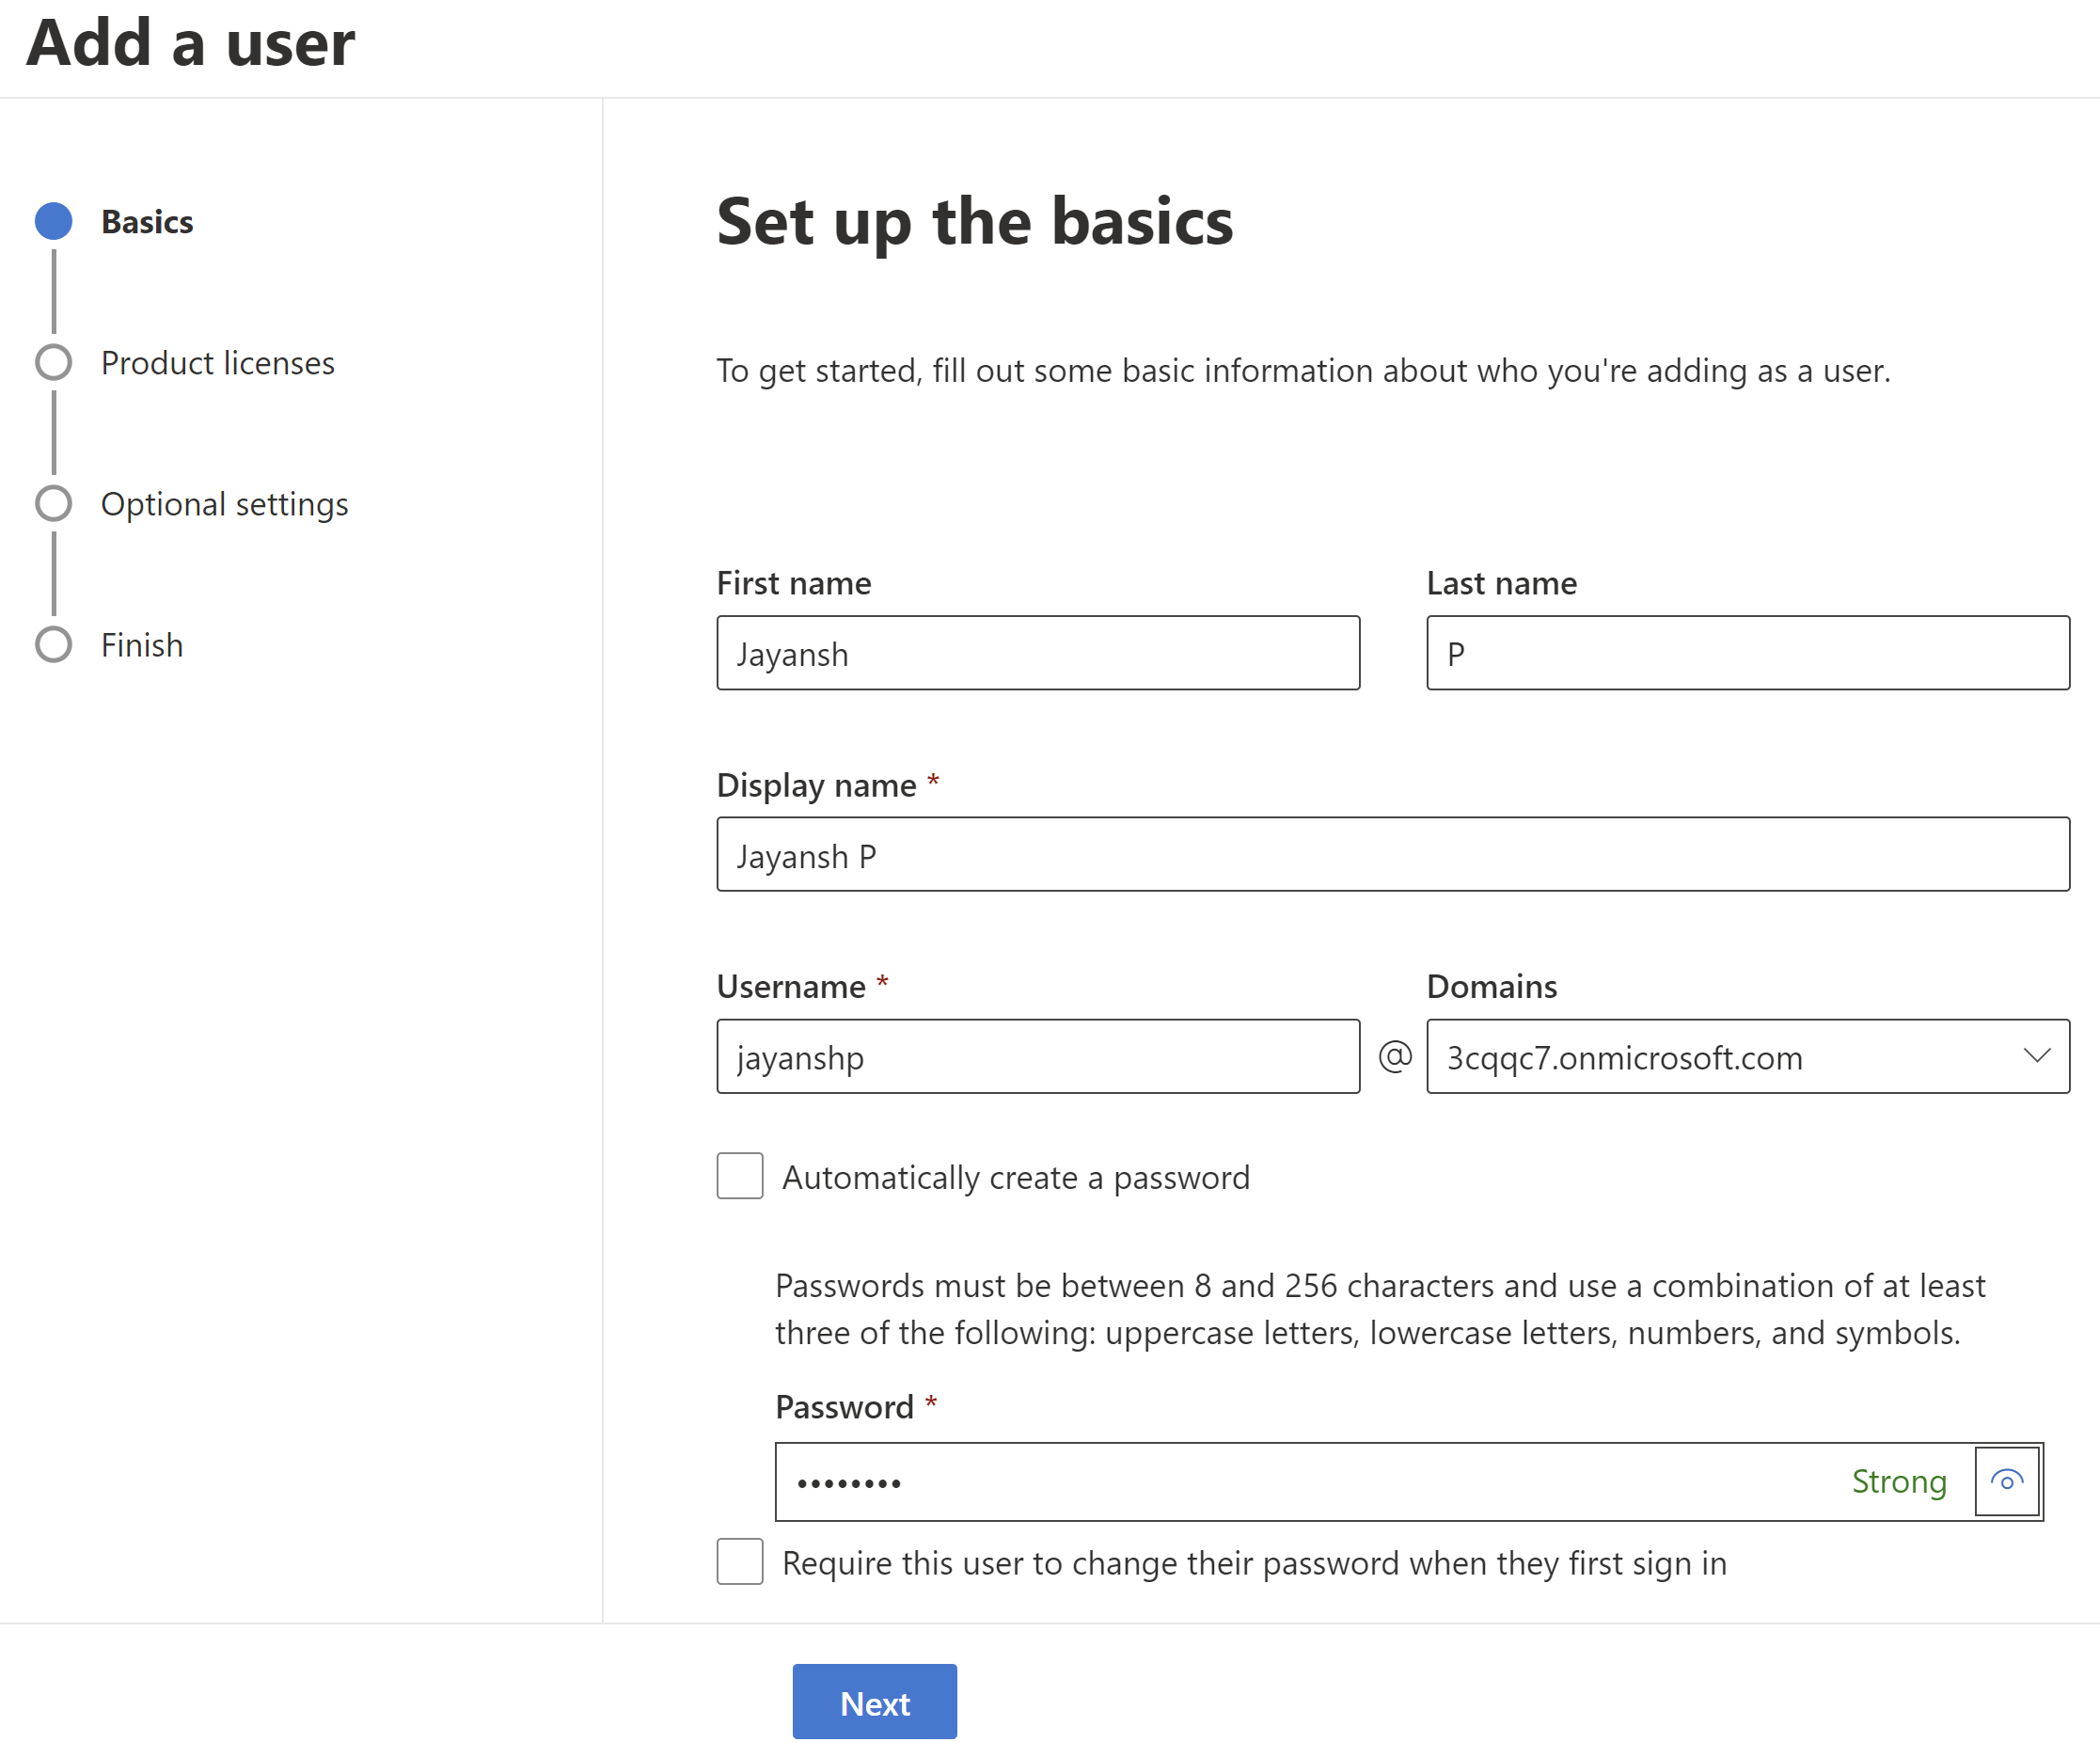
- Navigate to Microsoft 365 admin center
- Click on Active users > Add a user
- Fill the details and click Next
- Assign product licenses and click Next

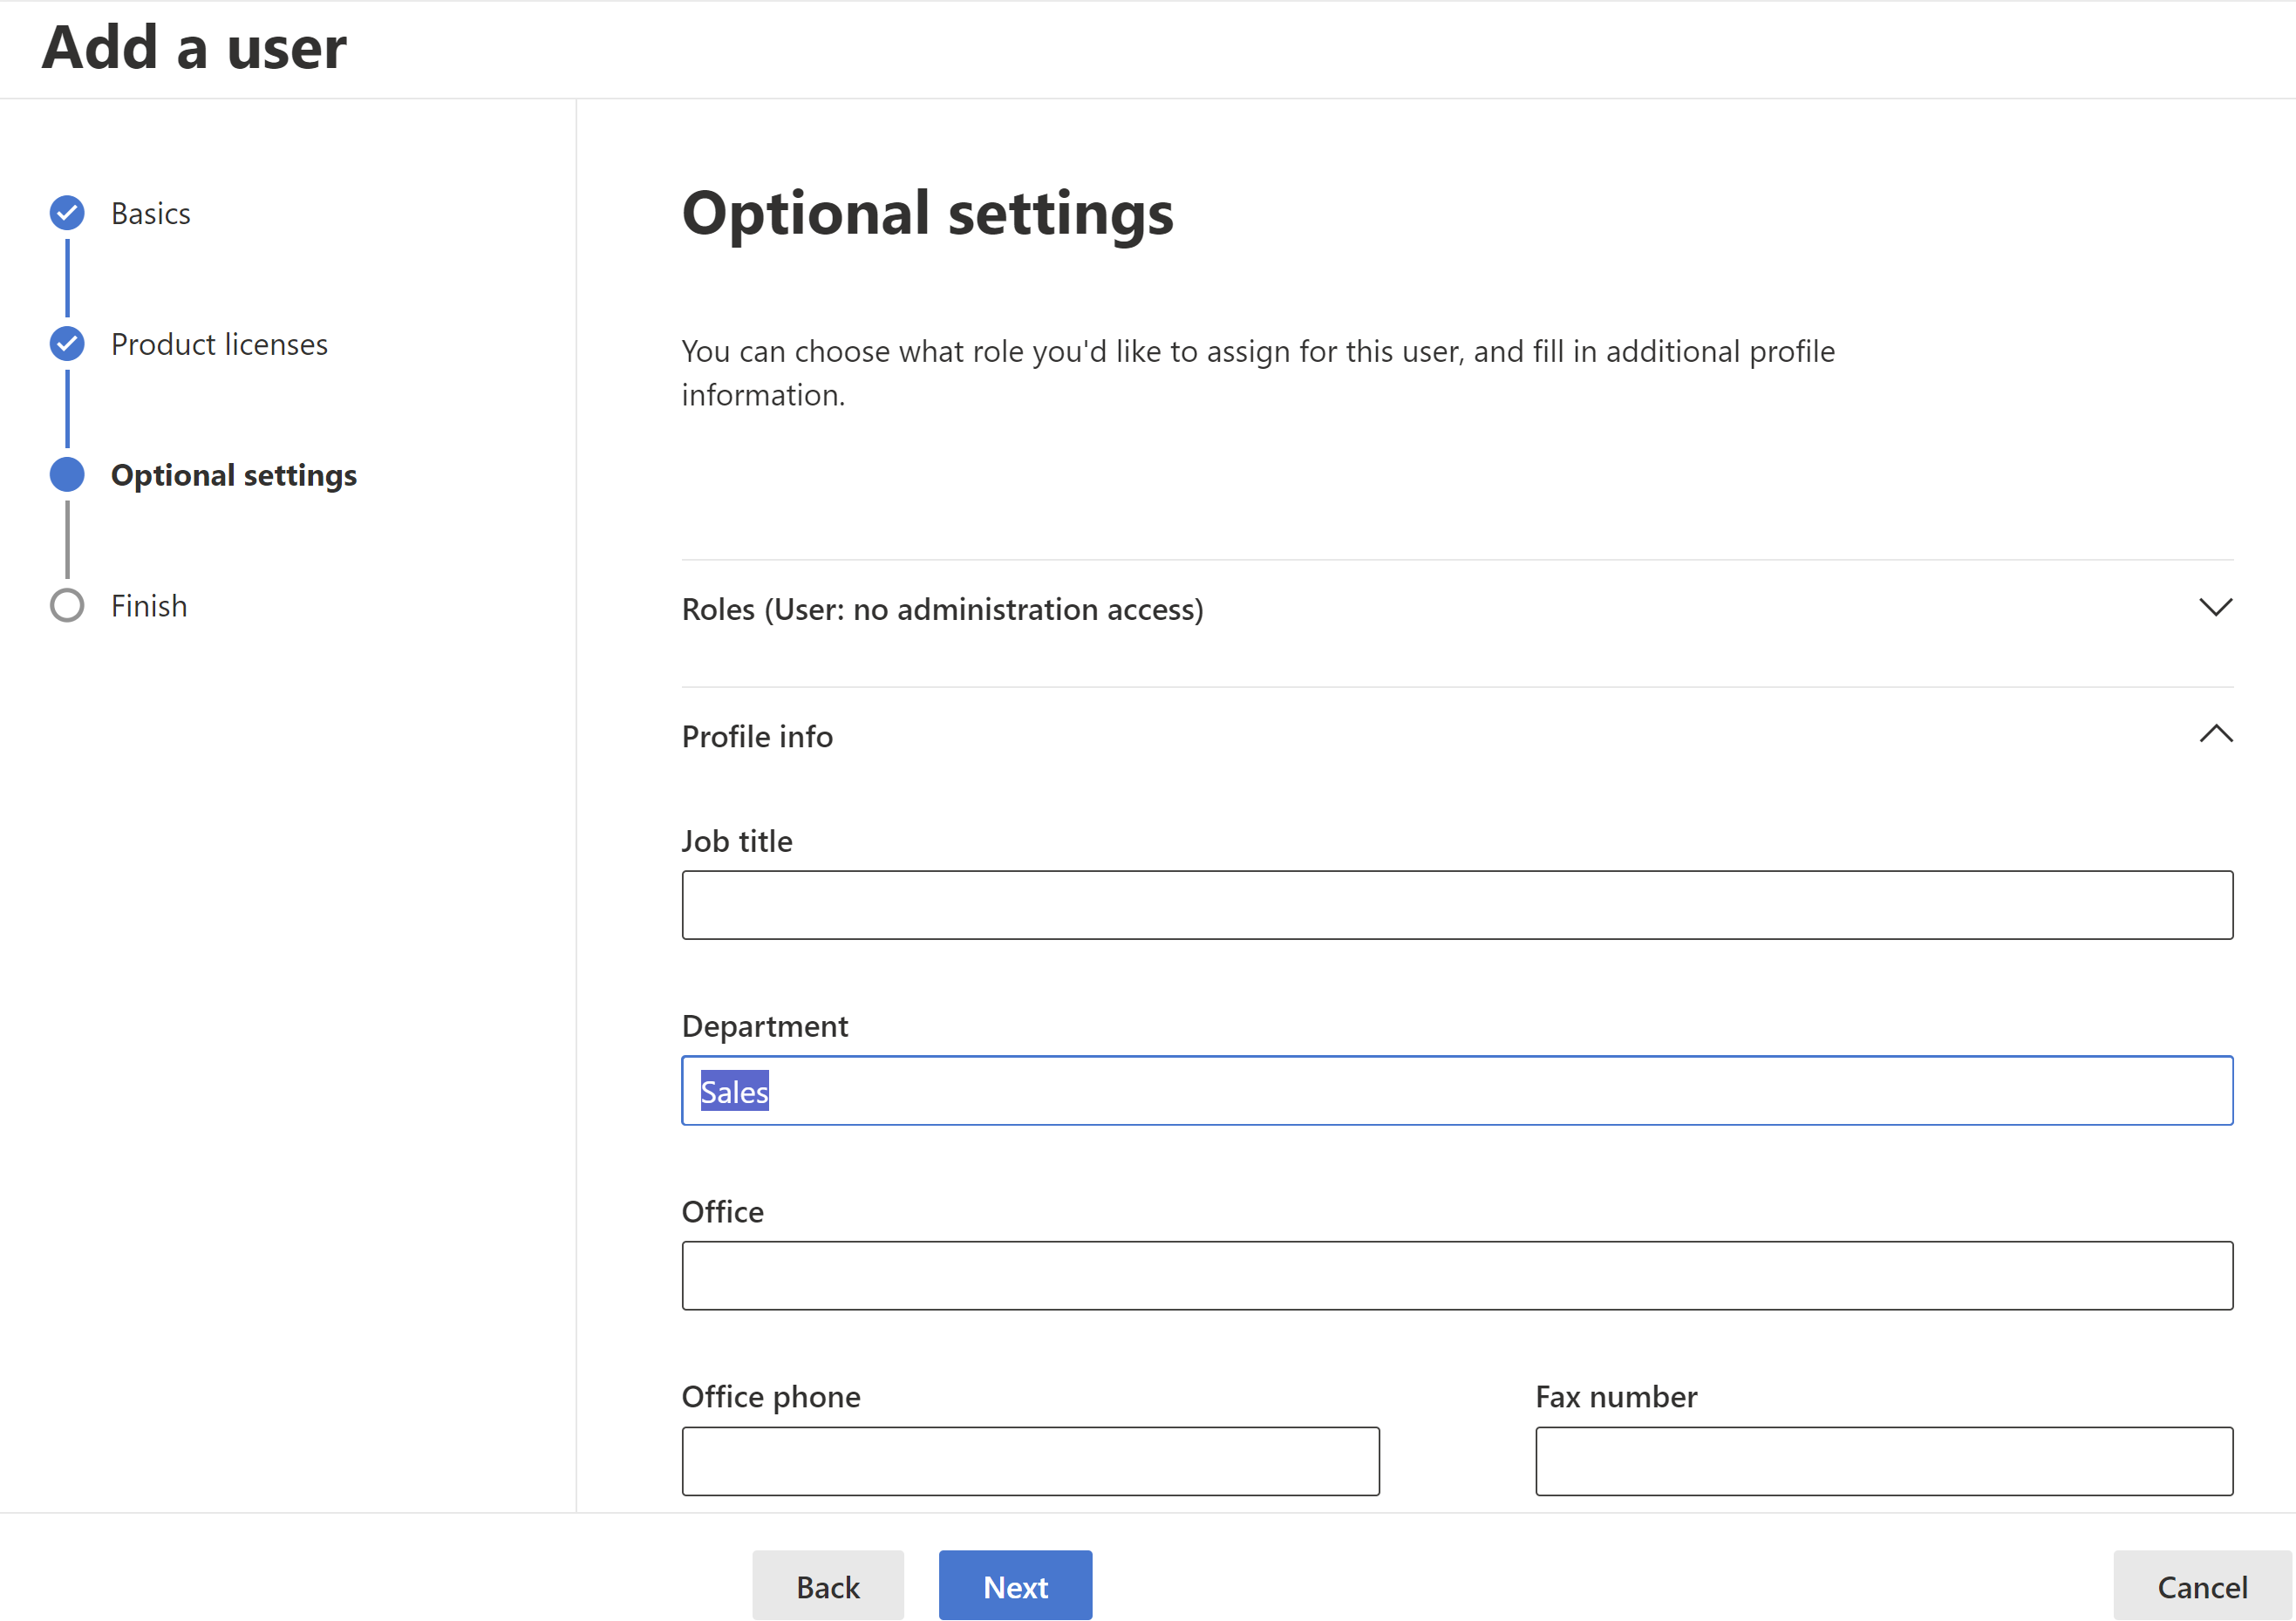
- In the Profile info > Department provide value as ‘Sales’ which matches our Dynamic group’s rule criteria.
- Click Next and complete the user creation.
Test the add/removal of members to Dynamic group:
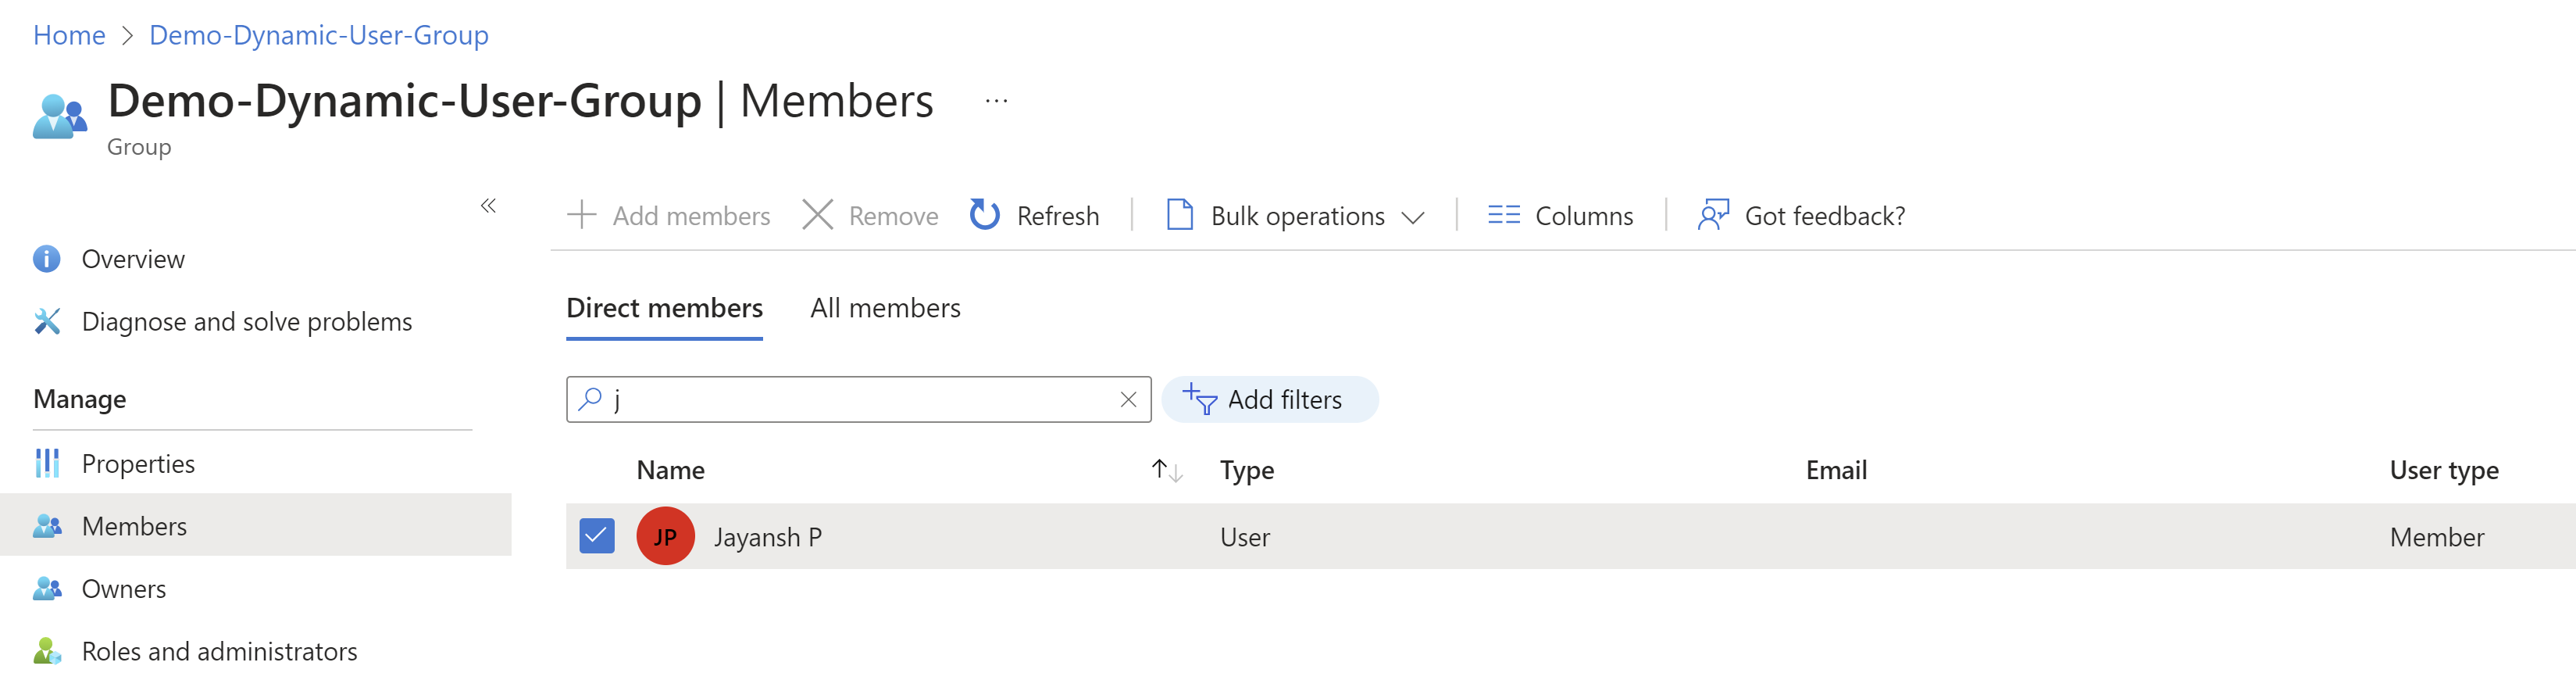
As we have created the user with matched criteria (i.e., Department = Sales), let’s check if the user has been added to the group.
- Now navigate to the Demo-Dynamic-User-Group group and you would notice that user got added to the group automatically.
- To test the removal of a user scenario, let’s update the user’s department from ‘Sales’ to ‘HR’ and see if the user gets removed from the group.
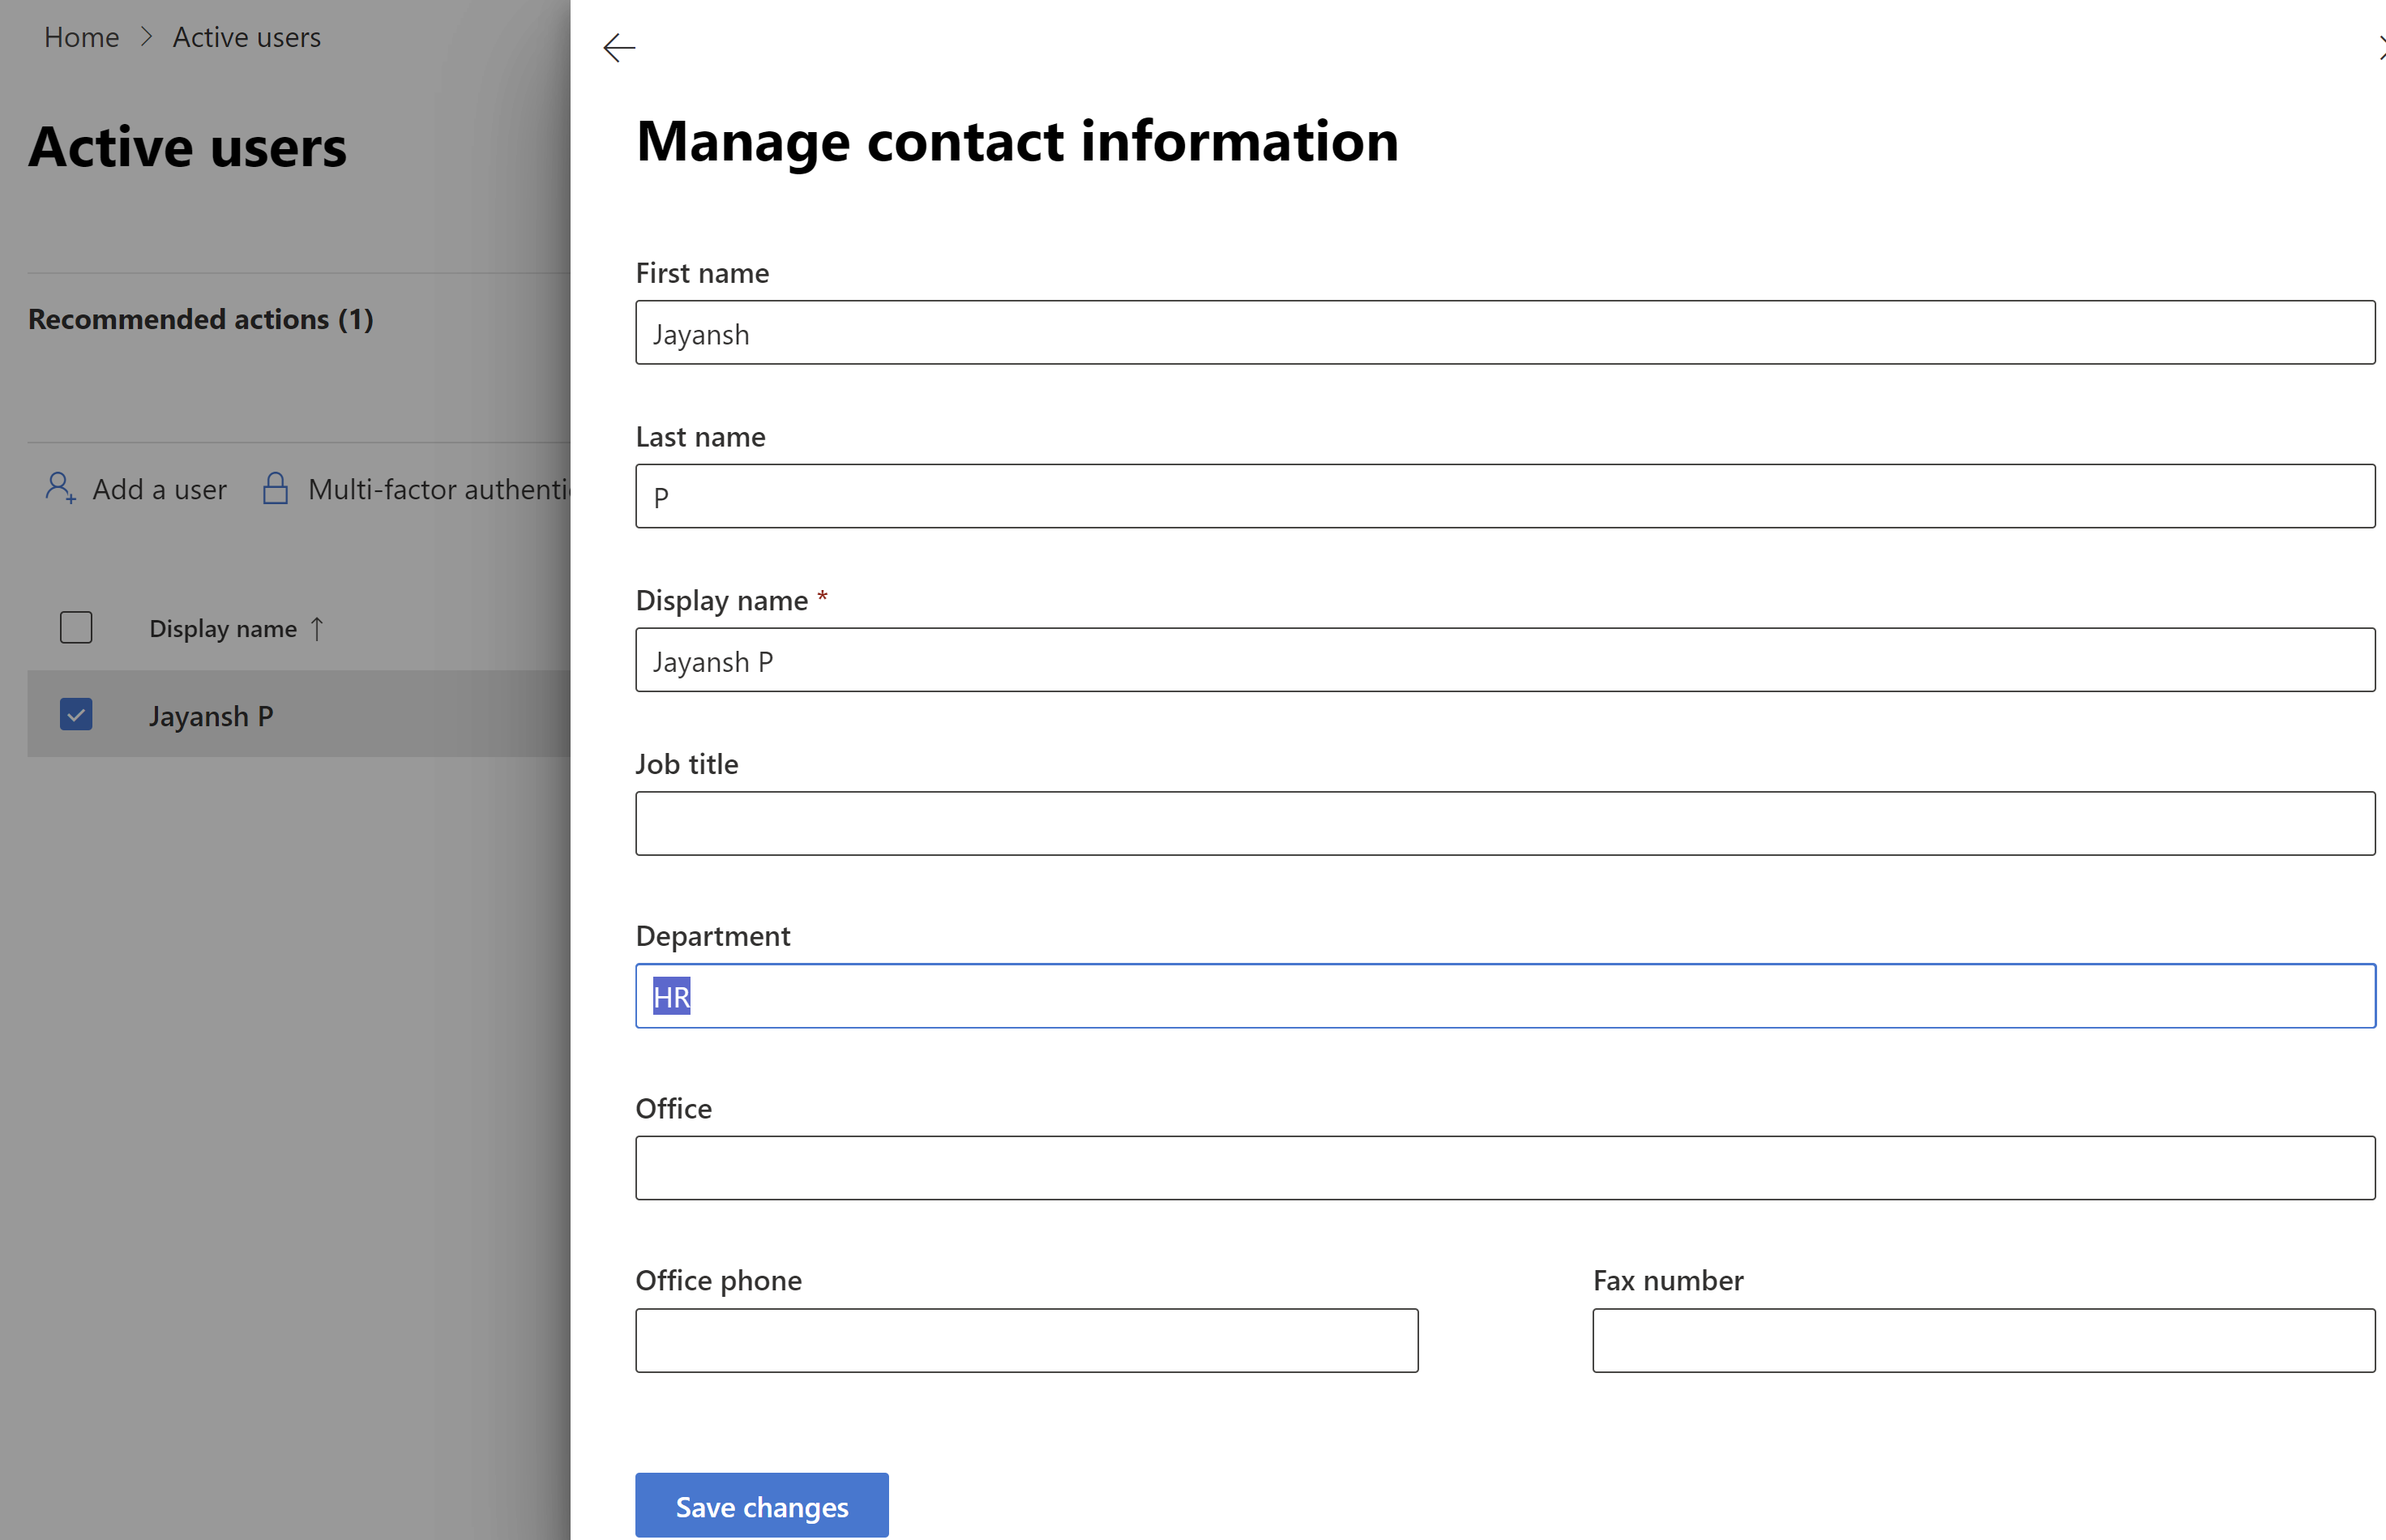
- Click on Save changes.
- Go back to the Demo-Dynamic-User-Group group, and you will notice that the user has been removed automatically.
- Note: Group member refresh takes some time, and you may not notice the user’s removal instantly.
If you are wondering how the Dynamic group benefits from the Power Platform side, we can map the Dynamic group to the Dataverse team as shown below and manage the app permissions.
Create a Dataverse Team:
- Sign in to the Power Platform admin center.
- Select an environment, and then select Settings > Users + permissions > Teams.
- Select + Create team.
- Provide the Group name as the Demo-Dynamic-User-Group

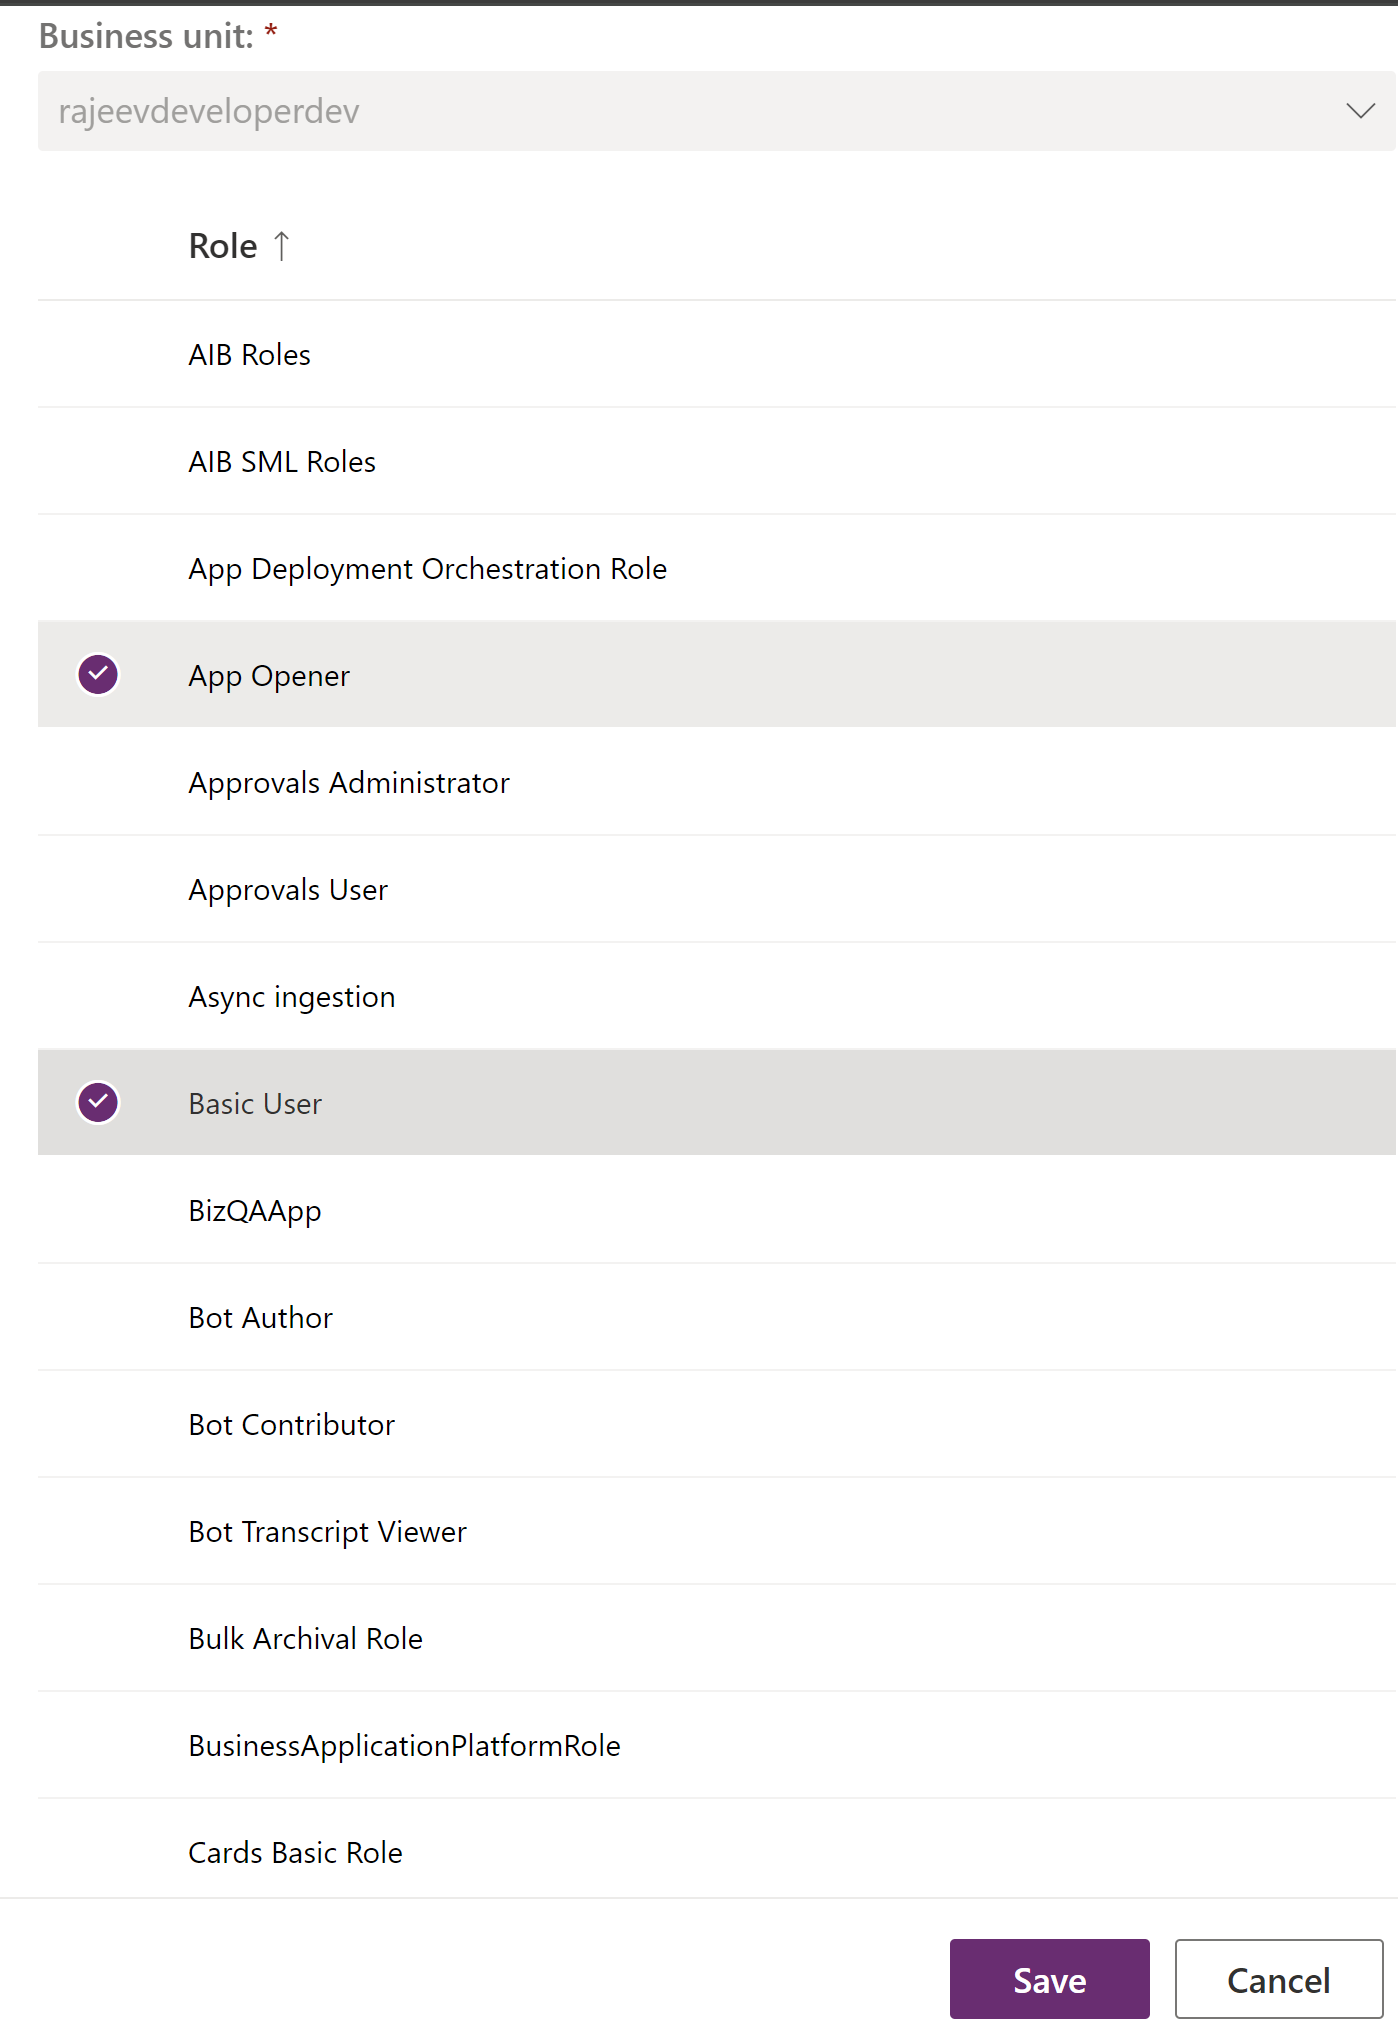
- Click Next and provide ‘Security Roles’ and click Save
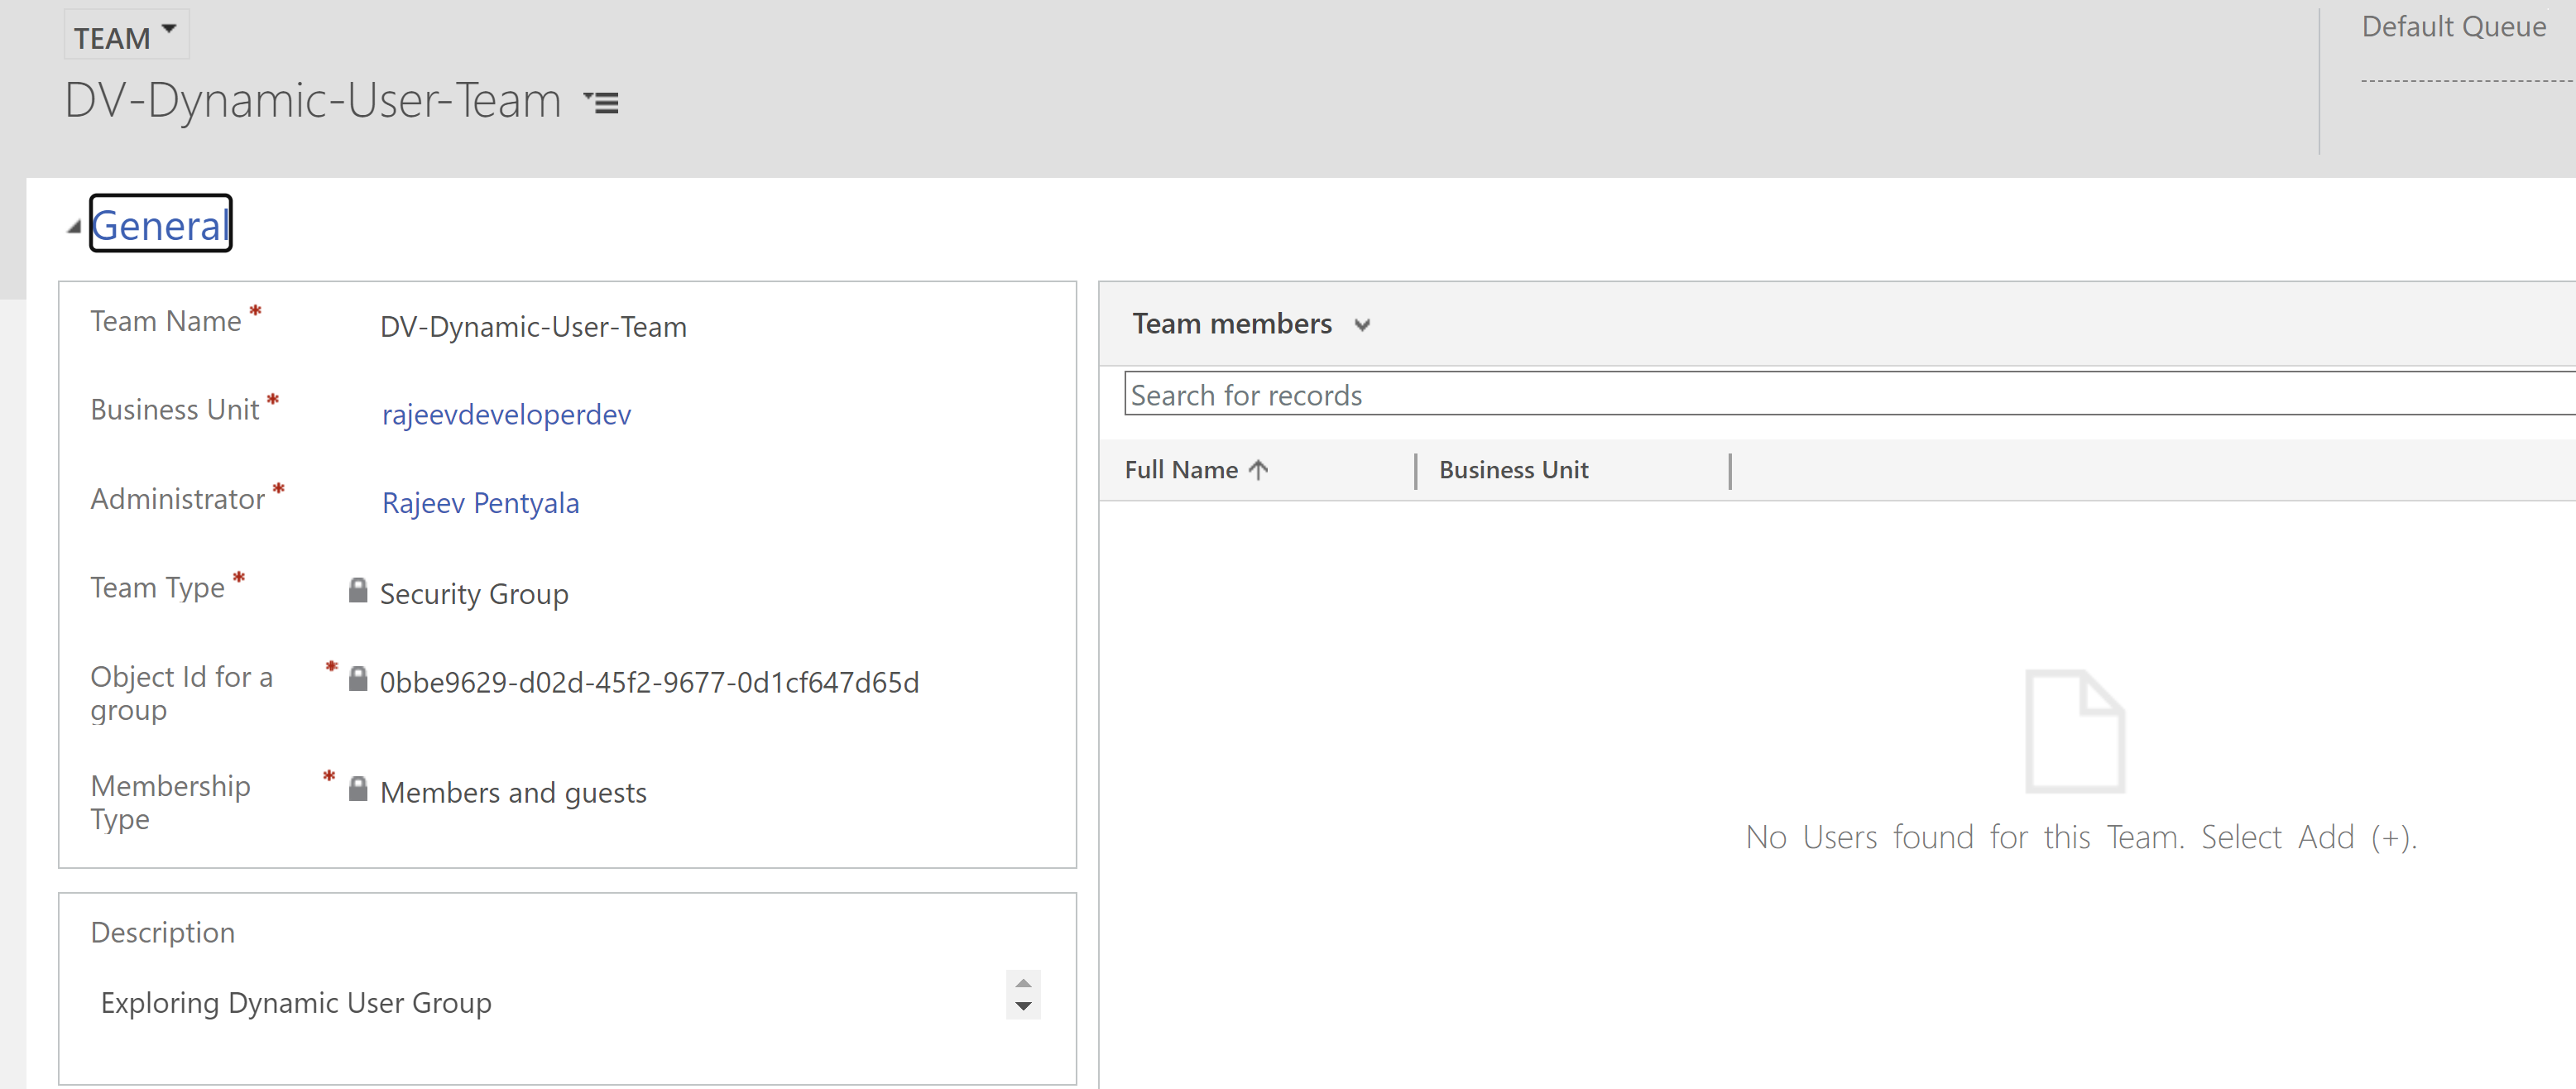
- Once saved, the Team looks as below.
Business Scenario:
- Let’s consider a scenario where you’ve built a ‘Power App’ intended for your Sales department, and your team structure is volatile, meaning people move across departments frequently.
- If you choose the ‘Assigned’ groups approach, administrators must add or remove members whenever the Sales department refreshes.
- With the dynamic group approach, since the Demo-Dynamic-User-Group has been mapped with the Dataverse group, administrators don’t need to manually manage group memberships. Users who move out of the Sales department lose access, and whoever is added gains access to the Power App.
🙂


Leave a comment