In this article, I am going to demonstrate how to leverage OpenAI’s Chat endpoint in Power Platform.
Let’s begin by understanding the basics of the OpenAI API.
What is an OpenAI API:
- The OpenAI API can be applied to virtually any task and offer a range of models with different capabilities and price points, as well as the ability to fine-tune custom models.
- For our scenario, we will be using the OpenAI’s text generation models (often referred to as generative pre-trained transformers or “GPT” models for short), like GPT-4 and GPT-3.5, have been trained to understand natural and formal language.
- The inputs to these models are also referred to as “prompts”.
Now that you have the basics of the OpenAI API and Model, let’s first start by creating the OpenAI account and obtaining the API Key.
Create OpenAI account and get the API Key:
If you don’t already have an OpenAI account and API Key, follow these steps.
- Connect to OpenAI website.

- Click on Log In and complete the account creation process.
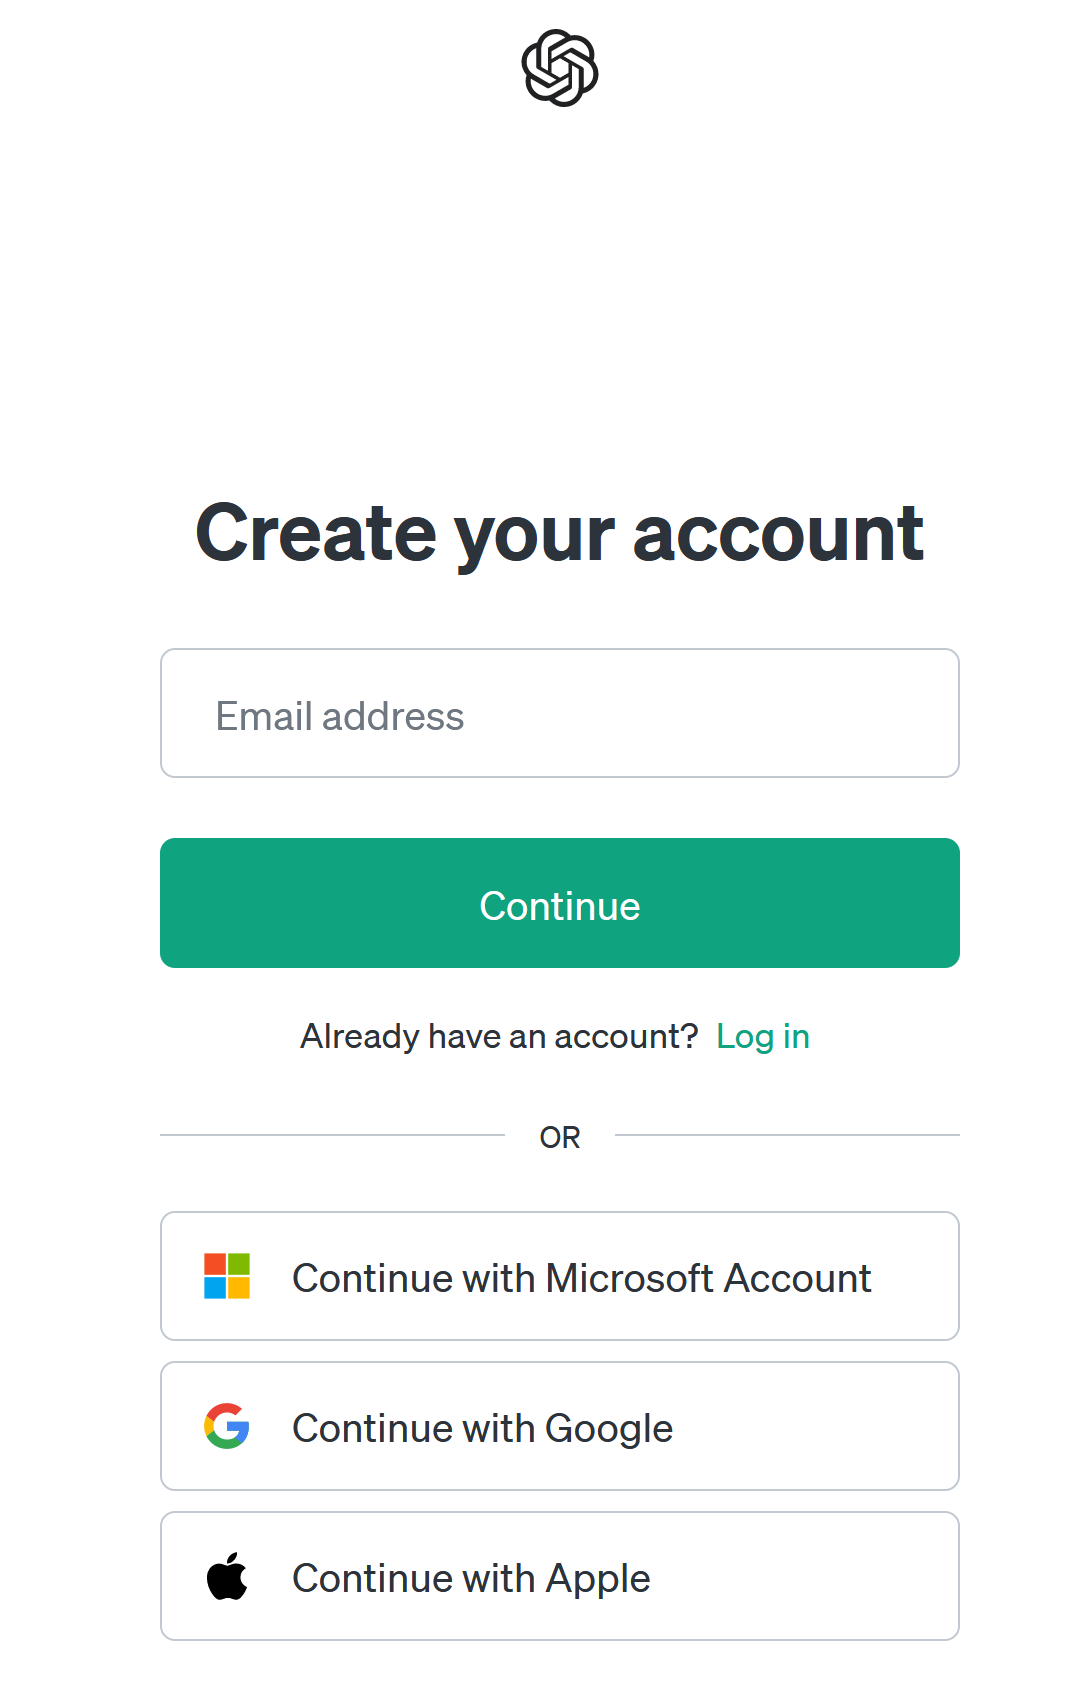
- After creating the account, you’ll need to generate and keep the API Key.
- Click on API keys > Create new secret key
- Copy and save the key. It’s important to note that there is no way to retrieve the generated secret API keys again after generation, so make sure to copy the API key.

Now that we have the Open API Key, lets understand the basics of the Chat end point.
Understanding the Chat end point:
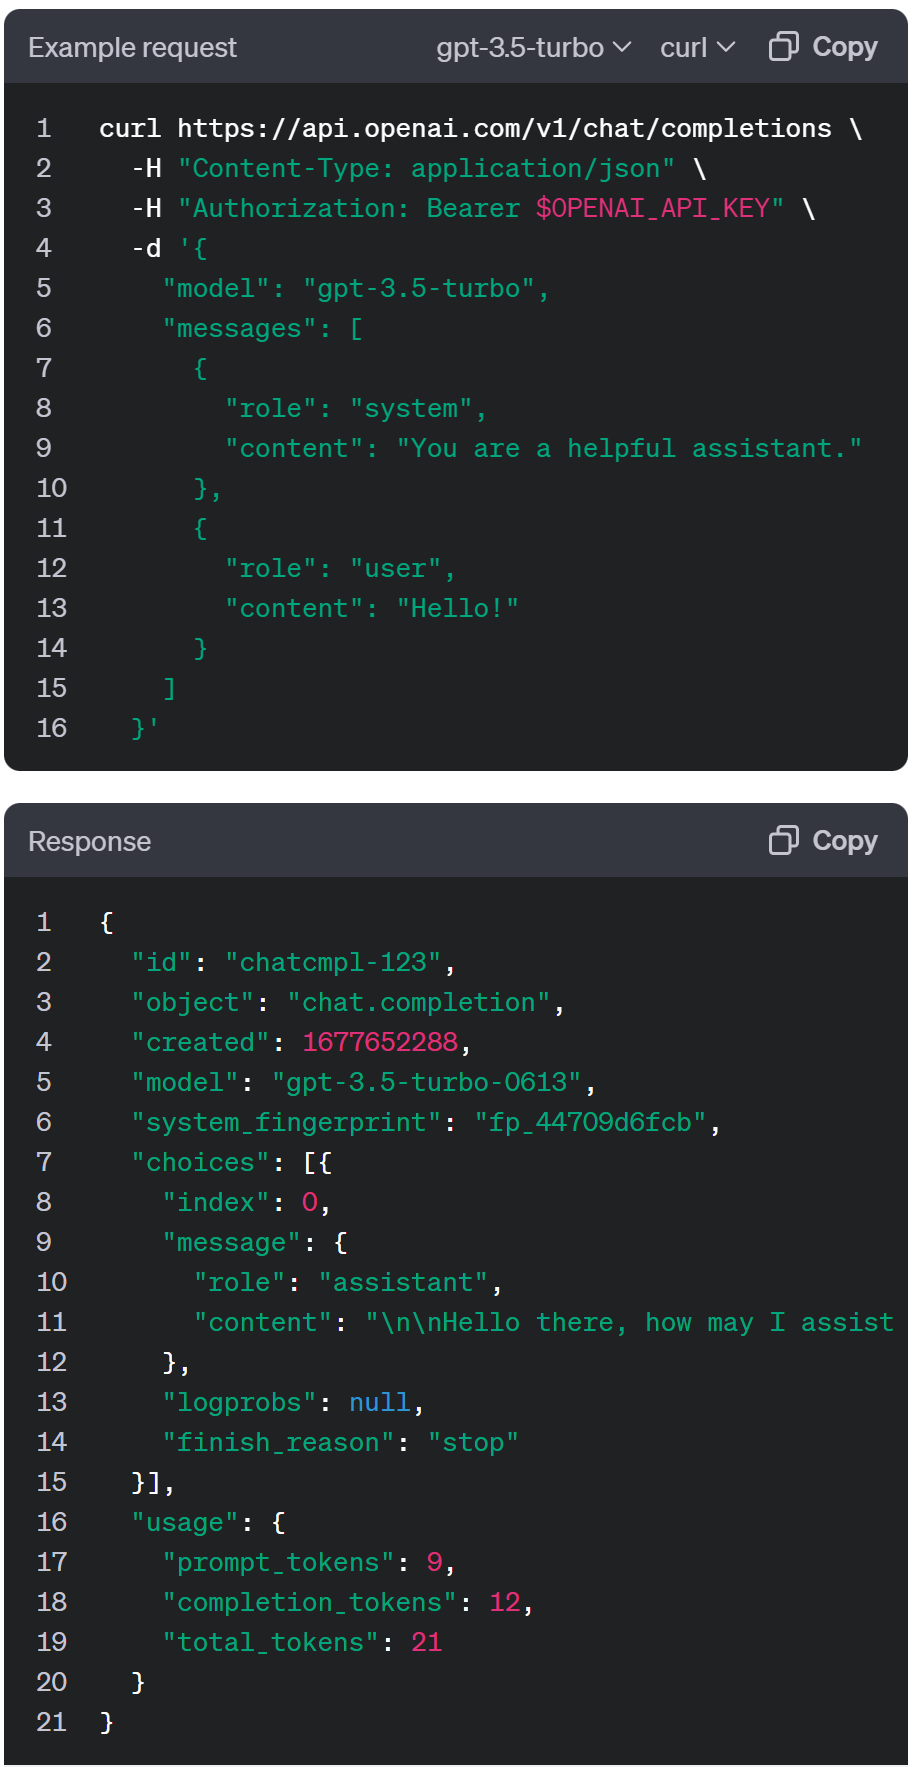
For our scenario, we will be using the Chat API, which is one of OpenAI’s text generation models, often referred to as generative pre-trained transformers (GPT) or large language models.
Chat API’s Request and Response looks as below:
Now that you know the basics of Chat end point, lets explore how this can be leveraged in Power Platform.
Following is the high level design to leverage the Chat endpoint in Canvas App.
- Create a Custom Connector using the Chat end point.
- Create a Canvas App and utilize the Custom Connector to prompt and capture the response.
Create a Custom Connector using the Chat end point:
As we know that, A custom connector is a wrapper around a REST API (Logic Apps also supports SOAP APIs) that allows Logic Apps, Power Automate, or Power Apps to communicate with that REST or SOAP API.
We will be creating a new Custom Connector using the OpenAI api.
- Connect to Power Platform maker portal.
- Create a new Dataverse solution and from the solution, select New > Automation > Custom connector

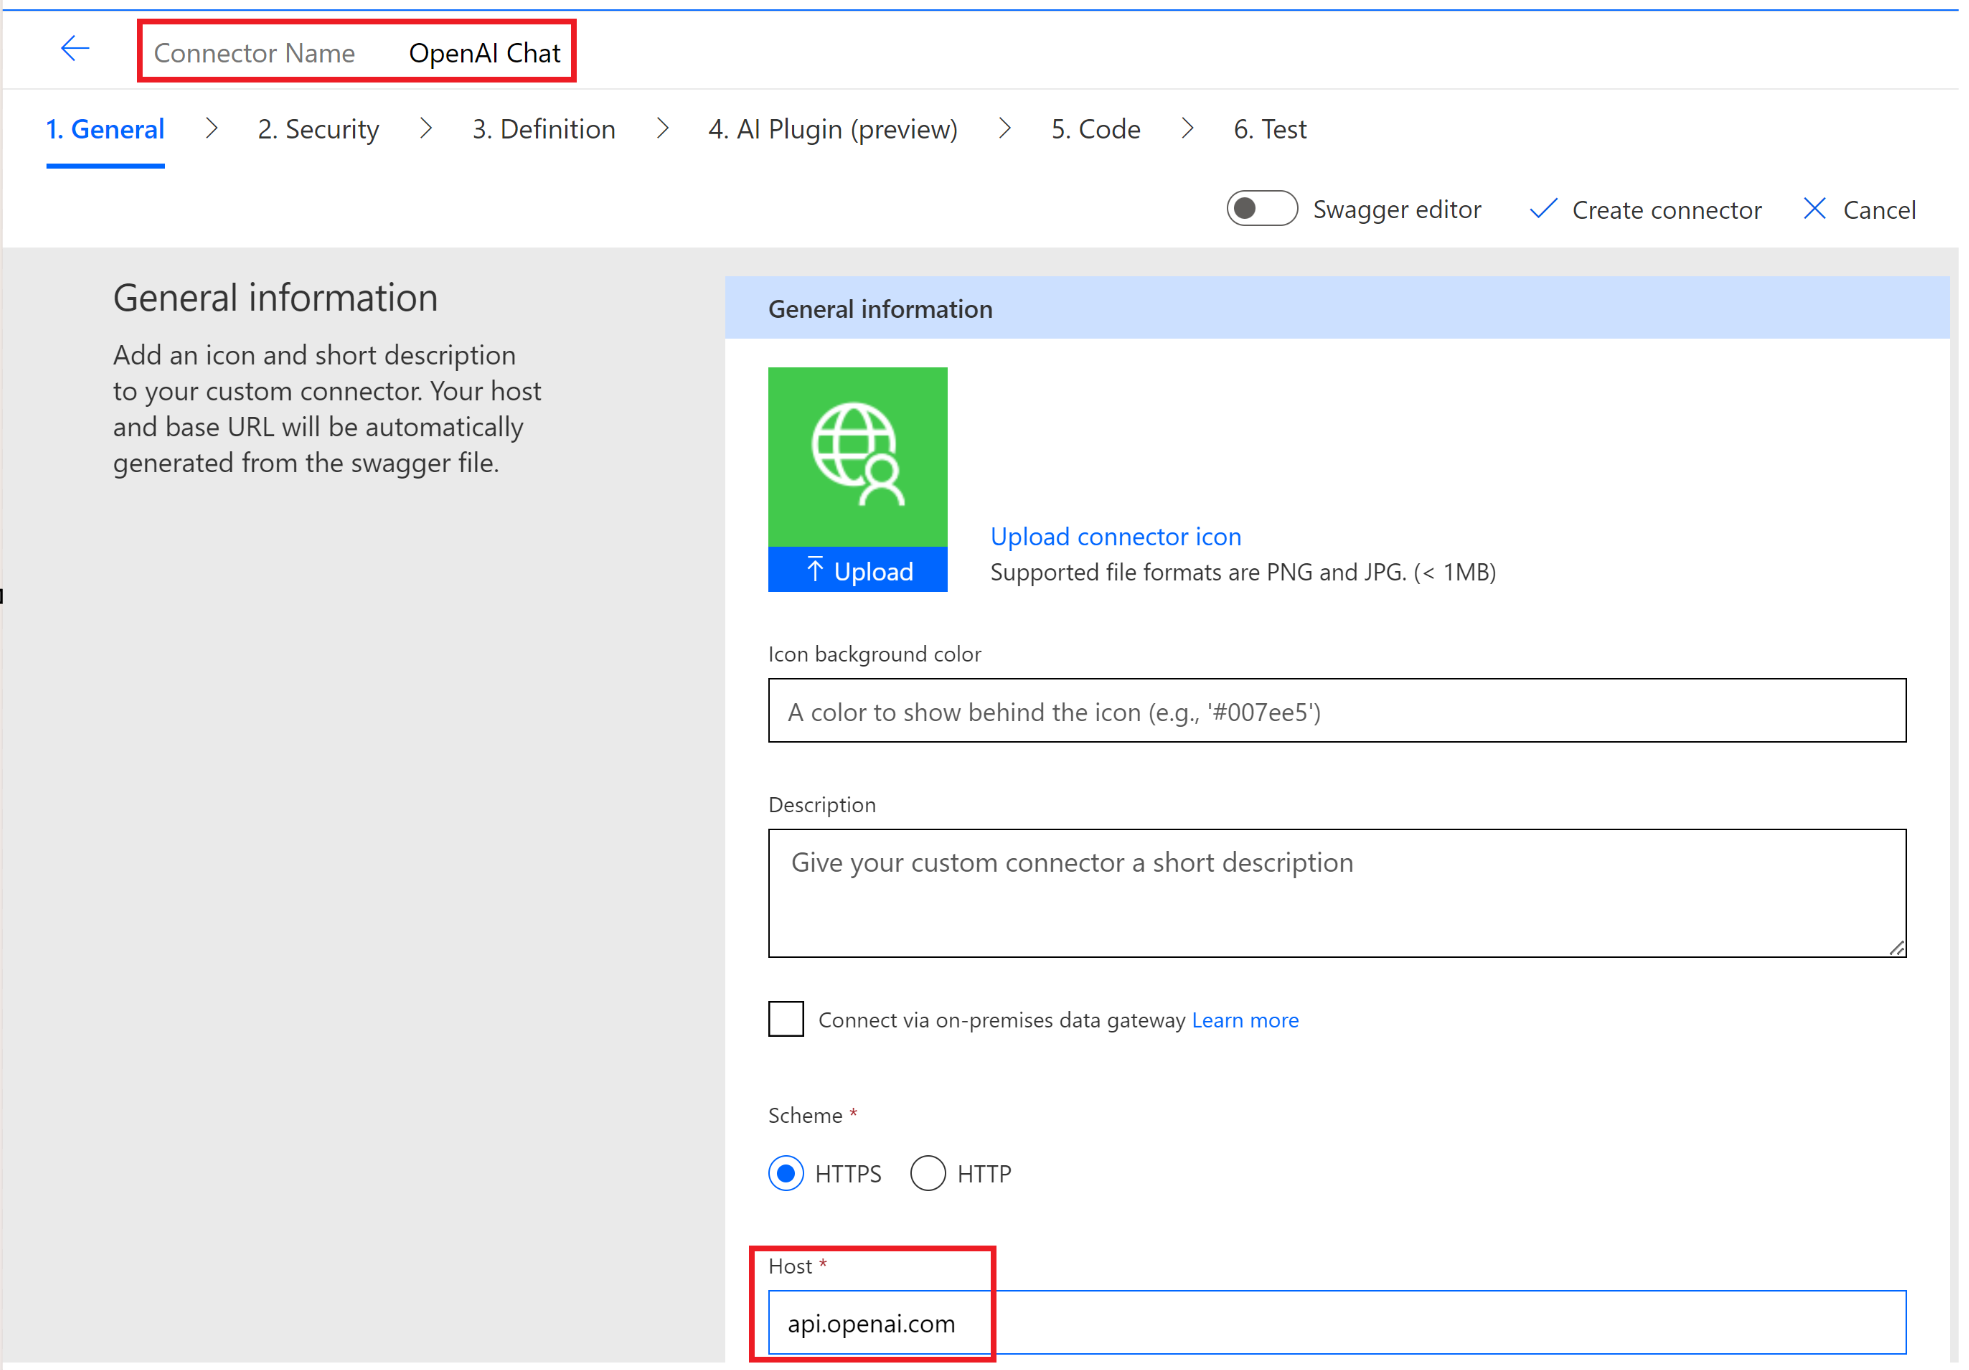
- Provide following details
- Connector Name
- Host : api.openai.com
Security Tab:
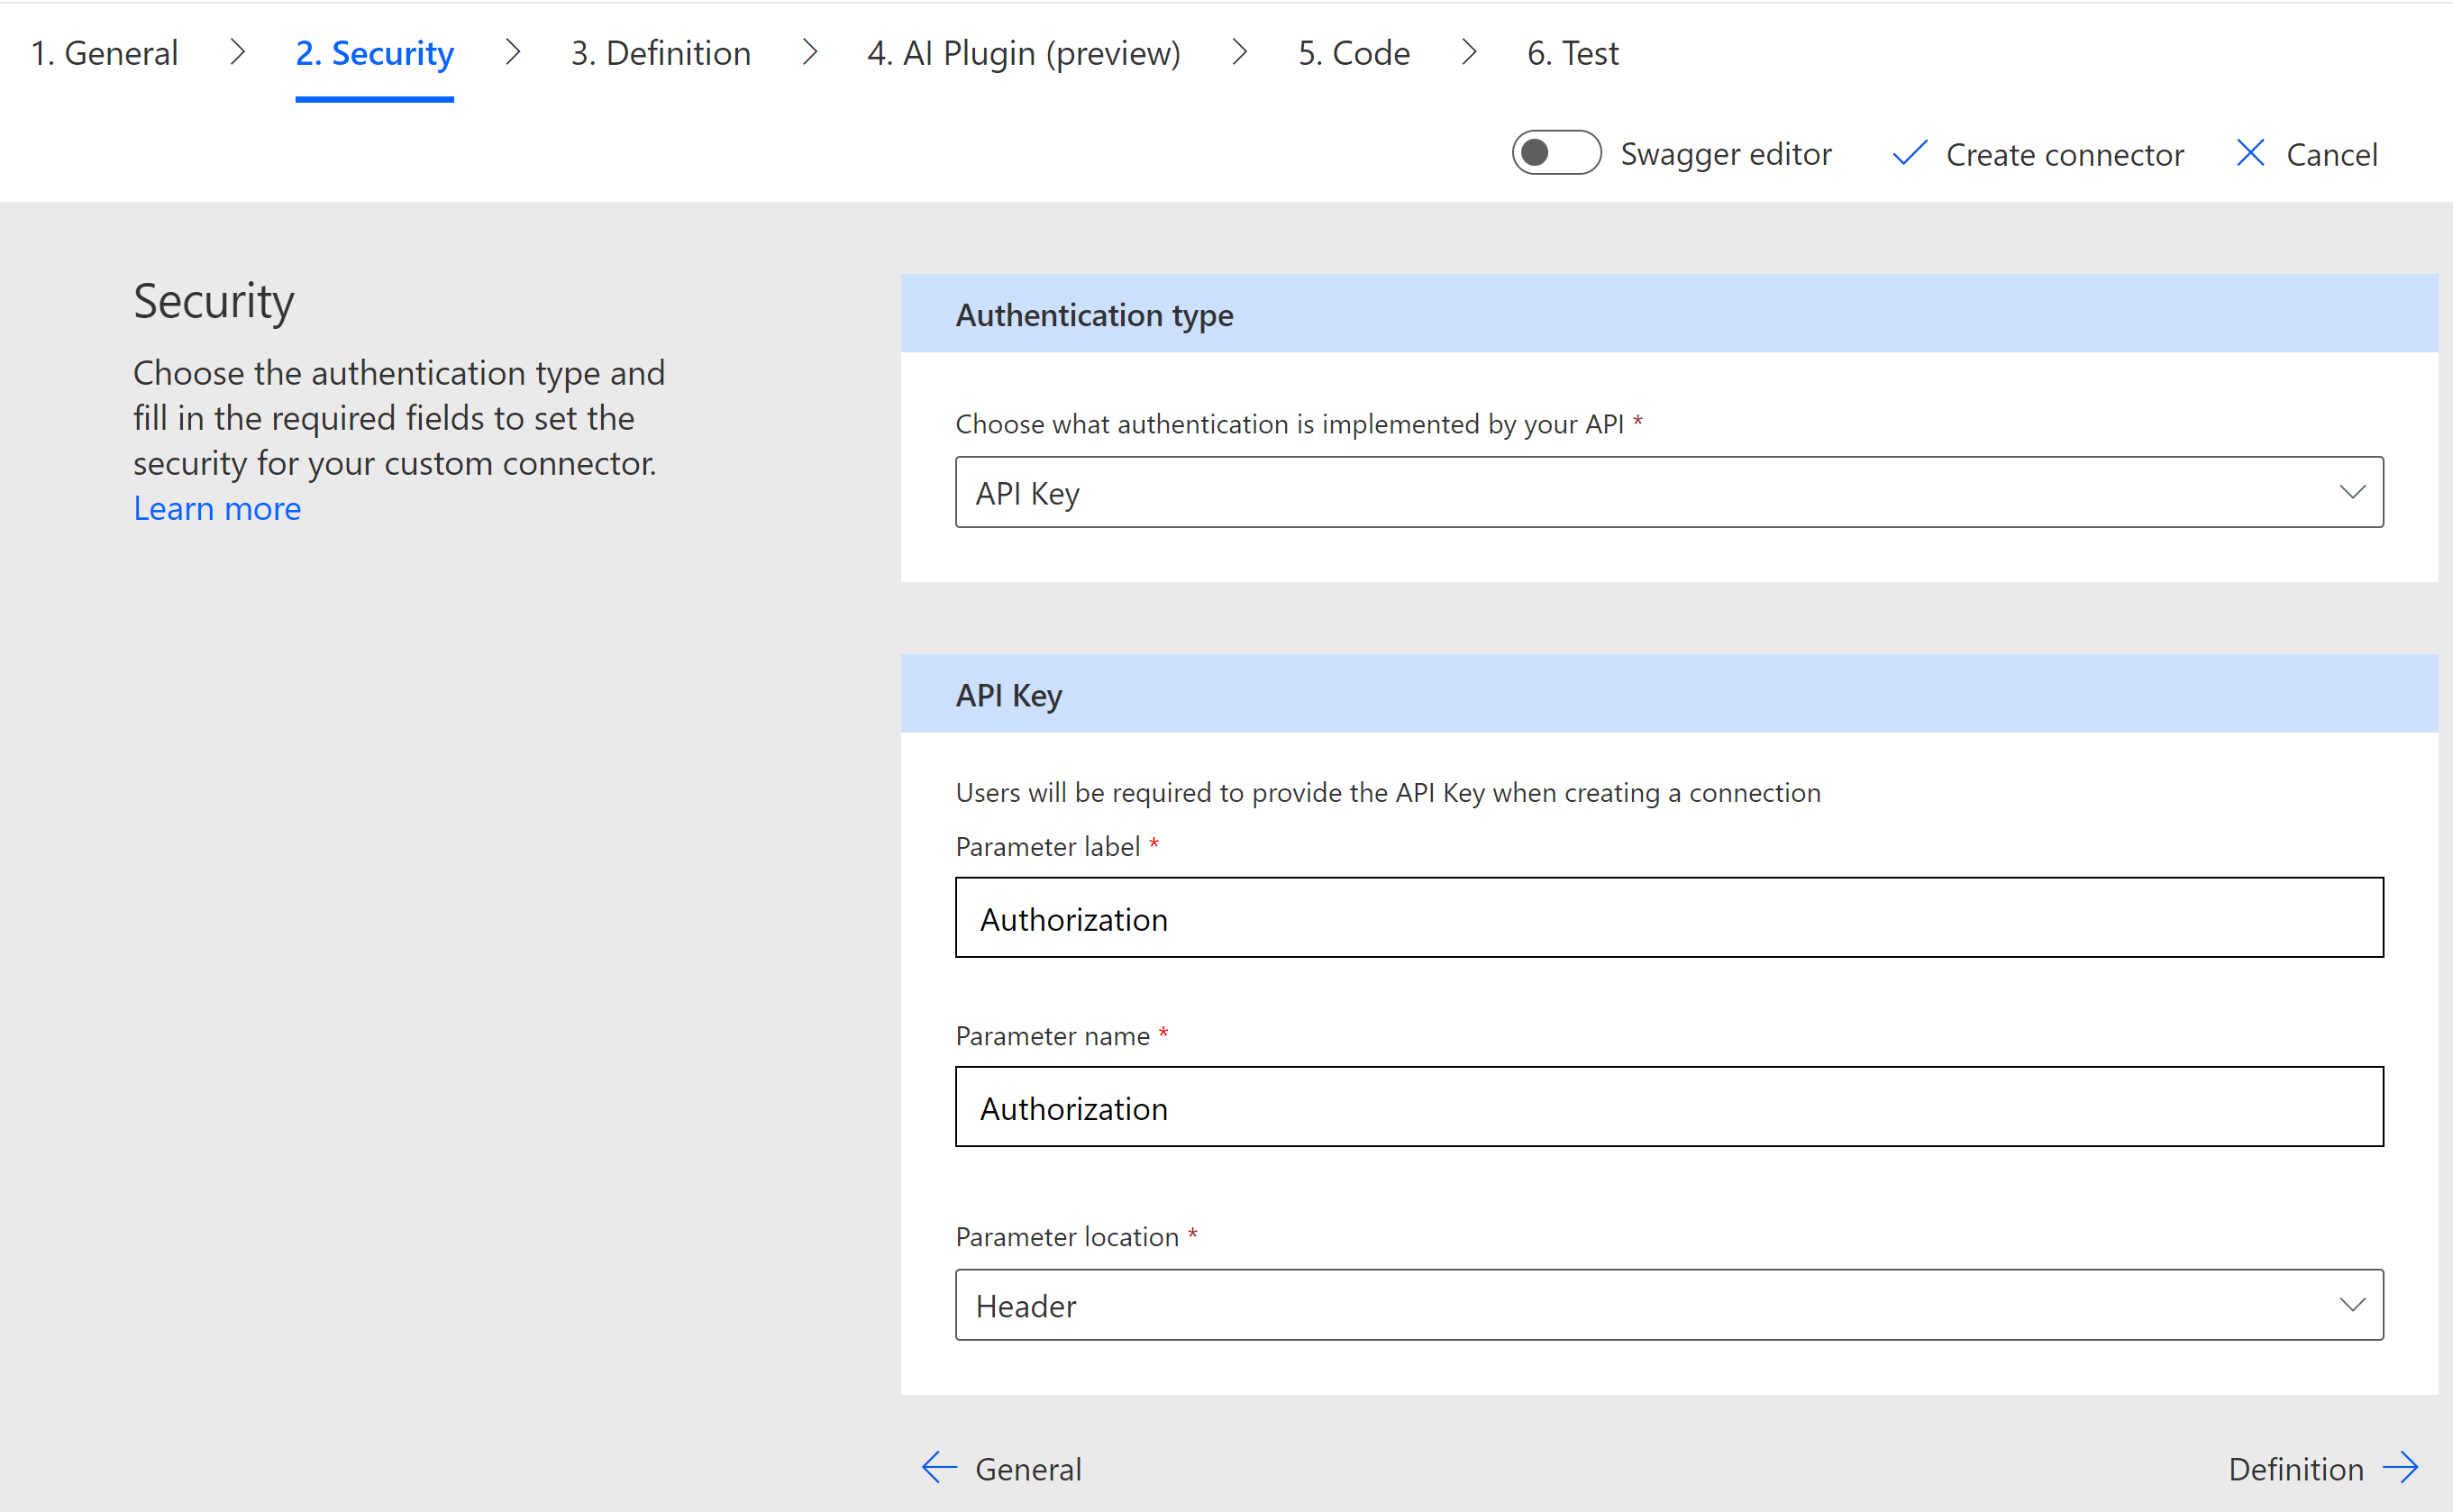
- In the ‘Security’ tab, provide following details.
- Authentication type : API Key
- Parameter label : Authorization
- Parameter name : Authorization
- Parameter location : Header
- Tip: If you are wondering why I chose ‘API Key’ as the ‘Authentication type’ and why I set Authorization as a Parameter, refer to the Chat example request.

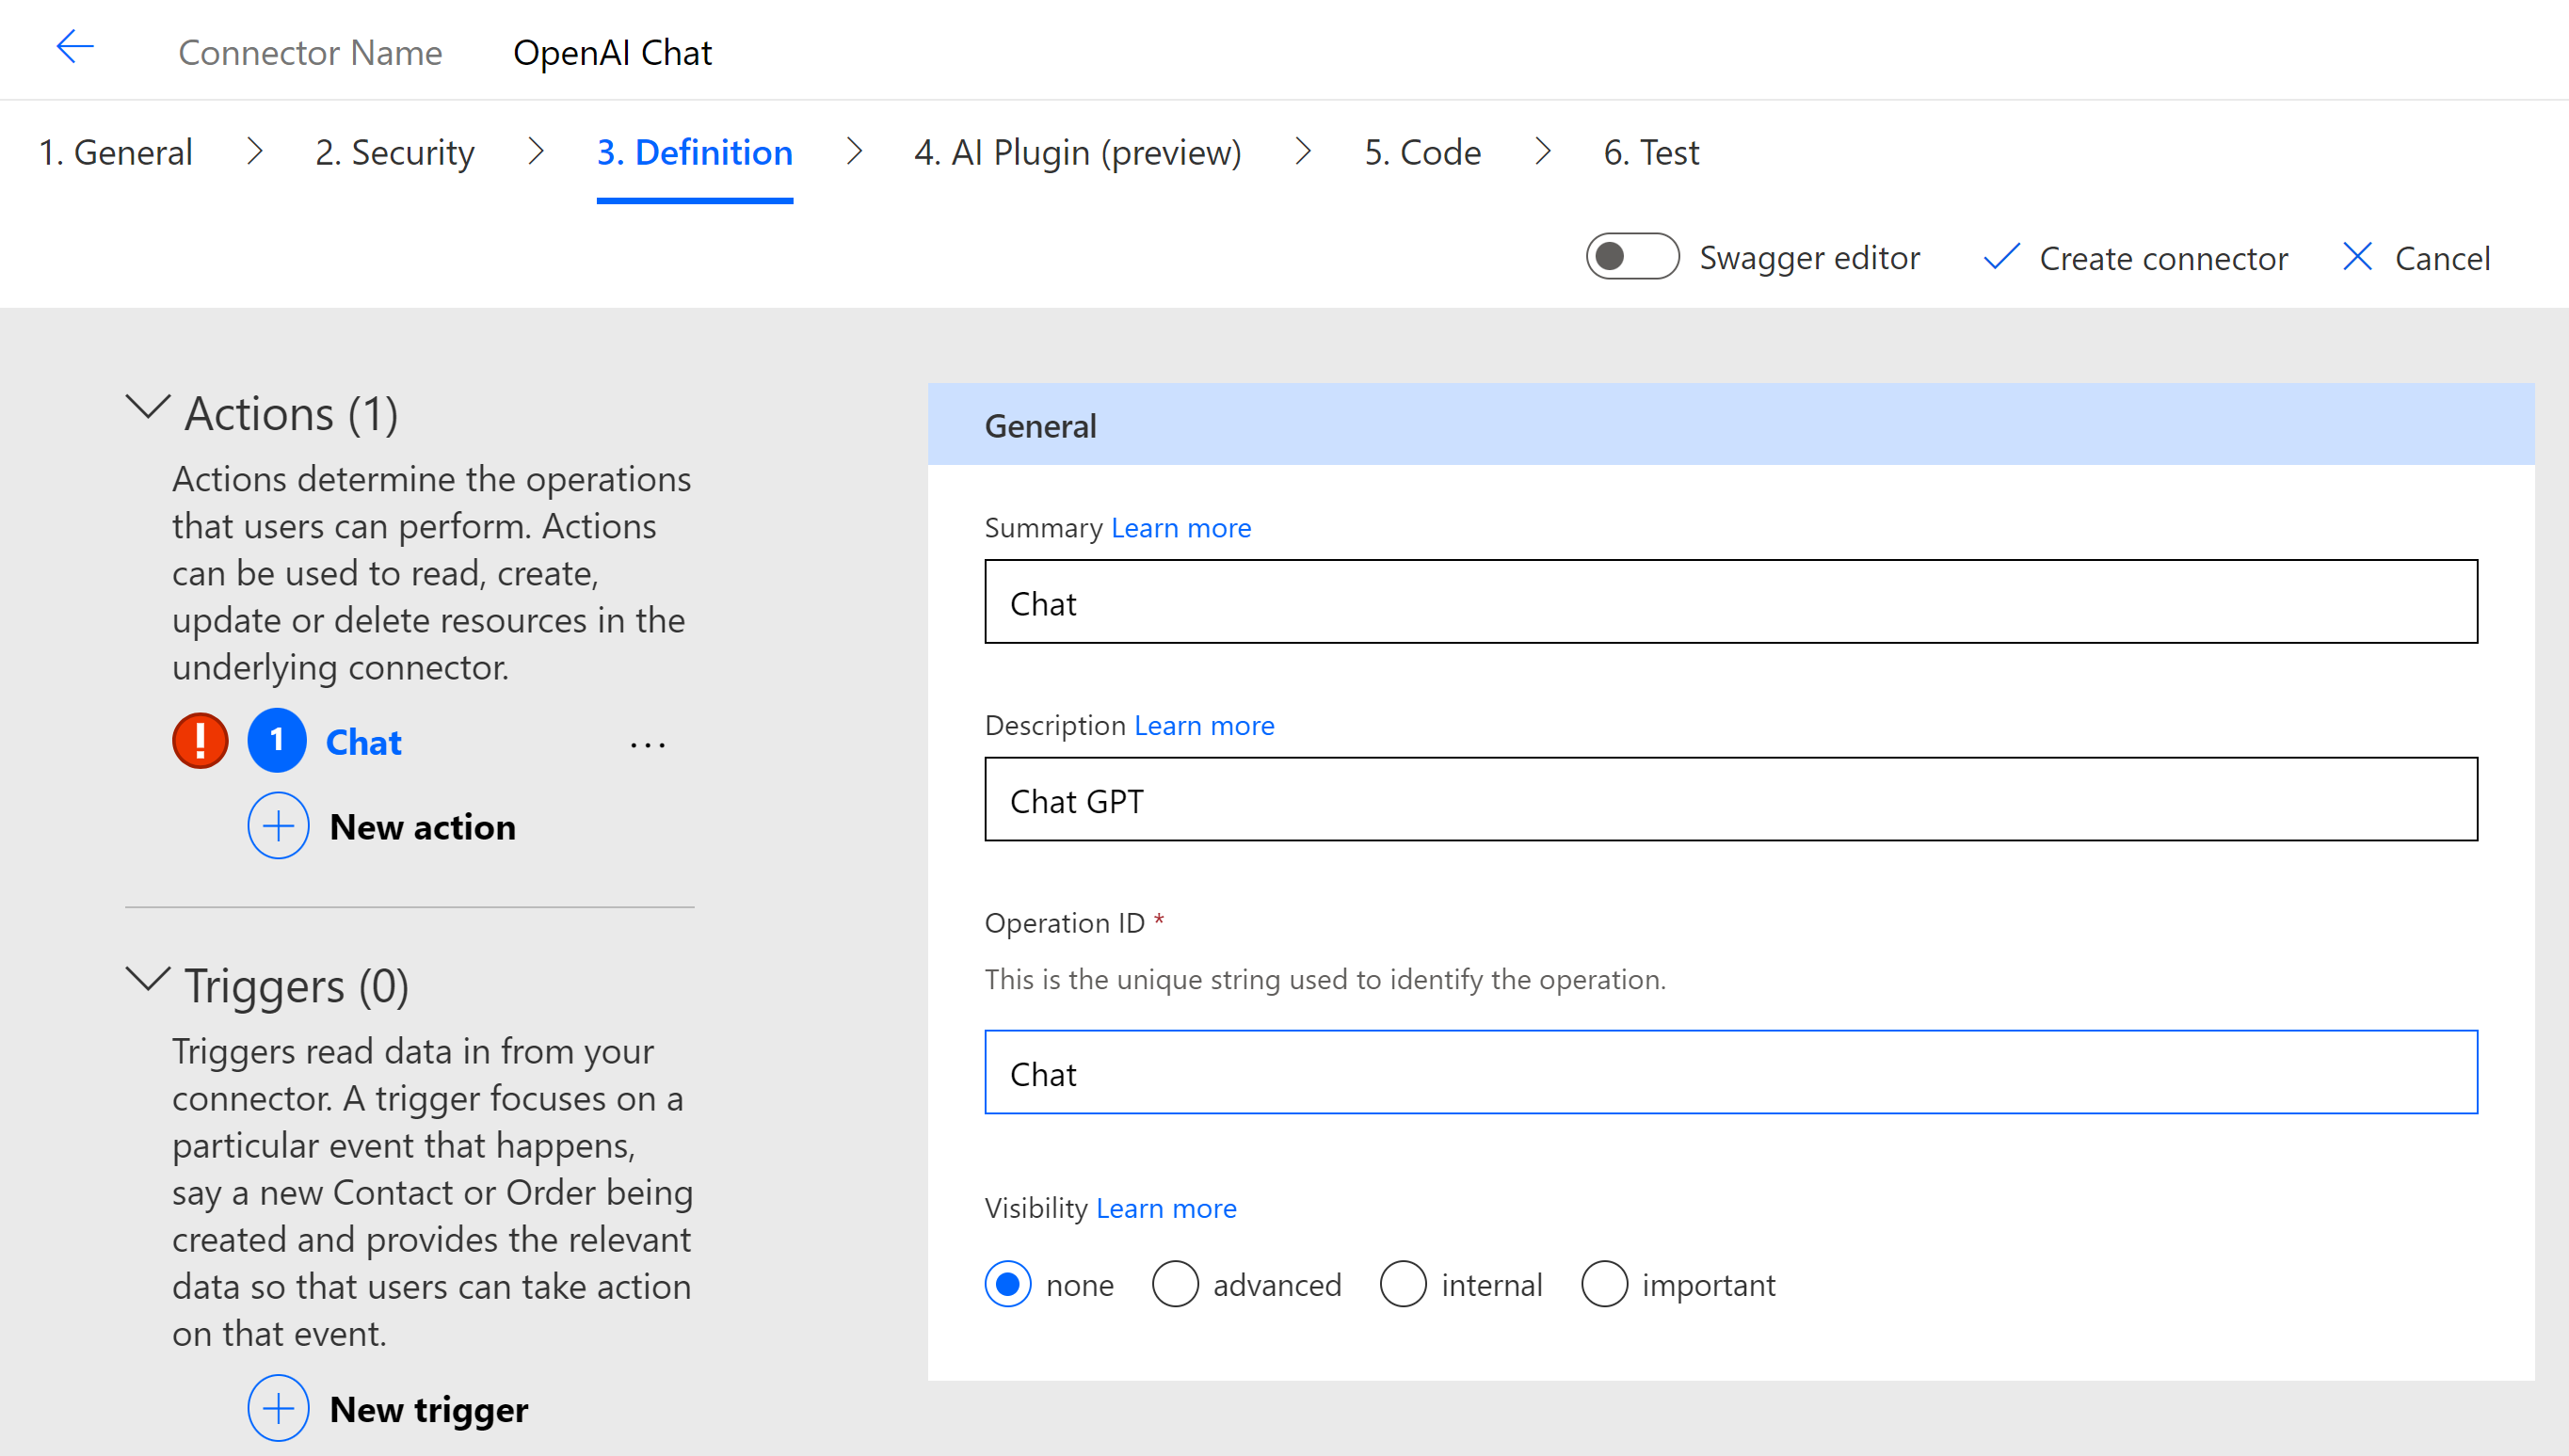
Definition Tab:
- Next, click on ‘Definition > New action‘. Provide details as shown below.
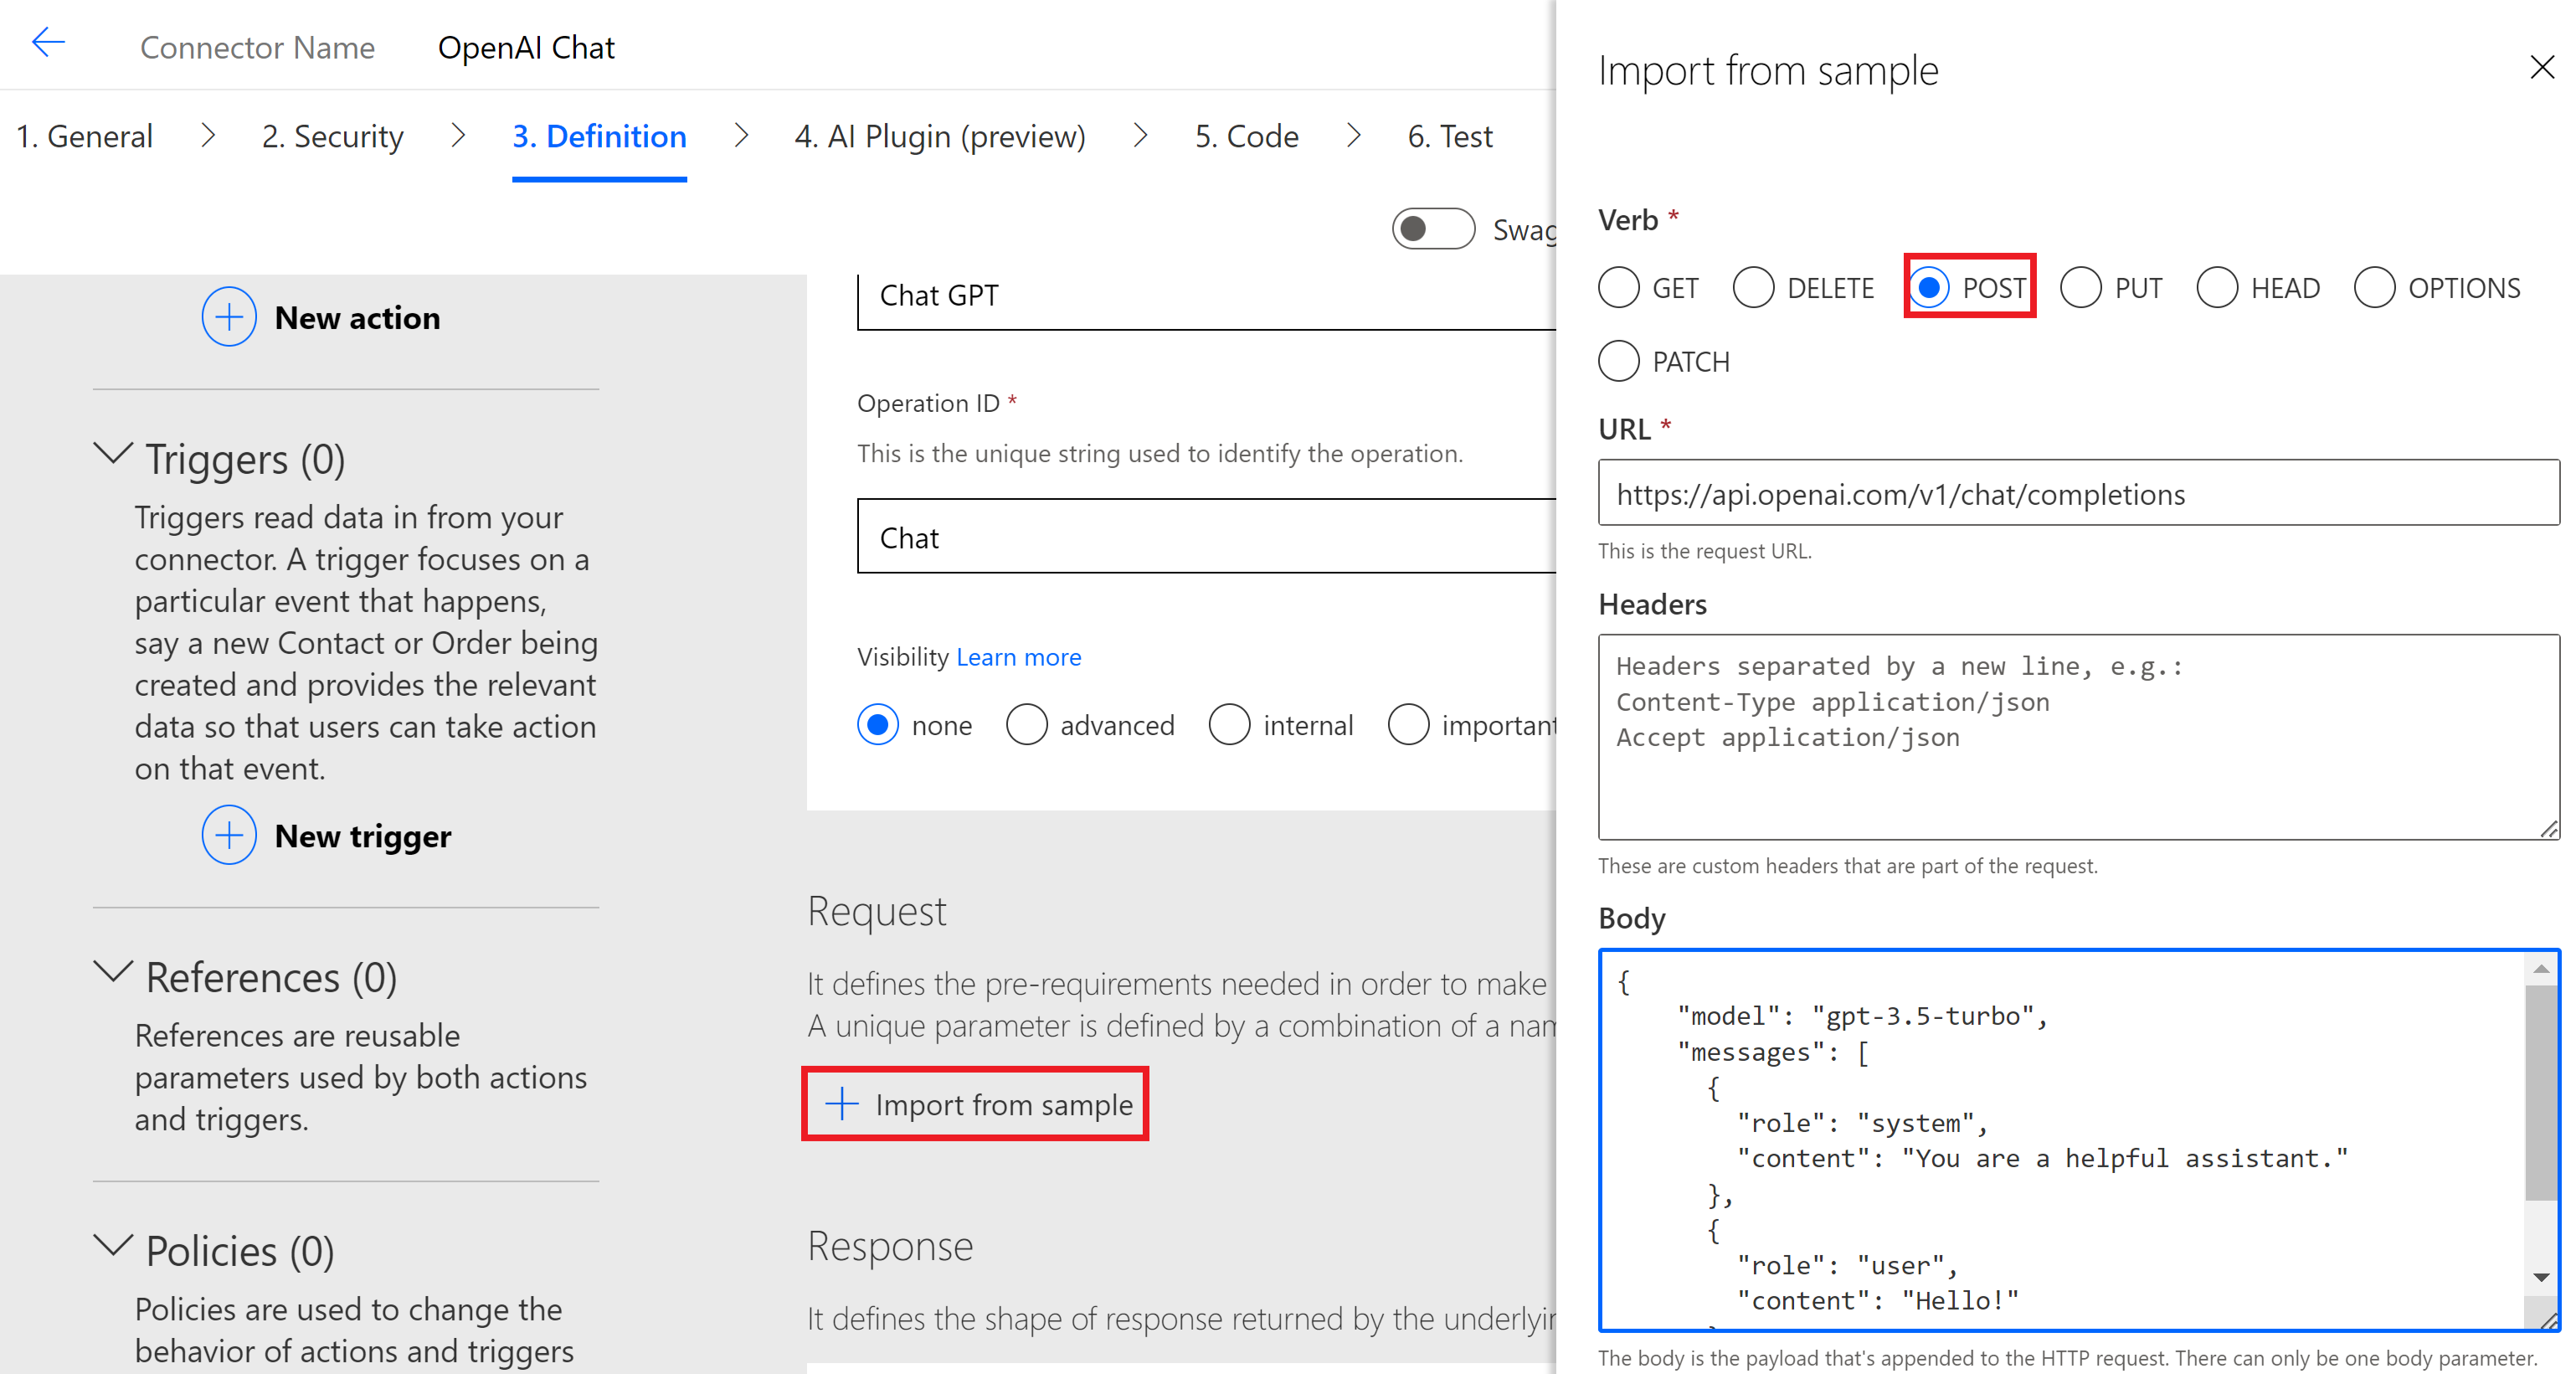
- Click on ‘Import from sample’ and provide details as below:
- Verb : POST
- URL : https://api.openai.com/v1/chat/completions
- Body :
{

    "model": "gpt-3.5-turbo",

    "messages": [

      {

        "role": "system",

        "content": "You are a helpful assistant."

      },

      {

        "role": "user",

        "content": "Hello!"

      }

    ]

  }
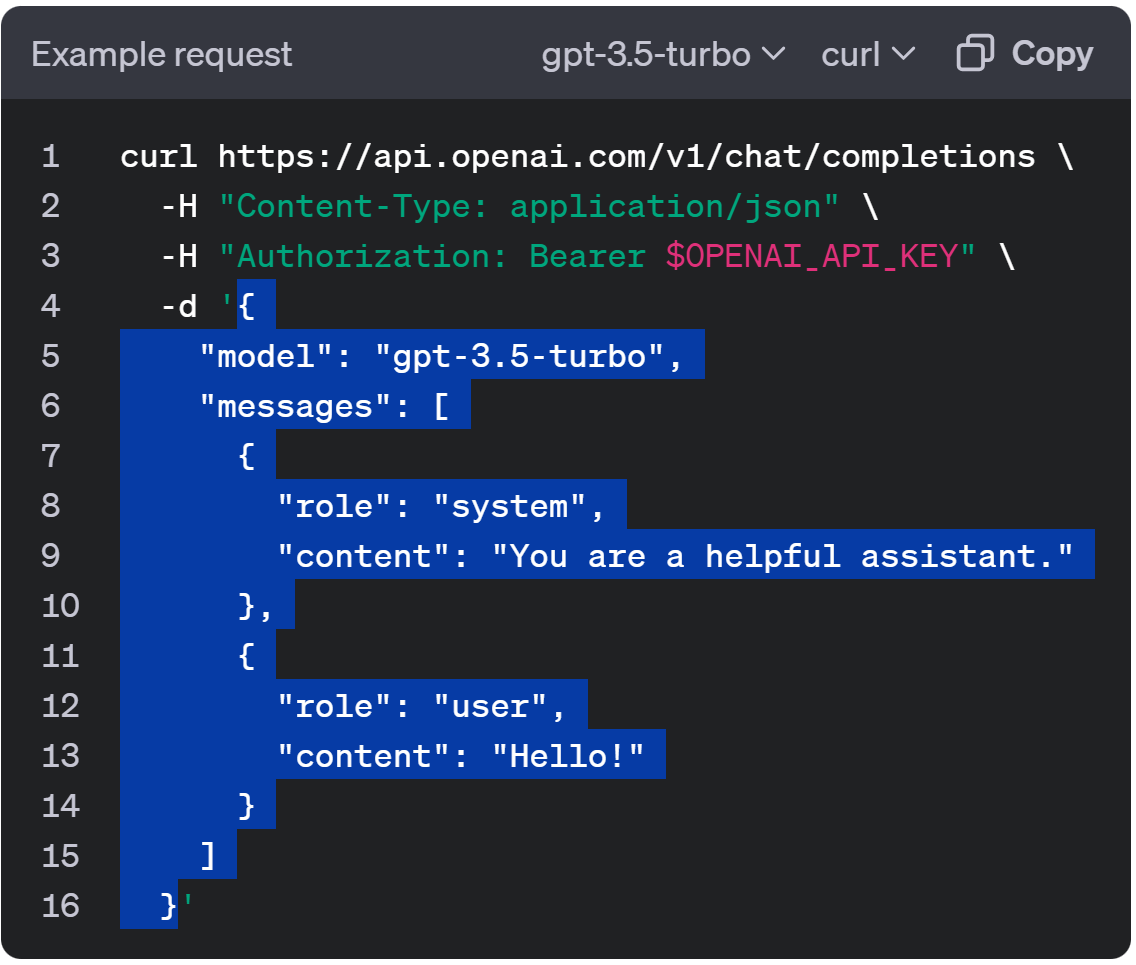
- Tip : To understand how I got URL and Body, refer the Chat example request
- Click on Create Connector
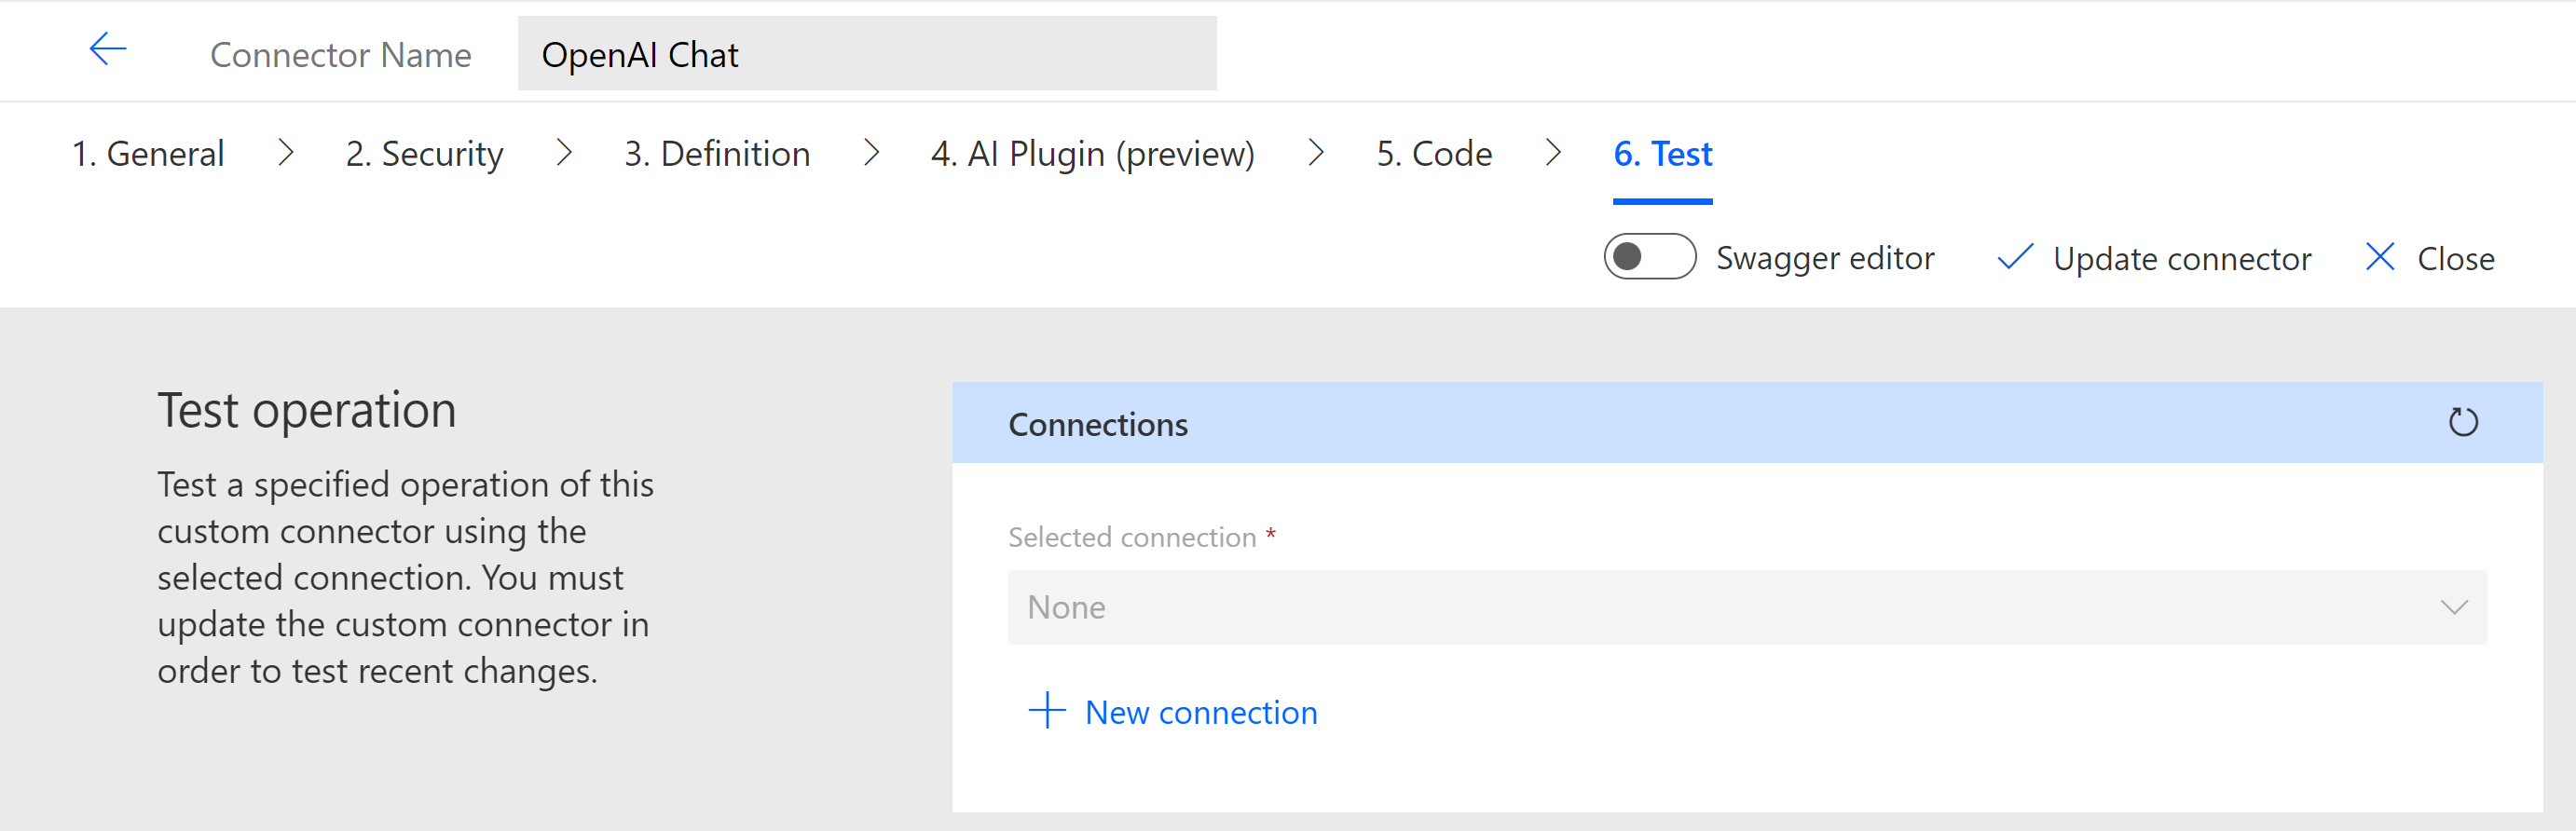
Test the Custom Connector:
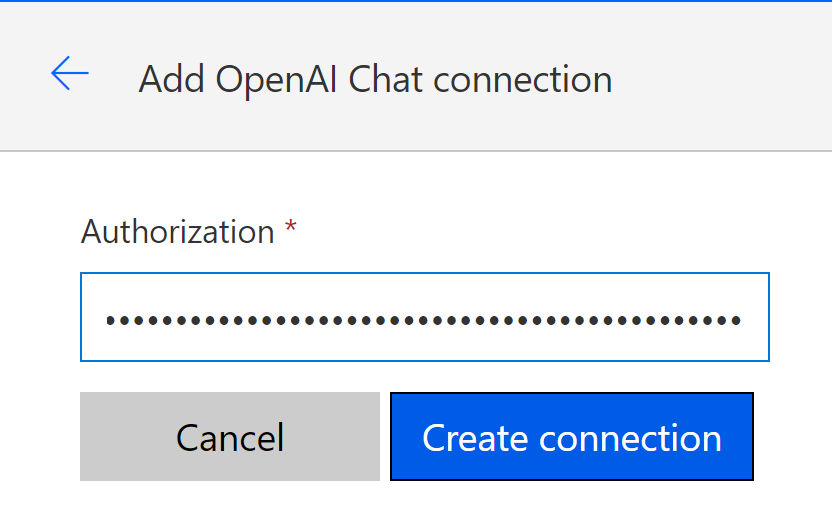
- Go to the Test tab and click on ‘New connection’.
- In the new connection screen, provide Authorization and click on ‘Create connection’.
- Authorization format is Bearer $OPENAI_API_KEY
- Replace $OPENAI_API_KEY with the ‘Open AI’ API Key we got in previous section.
- Make sure you add Bearer and space before the ‘Open AI’ API Key
- Authorization format is Bearer $OPENAI_API_KEY
- Return to the Test tab and test the ‘Chat’ operation by providing details as shown below.
- model : gpt-3.5-turbo
- role : system
- content : {your prompt message}
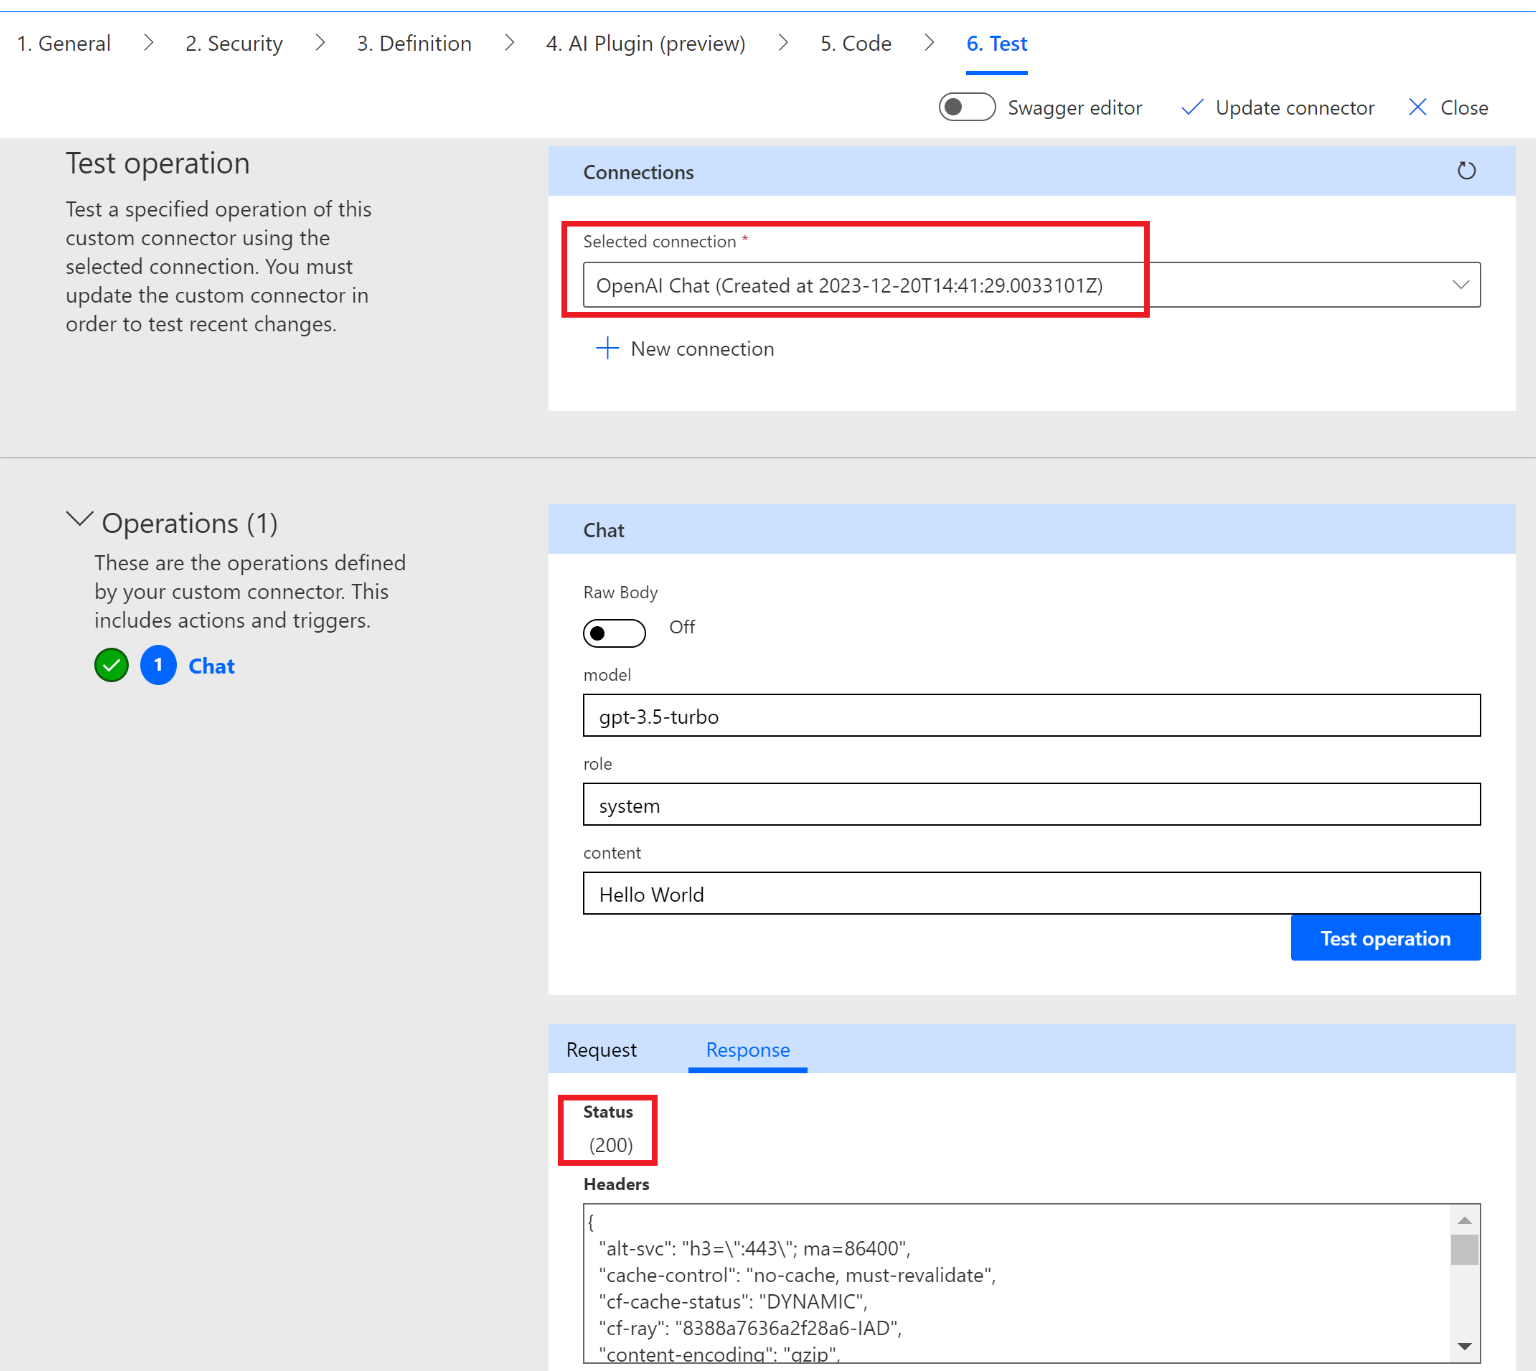
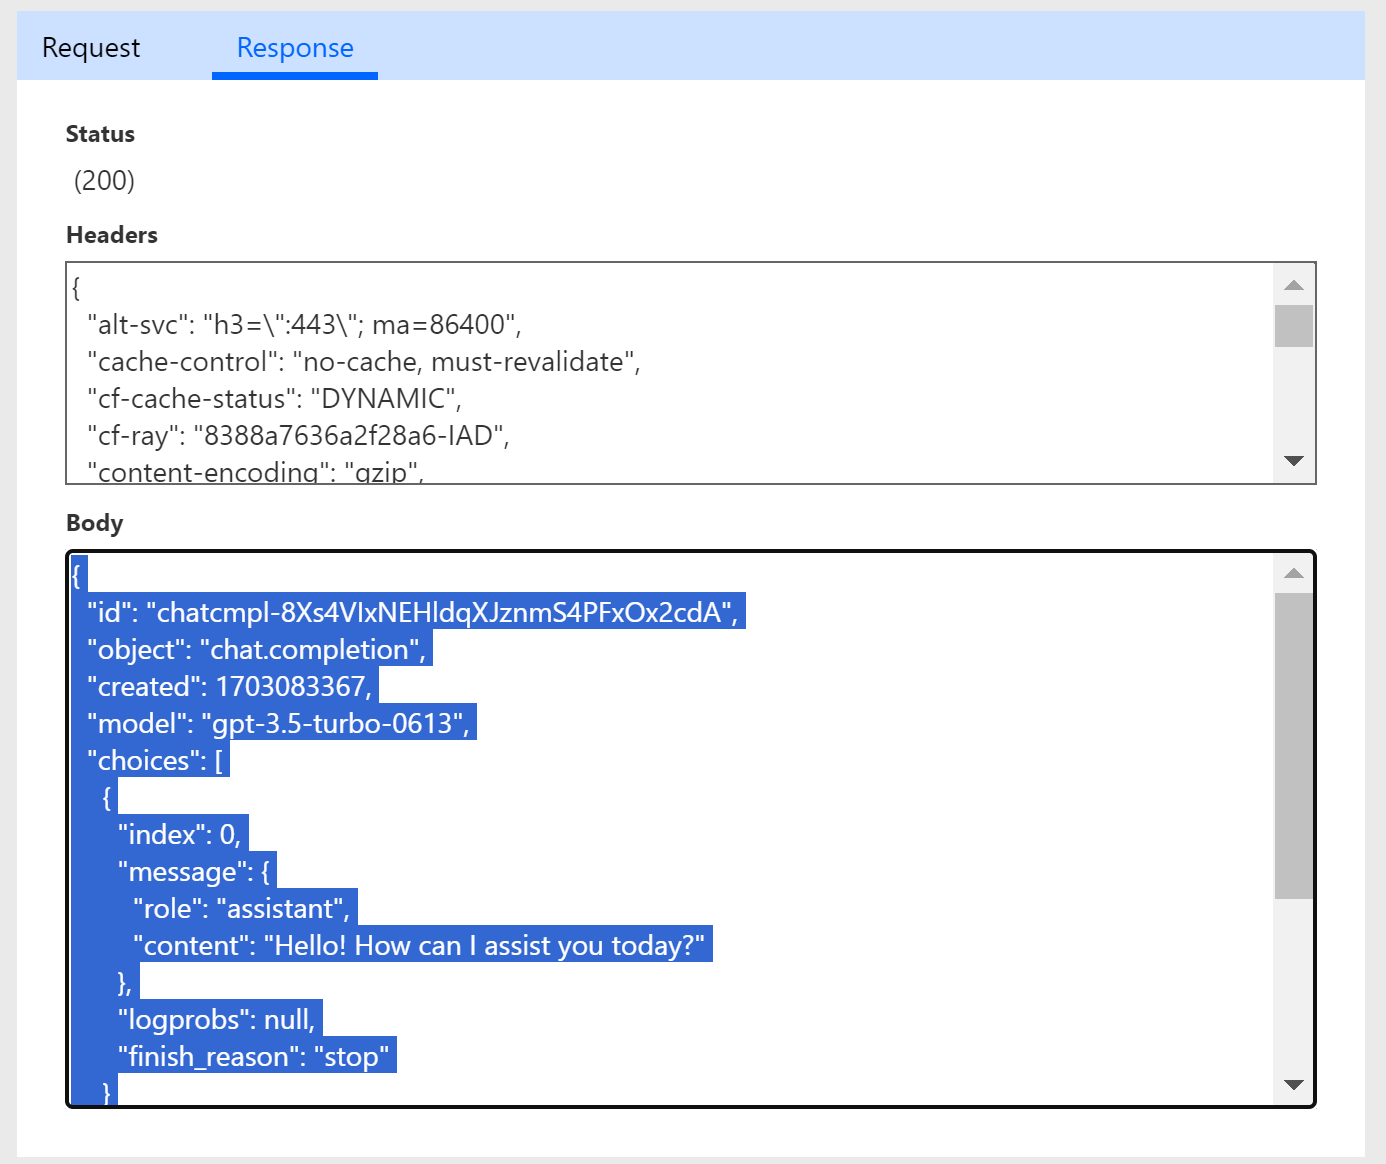
- Click on ‘Test operation’ and make sure you got 200 as response.
Update the response definition of Chat operation:
- Copy the ‘Body’ of previous test operation.
- Go to Definition tab and click on the ‘default’ as highlighted below.
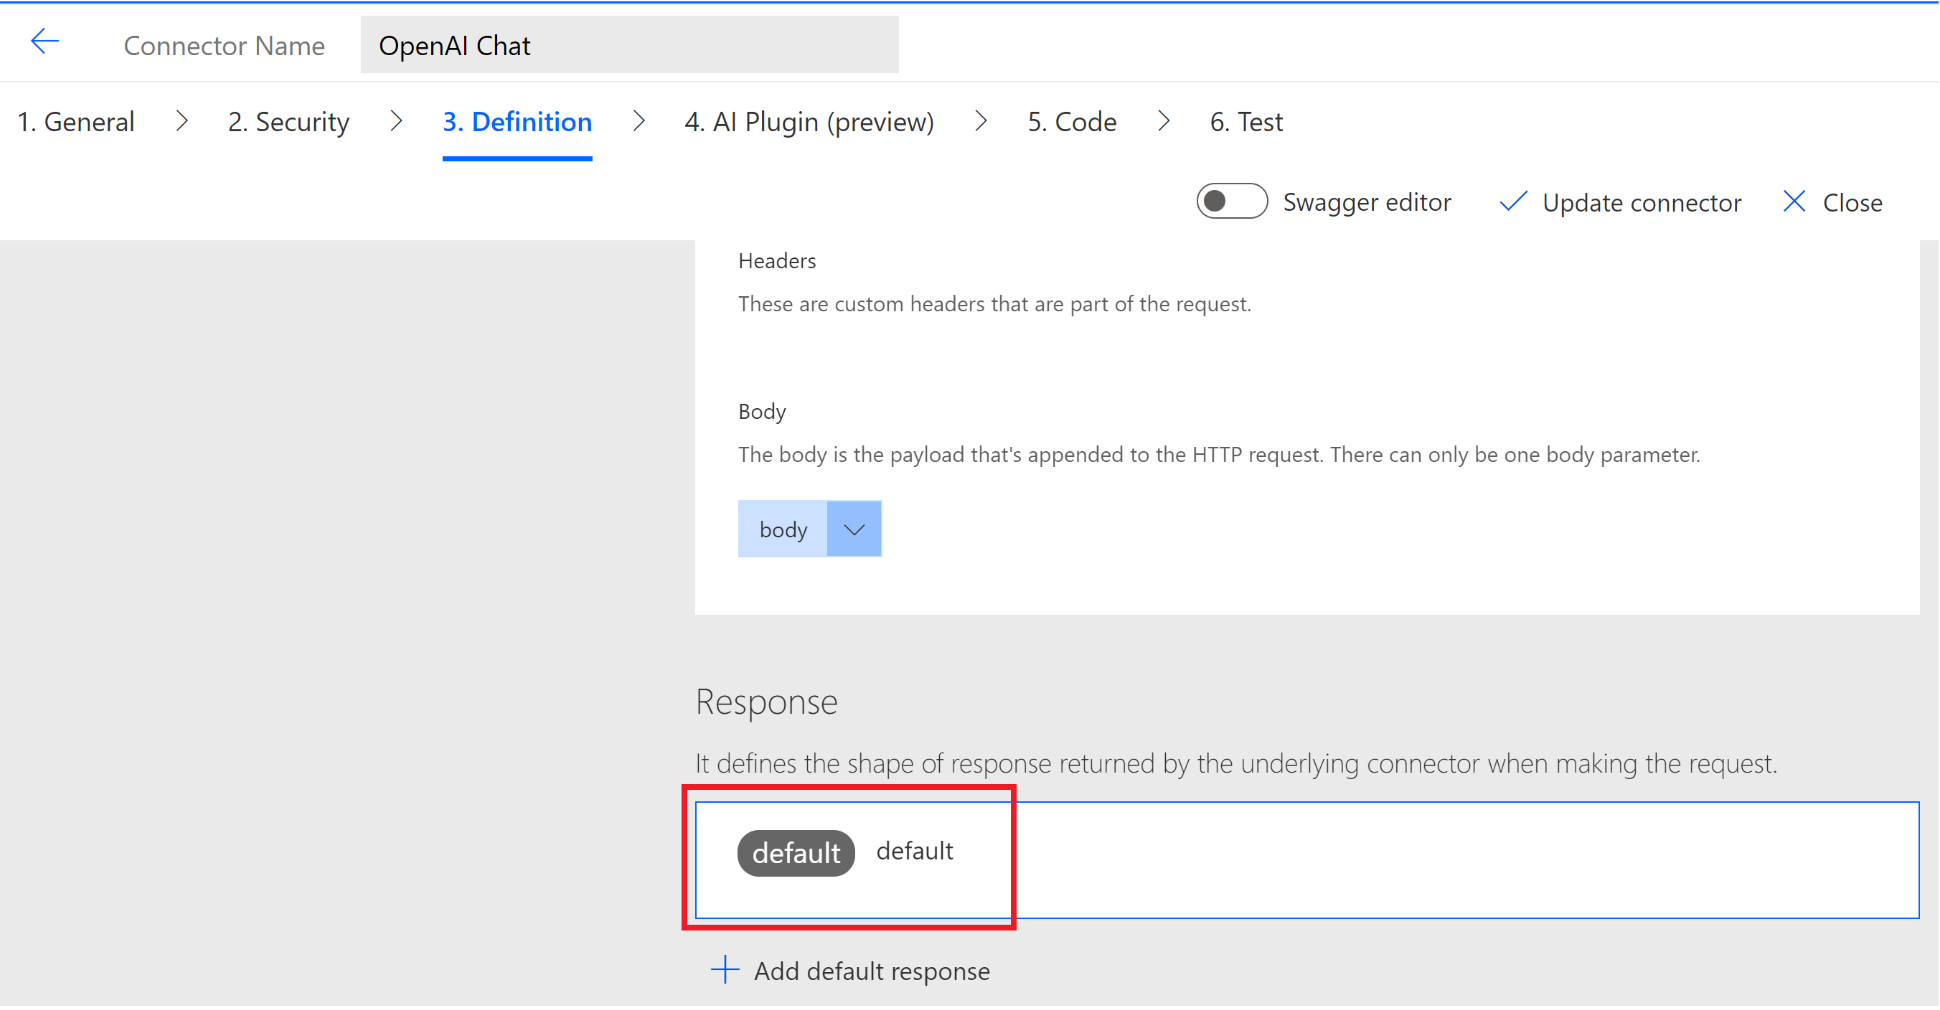
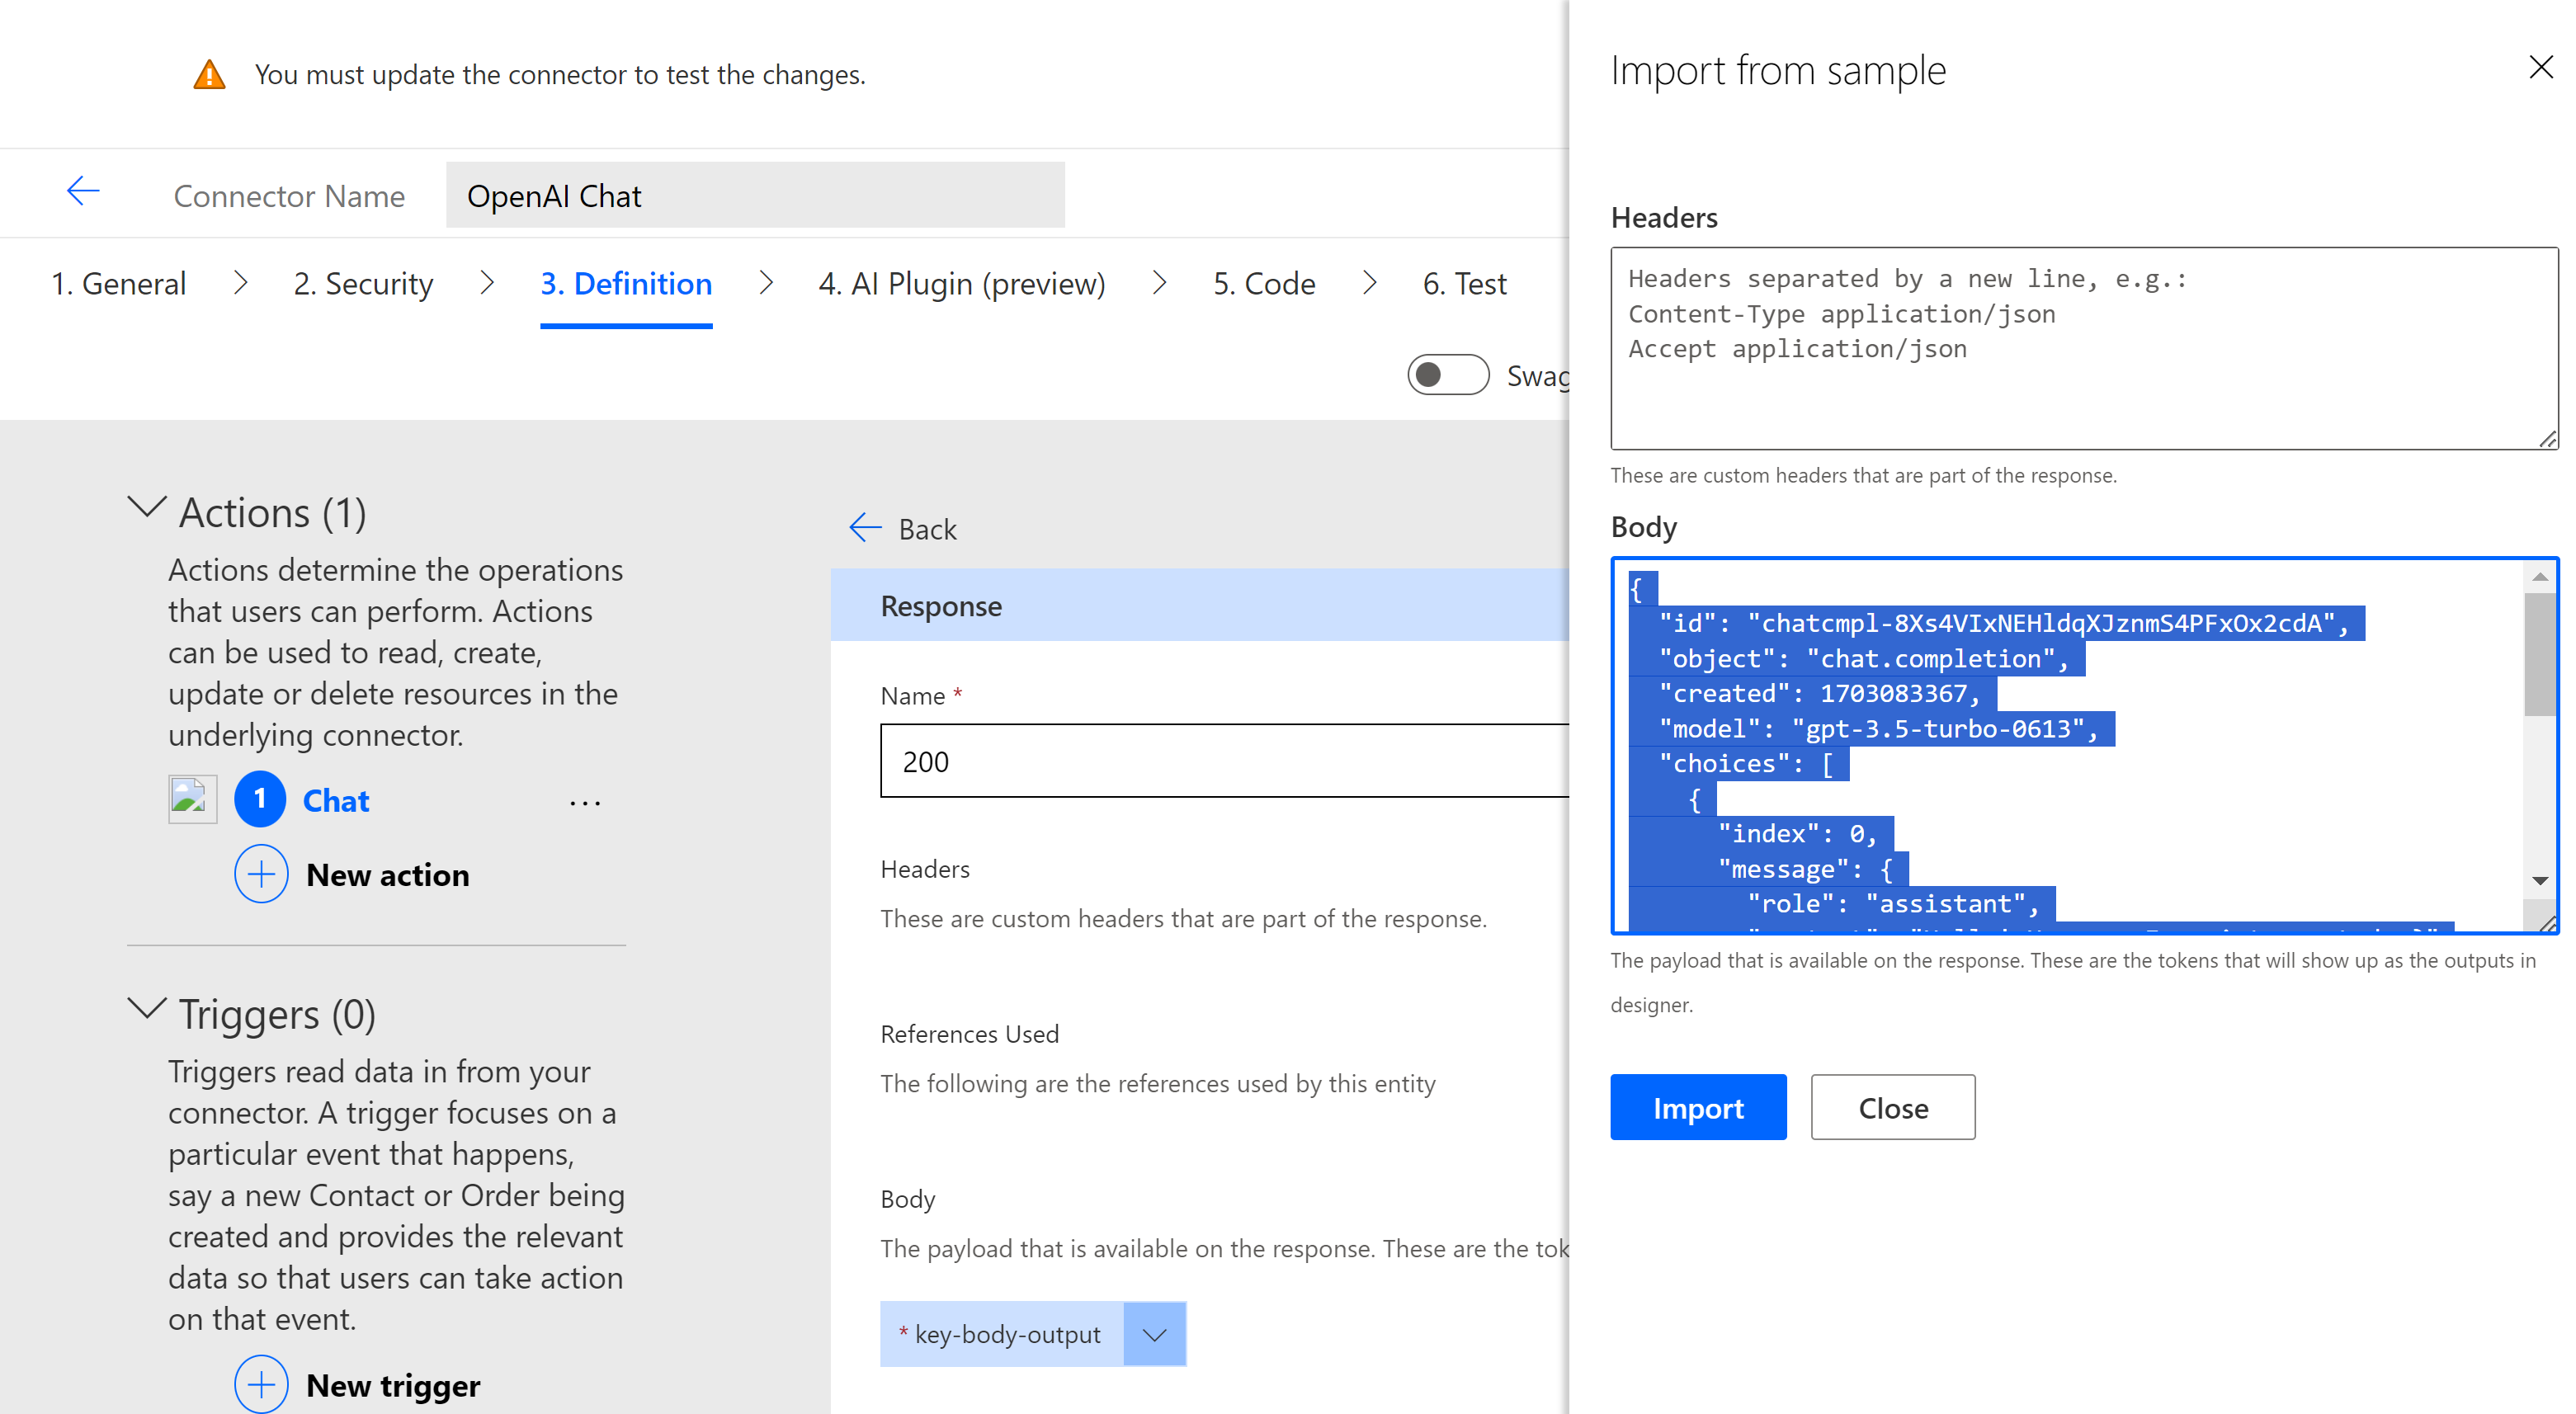
- Provide the ‘Name’ as 200 and click on ‘Import from sample’.
- In the ‘Body’, paste the response copied from test. Click ‘Import’.
- Now the ‘Chat’ actions ‘Response’ looks as below.
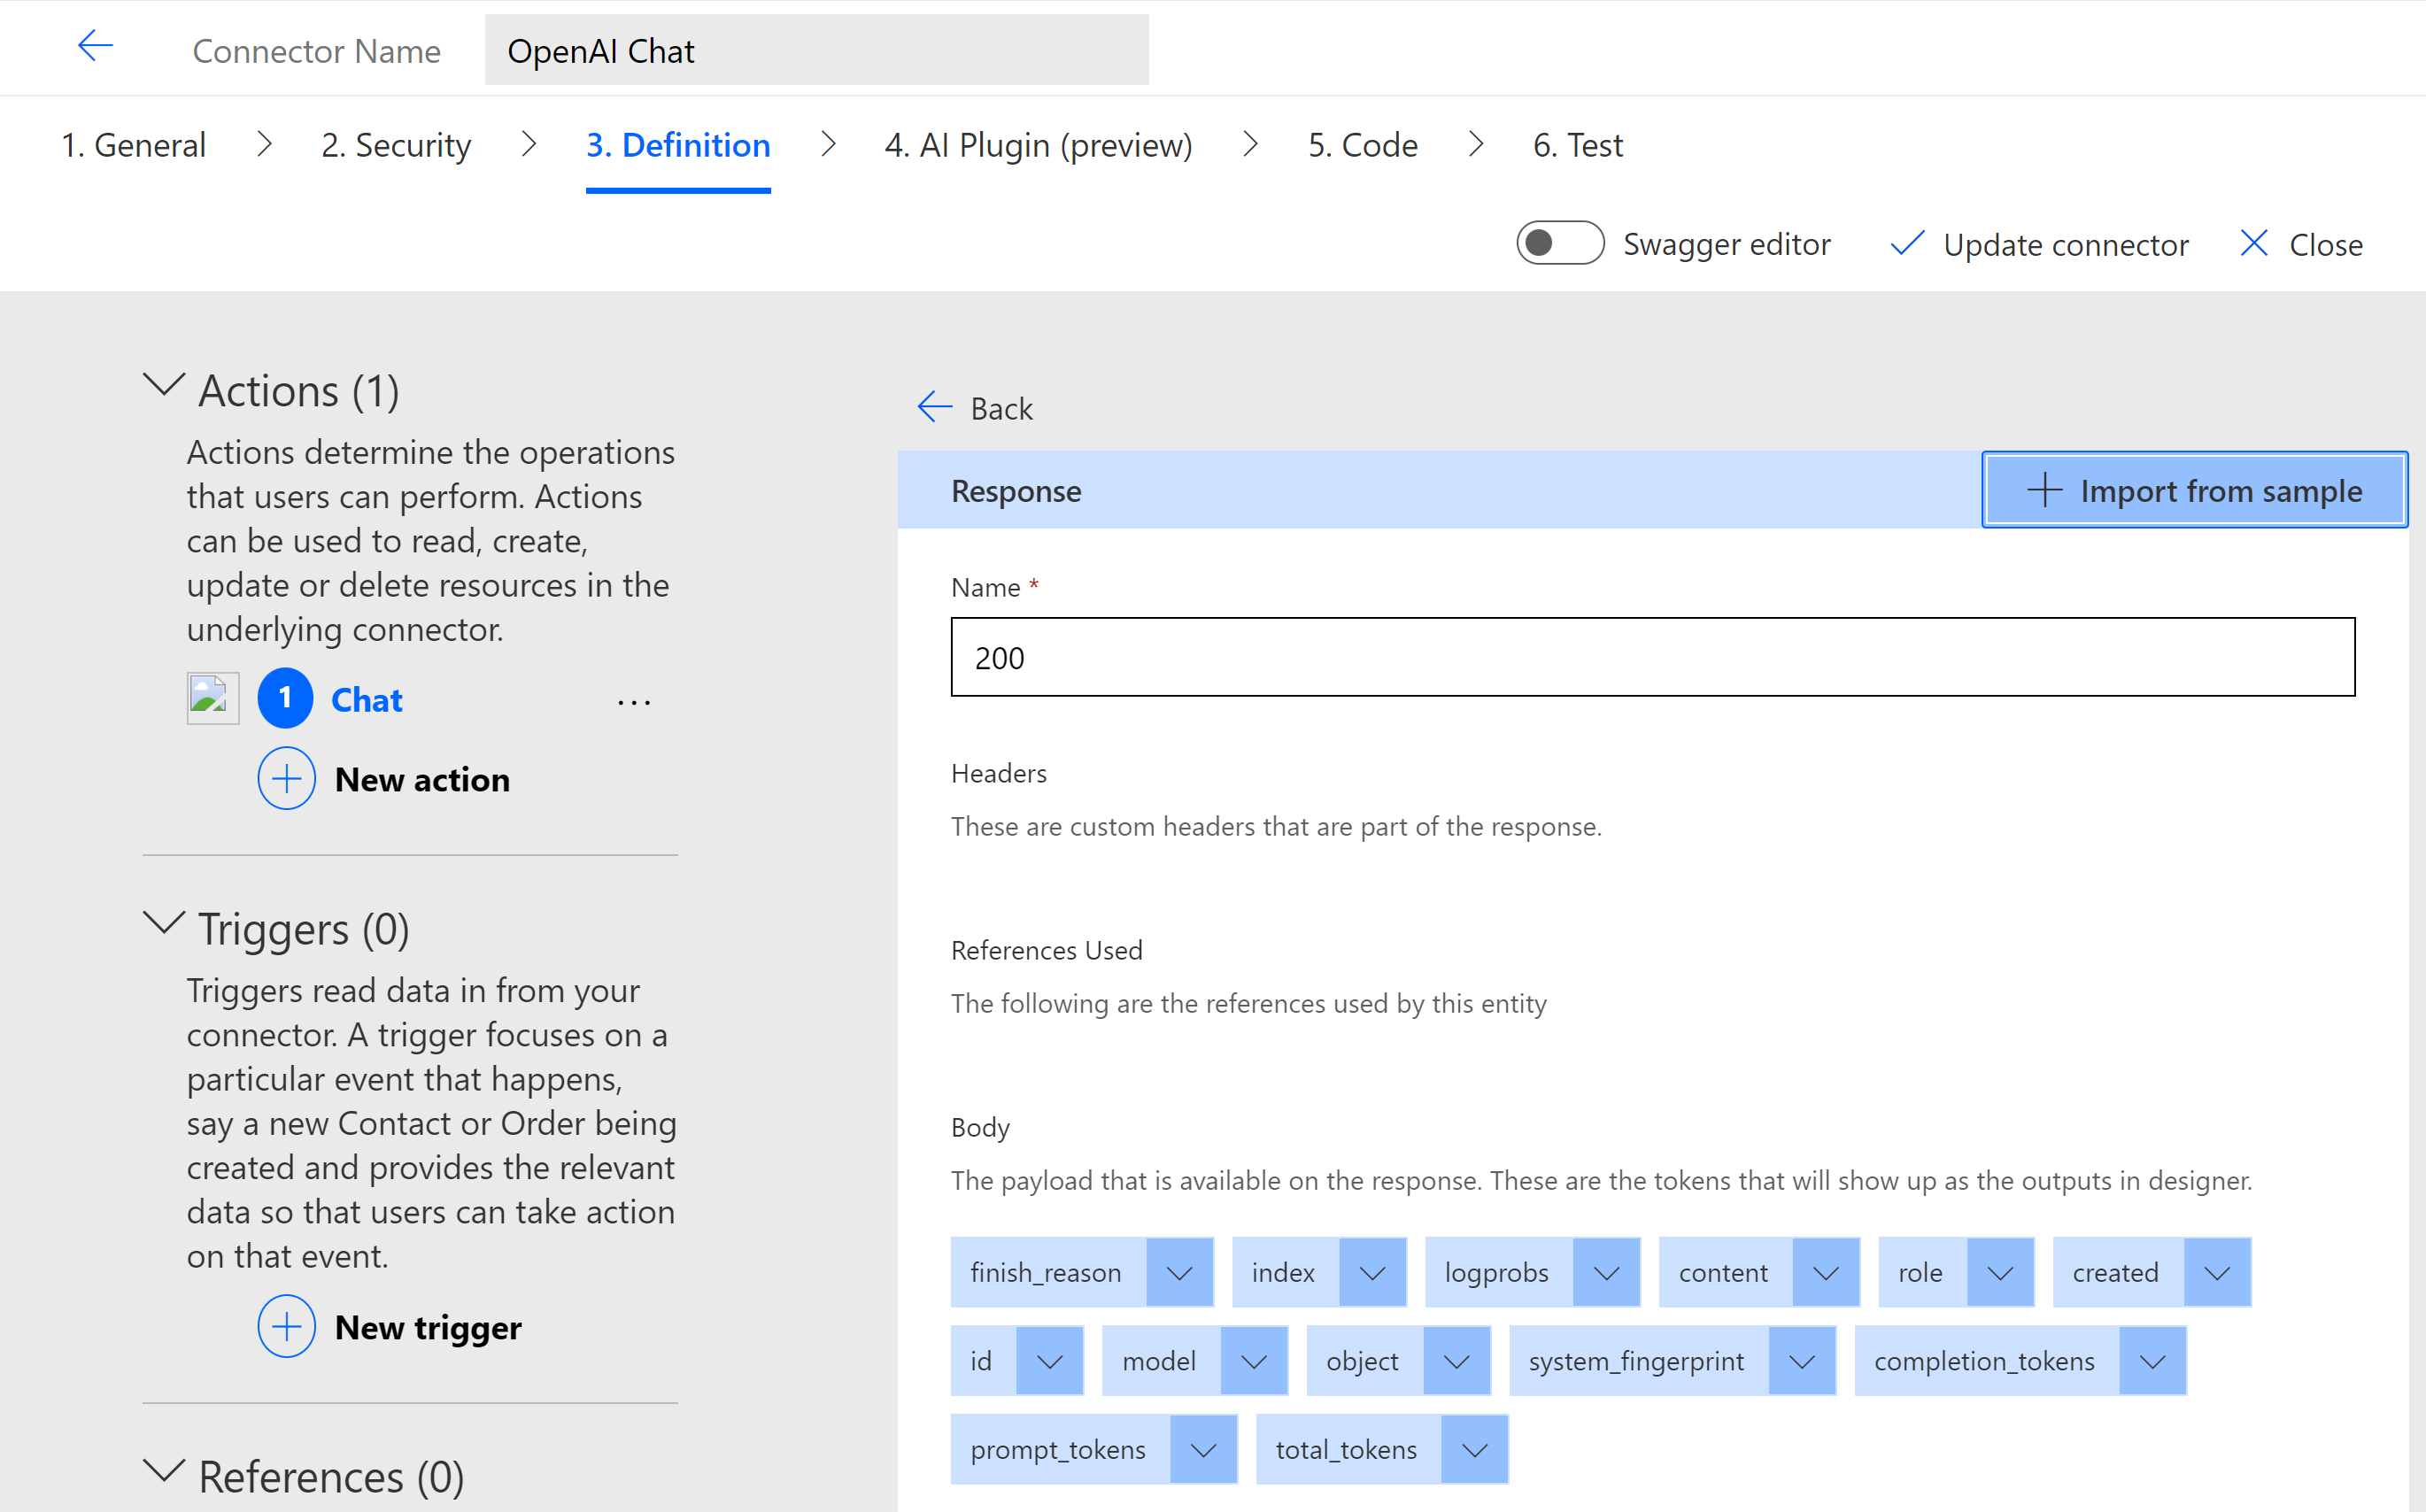
- Click on ‘update connector’.
Now that we have a Custom Connector with the ‘Chat’ operation, we can create a Canvas app and consume the Custom Connector.
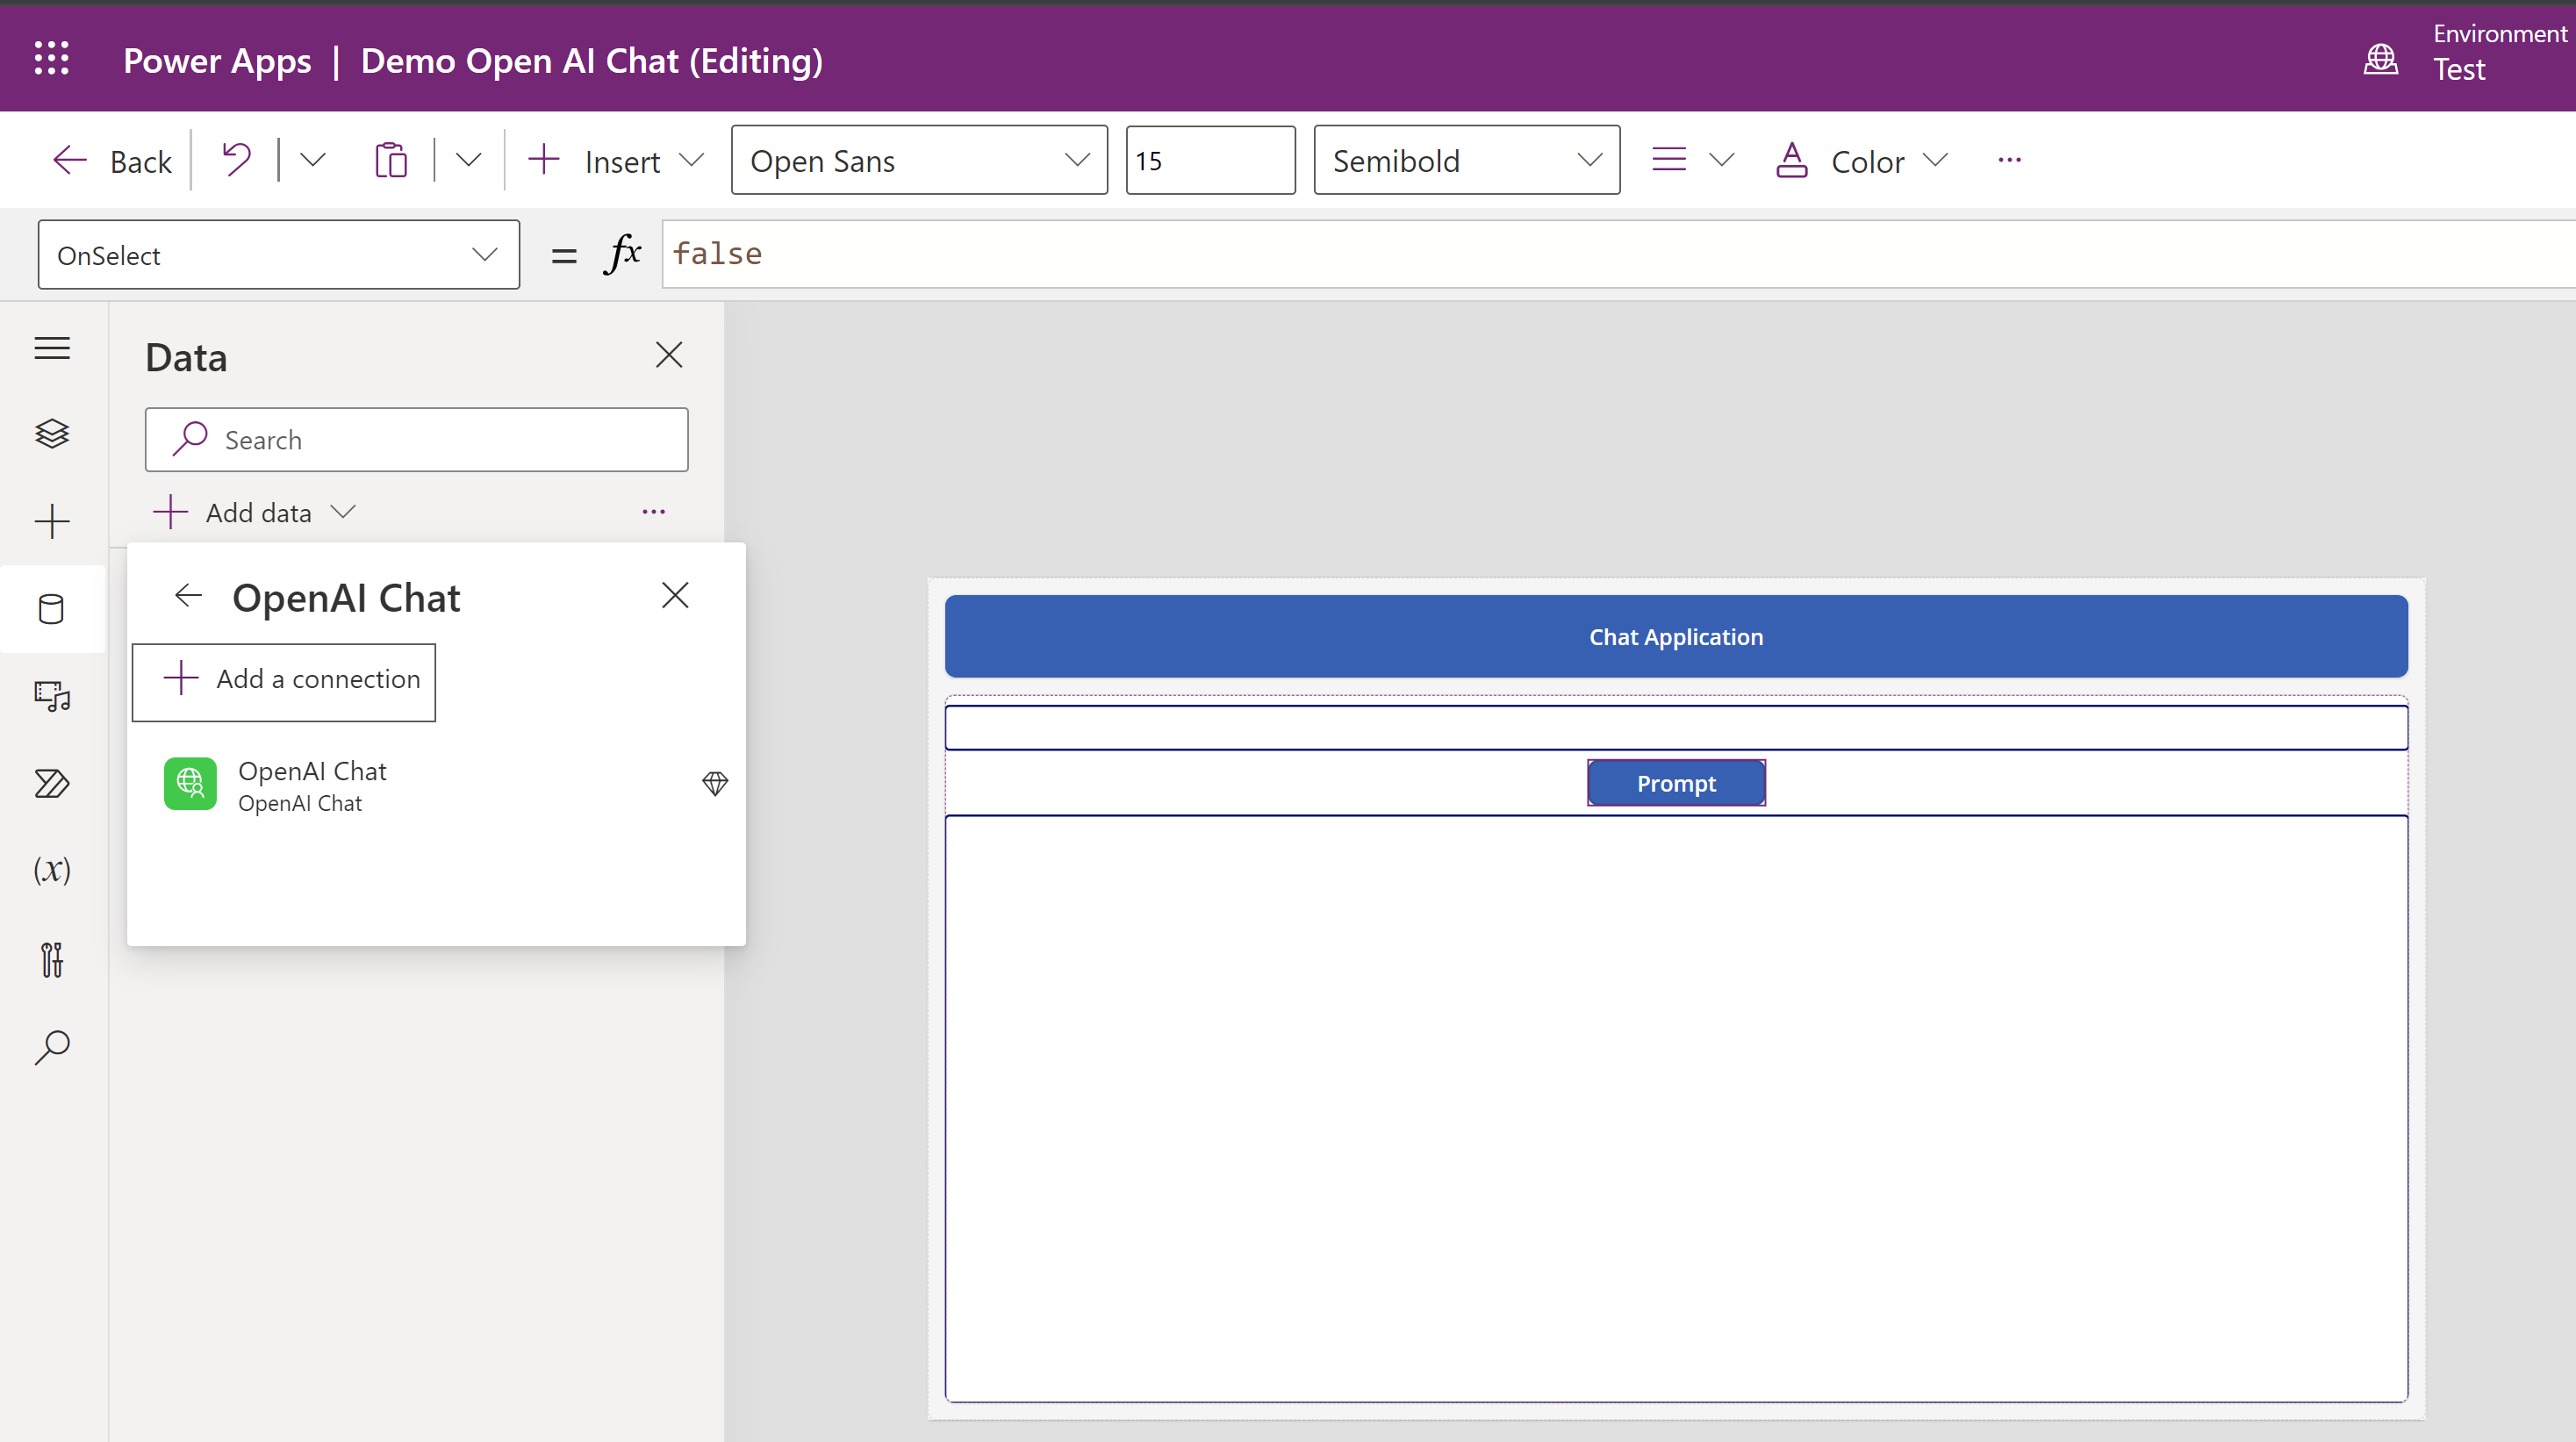
Create a Canvas App and consume the Custom Connector:
- Create a new Canvas App with controls as shown below and add the Custom Connector.
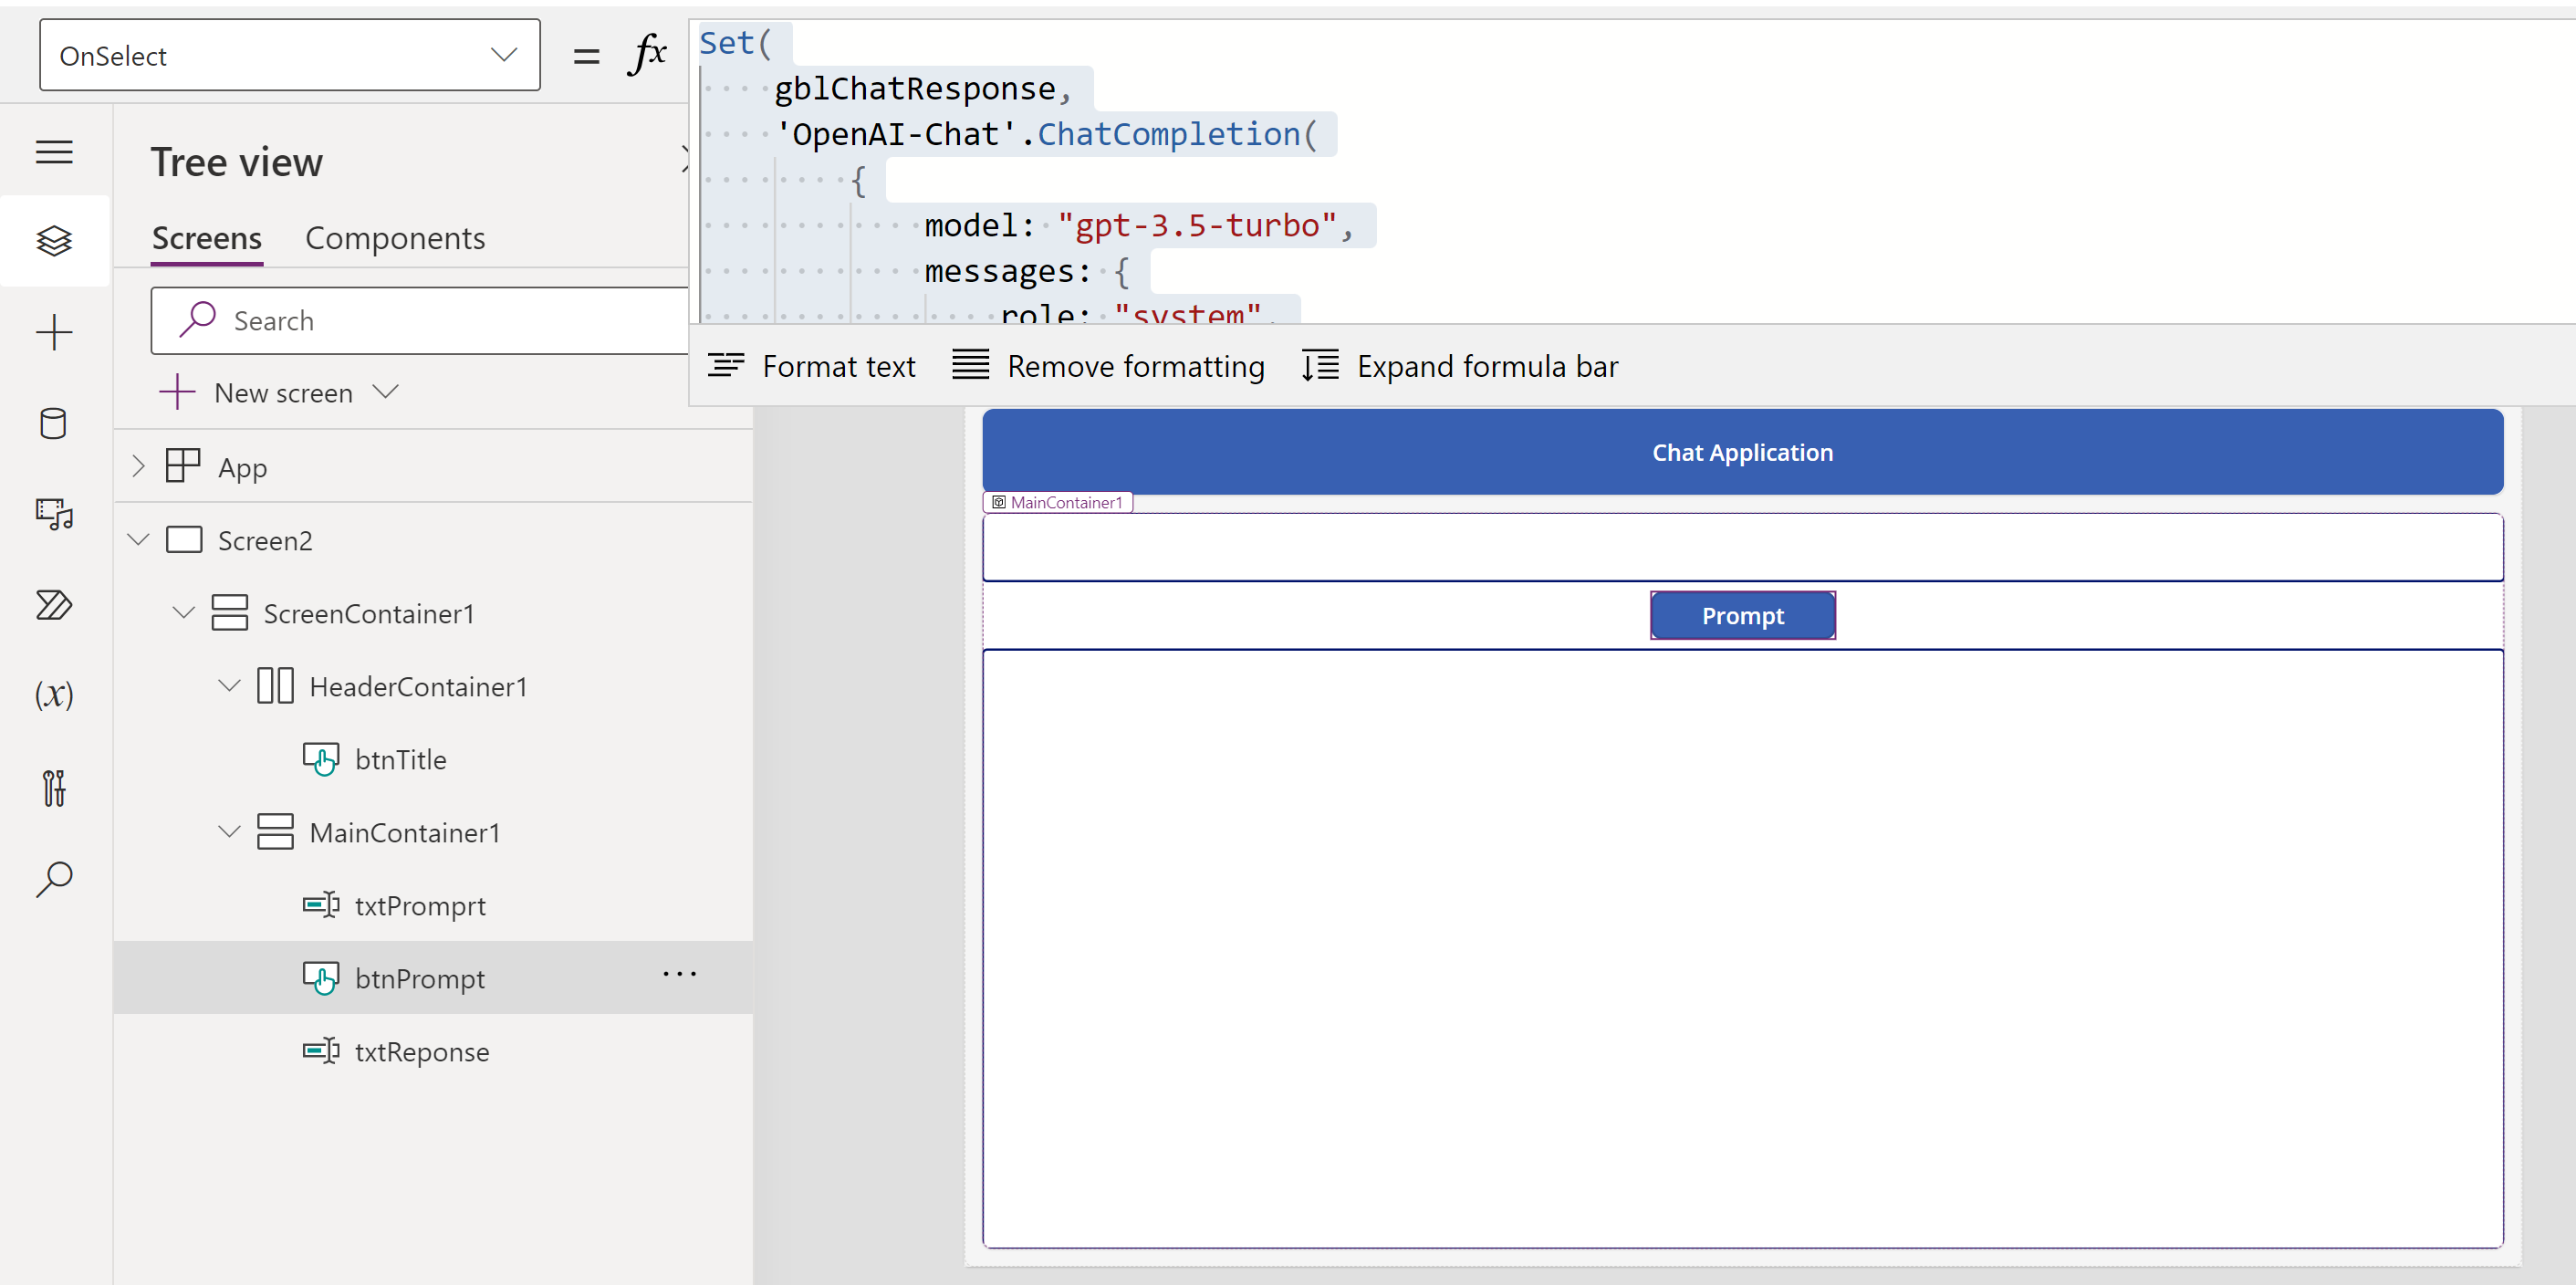
- On the ‘btnPrompt‘ button’s, ‘On Select’ event, add following formula.
Set(

    gblChatResponse,

    'OpenAI-Chat'.ChatCompletion(

        {

            model: "gpt-3.5-turbo",

            messages: {

                role: "system",

                content: txtPromprt.Text

            }

        }

    )

)
- To display the response, set the txtResponse as:
First(gblChatResponse.choices).message.content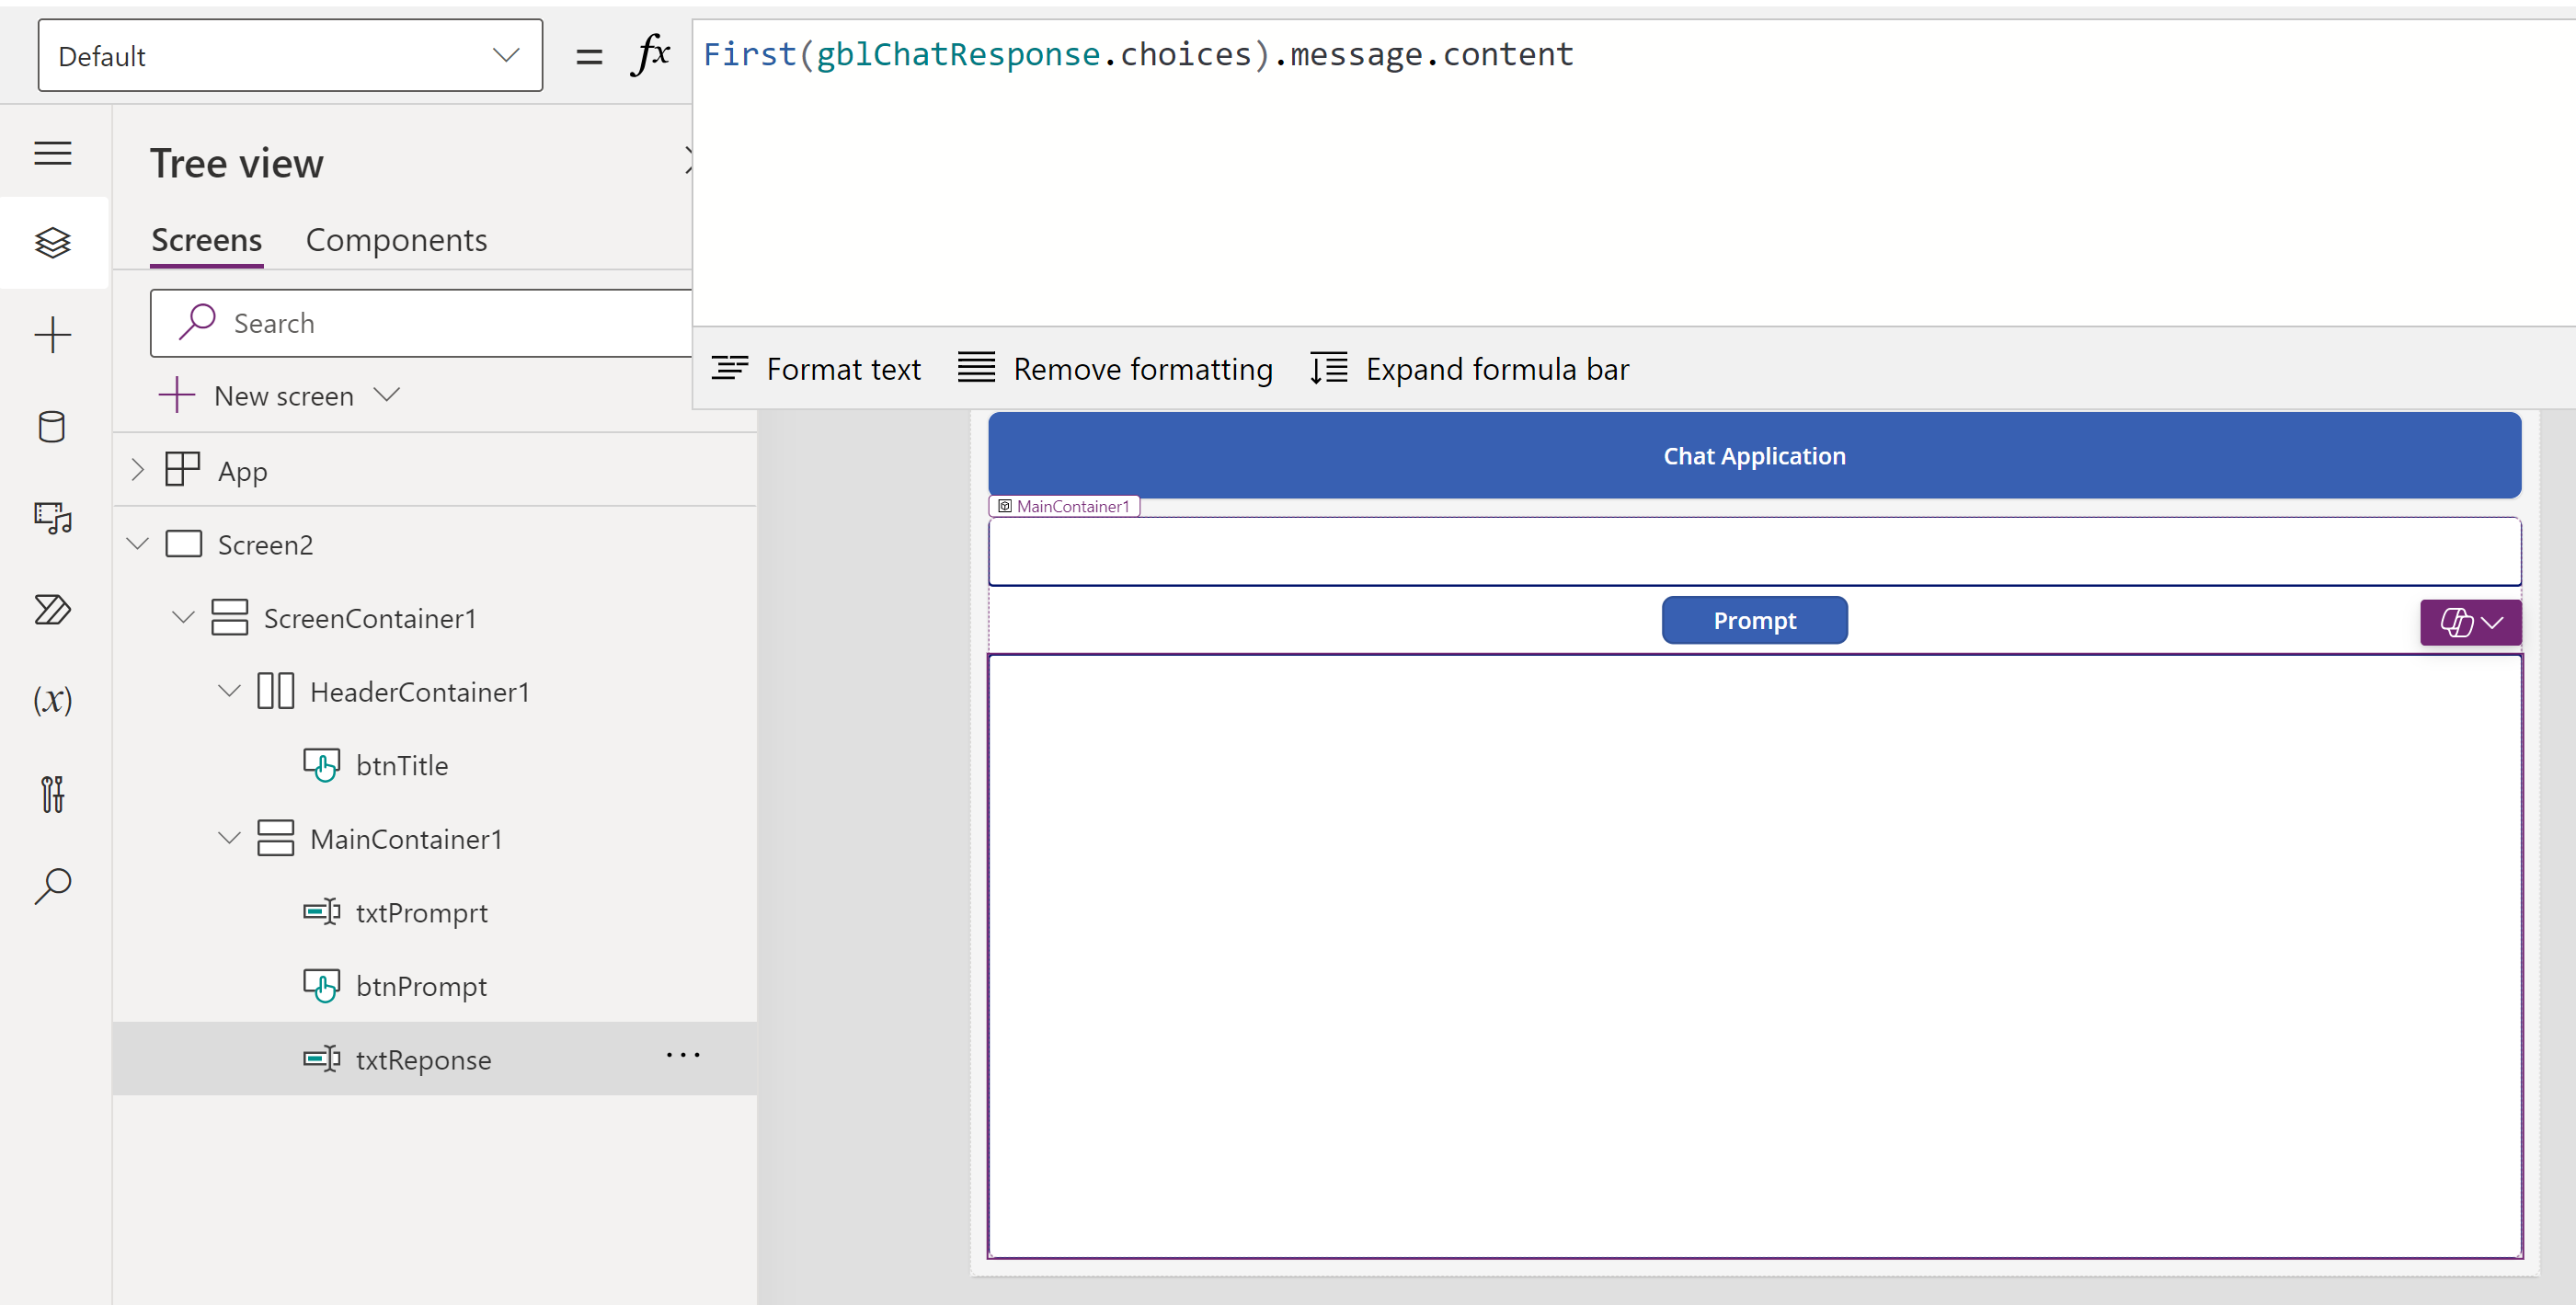
- Go ahead and test by prompting as per your requirement. You should get the response displayed in as shown below.
I hope you’ve learned the basics of leveraging OpenAI’s Chat in a Canvas App.
🙂


Leave a comment